Planning for the Year (Video Walkthrough) & Worksheets

yearplanFeatured-Image.jpg

We couldn't have made this house into our home without the help of family and friends and a lot of planning over the years. My grandfather helped us with the down payment, and my father taught Mitch almost everything he knew about carpentry while working on the kitchen and bathroom. Probably our favorite memory of my father (who passed the first of January 2014), was him singing  (Black Horse in a Cherry Tree) up on scaffolding, in the most annoying voice he could muster. All while trying to hang sheetrock in the vaulted ceiling of our kitchen.

The original plan did NOT have a vaulted ceiling, my dad mentioned that it would make the space feel bigger, and I agreed.

Mitch however, did not agree and was seriously pissed about the amount of extra work my dads comment would create. But alas, my father just smiled (an "I'm so sorry dude") smile, and started getting to work, because he knew what Mitch was still to learn... Once the idea was there and the means to get it done, I was a force to be reckoned with.

I wasn't actually pissed about anything else except the time frame we had....30 days to do a full kitchen and bath demo and remodel, now add a vaulted ceiling. Talk about creating more work...

We've come very far with this house (& life) but certainly haven't accomplished anything alone. Although we lost my father, he taught the both of us a lot about life, love, and carpentry. As we recorded this video it dawned on us that some of our reluctance to finish our projects has been his absence, it just hasn't felt right to move on and finish projects he helped start.

#finishthatspace

This year we have had time to mend some of the heart ache and we are ready to continue working on making this house our home.  Check out more about the house on Our Tiny House Page.

Here's what we have planned for #finishthatspace, we hope you will join us by printing the worksheets linked below and starting to finish your own spaces. Don't forget to follow along with us on instagram and tag your progress with #finishthatspace . We would love to see your spaces!

Planning for the Year


Create your own plan for the year

We have always had to have some type of plan every year for all the projects we do, it usually changes due to life and budget constraints, but isn't that the way it is for all of us?

Having some type of plan can;

  • Keep you on track. Having a plan in place keeps you on track, and hopefully you won't have to go back to finish.
  • Help you quickly re-evaluate the plan if the budget changes due to unforeseen expenses. Like the $1700 truck fix we had a few weeks ago; some projects got cut out after that ouchy.
  • Make you think ahead to other seasons and schedule things in accordingly. Instead of haphazardly realizing you needed to finish the exterior paint on the first day of snow, like us.
  • Help you to compromise with your time and with your partner. We have our anniversary, and a birthday every month of the summer, which makes it difficult to get major projects done as well.
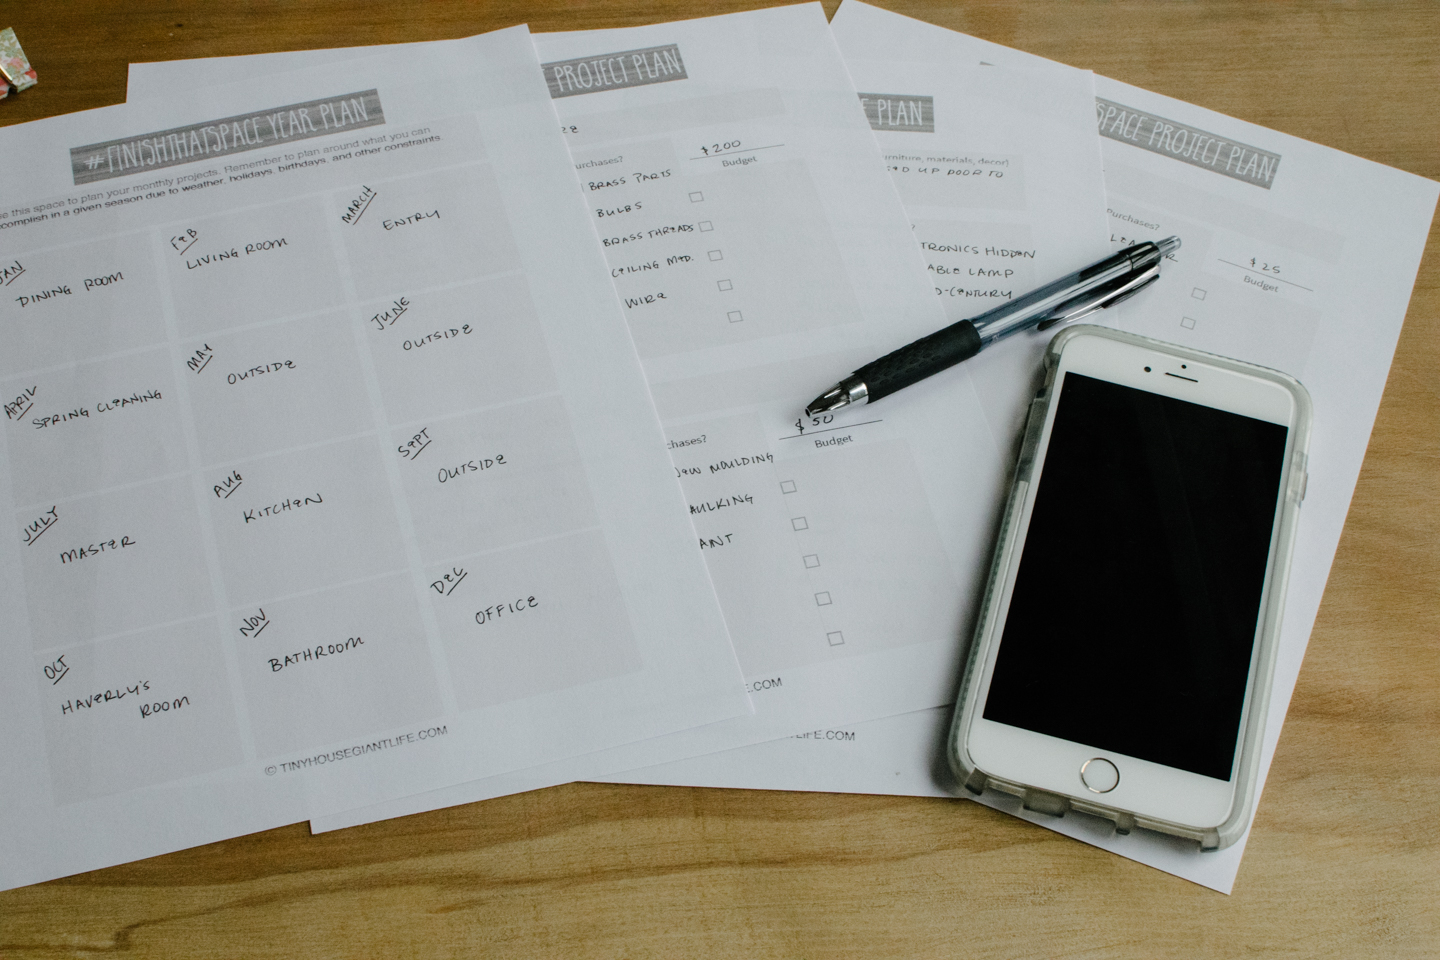
finish that space planning

Start with the Big Picture planning

Use the monthly printout to schedule in projects starting with the current month. For us January, February, and March bring snow and with our detached and wood fire-heated garage, we can't be out there painting or staining. So this worksheet helps us to evaluate what goes where.

Starting in the month you are in (if it happens to be March when you get to this then use it from March to March). Then you can use the worksheet in a few different ways:

  • Picking a room or space each month. For us this has been the most useful in completing projects we really needed to. Otherwise we tend to do the fun stuff and never get around to things like all the paint.
  • Picking a project each month. This isn't a race to the finish line, its about finishing some things off the punch list. So pick things you know you can accomplish during the busy months filled with Birthdays, Holidays, and Vacations.
  • Any variation of the two above. Pick a space each month and limit yourself to two projects in that space, two weeks to complete each project.
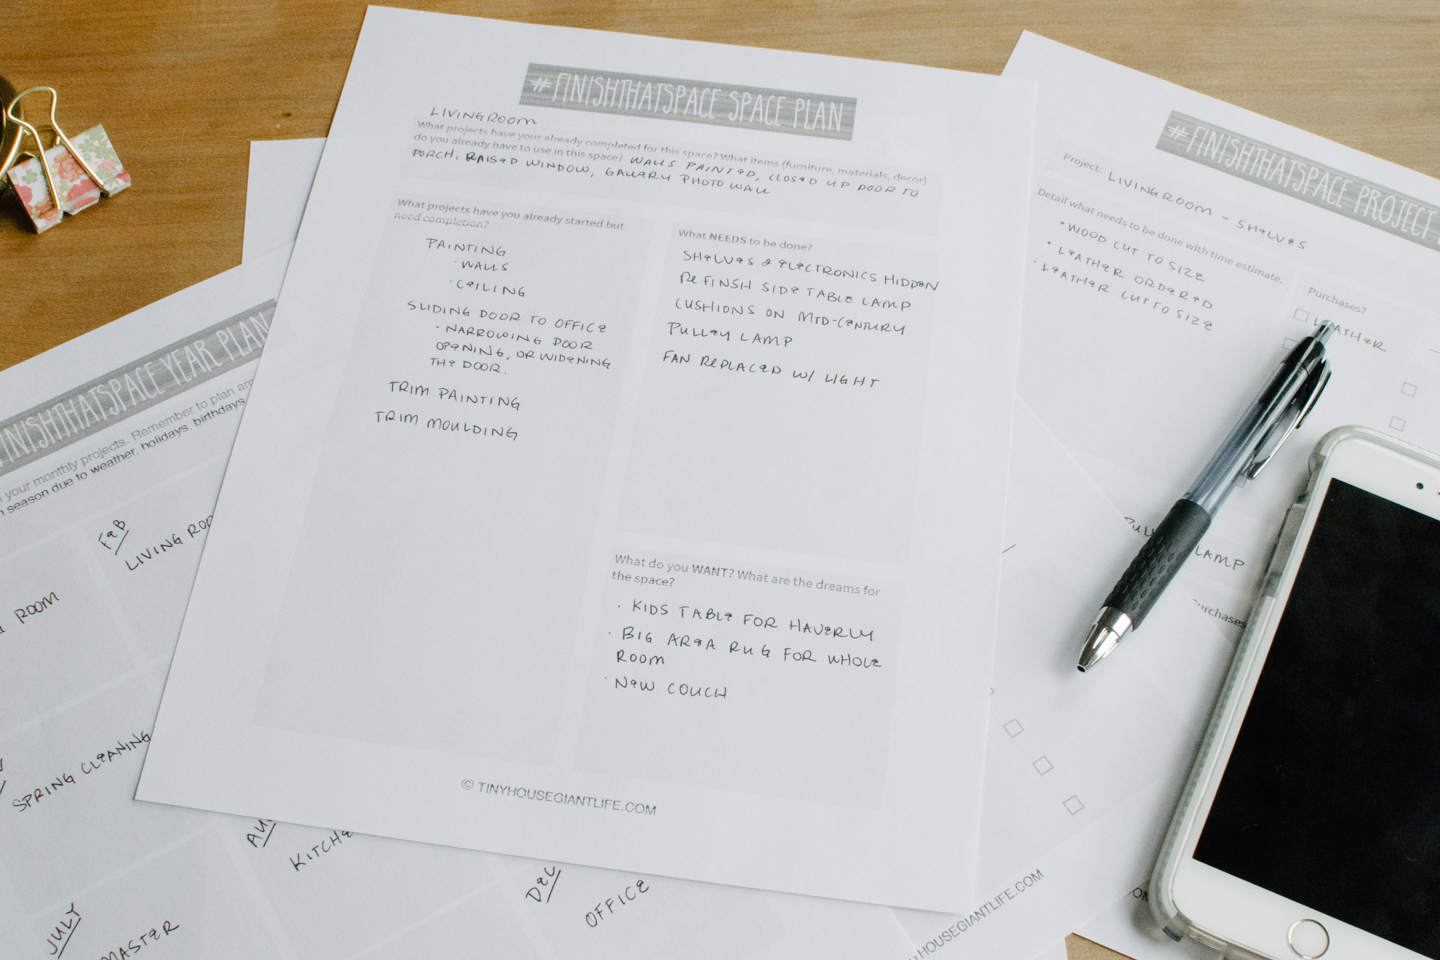
finish that space planning

Then, break it down by area

Print out as many of these sheets as needed, we need one for each month. Then answer some questions about the space like:

  • What projects have you already completed for this space? Its always nice to remember what you have already completed when your looking at a daunting list of things to do.
  • What items (furniture, decor, art) do you already have to use in that space? Think outside the box on this one. That old piece of furniture your mom gave you might look really great with a new coat of paint.
  • What projects have you already started that need completion? These tend to be the cost effective projects because you usually already have all the materials on hand, just needed to actually #finishthatspace!
  • What NEEDS to be done? Don't be surprised if this is the area that creates tension amongst partners. What I see as a NEED is sometimes vastly different from what Mitch see's. DO your best to compromise here.
  • What do you WANT, and any dreams for the space? Make sure to add small items into this category, that way you have different price points to play with when your budgeting in. Lots of times this category is really hard for me to share with Mitch because dreams can be crazy and change so much. After I reveal ideas to him and give him a second to adjust and see a vision, I always feel so much better for speaking about them. 

Overwhelmed with planning the year?

Just like everyone else we have time and financial constraints. Planning for the year helps you to see which projects are the most cost-effective, what has to be done, and what "dream" items you you may be able to accomplish. So you can stop being overwhelmed by the laundry-list of items you can't afford to complete, and work on the things you can complete.
finish that space planning

Finally, create project lists!

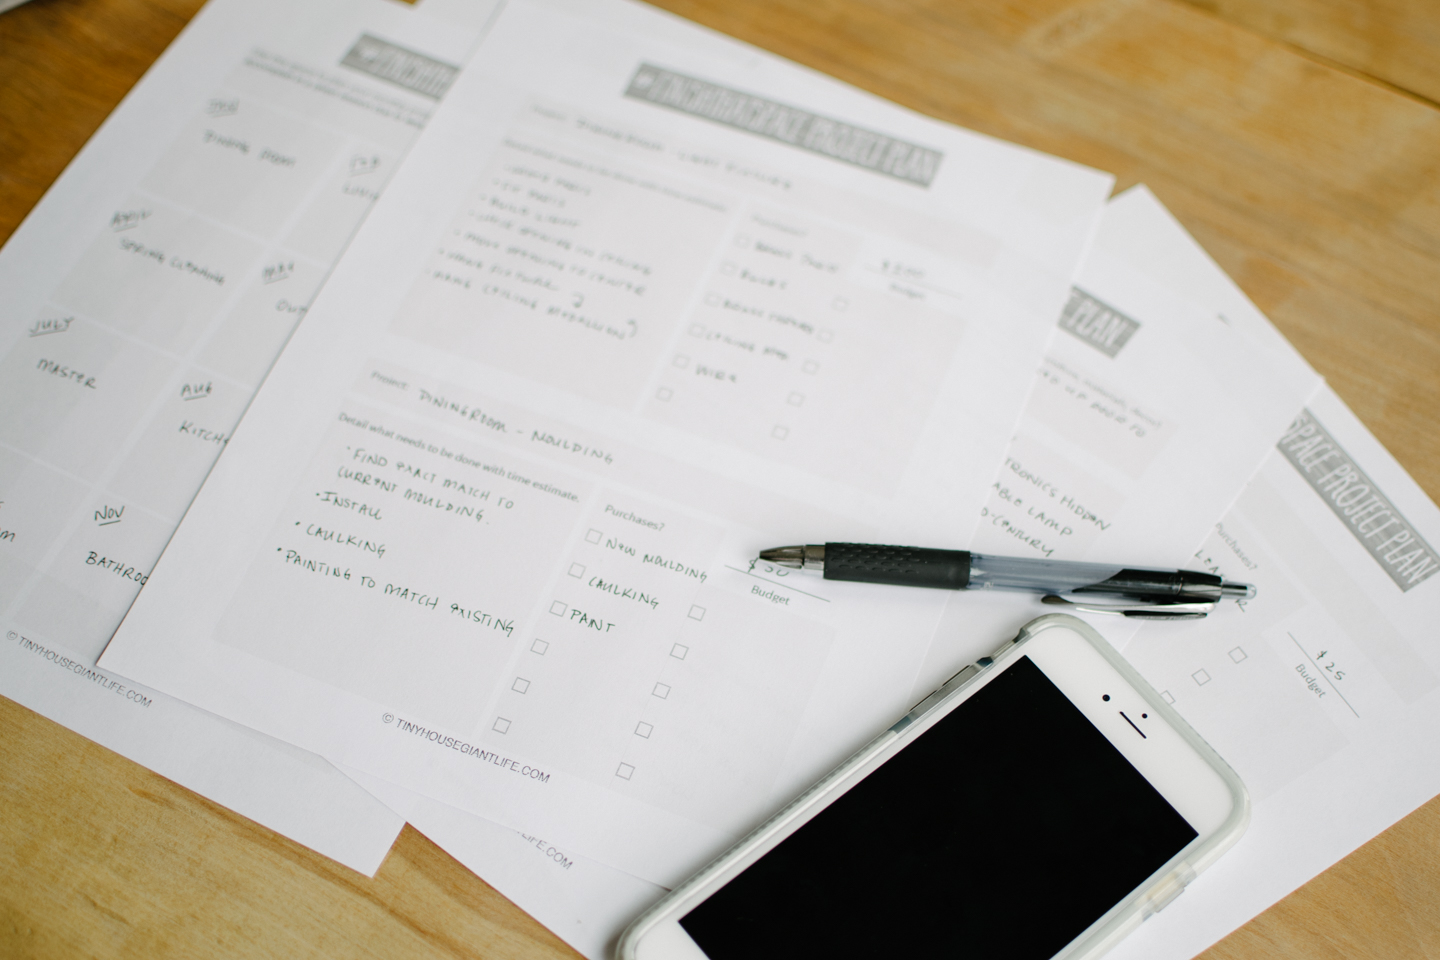
Once you have you spaces broken down you can create project lists. This is where we take the previous sheet, compromise (with a bit of arguing) on the things we will be doing, and start planning for the year.

  • What is the budget or estimate of what you think it will cost?
  • What are all the small tasks that go into this project and whats a time estimate? That way when you have a spare 25mins, you can do one little piece.
  • What purchases do you have to make and which need to be made first? If a product is special order you may have to wait weeks to get it.

Finish your own spaces

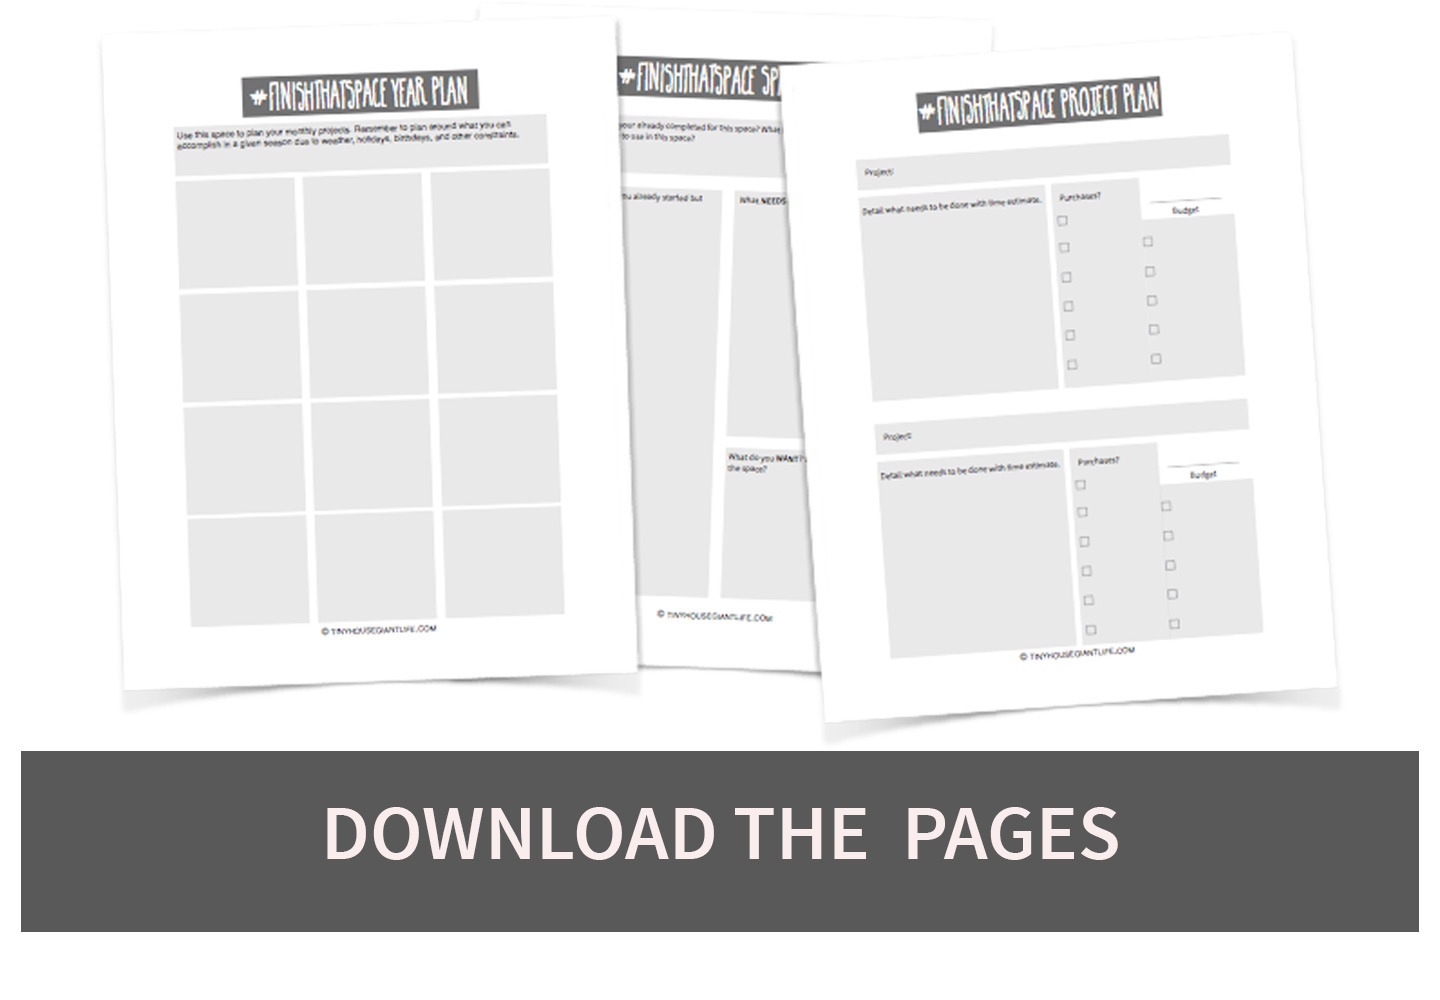
Want to join us and finish some of your projects or spaces by planning for the year? Download the worksheets below, you will need to print the second and third sheets multiple times for your needs. Tag your work with #finishthatspace on social media so we can follow along with you!


planning for the year worksheets

Reality Check

Planning for the year help's us to get more items accomplished, but we all have things that get in the way sometimes, or changes that take place. When we hit a bumpy month, we quickly re-evaulate what can be accomplished.

Whether its Mitch having to run out mid-project for one of the countless reasons our town may need his police services, or an unexpected financial issue. We have the same hiccups as everyone else.

Try to roll with the punches and remember, you're not alone. Heck I'm sure I could list off enough items we haven't finished in the last 6 years to create some shock!


A winter gallery wall and the guidelines we used to create it

WinterGalleryFeaturedImage.jpg

We really like to switch up our gallery wall in the living room in order to keep things fresh. If you haven't already read all about our fall set up you can take a look back here. Normally my "winter" photos would consist of the previous years in order to get some snowy ones up on the wall. Luckily, we got a bit of early snow this year and were able to run out to get our Christmas tree (which obviously I was already super late getting because that's how we roll in this household). So we got Haverly all bundled up and ran out with the camera to try and get a few winter photos.

The day after I finished putting together this display and ordering prints, we got hit with more snow!
We ended up having an epic photo session with the dogs while Mitch raked the snow off our roof. I'm so excited to put these into next years yearbook (check out 2016's yearbook here) and up on 2017 winter gallery wall. Who can resist some dog photo's?


He looks so sweet... and then you see the toddler mid fall from him barreling by.


Setting the winter gallery wall  up

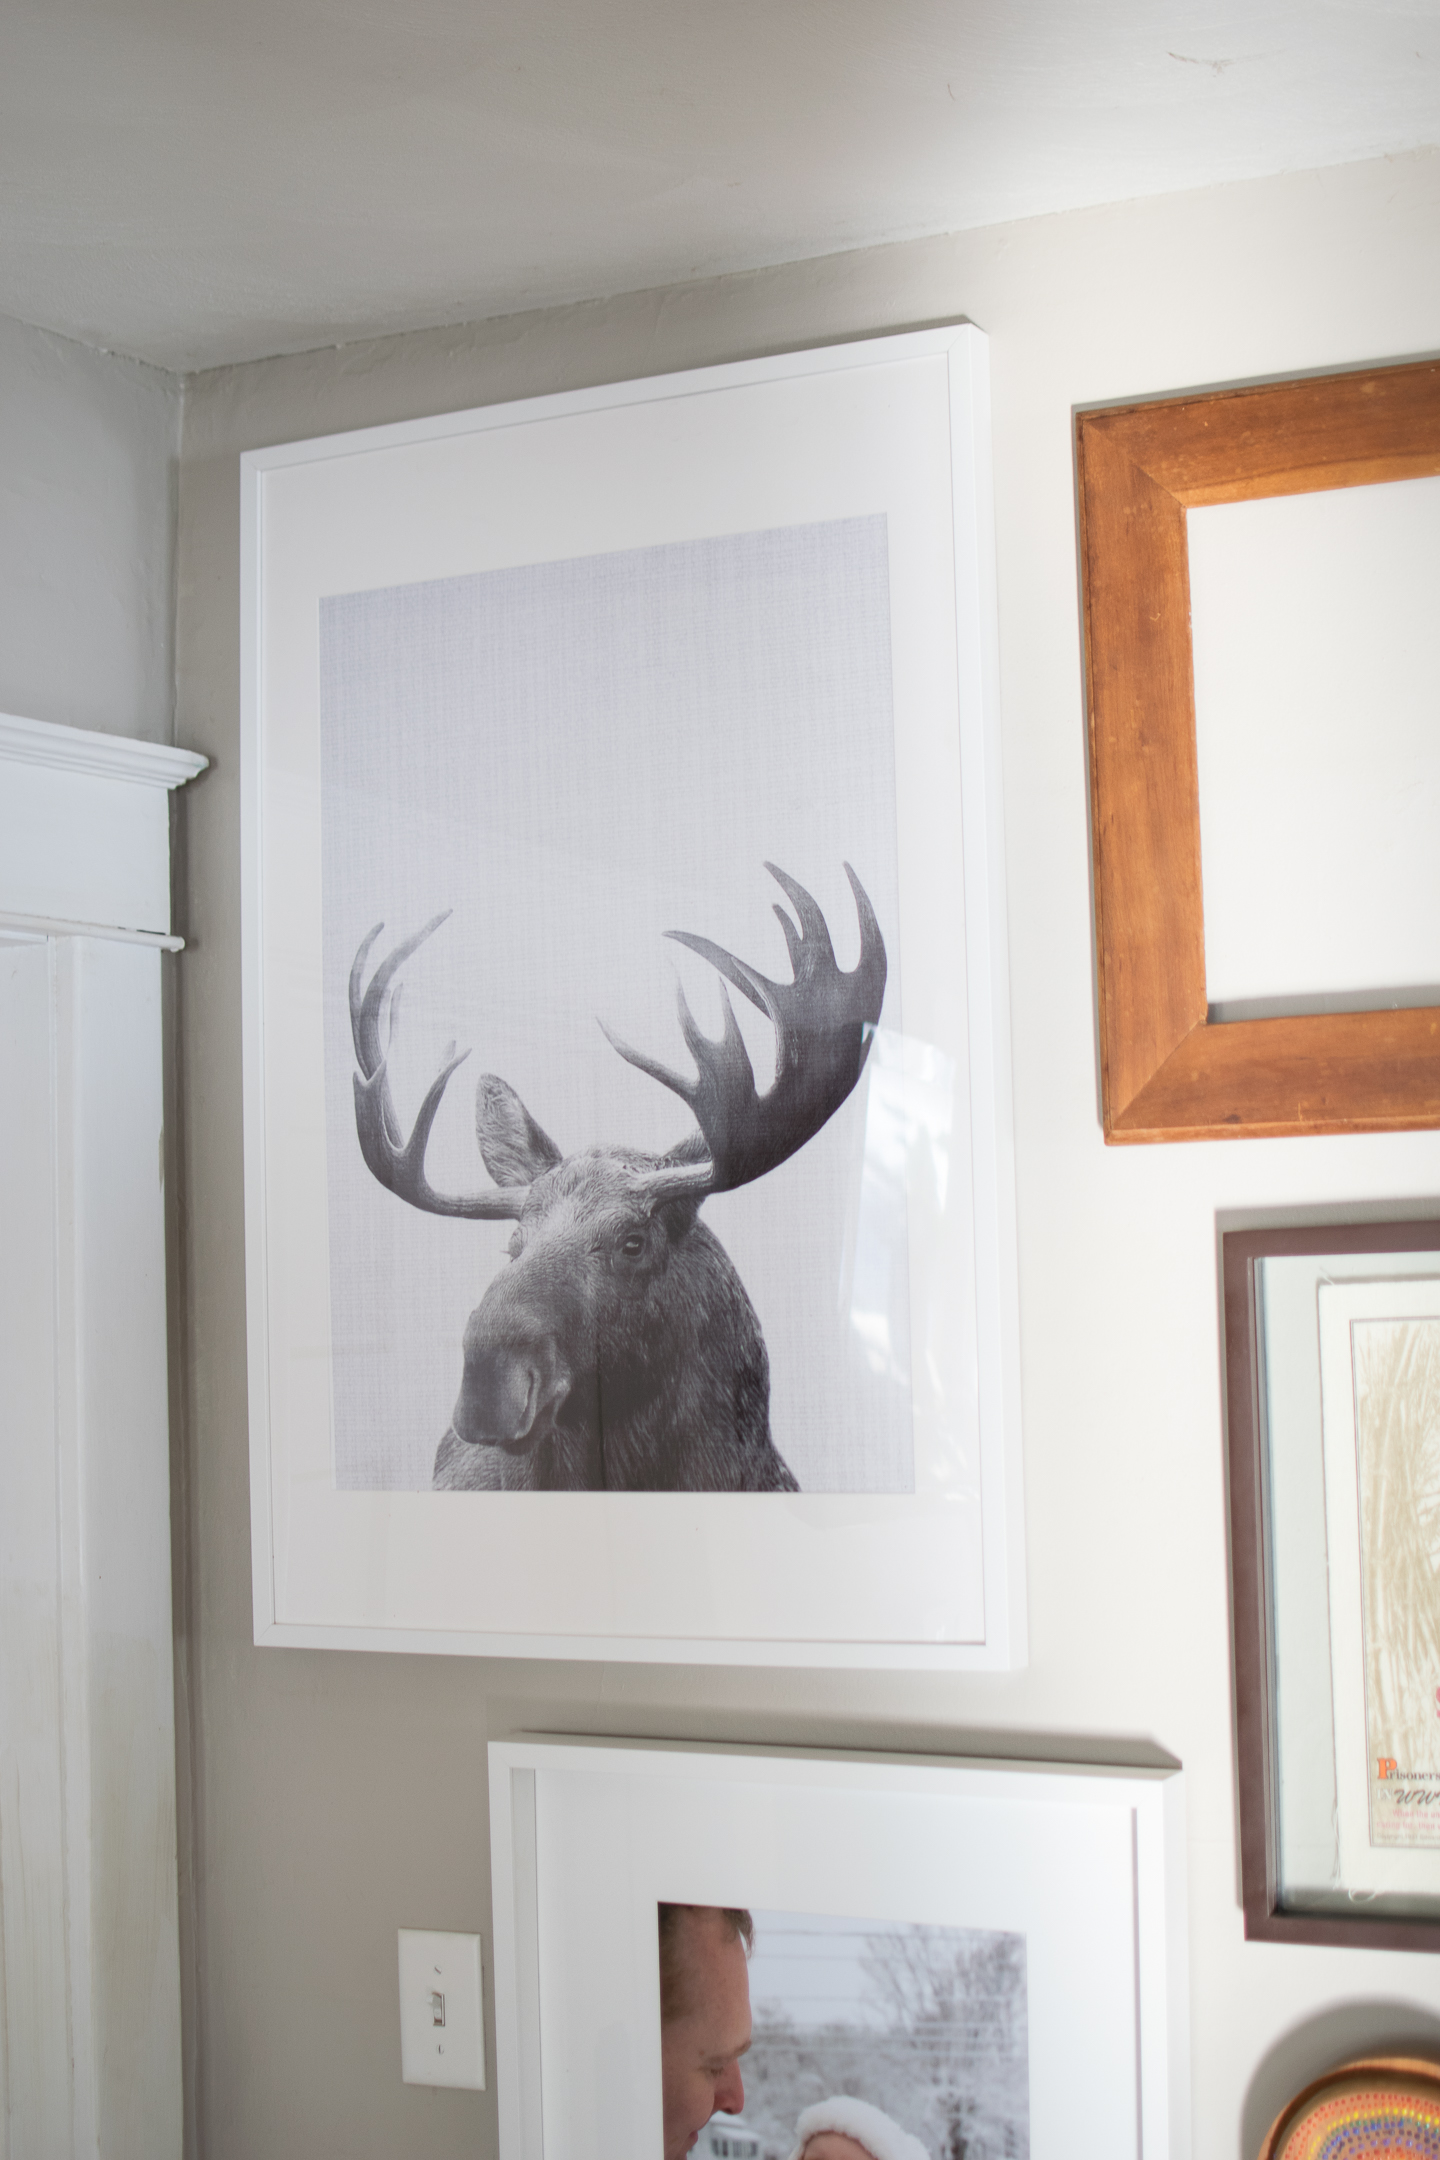
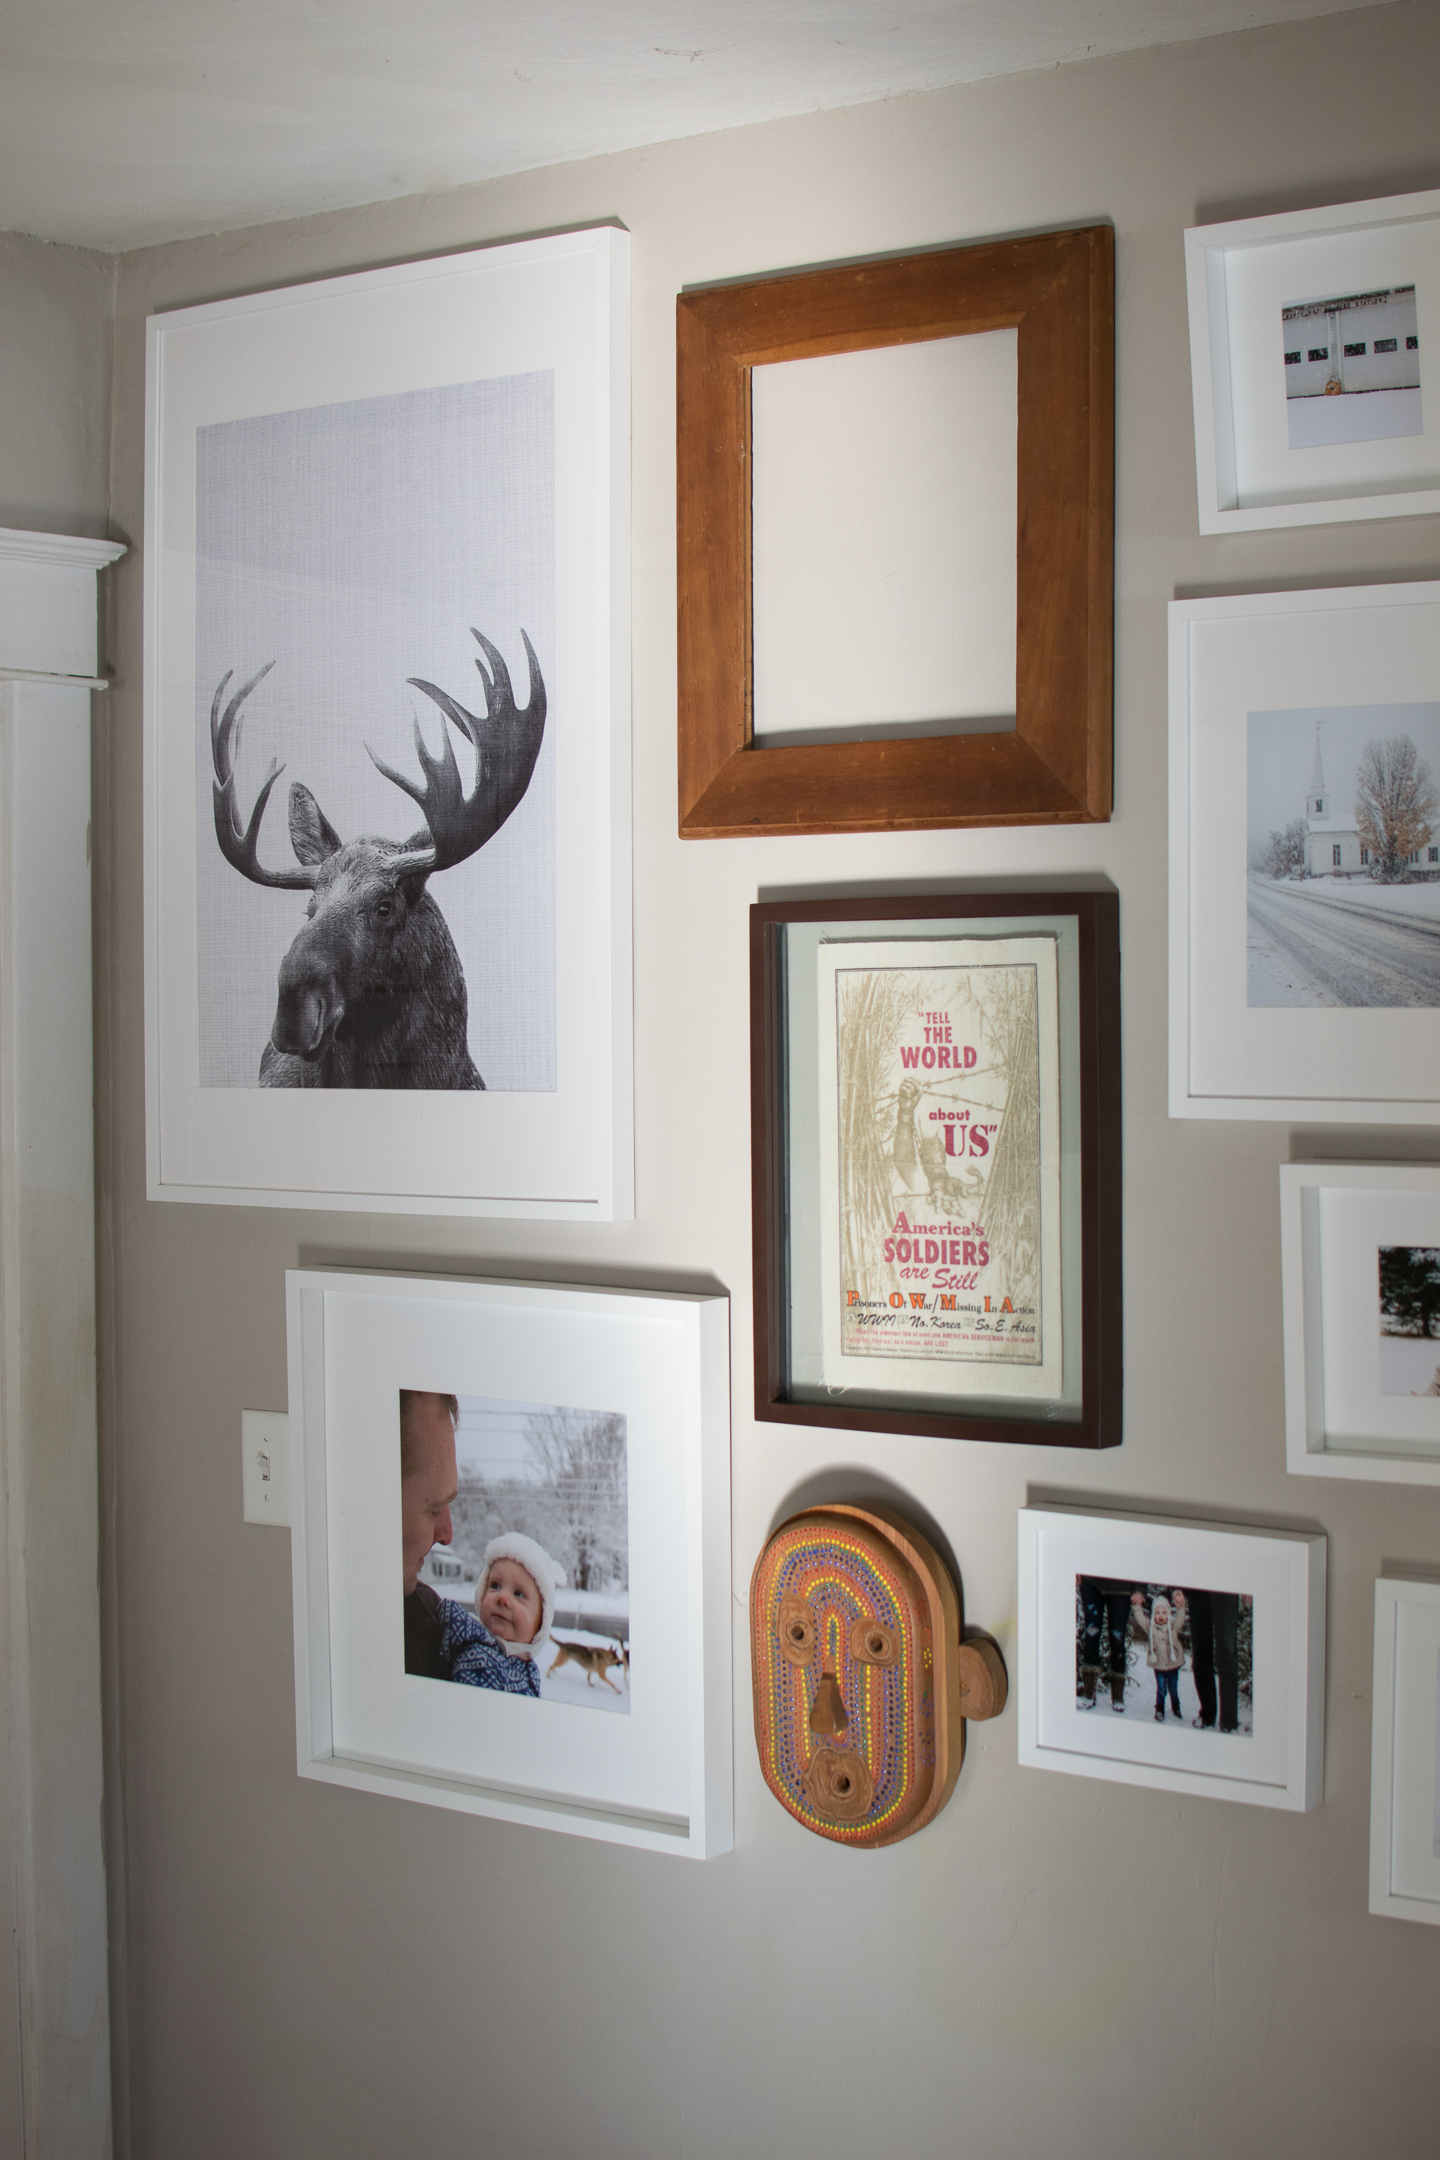
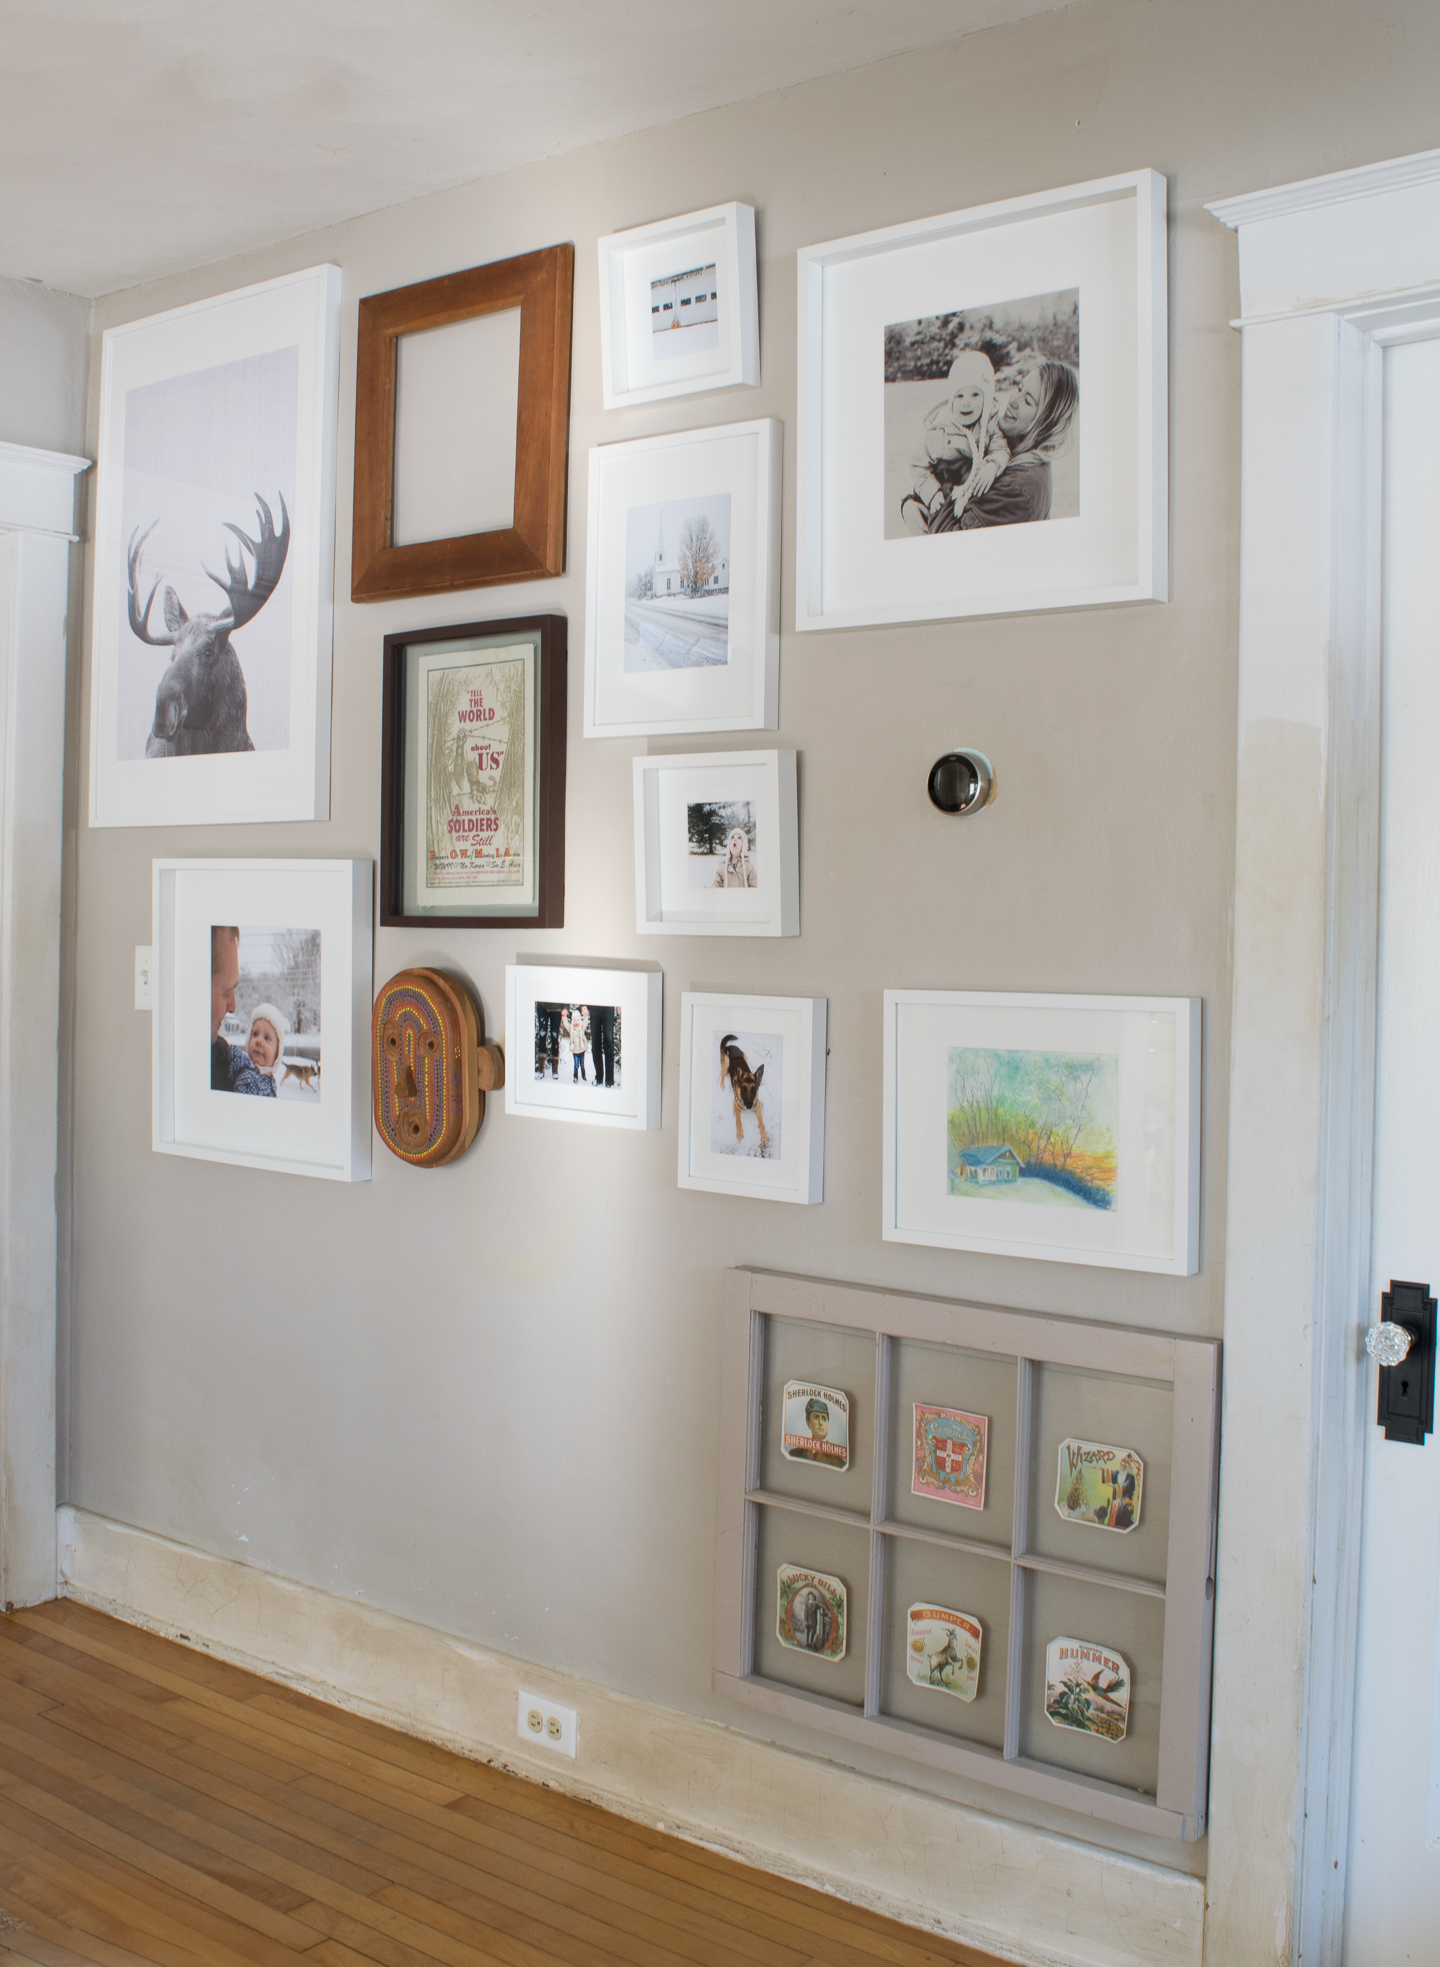
Typically, I pick out my biggest print first, then make decisions on my others depending on how they fit with the biggest print. In this case, I went ahead and ordered an instant download from LILAxLOLA's Etsy Shop of this bad boy.

Moose hold a special place in my heart since they were my father's favorite animal. Every year we would get him a new small stuffed animal to ride around on his truck's dash board and "protect him". If he had a spirit animal, I'm sure it was a Moose.

Guidelines are good

Just like in our Fall gallery wall, we have some pieces of art that are currently just staying in place. With the Moose Print and the art staying in place I was provided with some guidelines.

  • The rest of the photos needed to loosely fit within the "winter theme"
  • Integrate well with the Moose print
  • Not clash with the current art pieces (if you can even consider my 7th grade mask with puffy paint "ART")

Constraints always make it easier to make decisions, but they don't eliminate all issues. When I just cannot decide which photo to use, I'll turn to Mitch and give him two to choose from. If he has a strong feeling one way or the other I go with it. The wall doesn't need to be a literal gallery art wall, it just needs to be something that makes us both smile.


Move on to the second largest

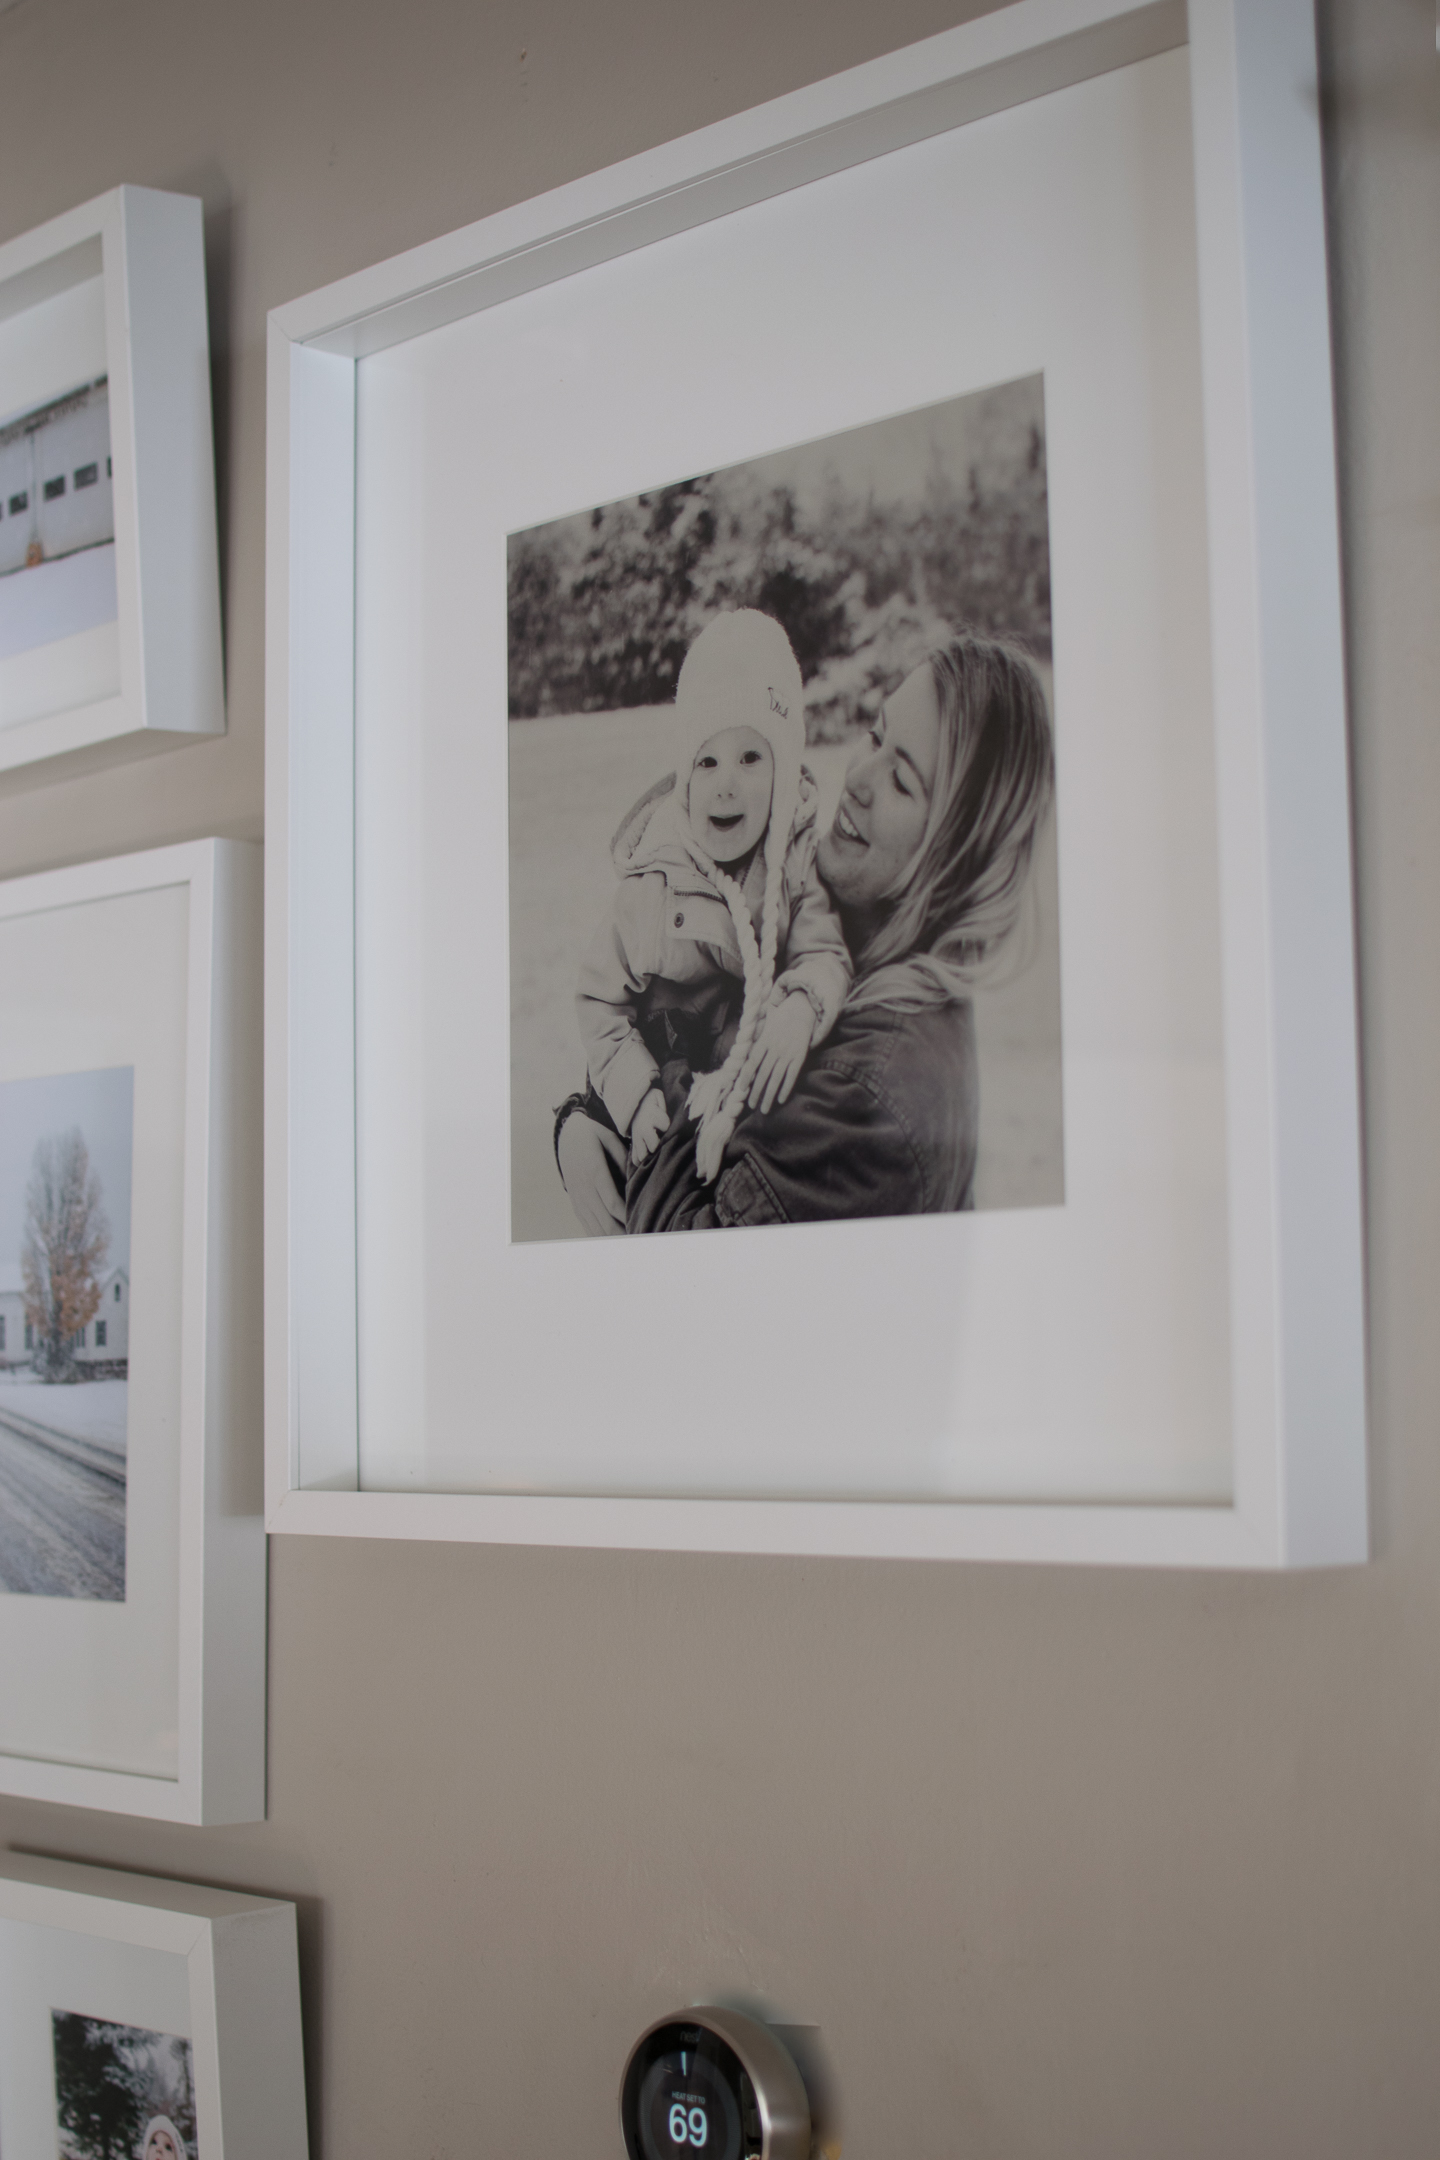
At this point a large print has been picked, and all the art work has stayed. Then you'll want to pick the second largest pieces and put them up on the wall in a balanced fashion. That meant I needed a black and white print to balance the Moose on the left side.

winter gallery wall

Adding a Preset in Lightroom for Black & White Prints

before & after of black and white preset


This was a fairly easy change to make since I've previously purchased a set of the Fan Favorites Presets from Pretty Presets. One Click on Matte B&W and I was all set, just made this photo.

winter gallery wall black and white preset


Filling in with other pictures

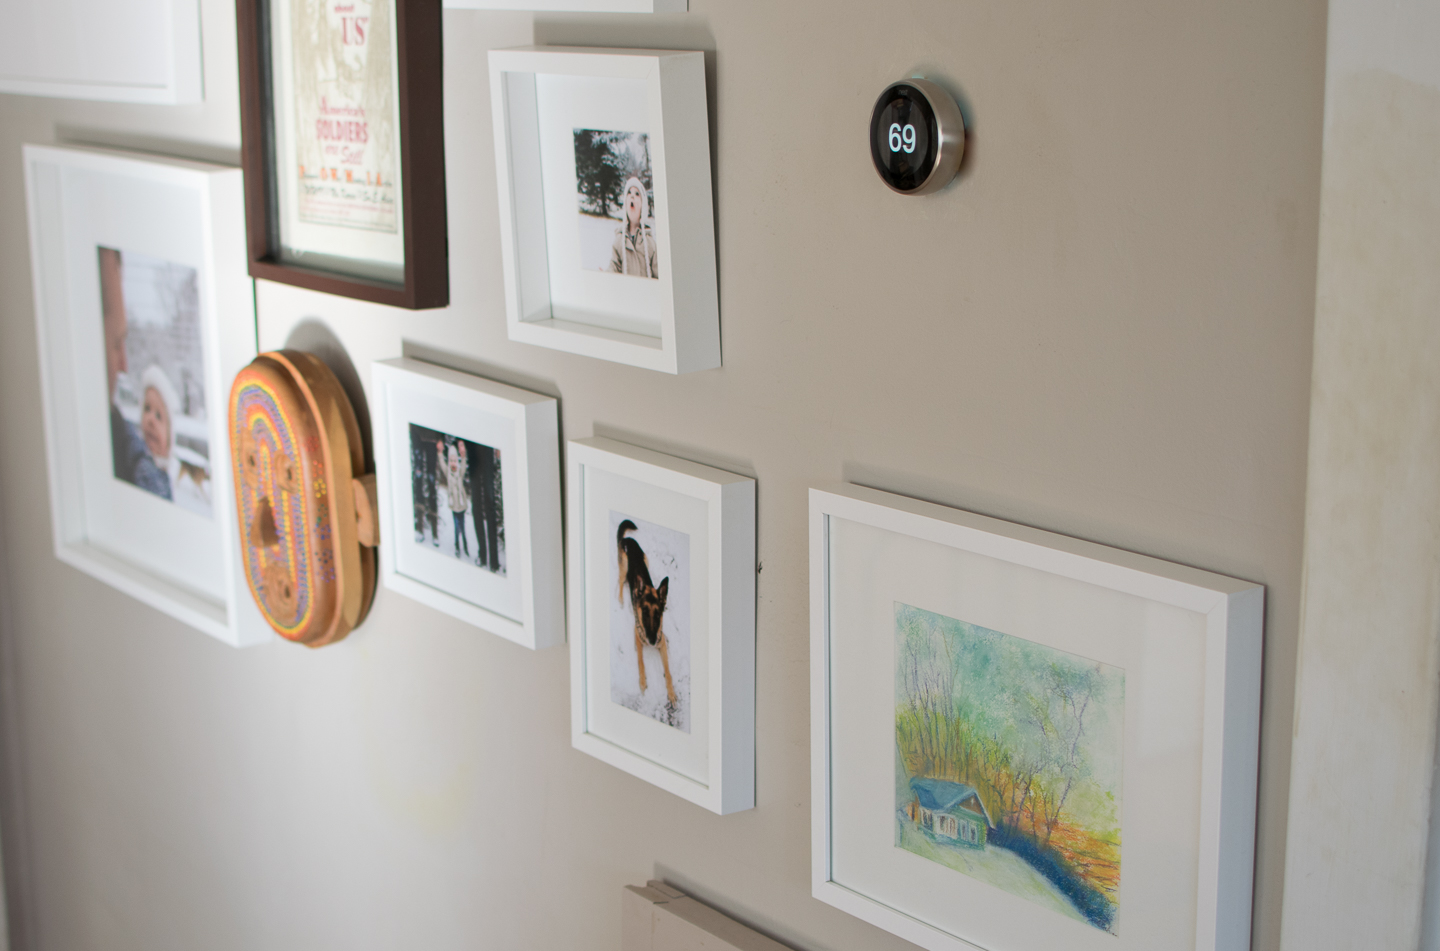
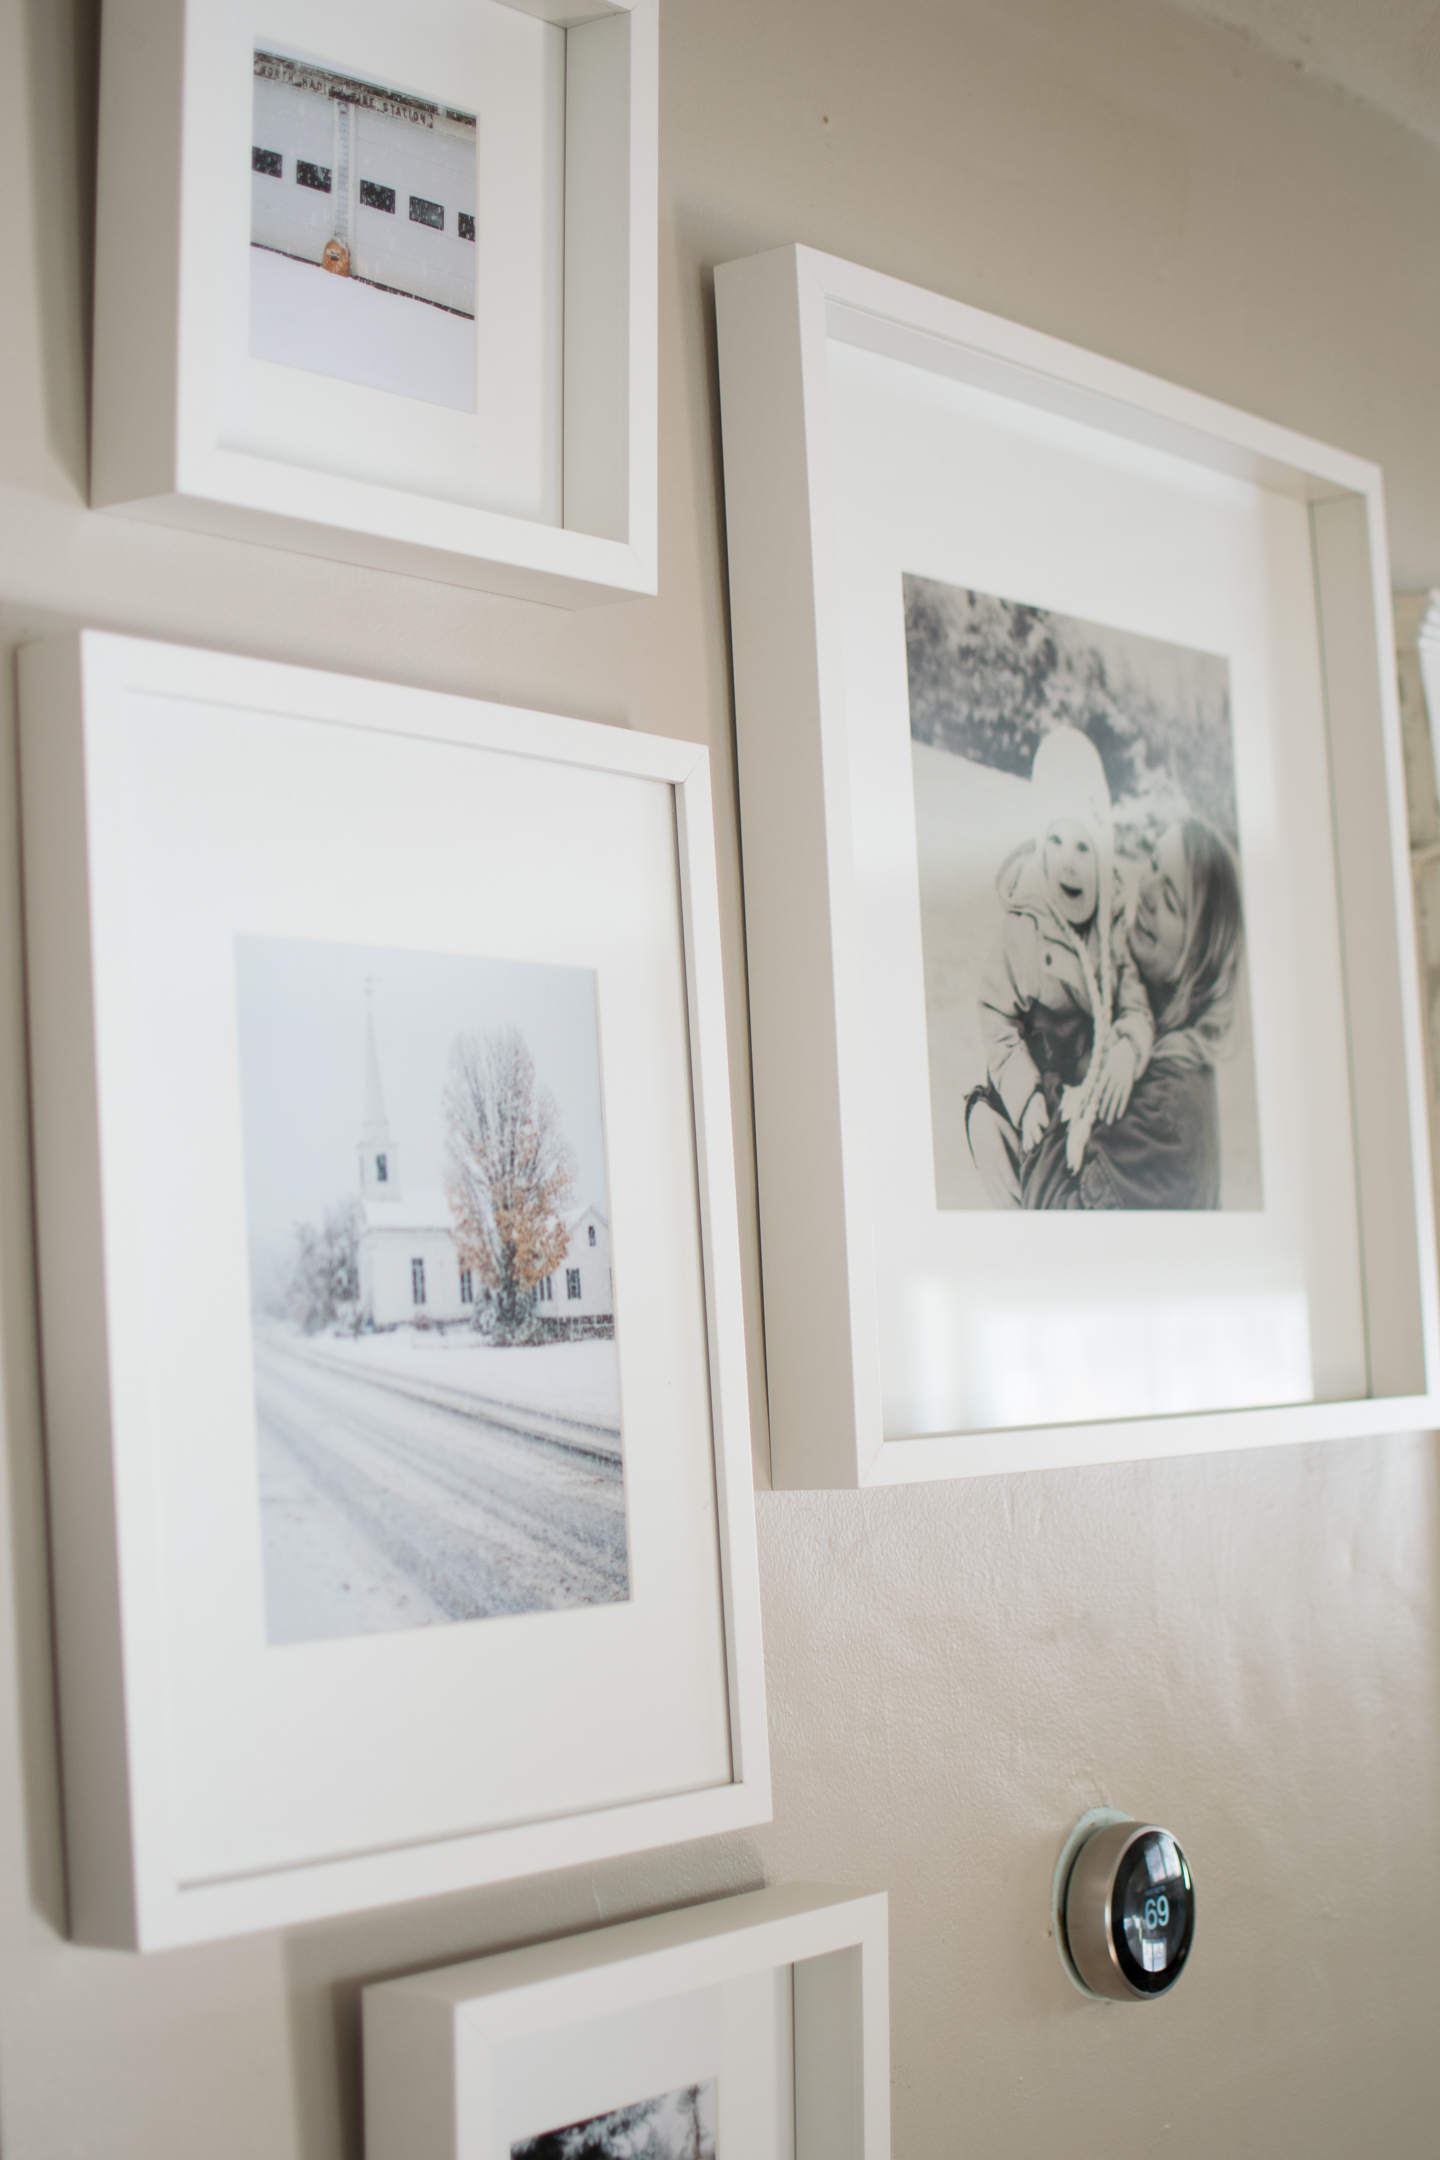
Once I had visual balance, the photos that were left over were easy to choose. Which ones out of my favorite 5-10 would fit well in each frame? I have two 5x5's, and the two 12x12's that just don't take any photo because the square can end up cropping out too much.

I uploaded all of them and started looking at them cropped for 5x5's and then 8x10's, made decisions from what looked best.

winter gallery wall close ups

winter gallery wall

Reality Check

You don't have to look hard in these pictures to find some check list items for the living room to-do list. We went ahead and put a speciality finish on our baseboards to cut down on chipping paint from the dogs laying on that wall, and then never painted them again. The Nest thermostat needs some touch up paint from this summer when we installed our central air (the thermostat and smoke detectors were the best decision ever!)

This shouldn't be a surprise to anyone who knows us, we like to start projects not finish them. I don't let the unfinished diminish the beauty we find in our funky old house, or our crazy giant lives. In February we will be wrapping up some of these living room checklist items and adding a few additional projects for you to see.

Were spending this holiday weekend watching our family favorites, White Christmas & It's a Wonderful Life, and snuggling with our daughter as much as possible. Has any one else ever noticed how strikingly similar the original Barbie looks to Vera-Ellen in White Christmas?  

Wishing everyone a Merry Christmas and Happy New Year! We will be back in January working on our dining room re-do and updating on what we have in store for 2017!

Dining room inspiration & design coloring page printables

DiningInspirationFeatureImage.jpg

Like all the rooms in our home, the dining room is still a work in progress. Part of our push in 2017 is to finish our projects we have already started, or need to finish.

So were starting with the dining room in January and finishing a few things that have been lingering since the porch remodels. Things like painting the room, fixing the crown molding, finally installing a light fixture that lights up the table adequately, and putting up some art. Eventually (were thinking next fall) were going to take another stab at our live edge slab table. Which warped on us over the last year.

So its time to start making some product and design decisions. Those can be difficult even for those of us with lots of experience. Heck sometimes I think its even more difficult because I have had so much design experience, I appreciate many styles, textures, and patterns.

When I find it difficult to finalize decisions its usually and indication that I need to slow down, add some constraints or design guidelines, and then look with fresh eyes.

So basically I had to peel my fingers of the pin it button … just walk away from the screen Susie.


What do I mean by guidelines?

First, I go ahead and look at what I have and really think I’m reusing in the current design. Like our live edge table, cafe stools, and mid-century side table.

Then, I take the architecture and homes age into consideration. Since our home has so much character already built in our door casings I don’t want the small rooms to get busy.

So that already narrows down some things and creates some guidelines for the dining room. All the new items will need to work with the items I already have, and our homes bungalow/cottage architecture.

Now, I can narrow down the search. When I come across something I absolutely love (like an idea posted on Pinterest) I can let go of it if it doesn't fit within the guidelines. It makes it easier to find the stuff that will work. Instead of being stuck on too many ideas that won't work and getting overwhelmed.

Once I find inspiration in some photos (possibly with similar items to what I already have), I go ahead and draft a design.

If I’m still having issues with the design and colors,  I will make a coloring page. That way I can really feel free to try some ideas (with no one overseeing).

free printable dining room coloring pages

I’ll even create a couple of designs that have different styles (something a little more traditonal , mid century modern, boho, etc).

Free Printable Coloring Pages

free printable dining room coloring pages

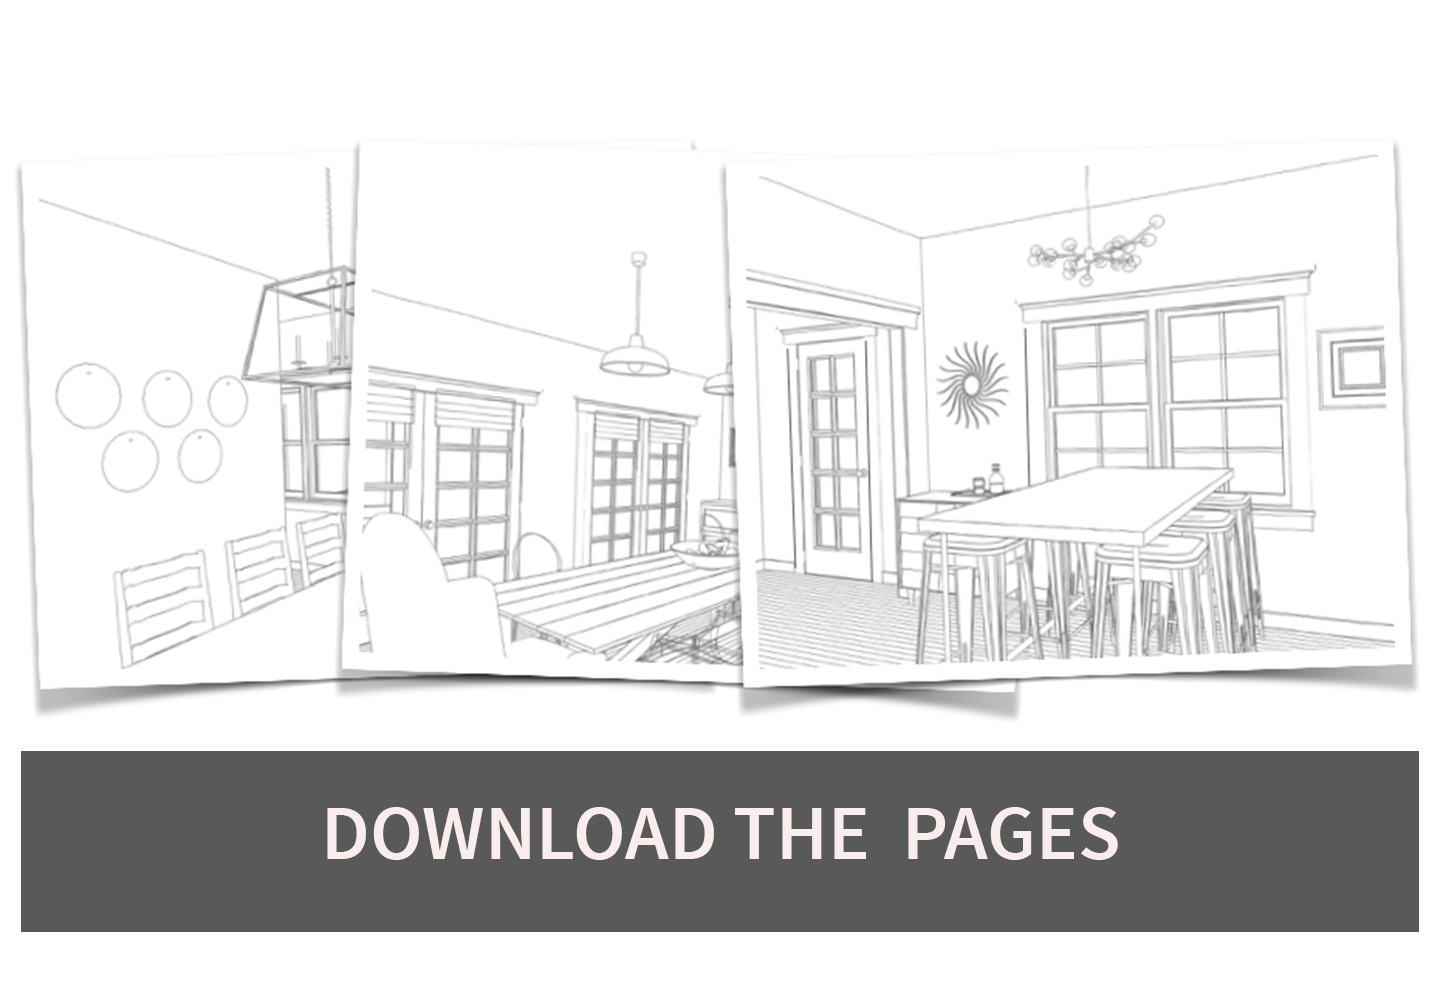
So that leads me to your free coloring pages. You have a couple of different design layouts and styles to choose from and can play with the colors till your hearts content.

How can interior design coloring pages really help?

  • Help you color in your current guidelines (like our floor color and the white cafe stools we already own.)
  • Start to answer those tough questions for yourself. Like do I have too many metals mixed into this room? (It helped me to color in our brass fixture above the dining table since we don't currently have a brass fixture in our house.)
  • Try new styles (you know spread your wings and fly....) If your space is very traditional, how would it look to mix in some mid-century modern pieces? Its easy to take the risk on a coloring page you can just throw out if you hate.
  • Try risky colors. Their is something about coloring it all in yourself that helps you finally make that decision. (Like if green walls will work for you. O yeah that's what I started with when we moved in.)

Doesn't it just feel great to make some of those decisions on your own (or as a couple)? You can end up receiving so much advice about designing your space (friends, family, design shows, co-workers) that your really not sure. Going through a process yourself helps calm the nerves and puts you back in the driver's seat.


free printable dining room coloring pages


You can download the three different designs below and try it out yourself. Go ahead and color your pages in. Don't forget to tag us in your posts so we can see what beauties you come up with!


dining room coloring pages download

Let us know if these pages were helpful and what styles and rooms you might want to see next in the comments. I'd love to create some more for other spaces and styles you might be looking for.


free printable dining room coloring pages

Finding Dining Room Inspiration

With my guidelines in tow I find it easier to love something, and then let it go, and not get my mind jumbled with too many ideas. You shouldn't just follow every rule in design blindly, but guidelines  can help you let go of too many ideas. Which will help zeroing in on the ideas that will work.

So I ended up pulling some inspiration off of Houzz.com, and if you haven't ever check it out, your missing out.

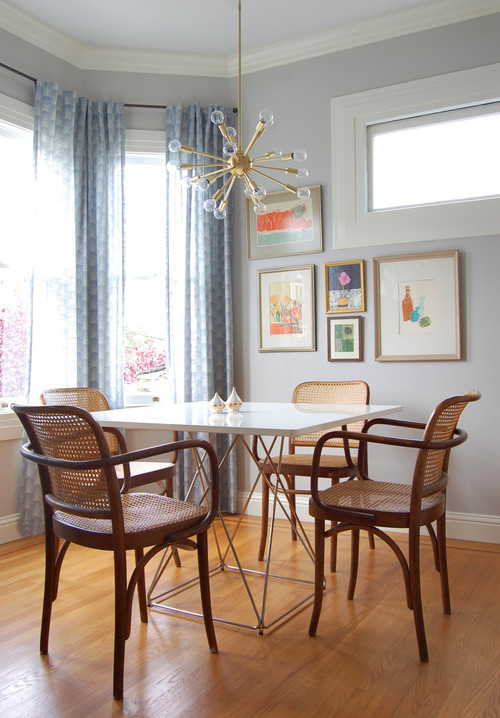
San Francisco Charmer
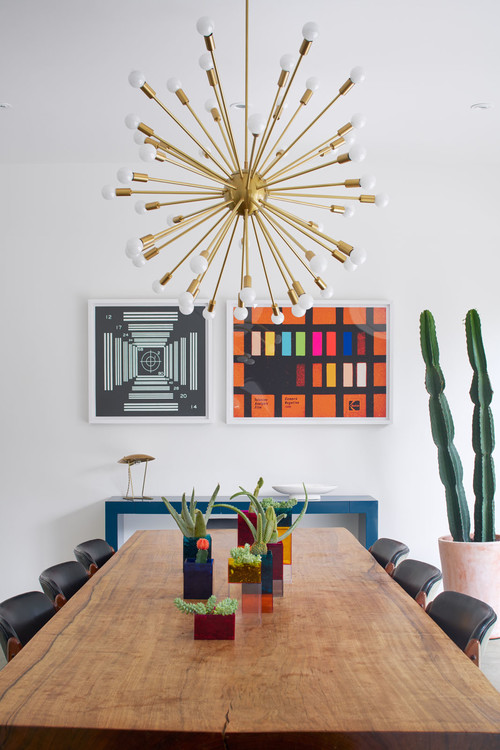
Resident Art
Those fixtures just make me want to sing! We wanted to add a bit more of the mid-century modern to the room. Which will tie in nicely to our side table which will move into the dining room.
 dining room side table
The only reason I ever got this piece was because my mother hated having it in her room as a child. Apparently it pinched her when closing the doors one too many times. Of course she's over here at our house tons, must drive her crazy to still be plagued by it!

Mood board


  1. We love this amazing giraffe print. It would be a nice reminder to embrace our tall goofy selves.
  2. I don't want the dining to end up too Mid-Century modern with the addition of a fixture like this, but I just keep going back to it. Here's a budget friendlier version.
  3. We painted the entry this Sherwin Williams color and have loved it, most likely you will eventually see it on the kitchen walls as well.
  4. The side cabinet will store our barware, what better then to have a vintage mid century decanter on top like this one. Or this one.
  5. I mean who can resist? Maybe a cactus inside, or maybe a bowl to hold our wine stoppers, and other miscellany.

Once I put together this mood board I realized our colors are very muted. Although my inspirations had white and grey walls, they brought a generous amount of color in with the art and plant life.

I've been playing with my dining room coloring page to see if I'll keep it all muted like below or add color with a giraffe print and plants. The color really looks great in these spaces, maybe I'll embrace the eclectic side and get some more color in everything.

Reality Check

Nothing is ever exactly how you originally envisioned it, the beauty of design is in the process to which you get to the end result (does a room ever really stop evolving?). When I first started designing our dining room table I had decided I wanted to find all different vintage styles of barstools, but it just never lined up where I could find the right height (our table is counterheight) and in reasonable condition to be rehabbed. So we ended up purchasing some and I'm very glad we did, but they still aren't my absolute favorite....

dining room cafe stools

They blend in to the small dining room with a little style, they are so much easier to clean than I would image something we painted would be, and they all came in time for Christmas and guests the year we bought them.

The point is, you don't have to love every single thing in your home to have a wonderfully designed space. Stay tuned in January for how this room comes together, here on the blog, and on Instagram!

Anyone else finally finishing some spaces in the new year?


Ekk...Were Launching (AKA our first post) and more about us

FirstPostFeatureImage.jpg

Writing on the Wall

When I was three my mother found me crawling up a 2x12 plank to my father on the second floor of the house he was framing in. Even though she was petrified of heights and I was her baby, she didn't scream. Mom calmly told my Dad to turn around and call me to him (he had assured her he was watching me). I crawled right up to him and he picked me up. I'm sure she didn't bring me to a job site for a long time after that one.

Building stuff, remodeling, was just what we did in our family. Our own cutting boards, doll houses, you name it we did it ourselves. This was back before they called it "DIYing" and it was the cool thing to do. So when I ended up getting my degree in construction science and then a career in interior design, it wasn't a huge surprise to anyone.

Meanwhile, Mitch was building and rebuilding car engines in his fathers garage, eventually building (and subsequently crashing) his Camaro.

While we both were being brought up to DIY our way through this life, it wasn't until we met that our passion to create things really came to light.  So our love at first sight started with two German Shepherds, a 800 sf house we needed to remodel, and we haven't slow down after that.


The Whirlwind we call life

If you haven't been over to our Meet the Giants page yet you might not know that we are some tall people. Mitch and I stand at 6'5" and 6' respectfully, and we were both tall lanky kids who were teased for our heights. Before we met, neither of us had really dated others as tall as one another, but it was clear after we met that we had been made for one another.

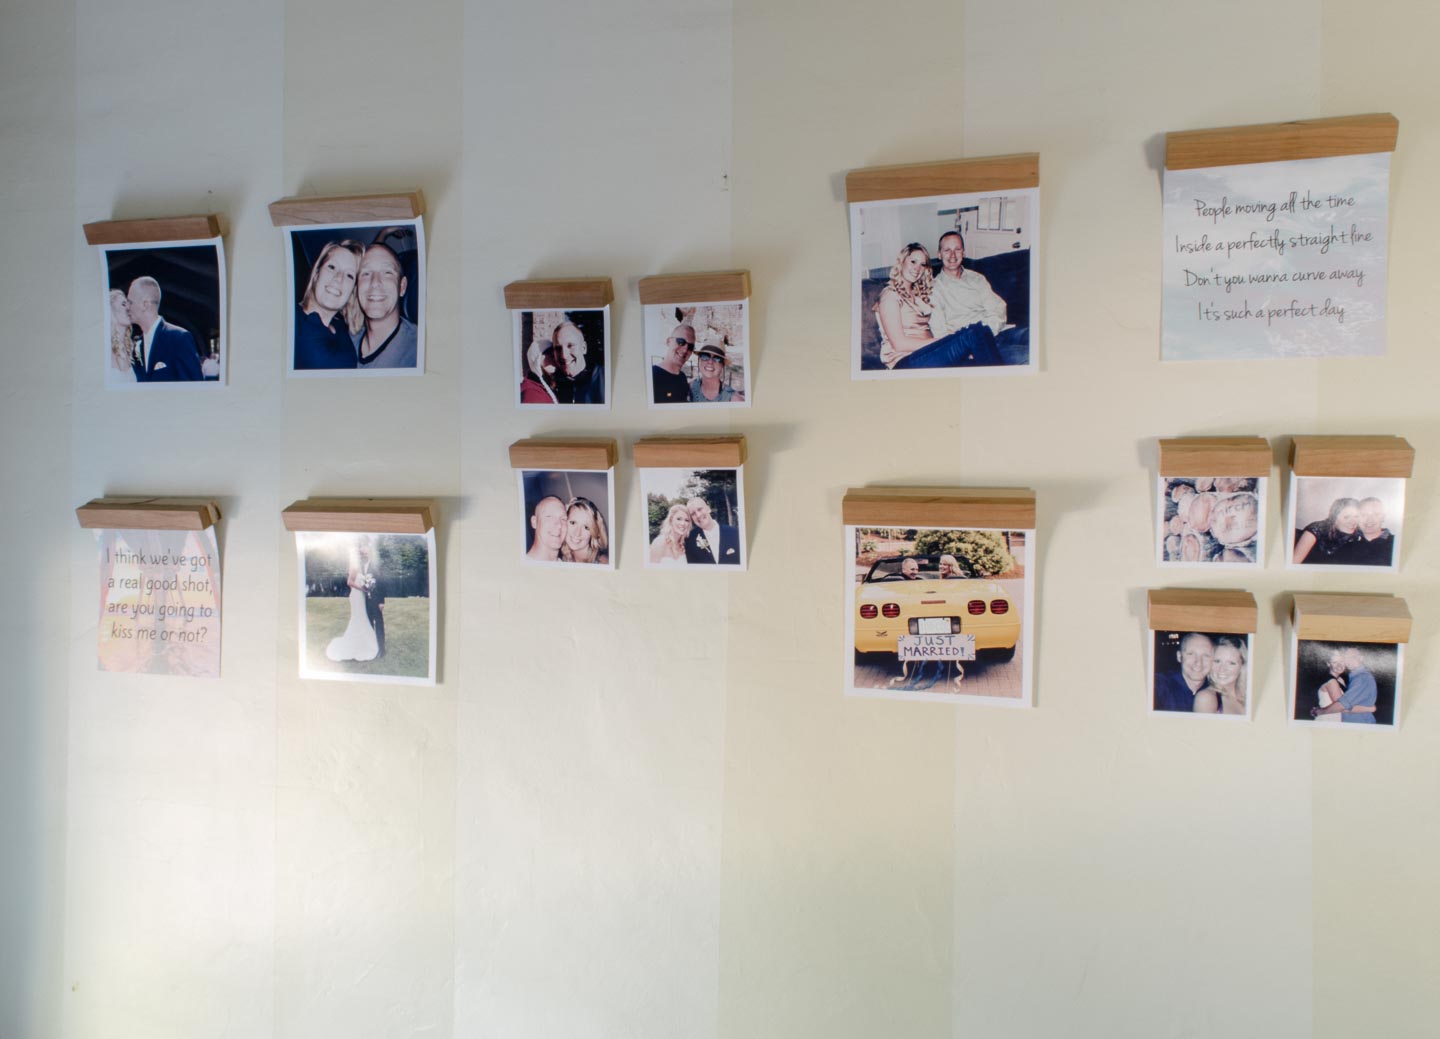
launching post master gallery wall

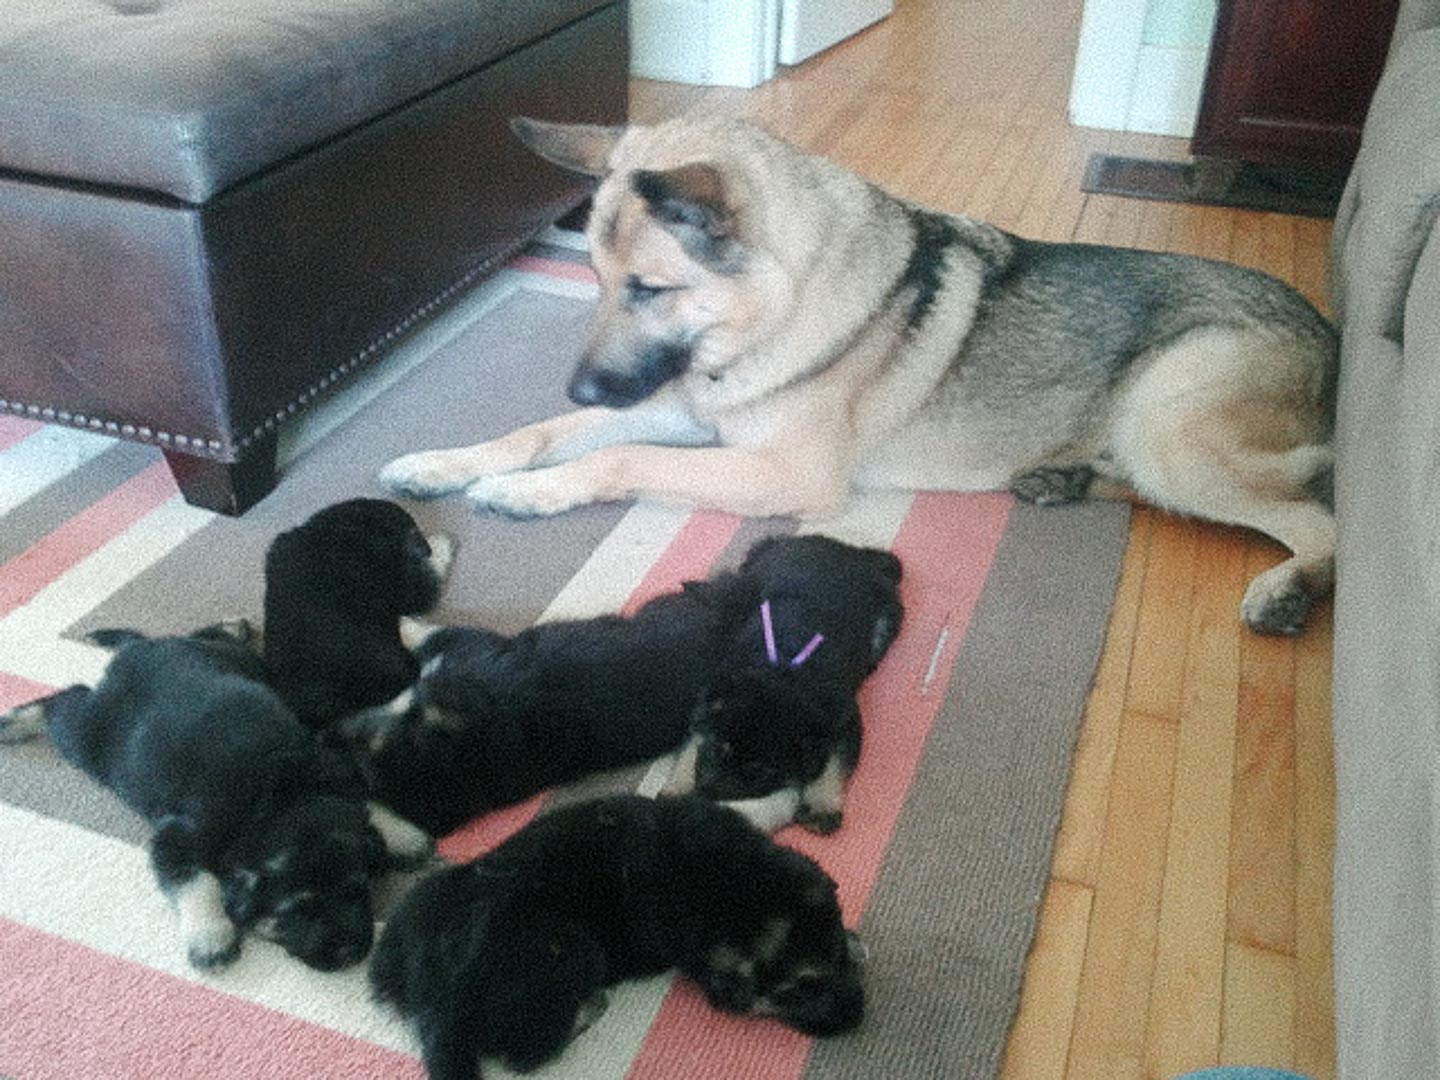
We bought our small house here in Western Ma. in 2010, a year after we had met, and got married the year after that. We added three dogs to our pack, and starting breeding two of the German Shepherds in one of the odd front porches of our house.

launching post german shepherd puppy

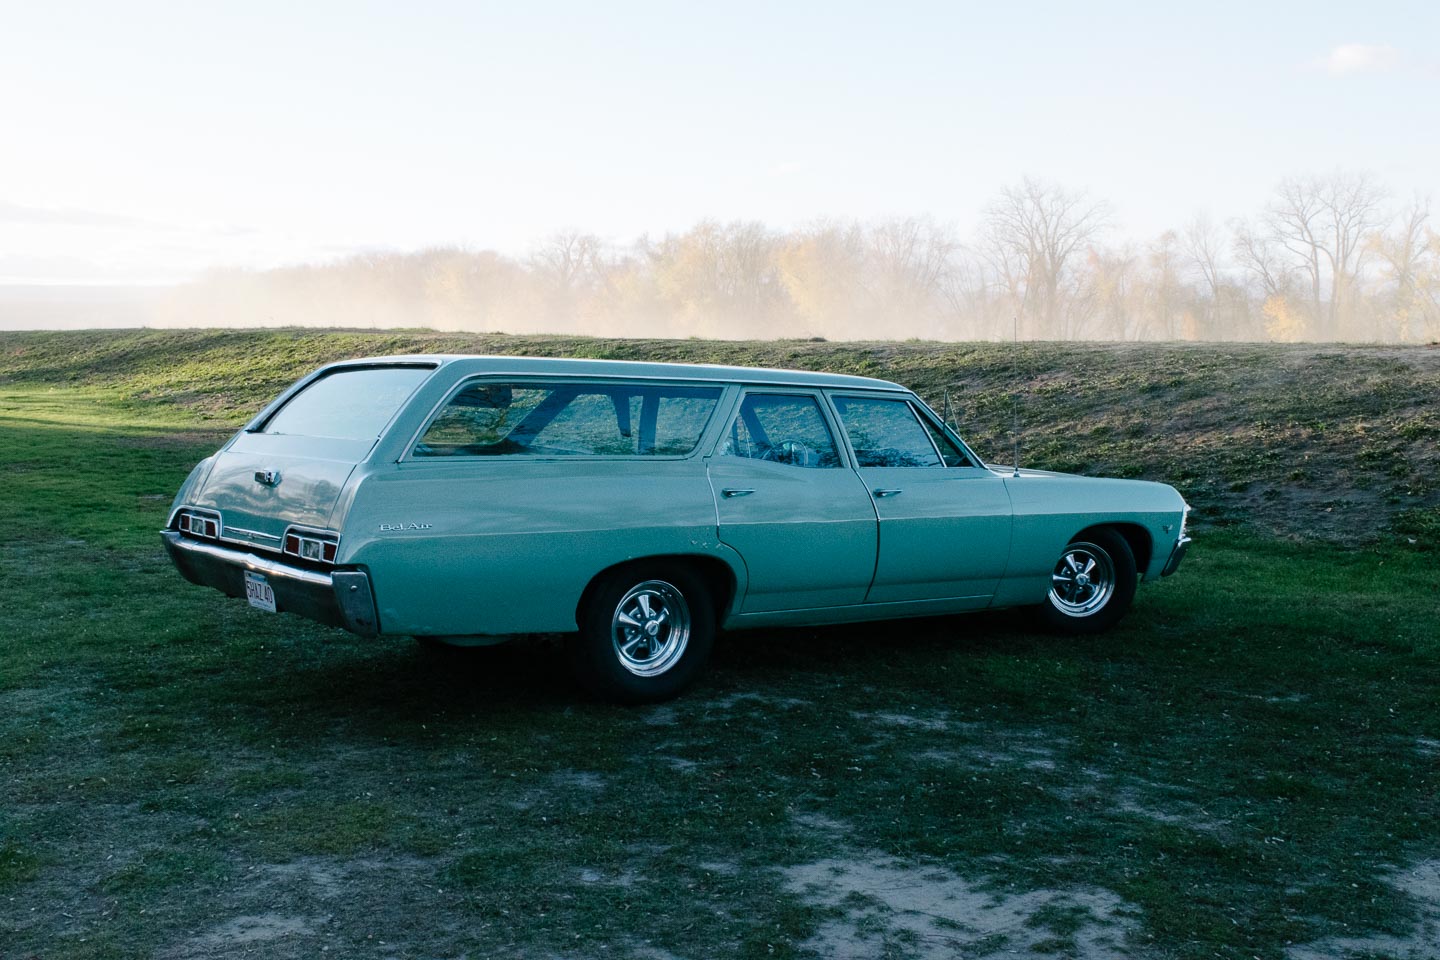
We decided to get our very own 67' Chevy Bel Air Wagon car shortly after that.

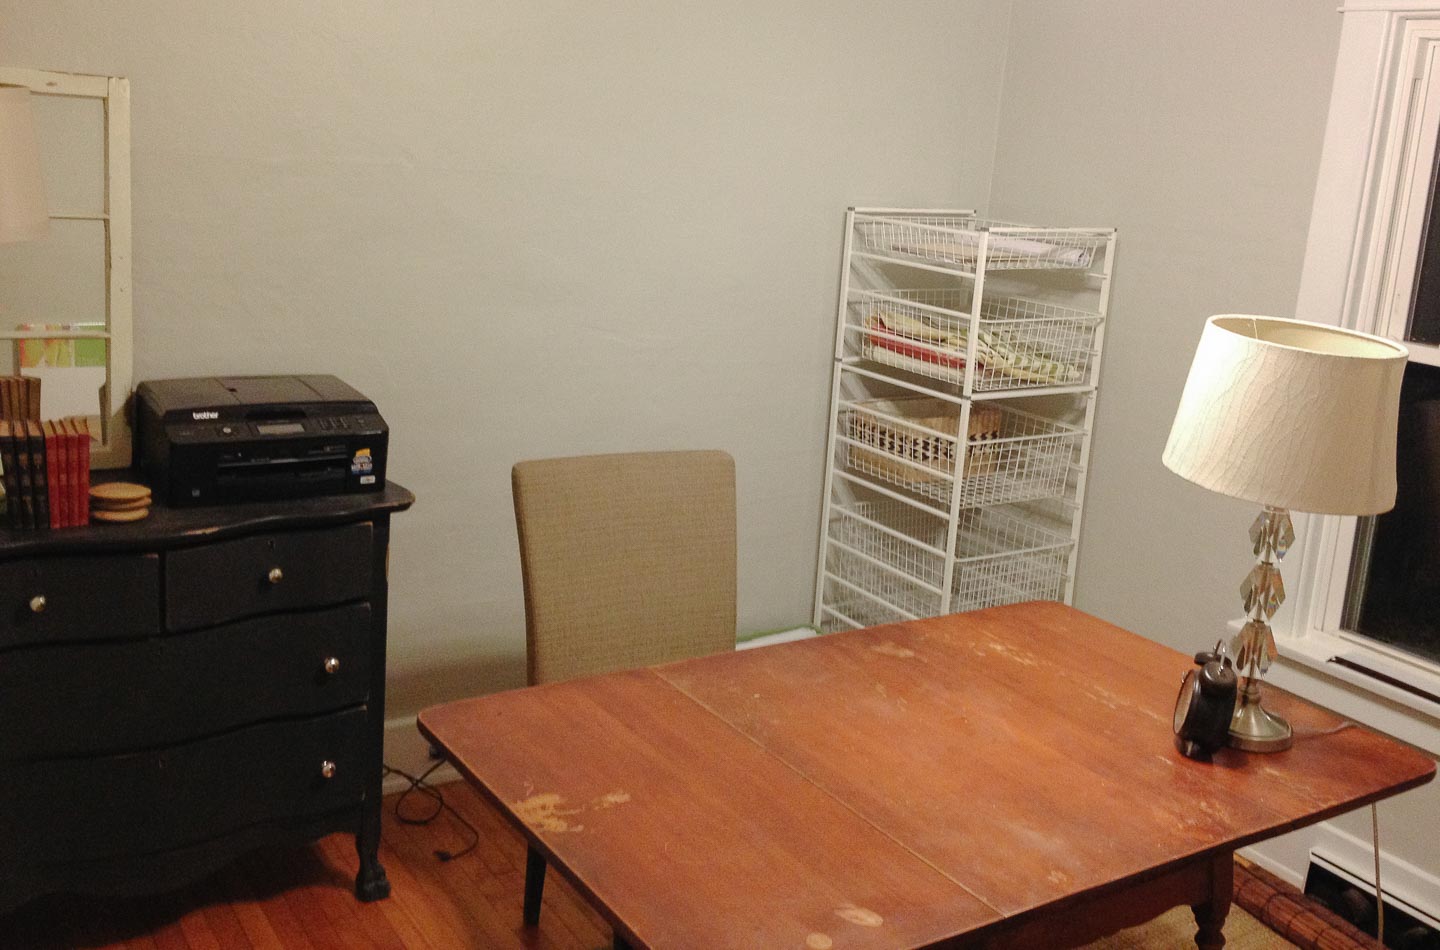
launching post office right before it became our daughter's room

I left my interior design position to start my own business and just as we got everything set up for a home office in our second bedroom, we found out that we were expecting.

launching post office right before it became our daughter's room

So we're the neighbors on the block that always seem to have a few more projects going on, tons of things we still haven't finished, and its always entertaining to hear what we're up to next.

An Idea is Born

I can't peg exactly when the blog idea came about, but we started talking seriously about it once I got pregnant. We didn't have time to build up a good client base with the interior design business and it just didn't seem viable. If I went back to work the money would just go into the new babies childcare. That didn't seem to be the right thing for our family. We've been the types who are always working on something new and different, so the idea of staying at home and only raising our children didn't sit well with me either. (Silly naive me, staying at home and rising kids is two full time jobs as it is!)

So when our friends and family kept coming over and saying "show us what you've been working on lately" or other such remarks, it seemed maybe people would want to read our blog (jury is still out on that one). Hopefully we could inspire, insight, and help others with our journey.

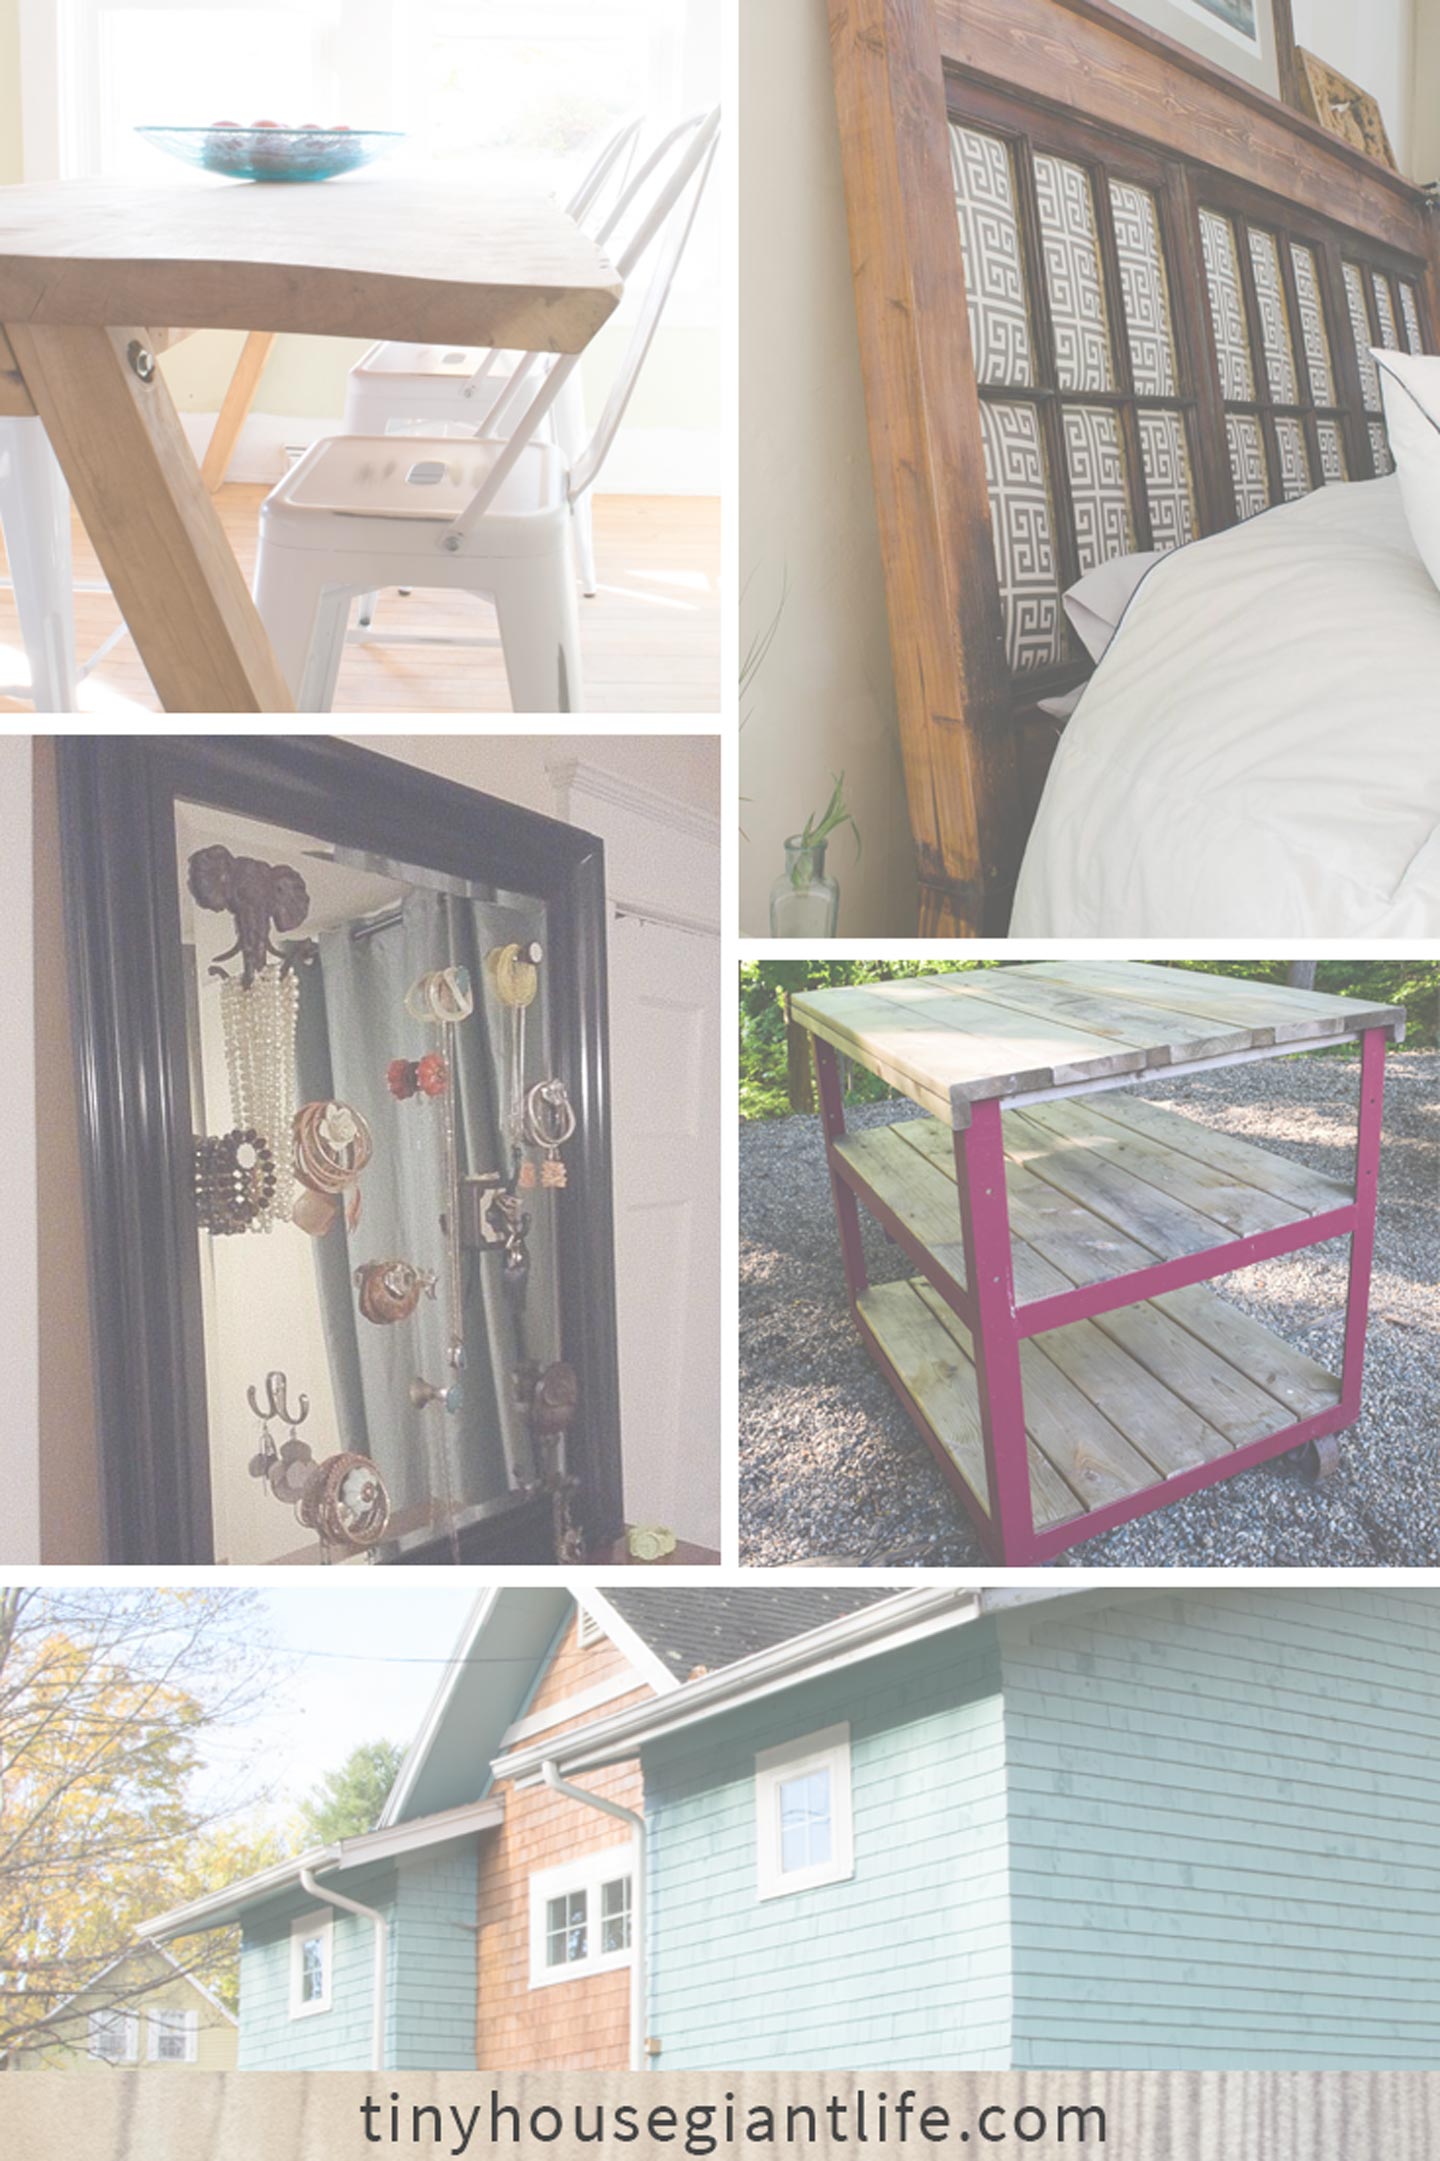
Here are just a few of our projects completed in the past 6 years.

Left to right: our live edge dining room table, the repurposed window frame headboard, eclectic jewelry hanger, outdoor rolling cart, and our exterior porch remodel.

examples of our pre launching projects

Right after our daughter Haverly was born, we were going to start remodeling our front porches and make them into a front entryway and small home office. It seemed the best time to start the blog as well, so I went to work learning and taking classes. (Byregina.com was the biggest help ever). At the same time I was working with our long time friend and General Contractor to draft the plans for the remodel. Then, get them approved by the building department and finally pull permits.

Best intentions at launching but...

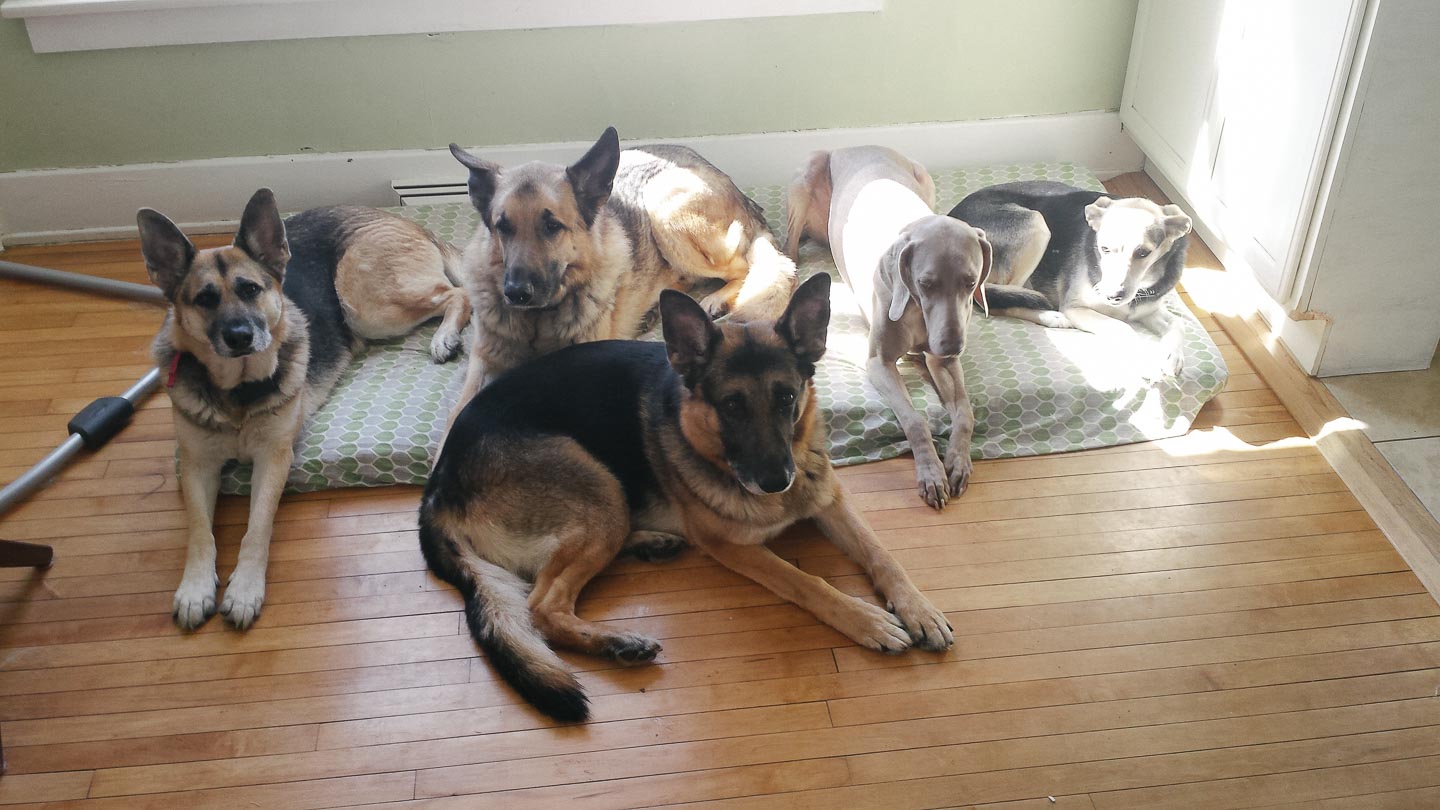
Needless to say , the blog didn't get up and running and had to be back burnered. My mother and her Weimaraner moved in for a bit. Which meant we now had five dogs and three adults in a two bedroom, one bath house.

launching post five dogs living in one small house

We had Haverly, and started demo and construction two weeks after she was born. Mitch then got a promotion to Sergeant, with a huge workload and extra time needed at the department. All the while Haverly had colic.

It was our normal crazy paced mess in this household, and we couldn't have been more thankful my mom moved in for a few months. We played pass the crying baby for two months, sounds fun right?

So here we are almost two years later, finally launching this blog that we hope you will continue to follow along with us. We would like to use this space to grow and learn in our adventures, impart any wisdoms (fails or wins), and spread some inspiration.

Our Motto

After years of this fast paced, diy lifestyle we have come to one conclusion. Perfection is overrated.

The key to us having a happy life and home is to embrace the imperfections. That lanky tall kid that everyone made fun of. The crazy couple who would move in with one another weeks after meeting. Who owns four dogs in an 800 sf home, and then breeds them, anyways?

german shepherd puppy

german shepherd puppy


Less Perfection = Loving Life and Home

Thats why at the bottom of most of our posts you will find a section that gives a little reality check. What went wrong, what we would do differently, or just how imperfect life is. Although we want to spread inspiration, we also want to contribute to this big world wide web in a way that honors real life.

In our real life the house is usually a mess, the dogs break things, the laundry is never really all done, we can't find our shoes because Haverly hid them, on and on. Thats what makes life interesting, the imperfections.


winter 2016 family picture

There is so much more we have done and that I wanted to put in this "first" post. I fear you won't ever come back if I continue to ramble on about us.

Follow along with us on this journey to wrap up old projects and  finish our spaces. we will be living this messy imperfect life and trying to inspire along the way.

Anybody else just launching a blog? We'd love to read along with yours!

Creating a Classic & Stunning Photo Yearbook

MontageBookFeatureImage.jpg

  After we had our daughter Haverly (have-er-lee) I started taking photo's like crazy, even borrowed a friends old DSLR for like a year (until she got together with other family & friends and they bought me my own for a 30th Birthday present). I knew I wanted to create the baby's first yearbook and then got to thinking about how much fun it was as a  young child to look at photos. But we don't really print photos anymore, just hand the few on our gallery wall. So how would Haverly ever get this same experience?

Mitch even grew up with the same experience, his Nana was big on taking photo's of the boys as they grew. She still currently has a photo album per year for there entire childhood.

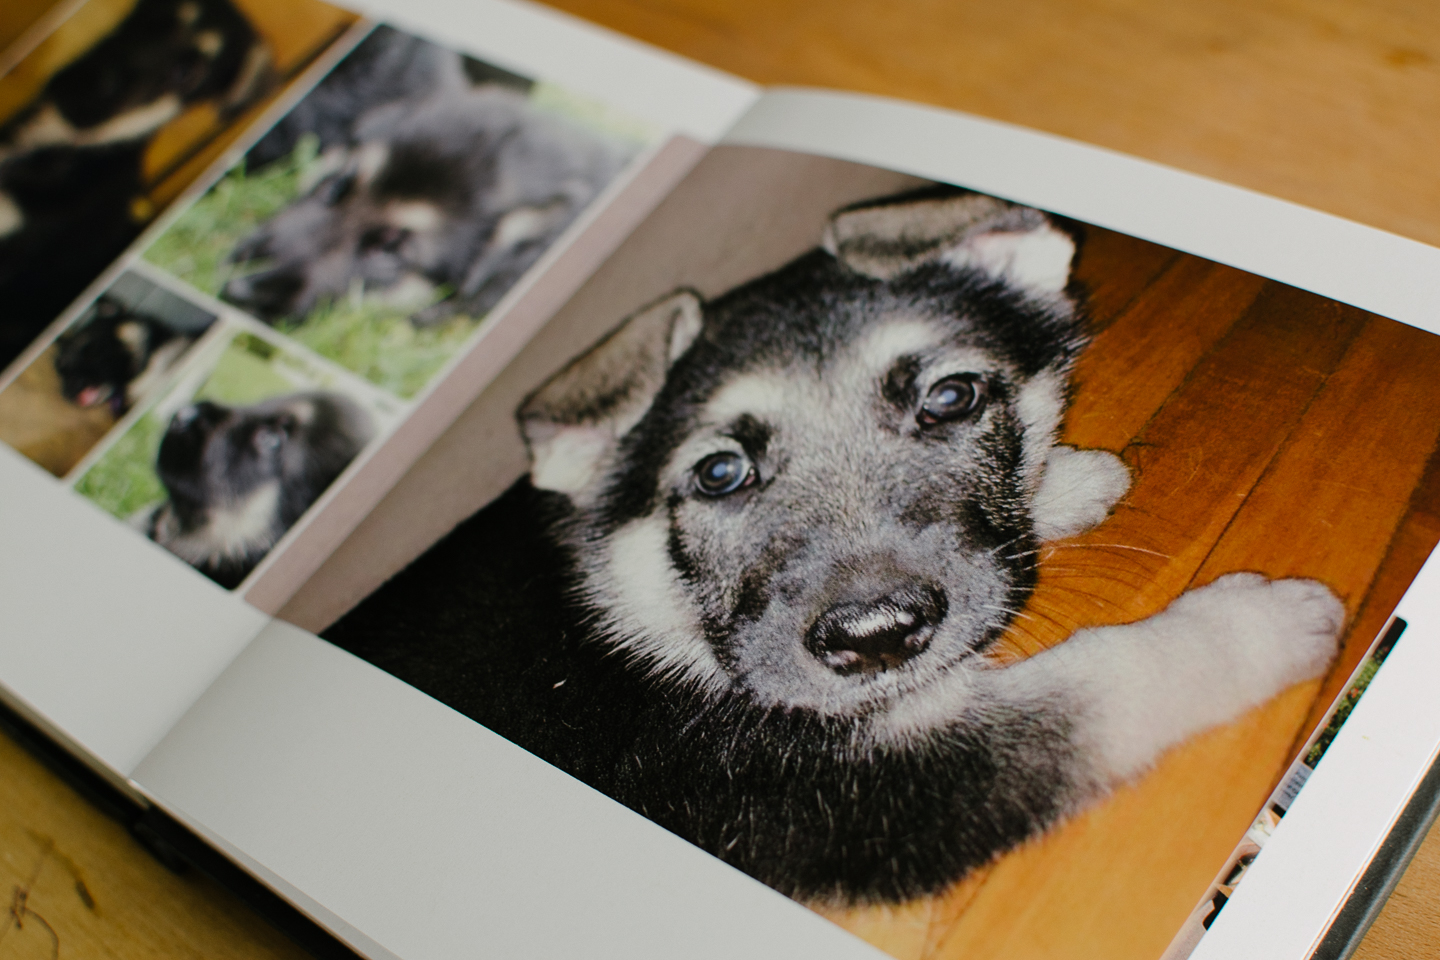
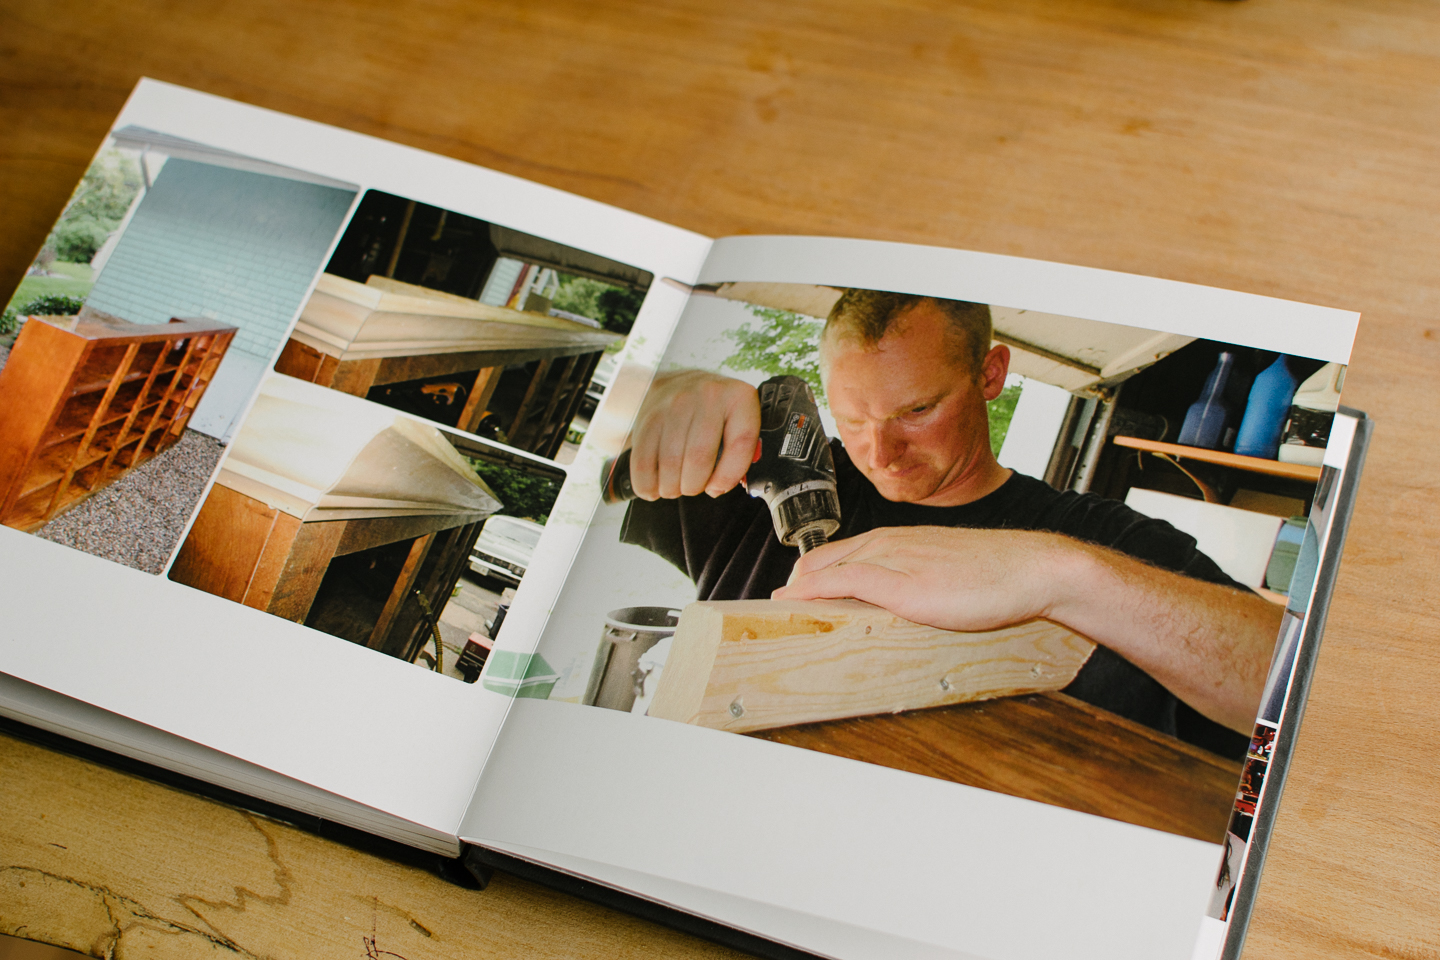
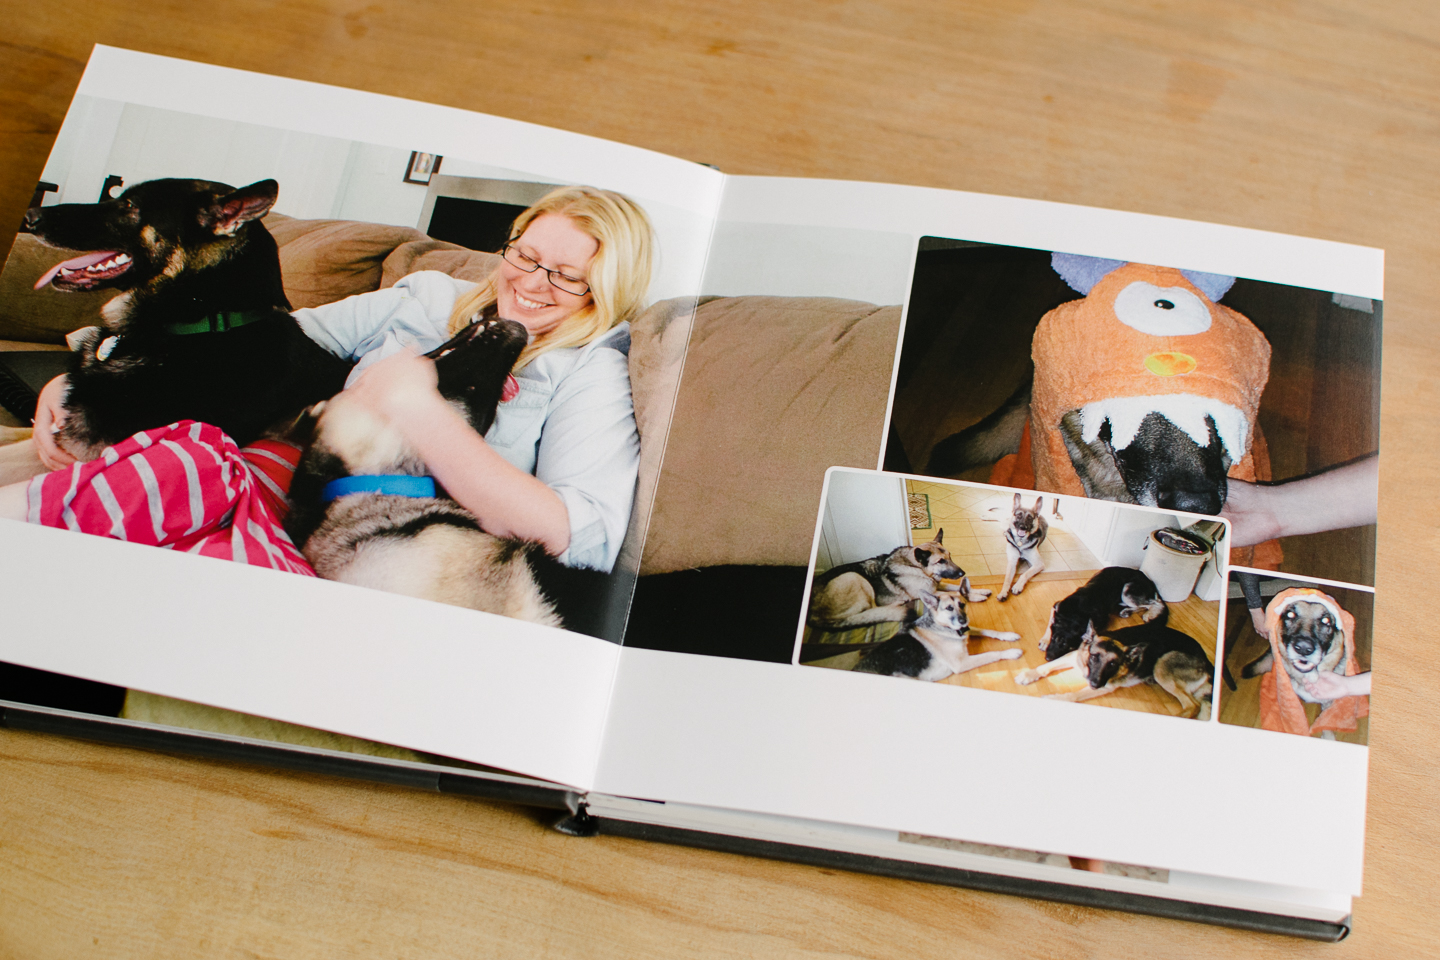
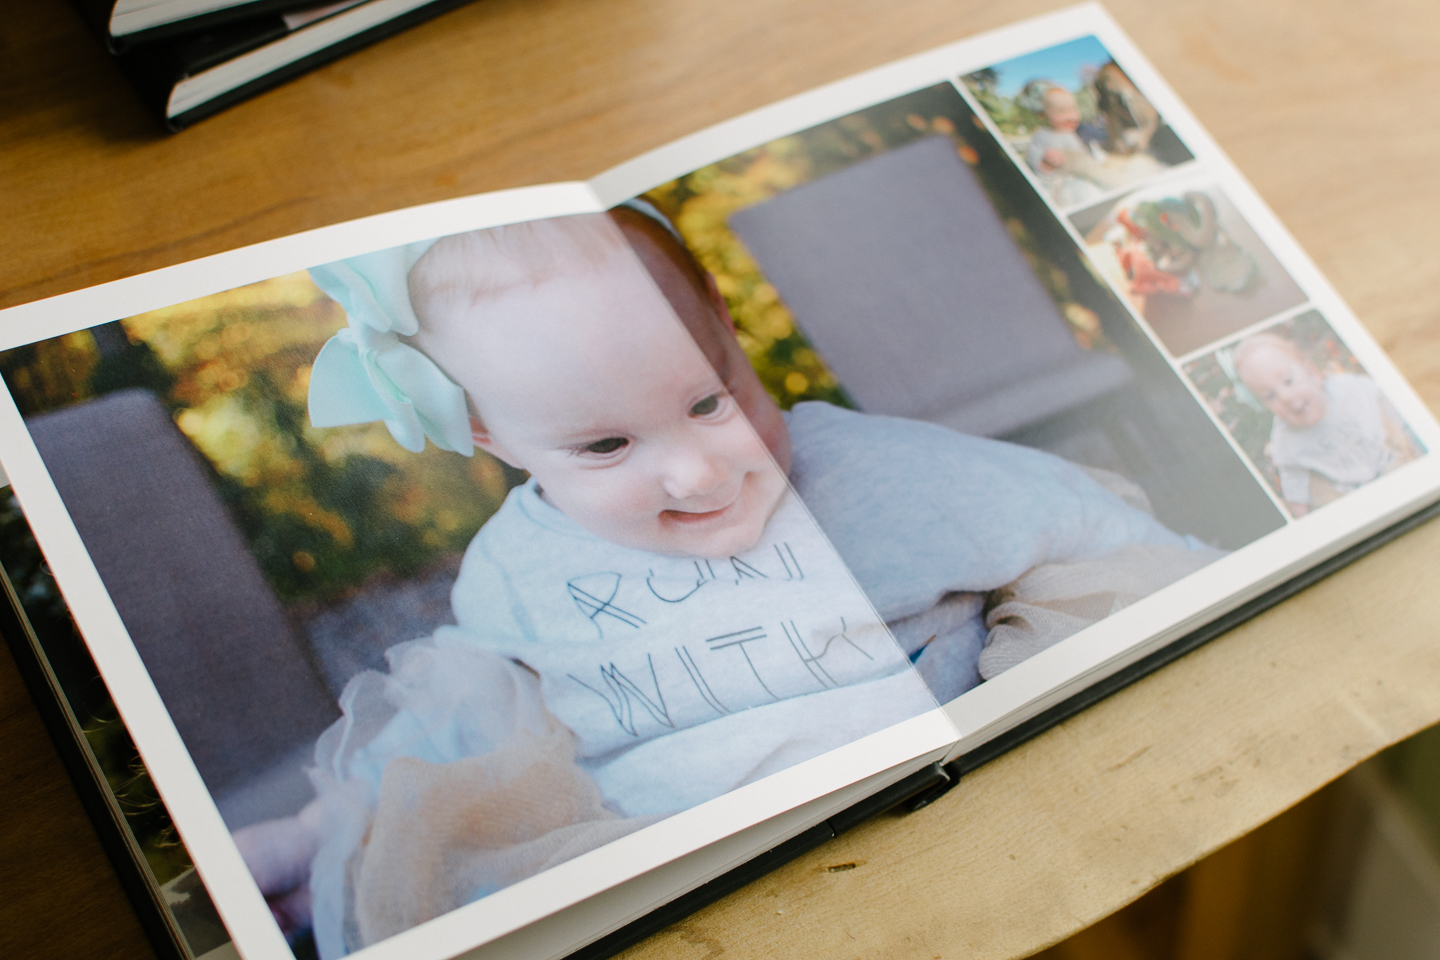
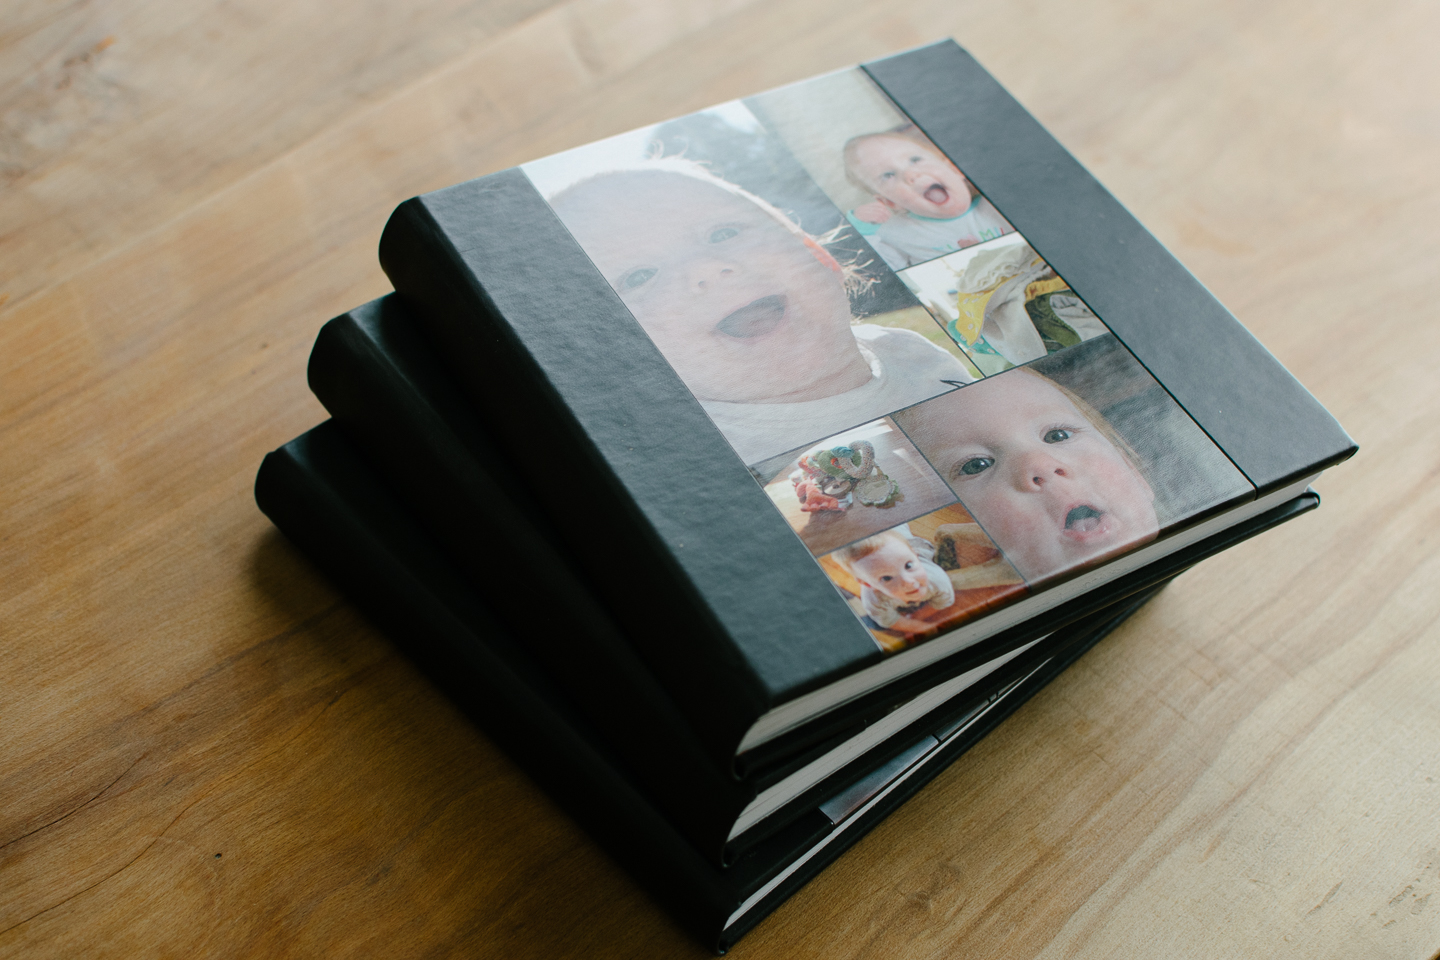
So I set out to find a classic photobook, that was cost effective, and didn't have so many options my head was spinning. I stumbled upon MontageBook and the process sold me. Three books later (Our photos pre-baby, 2015's yearbook, and Haverly's baby book) and we couldn't be happier with the results.

yearbook photo books from Montagebook.com


What to put in your yearbook

yearbook photo books from Montagebook.com

Obviously we like these montagebooks or we wouldn't already have three of them, so making a yearbook in December is becoming a tradition of our's, that way we get the book by Christmas (or shortly after if I've been lazy), and they only take about 3-5 days to be printed and sent out.

If your asking "If its a yearbook wouldn't you wait until after the first of the year to order?" Then you would be correct, thats one way of doing things. We happen to like to review the year at Christmas with Haverly looking at pictures.

Therefore, our yearbook goes winter- winter and includes the previous years Christmas. That means our 2016 yearbook will have 2015's Christmas in it and run right up to the first or second week of December 2016.

I try not to take the yearbook too seriously, because then I'll try to make it perfect and you know how that goes... it never gets ordered and looked at because you can't get it just right. Or you miss the sale opportunity because you can't get it just right in time, so your waiting to order....and waiting.

Our "list" of must haves for the yearbook

  • Events (Weddings, Birthdays)
  • Milestones (Promotions, Births, Graduations)
  • Projects (Remodel Before & Afters, DIY's)
  • Time Sensitive (Pictures of your child playing with a toy they love and will outgrow by next year)
  • The Everyday (photos that you uploaded to Facebook & Instagram) This is about real life, not just picture perfect poses.

yearbook layouts with montagebook

In one of our books we put pictures of the litter our Sadie & Freeway made. Obviously these are not "our" dogs anymore, but we wouldn't want to miss telling Haverly about that time we were German Shepherd Breeders and how much fun it was to experience that.

yearbook layouts with montagebook

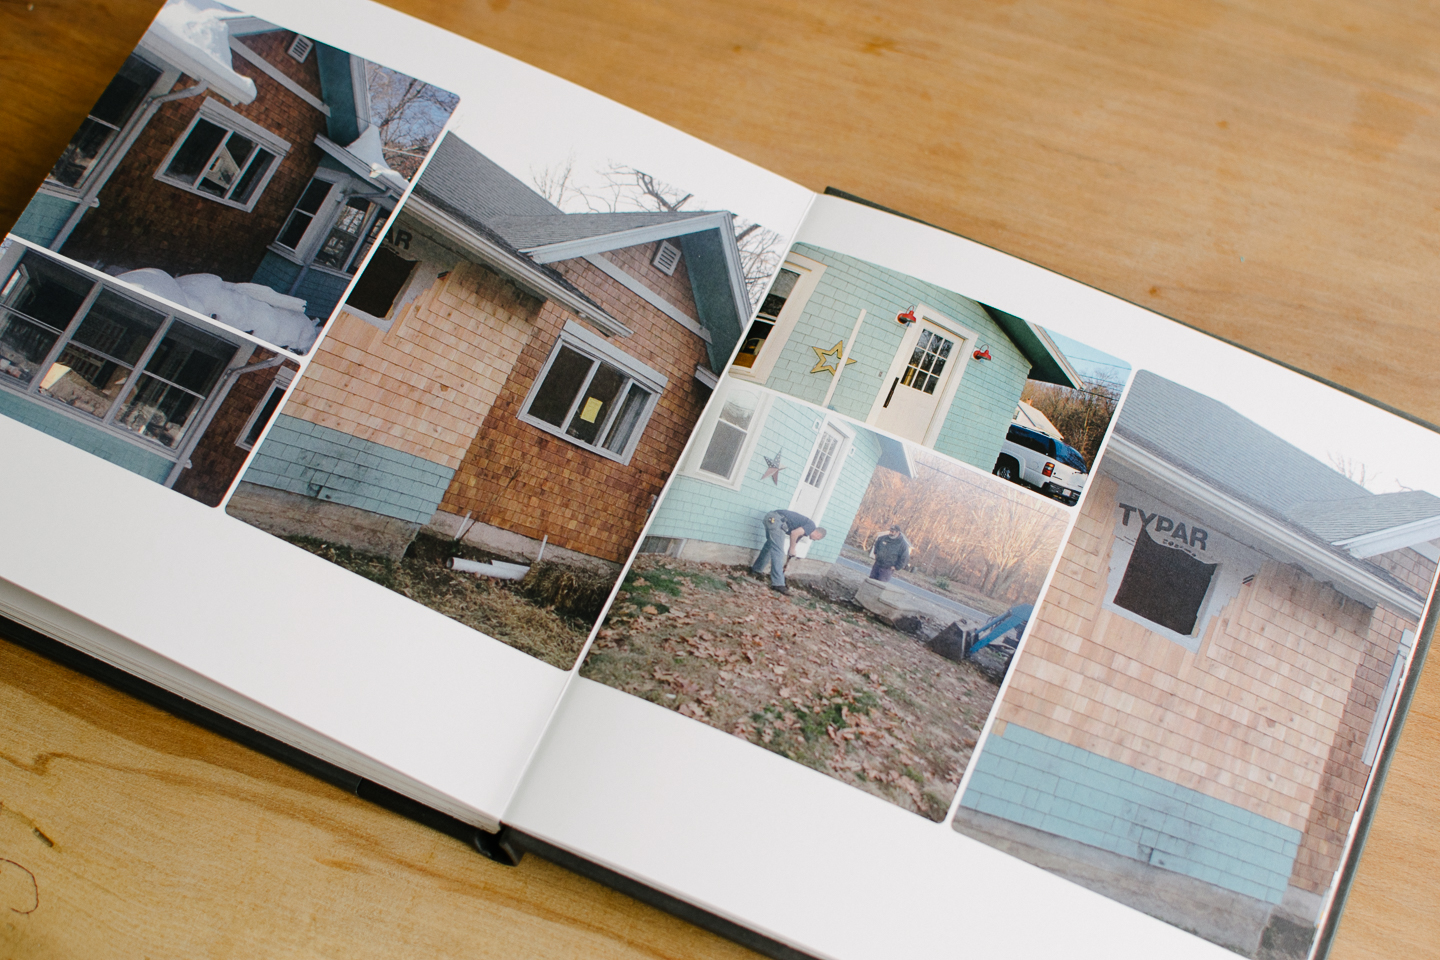
Also, our porch remodel we went through right after Haverly was born (like two weeks after!) It was such a significant time in our lives because it has changed the way we live in this household, we want to remember that.

yearbook layouts with montagebook

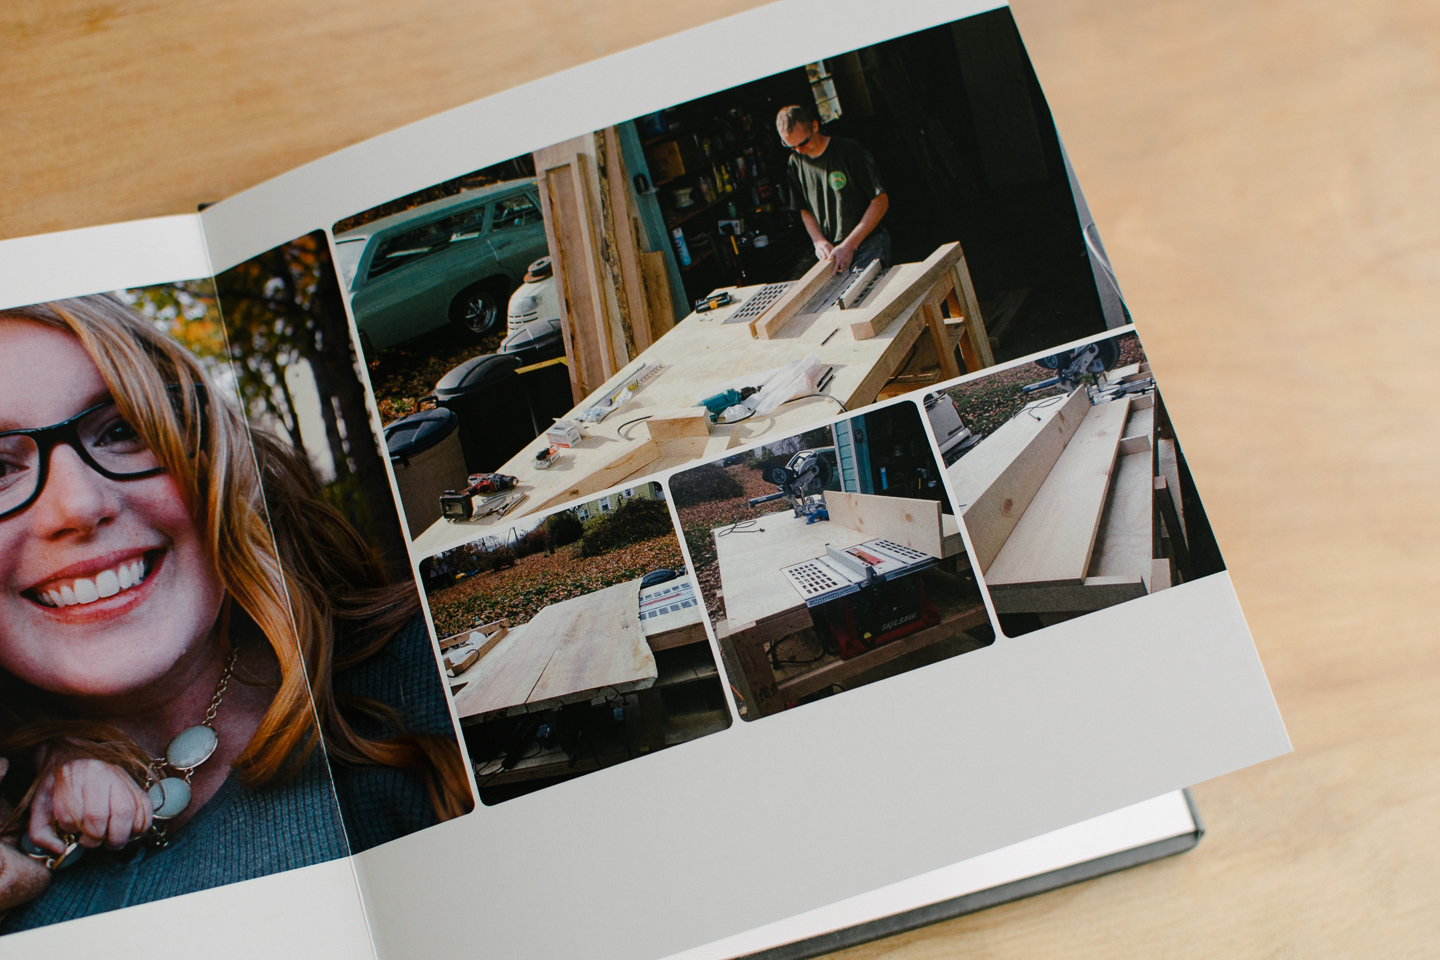
I'm sure as we continue archiving our projects with the blog we may not put as many examples of projects in our yearbooks, but it still is nice for us to look back on some adventures.

yearbook layouts with montagebook

How we Layout our Yearbook

This is similar to if you wanted to scrapbook or print and put together a photo album yourself. You can have:

  • Monthly spreads
  • Seasonal Sections
  • Chronological Order
  • All Mixed up

yearbook layouts with montagebook

I really wanted to go through all our pictures monthly and create spreads this year, but every month came to an end , and I hadn't done the work. Therefore, I just took all my photos for the year filed by date and start narrowing down from there.

yearbook layouts with montagebook

Managing your photo collection to make a yearbook

Lightroom

I've been using Lightroom for a few months and couldn't live without it. It catalogs all of my photos and I can create collections, keywords, etc. to keep things organized. I also do all of my edits in Lightroom at this point (I haven't gotten into Photoshop much yet).

I won't go in to too much detail but I will say if your looking for a program that can handle your ever growing collection of photos this is wonderful and at just 10$ a month for it, and Photoshop CC, so you can start editing and creating some amazing photos.

Apple Photos or iPhone

Before Lightroom I just used my apple photos app to manage and organize everything. Without having started this blog I may have always stuck with the photos app, it was just so intuitive and easy to use.

Amazon Prime Photos

If you don't have a Mac or iPhone and subsequently can't use apple's photos app, Amazon Prime photos has unlimited storage (with your prime membership) and it seems they just updated the app. All my phone's photos get backed up to Amazon as do most of my computers photos. The really nice thing about Amazon's photo storage is that Montagebook.com with pull directly from Amazon so you don't have to upload photos from your computer unless you would like too.

Using Filters or Presets

Most of us have used filters in one social media account or another, but they can tend to make our photos look a little fake. I've found a few options that work really well.

  • Lightroom CC already has presets loaded and you can start playing around there.
  • Pretty Presets has presets for Lightroom that have worked very well for me thus far.
  • VSCO is an robust app that you can use to apply filters to your photos and then adjust the intensity of the filter. I've used this app on many photos for our yearbooks and various social media posts.

Although you could theoretically apply one filter to all of your photos in Lightroom CC , I wouldn't recommend it. Your yearbook will be uniform, but some pictures will just loose there "reality", and the whole point of a yearbook is to accurately depict life correct?

So I use filters for my black and whites, and possibly for a yearbook spread or seasonal section.  I would pull all of my outside fall photos and apply a filter , and all my winter with another filter, etc.


How the process works with MontageBook

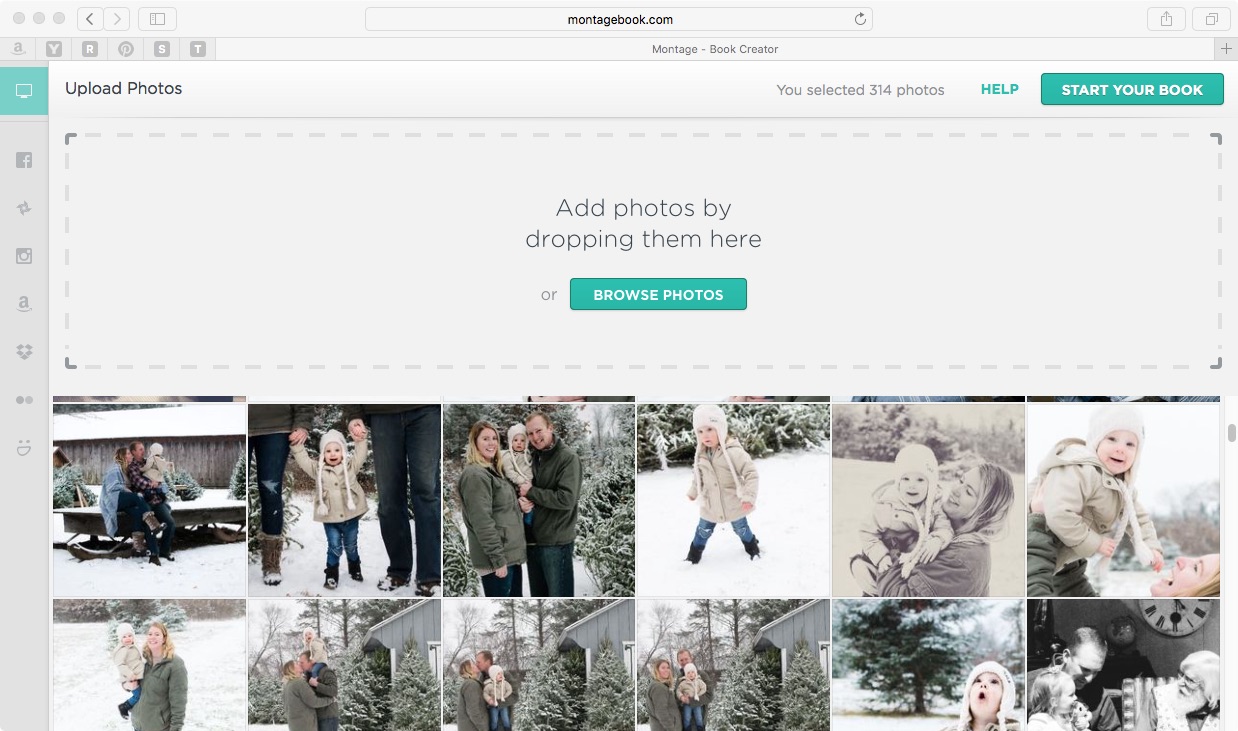
You Upload

  • Lightroom- I started with my 2016 photos, narrowed them down, and imported into MontageBook.com. This is the base of my yearbook, after I've uploaded and changed some of the yearbook pages I then...
  • Facebook- Look in my Facebook for any photos someone else possible posted that I didn't take or an event like a friends Wedding.
  • Amazon Prime- Finally I'll take a look at these photos for anything amazing from my I-phone that really needs to be in our yearbook to complete it.


Montage book upload process for yearbook


I've found that your uploads from your computer go into Montagebook by date, while subsequent uploads for Facebook, Amazon, or the other apps will not be added in chronological order. They must just get uploaded that way because they were organized chronologically.

Keep that in mind, if everything is mixed and you really wanted it to build in chronological order you will have a lot of moving photos on your hands.


montage book facebook upload process for yearbook


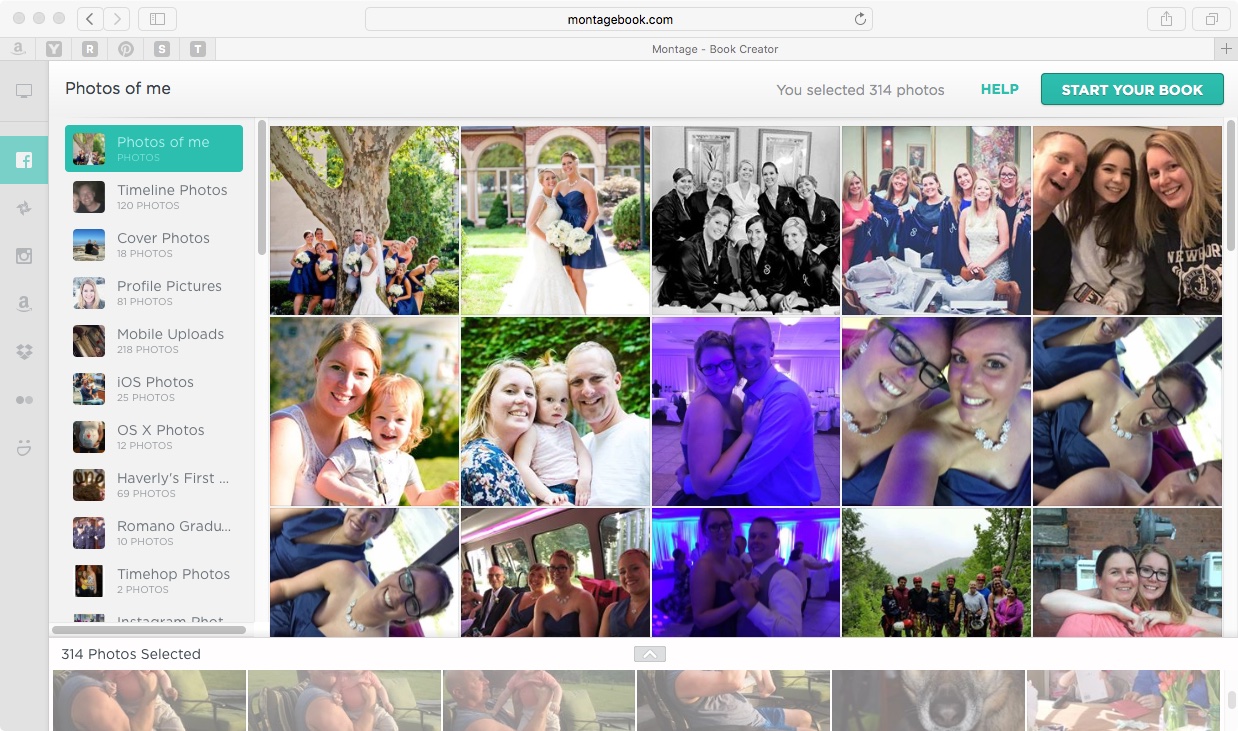
All in all, its really easy to get your photos onto the website, and they will auto create the pages for you to start with.


Front cover & Options

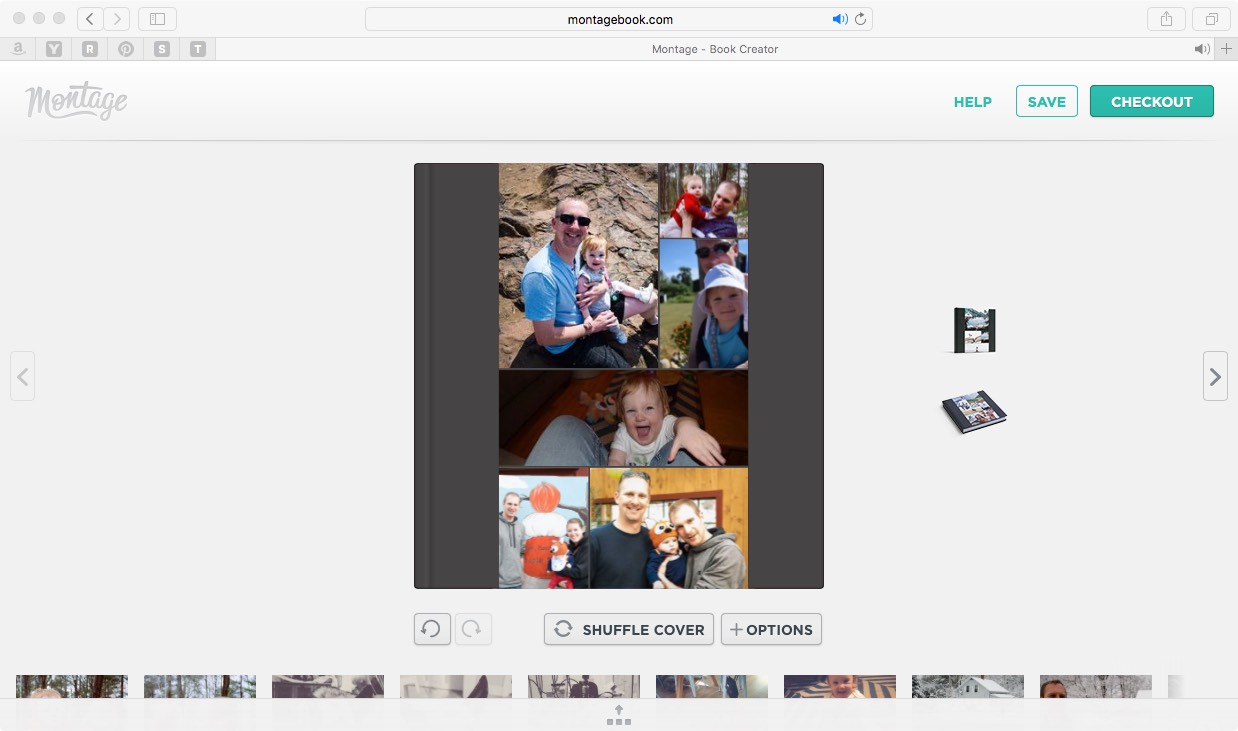
How can you not fall in love with a simple, streamlined, and fun cover like these? Its really easy to swap out photos .

montage book cover page shuffle


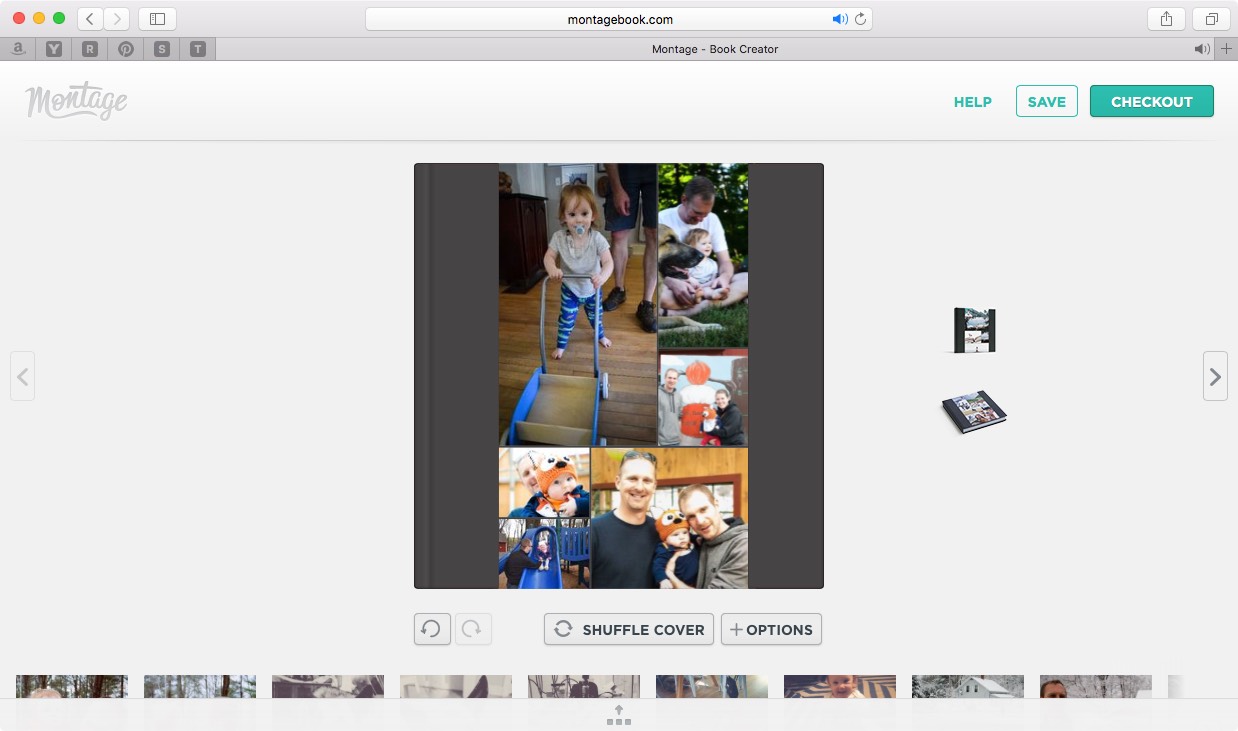
You can also create a whole other layout to your cover page by just hitting shuffle.


montage book cover page shuffle


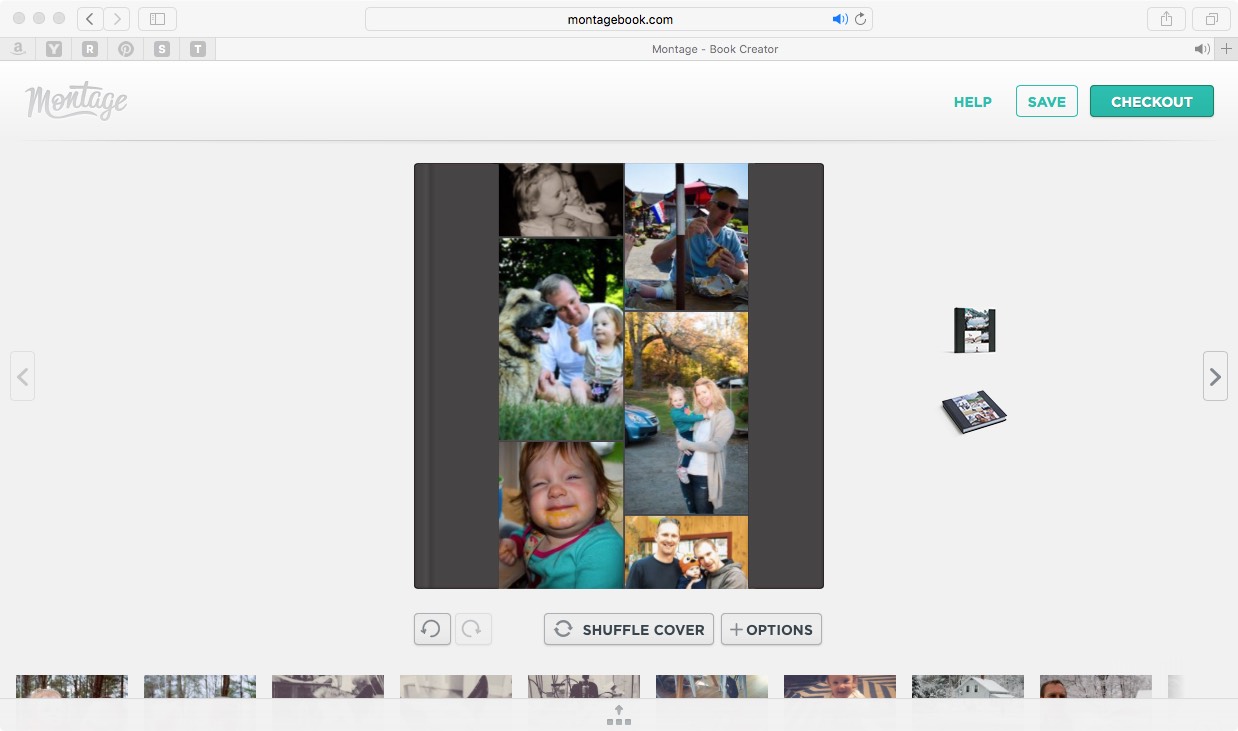
Typically I'll go through and hit the shuffle until I find a cover that is close to complete. Then I go ahead and move a few of the photos in or out.


montage book cover page shuffle


Voila! A truly unique cover page with all your favorites.


Layout Themes

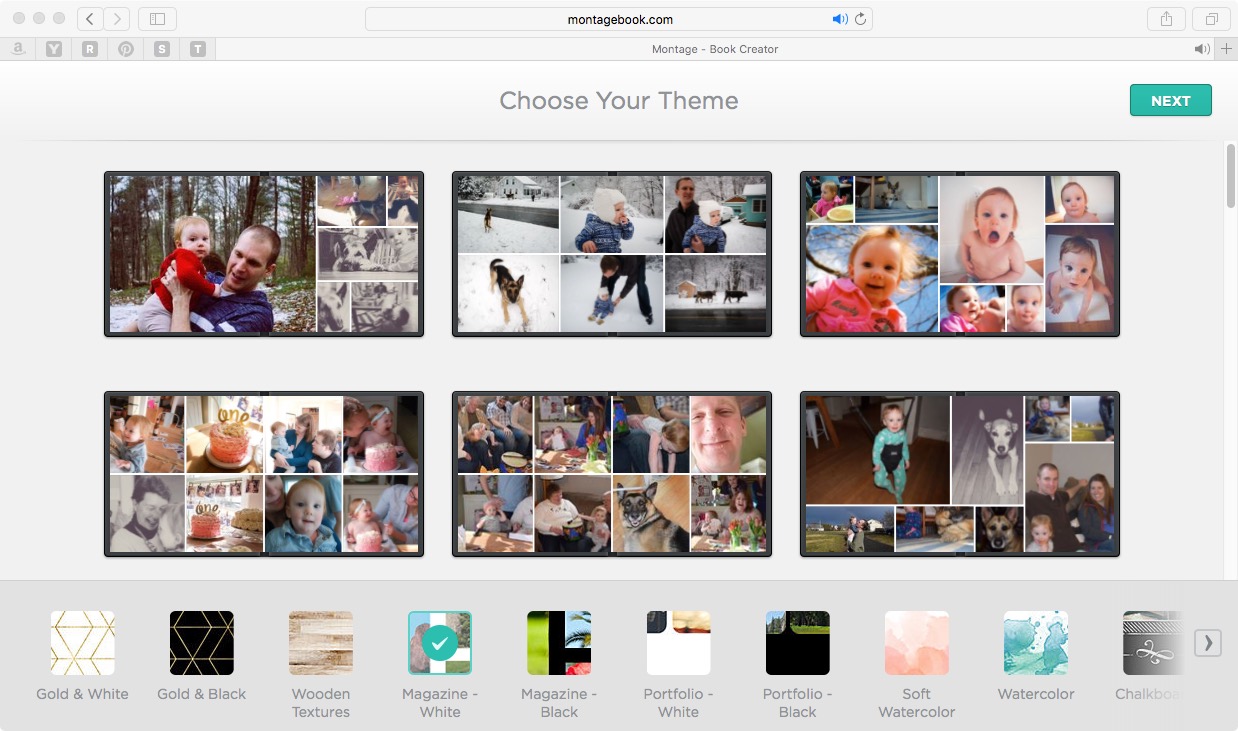
You can choose from a variety of themes for the layout of your photobook (White with gold, color blocking, modern patterns, grunge, geometric, etc). We've personally only ever used the magazine white and portfolio white for their simplicity and professional look.

MontageBook Theme Styles


The white space in this portfolio white can really help your photos pop

MontageBook Theme Styles


But a background can be nice if you are doing something specific like a baby book. Below the watercolor theme is really fun, especially for summer photos.

MontageBook Theme Styles

Layout

  • This process is almost done for you, especially if you can get over having everything be perfect and just go with it. In other programs it seems you have to change the photos and rearrange a lot. You end up sick of the photos you took before you even order the books!


Montage book creating the book


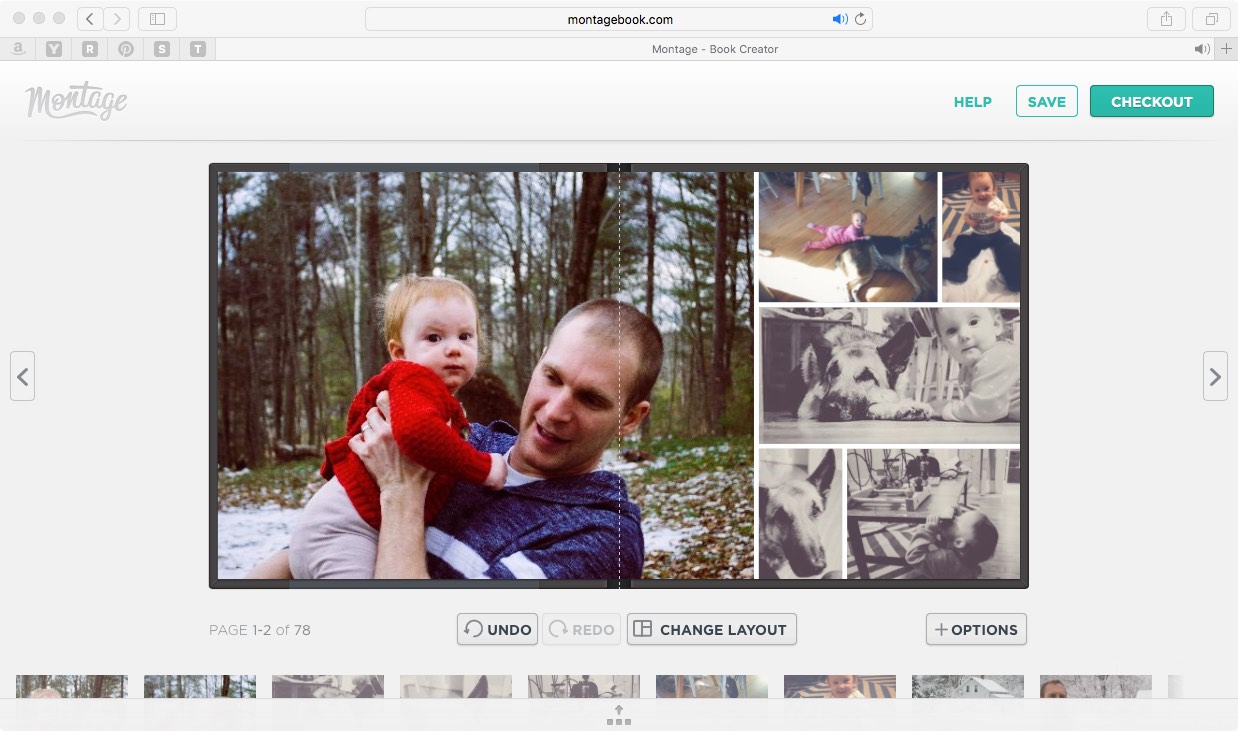
Heres the first pages straight from the app doing its thing:

our montage books first page rendered


This page should be relocated it's off chronologically but not by much. Montage book even makes that change simple and easy. You can grab thumbnails of the pages and move them around.

Our montage book third page rendered


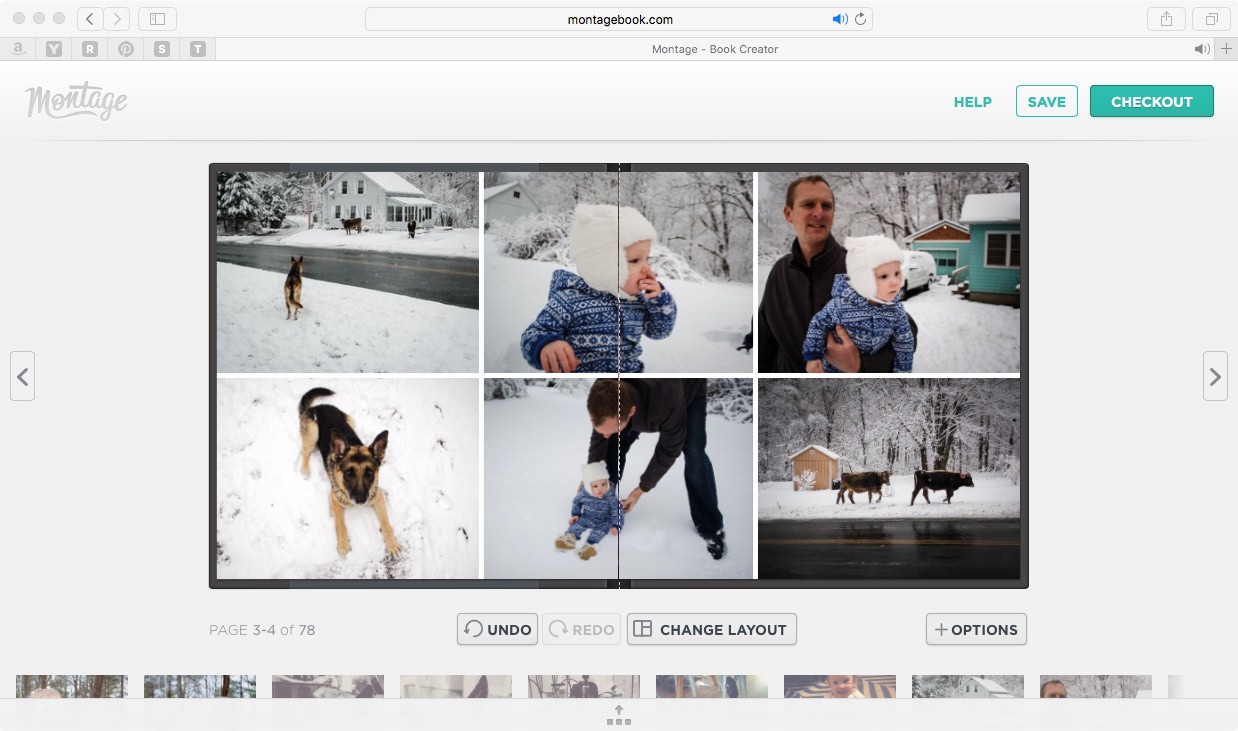
Here is a winter scene from last year, MontageBook took all of the photos and made sure they were together. Not much I would have to do to edit something like this.

our montage book second page rendered


Layout changes

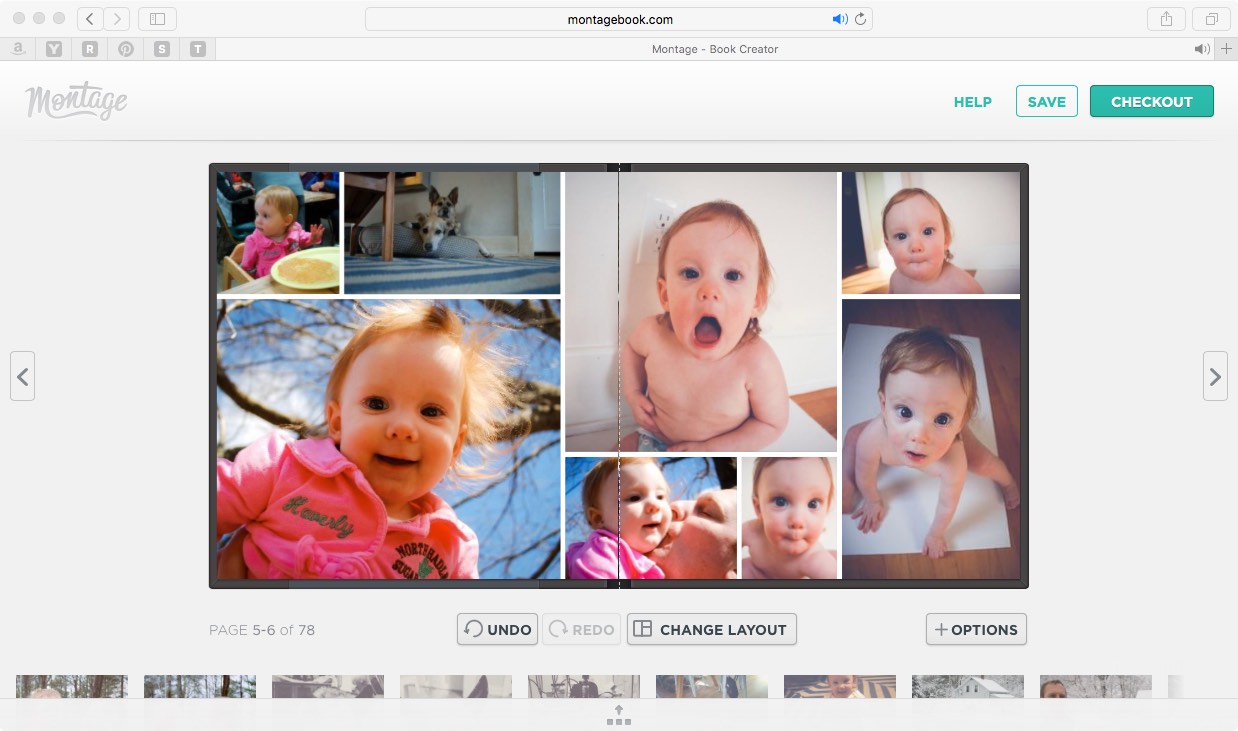
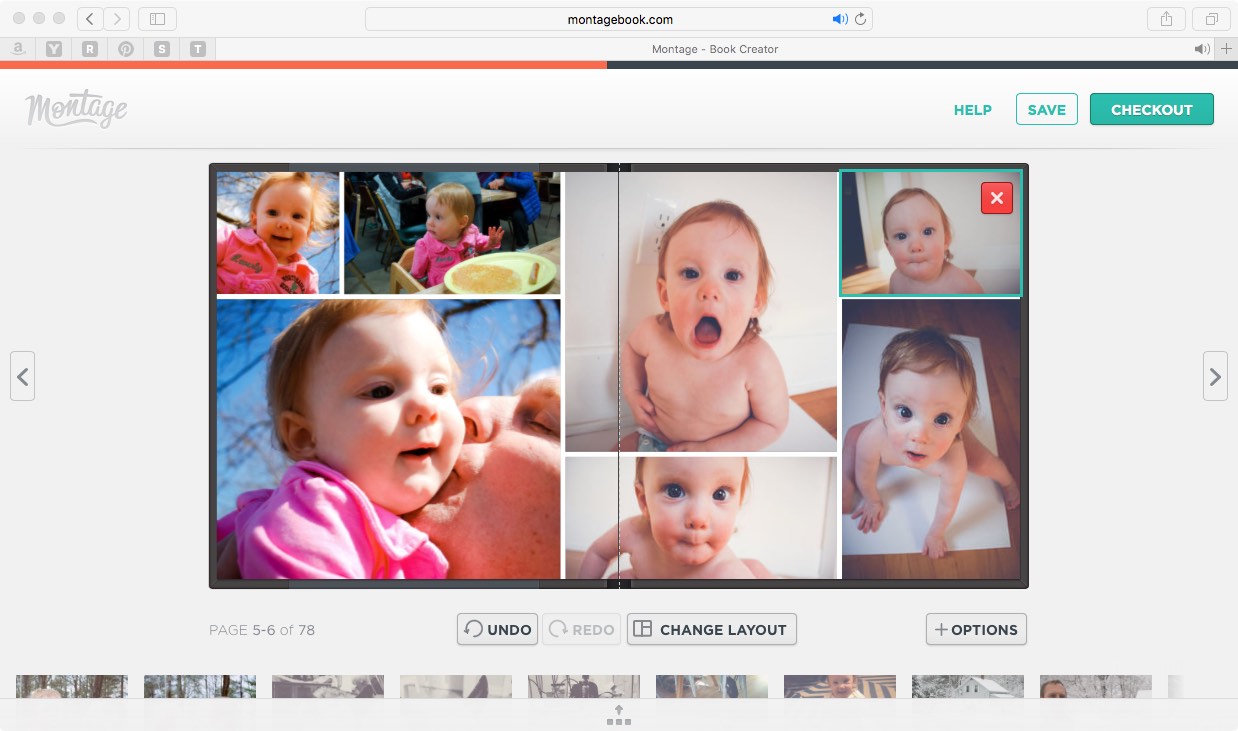
If you want to change around the layout of a particular spread, it as easy as hitting the button change layout.

Our montage book third page rendered


Below I deleted a photo off the page (I can always grab it and add it back into the book at anytime).

Montagebook deleteing a photo for layout change

And here I hit the change layout button again to get something I liked.

Montagebook changing a pages layout


Ordering

Once your all done with a few adjustments, your all set to order. They have only a few extra options: a storage box, and premium paper. That makes ordering simple, and the end result a classic photo book with just enough variation.

We've found the 8x8's to be the perfect size, substantial enough without being this huge book that will never fit on a bookcase. When I ordered our 2016 yearbook the estimated delivery was mere 5 days later!


Reality Check

Although these are very fairly priced for the quality of product you get, I have to cut down how many photos I upload. The book's come with 20 pages and any after that would be extra (Even one spread for each month of the year will put you over the 20 pages). So you can easily get above and beyond the base price for the books.

Our "Love Story" inspired German Shepherd entry way art

German-Shepherdfeatureimage.jpg

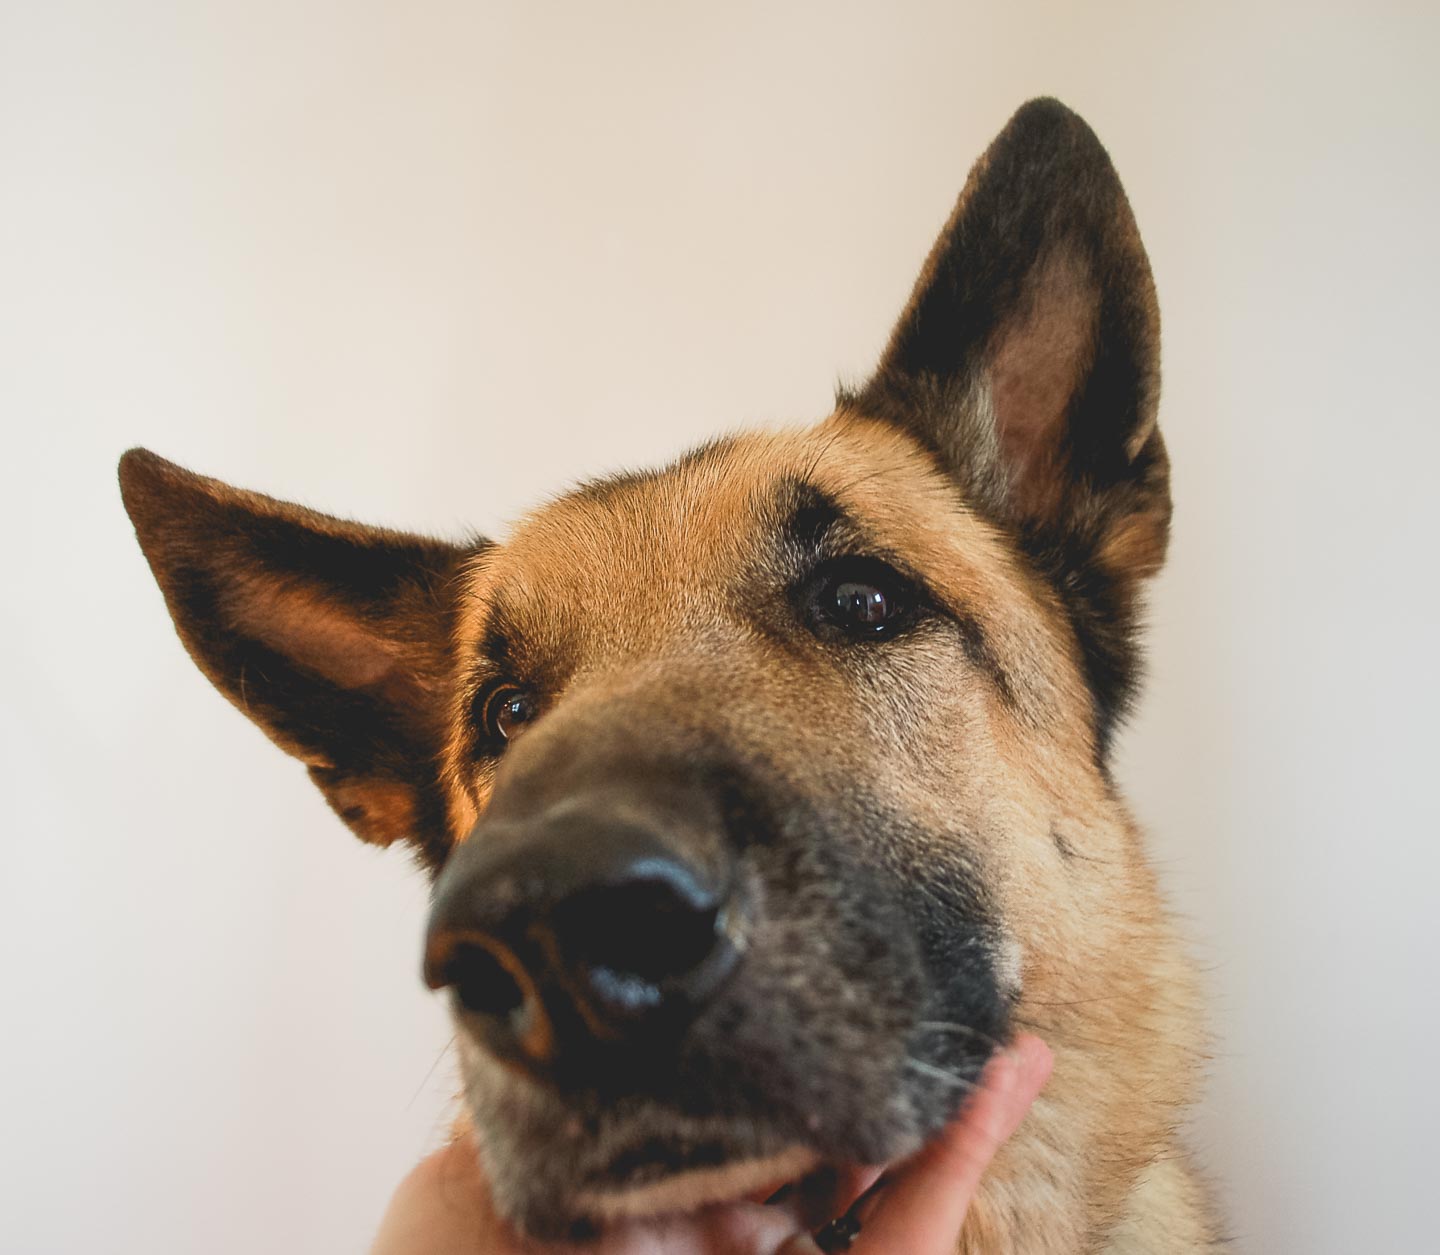
Meet Trigger our idyllic German Shepherd-He was 10 1/2 when he passed away on Mitch's birthday in 2016. He was smart, loved people, especially our daughter Haverly (have-er-lee).

If you hadn’t already figured it out, we're German Shepherd people. Without Mitch having had his Shepherd, Trigger, and me throwing stick in an open field with my Shepherd, Monte, we may have never met.

german shepherd entry art

The love story

Now, I knew within minutes of Mitch stopping that he would be the man I would marry. Even before I knew I would marry this man, I feared for his well-being which was currently at high risk.

Monte was a little protective of me and wasn’t great with men in uniform (don’t even ask how I already knew this). So you can imagine my relief when instead of me dragging Monte away from this officer, he was drinking water from his water bottle and acting like Rin-Tin-Tin or something. Rin-Tin-Tin.... Monte was not, in looks or his wild at heart behavior.

And she still has a nack for owning the craziest shepherds like our Freeway.He is a goof...

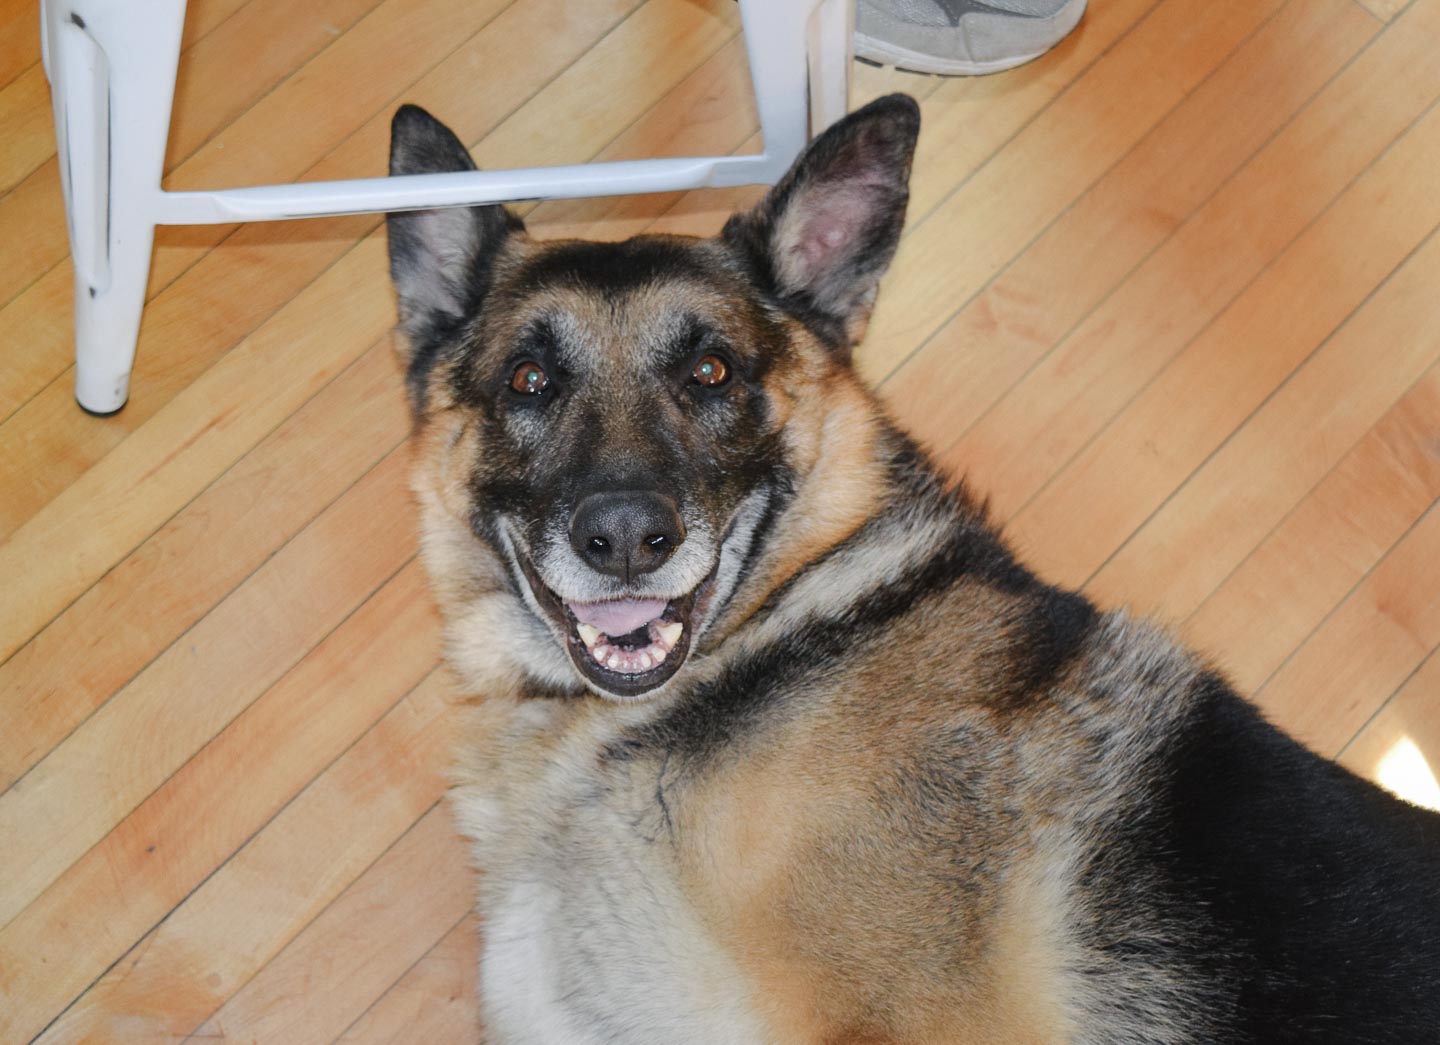
freeway our german shepherd smiling

So as it turned out, Monte was that catalyst that brought us together. He seemed to have the same reaction to Mitch as I did, love at first sight. Right away we discussed needing our dogs to meet, and which one had larger ears which was of course Monte.

Probably Susie’s first win, I should have known then that it was the first of many…..

So the Shepherd's meeting would have to be just as wonderful as our idealic meeting, right? If you did, you guessed wrong. They barely tolerated one another, and hated, really hated, to touch one another.

Taking & Editing the Photos

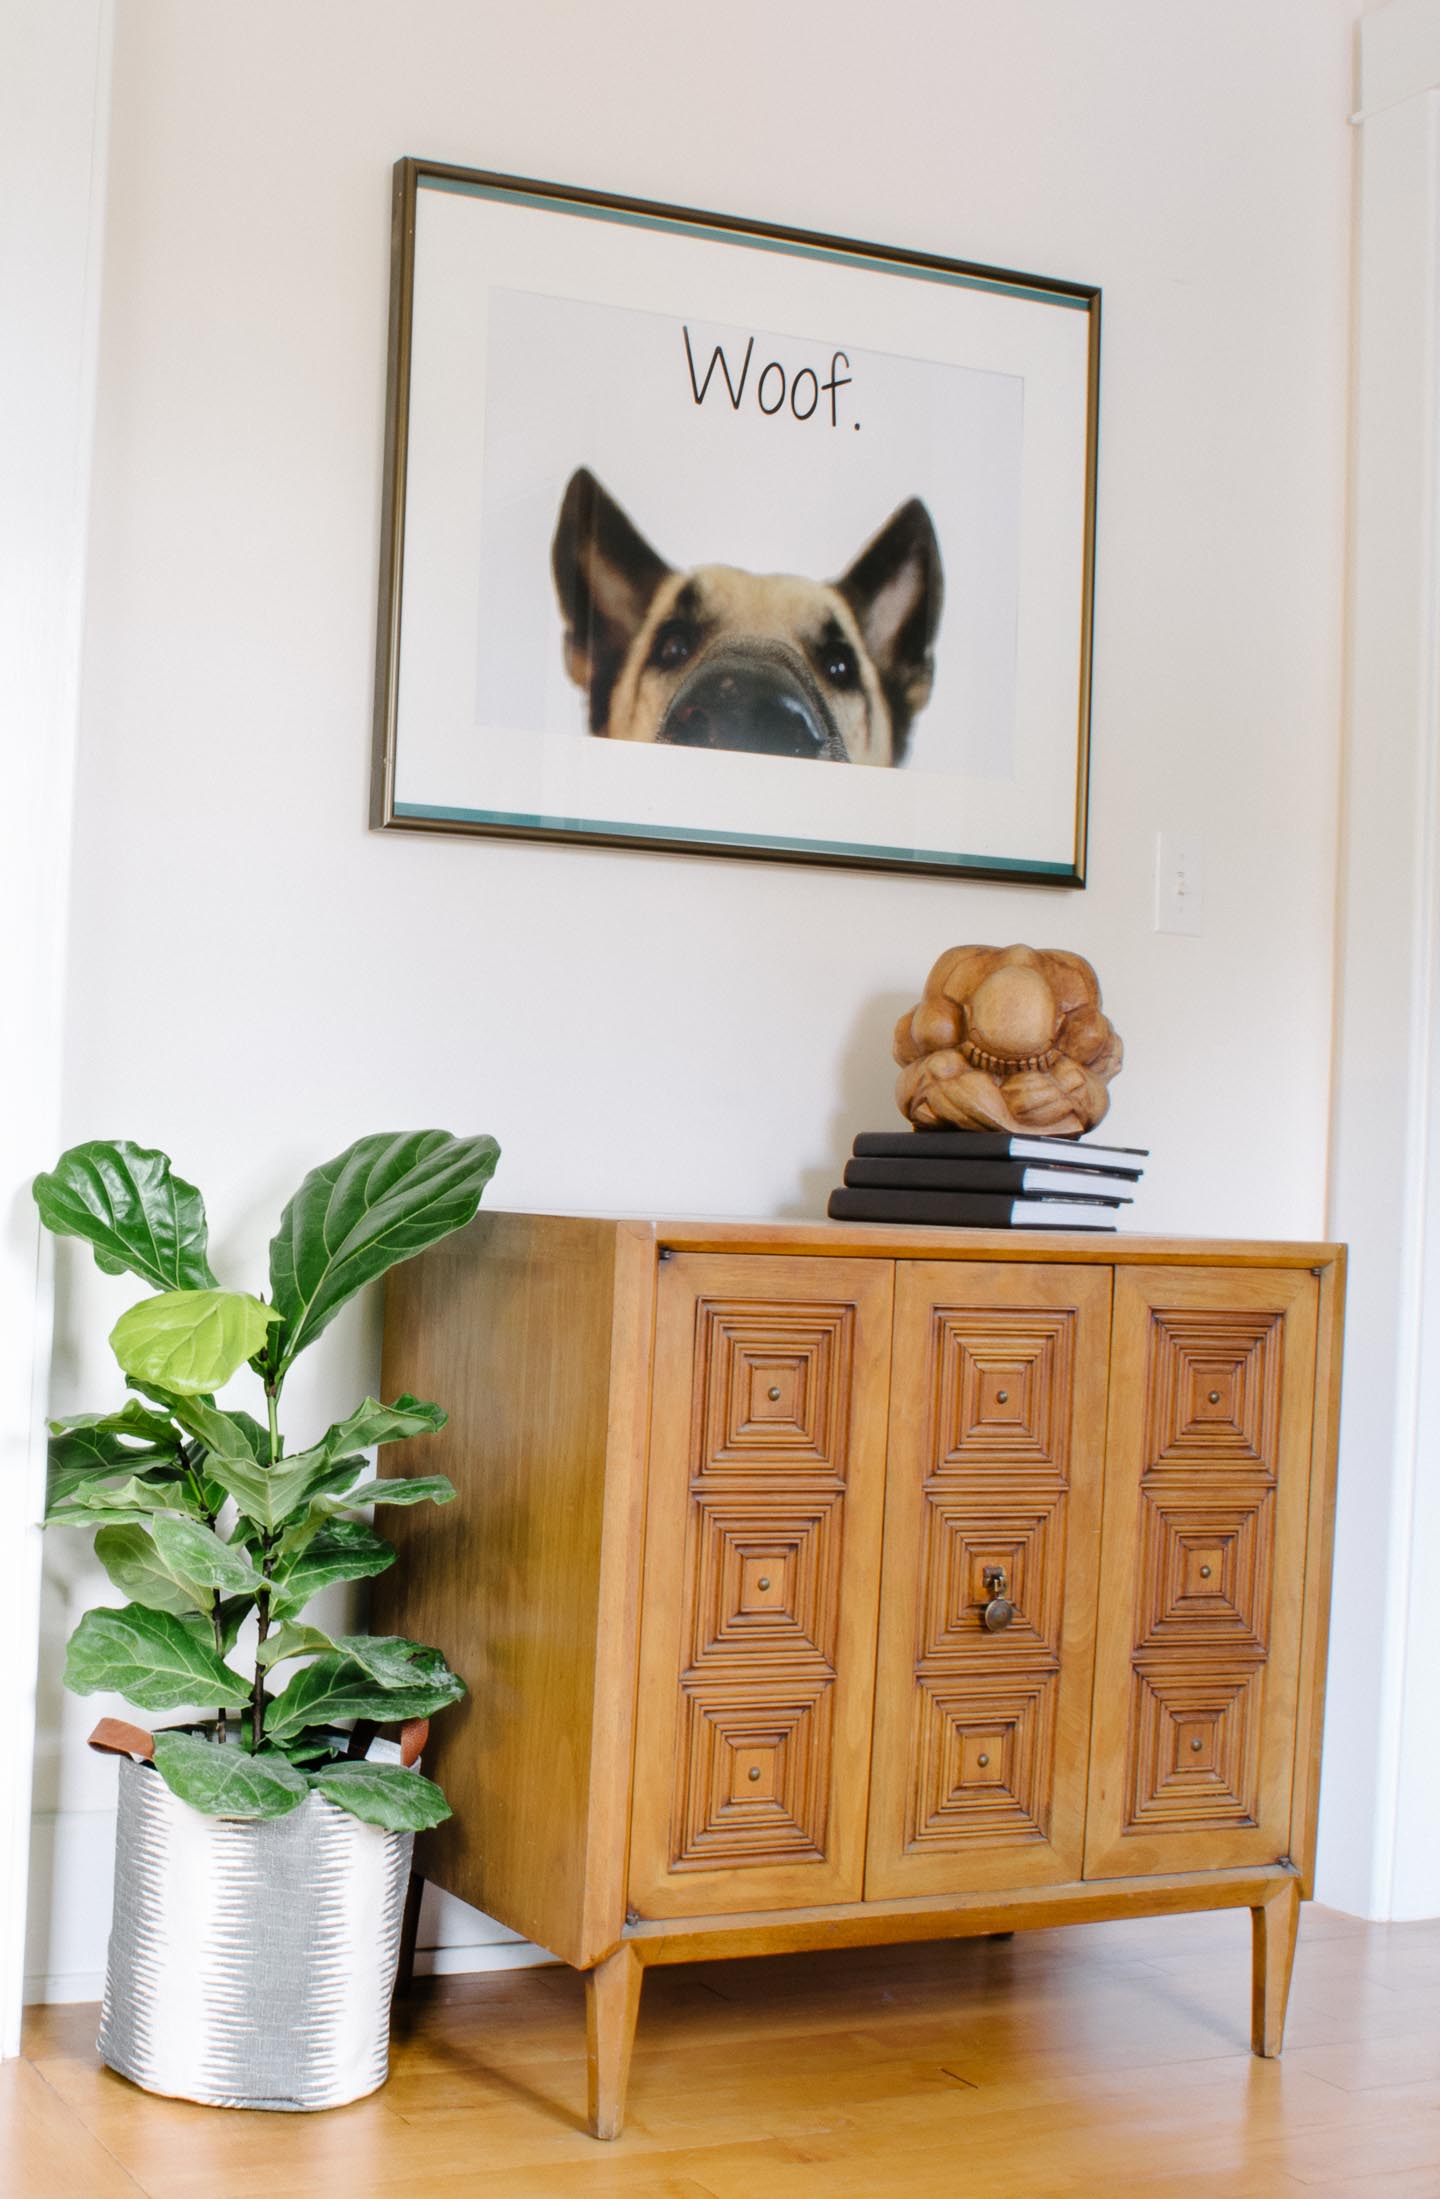
So if you ask what would compel me to make a giant print of our dog to hang in our entryway instead of something useful like a mirror?

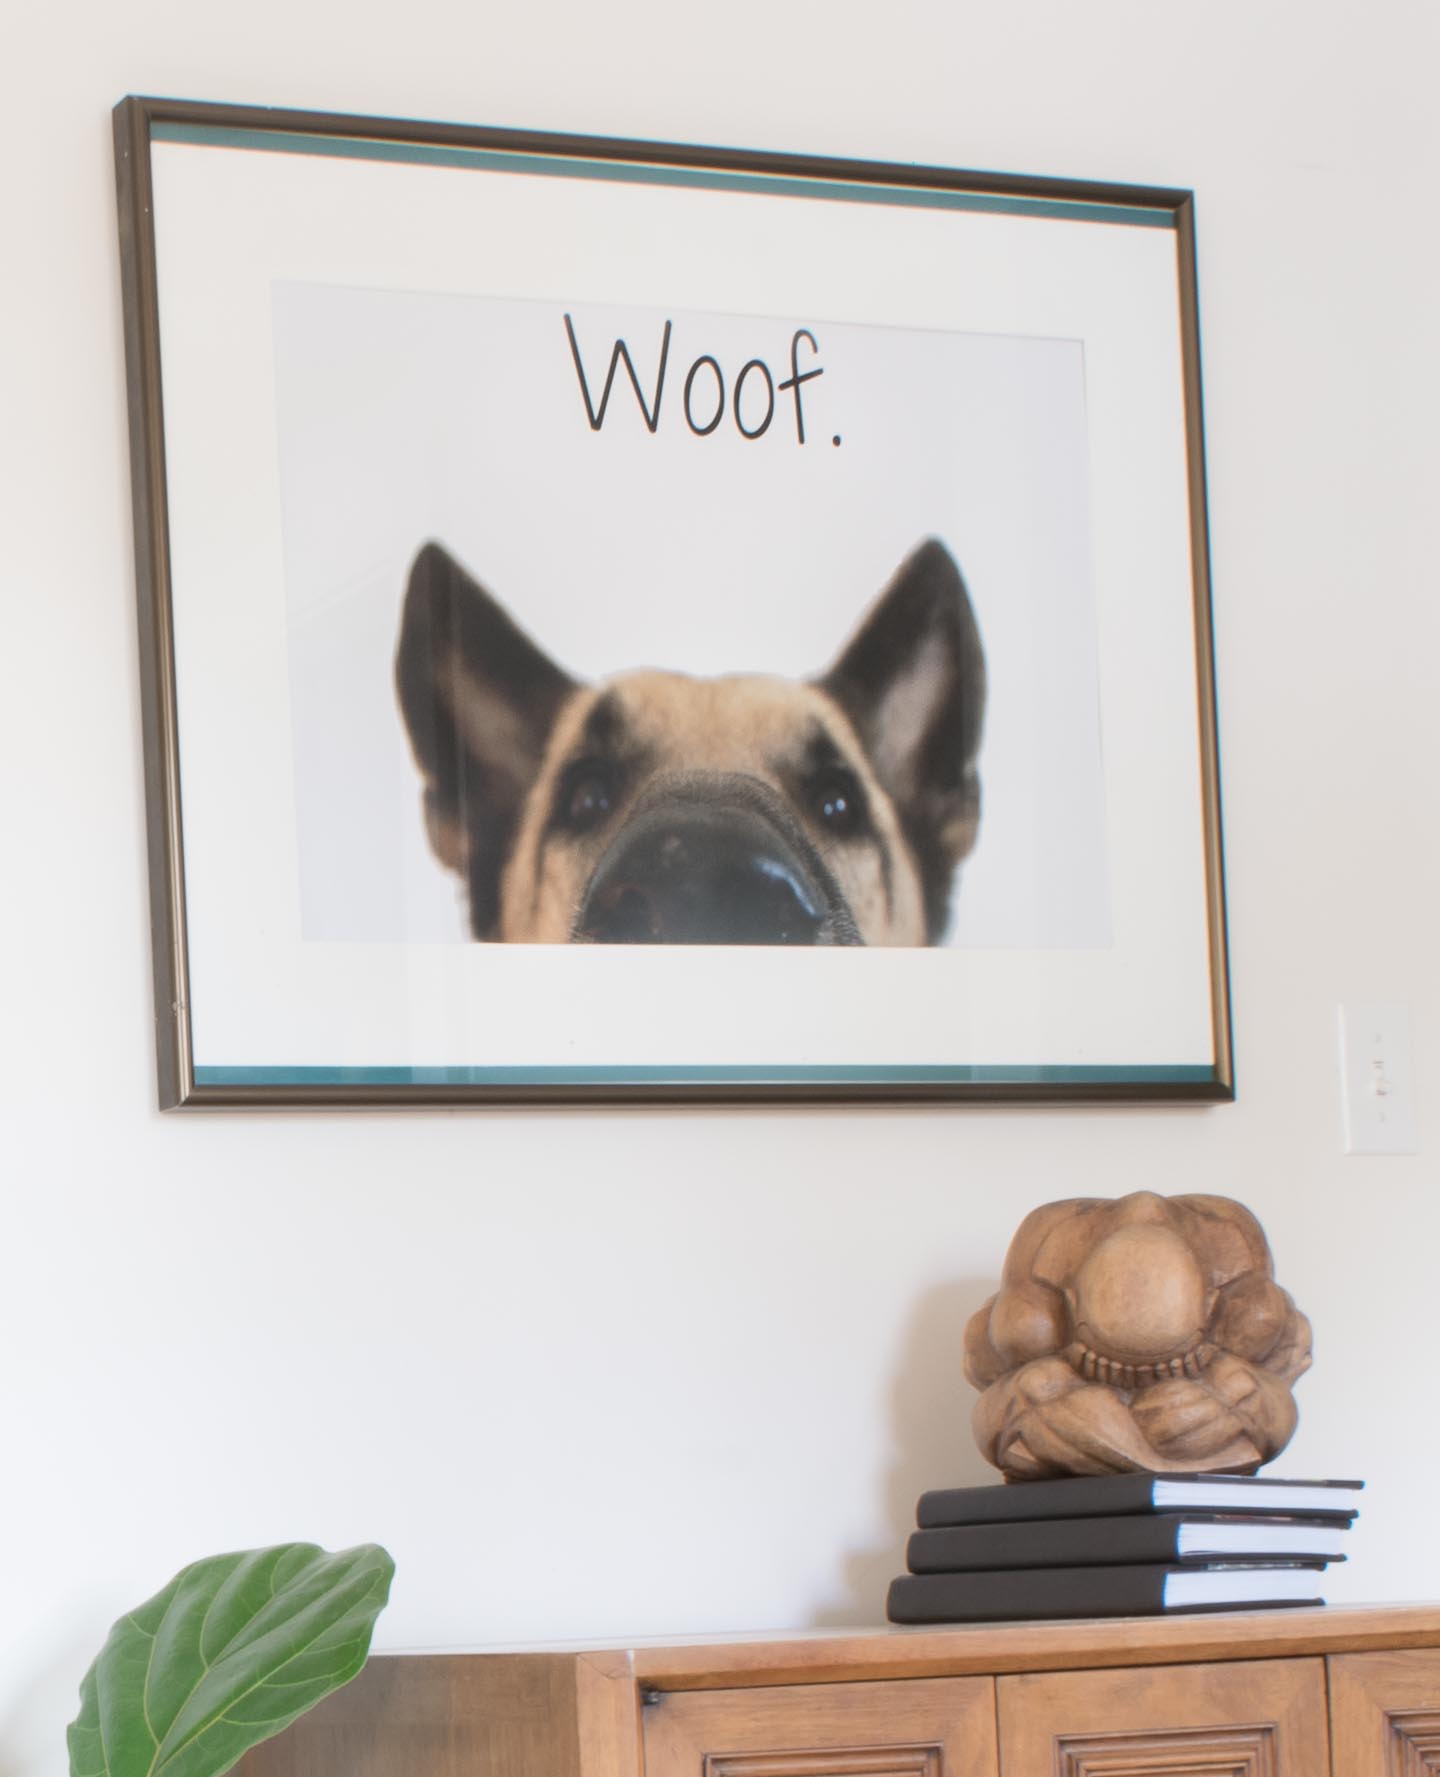
Like so many of you, we’re dog people, saying "Hello" with a woof somehow tells our story.

picture of trigger our german shepherd

My advice for rangling your dog to actually take a photo like this is limited, because in the end I still needed Mitch to help me get him to hold still long enough to take a decent picture. picture of trigger our german shepherd

Eventually we got a couple of good photos which I took against our white entry wall so I could easily take the background out in Photoshop or Pixlr.

picture of trigger our german shepherd


We picked Trigger as the subject because we knew he wouldn’t be around forever. But the type of dog he was really represented the type of people we are and like to be (yep I just compared our family to a dog). He was just as amazing as he looks, a dog that would take a bullet for you if need be.

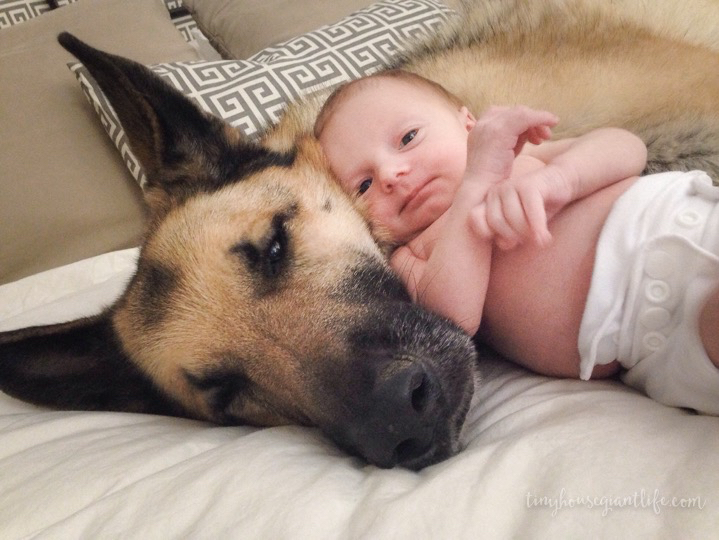
Or snuggle with our daughter while mommy tries her hand at new born photography.

German Shepherd trigger with our daughter


I didn’t want his whole face in focus so Mitch took the pick between the face in focus and his nose in focus. In the end I ordered the 20 x 30 print with his nose in focus on gloss paper. I wouldn’t do gloss again because we always have too much glare from our front door. Trying to take pictures of it for you all to see in place was significantly difficult.

german shepherd art print


Reality Check

The print didn’t end up perfect. We reused and older frame that has a few digs and scratches, and the glare from the gloss is annoying. I couldn’t be happier and felt the need to get this project finished, even if it wasn't perfect. Our Trig-Man passed away not 6 months later. Had I have waited after the initial idea popped up, we may not have this amazing reminder of him. And, if Mitch hadn’t had his Shepherd we may never have met.

I'd love to hear a bit about how others have honored beloved pets, leave some comments below please!

front entryway with german shepherd art

Our laundry bin solution to the mounds and baskets of dirty clothes

Laundry-Bin-Post.jpg

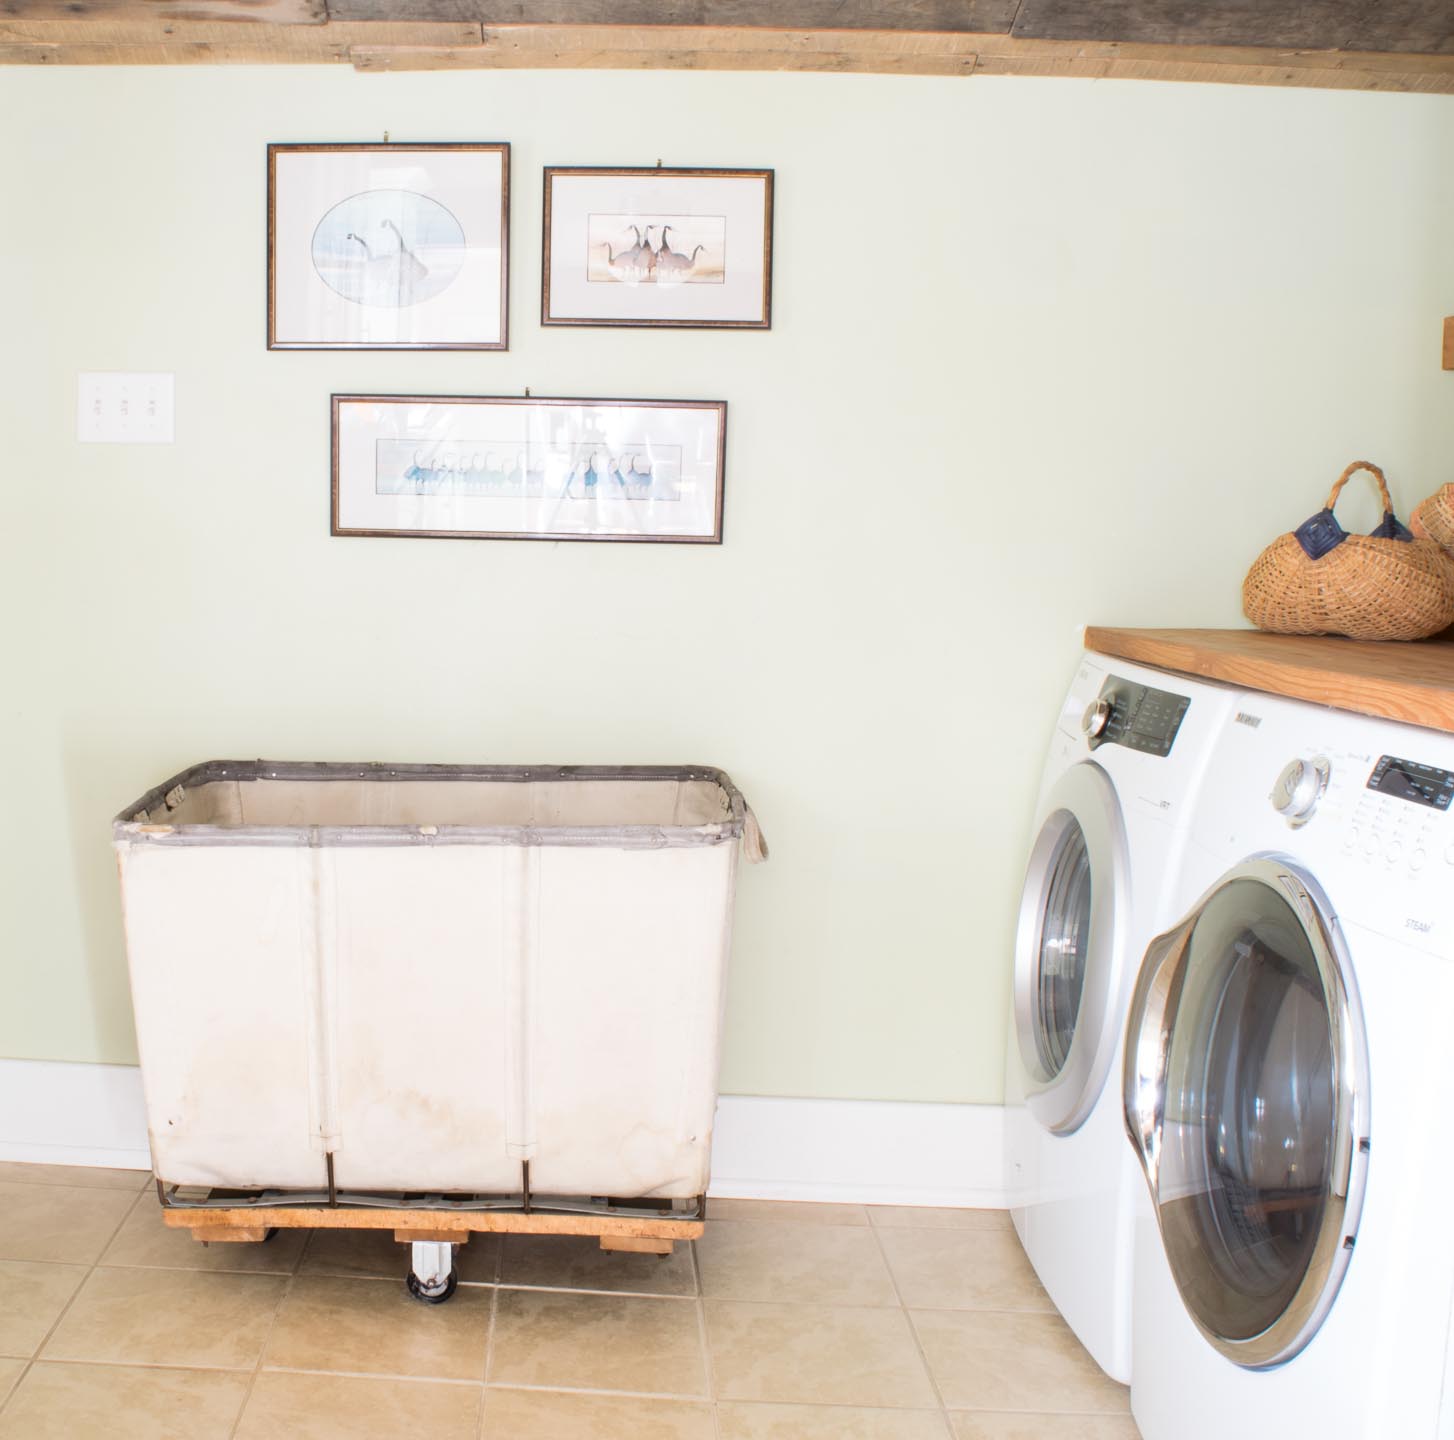
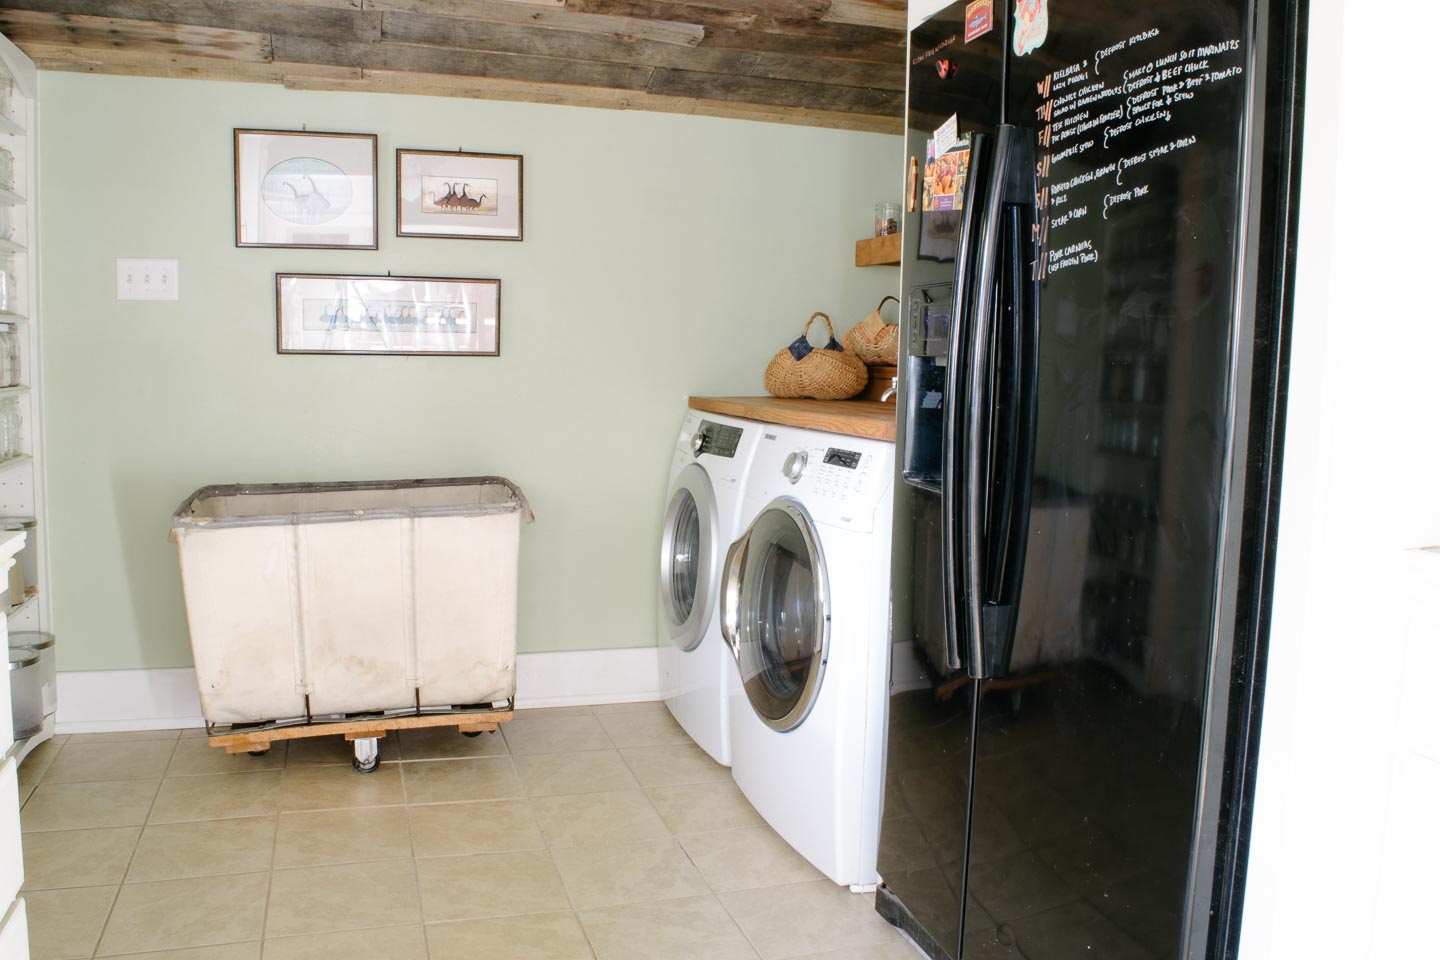
This laundry bin was a great solution to our laundry woes. As I am sure you can imagine with several dogs and a young child, we do some laundry. That means four or five laundry baskets right in our kitchen/laundry...one for darks, whites, kid's clothes, towels, delicates. Tripping over them, kid(s) dumping them out, dogs knocking them over...mass hysteria right?


Now you have it all separated, and you have the first load going , great. Now, cue the kid again, cue the dogs, bump in to the laundry baskets maybe even throw one?

Unload, dry, rinse, repeat right??? Over and over again, every other day at least.

We gave our baskets the middle finger and added our bin on wheels.

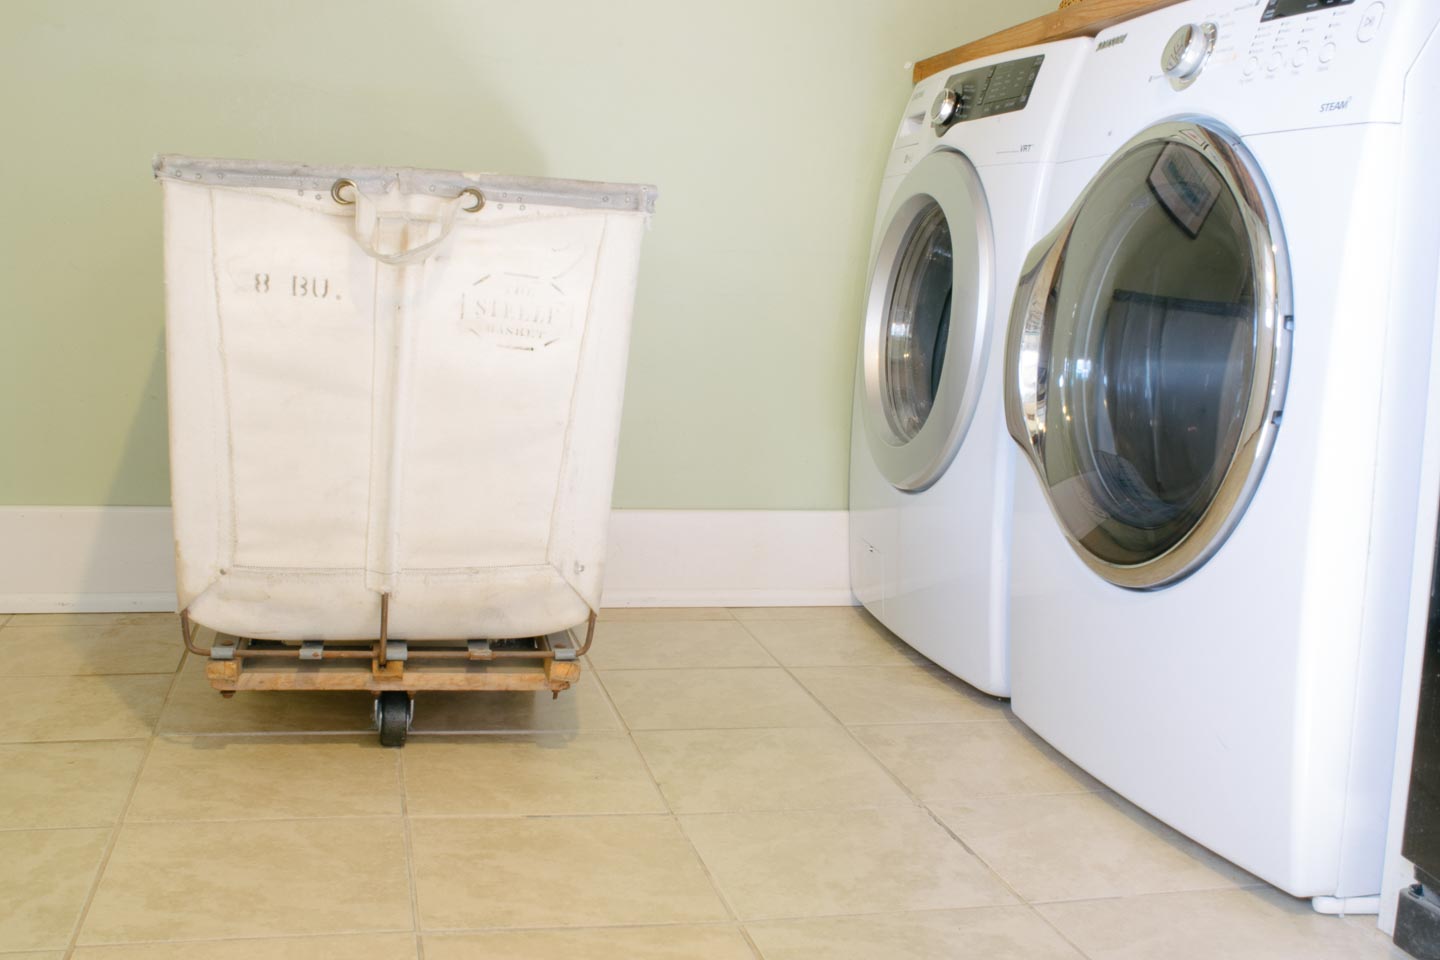
Steele Laundry Bin and Washer/ Dryer Everything goes in, sorted right from the basket.
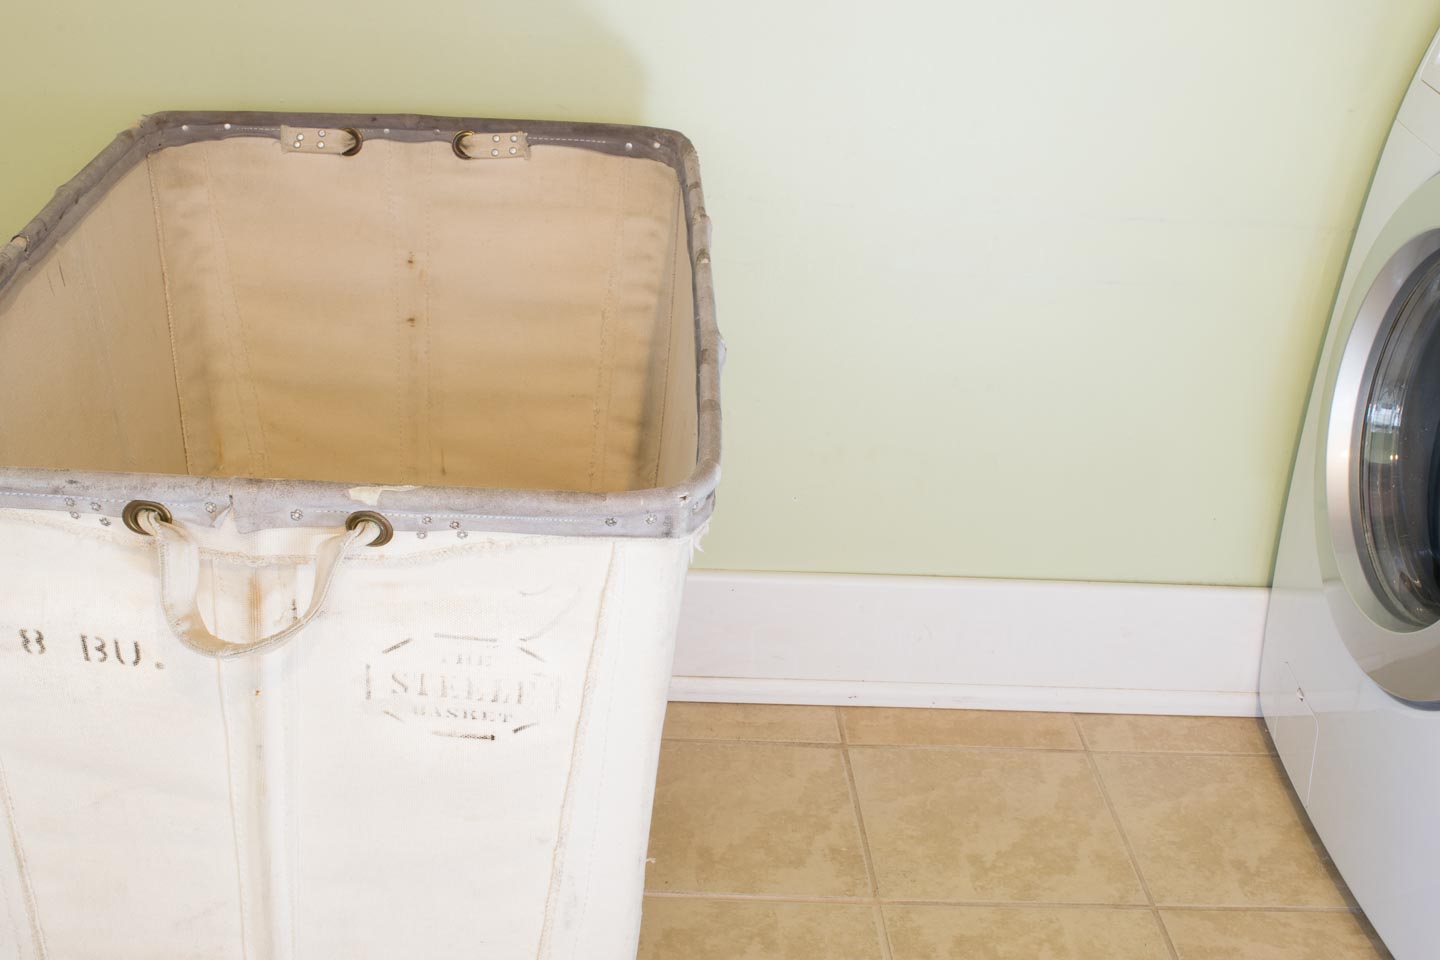
Nothing to knock over, for anyone to dump out, difficult (but not impossible for our hulk dogs) to knock over.

It's heaven, in the laundry room (& kitchen) with this bin, and its so much fun to "shoot" the dirty dish towel directly into it.

I must have seen these bad boys at a previous Brimfield Fair (which is the East Coast's biggest and greatest antique show), because when I set out this past summer for another trip the laundry bin was the first thing on my list to find. Usually when you have a list like that and have previously seen an item, you can't find it the next year because someone far smarter than you grabbed it while you stood around wondering if you should. Then you kicked yourself all year long for waiting to pick it up.

Seems the laundry gods were looking out for me on this day because not only did I happen across this bin, but at least 5 others at one of the venders. This badboy happened to be one of the smallest and with hardly any stamping so he gave it to me for 65$!

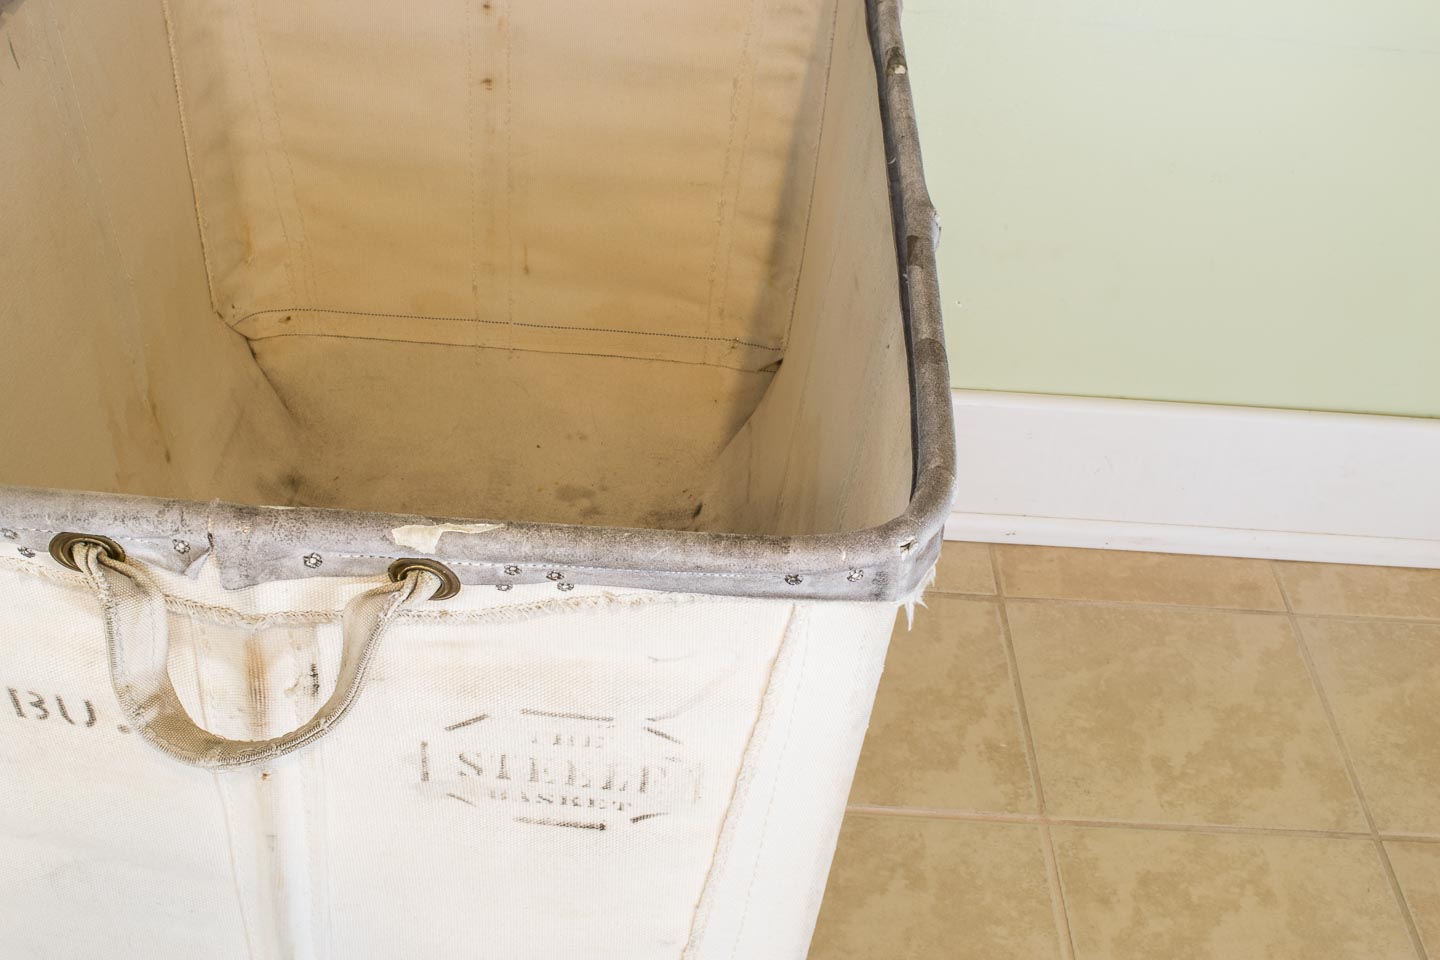
I couldn't believe my lucky stars when I saw the bins all nicely covered with fabric, no sharp rusted metal,  in darn near perfect condition, and small enough for our little laundry space. It would only make sense that they would be wayyyyy out of budget (Murphys law ehh?). So paid him a quick as I could just incase he changed his mind.

Turns out they came out of an old textile factory and he had hardly any interest in them so far, so he wasn't going to make me pay a ton for 1 of the 6 or more he still had lying around.

Want a similar laundry bin?

If your interested in getting one of your own I found new versions you can buy from Steele Canvas American Made right here in Massachusetts since 1921 (perfect for our home which was built in the early 20's). Or you can search out some textile factories in your area, see if they have any broken versions they are willing to sell you and you can do a quick repair, otherwise I'll see you at the Brimfield Antiques Show searching them out!


Reality Check

No matter what you do to try and keep a small galley kitchen/ laundry room organized and clean even a giant bin doesn't help us all the time. Its usually a crazy mess in our household, and thats just the time in our lives , wouldn't have it any other way.

Anyone have some good tips on how to keep the laundry corralled in a small space?

Repurposed & Upcycled: Our Industrial Desk

Industrial-Desk.jpg

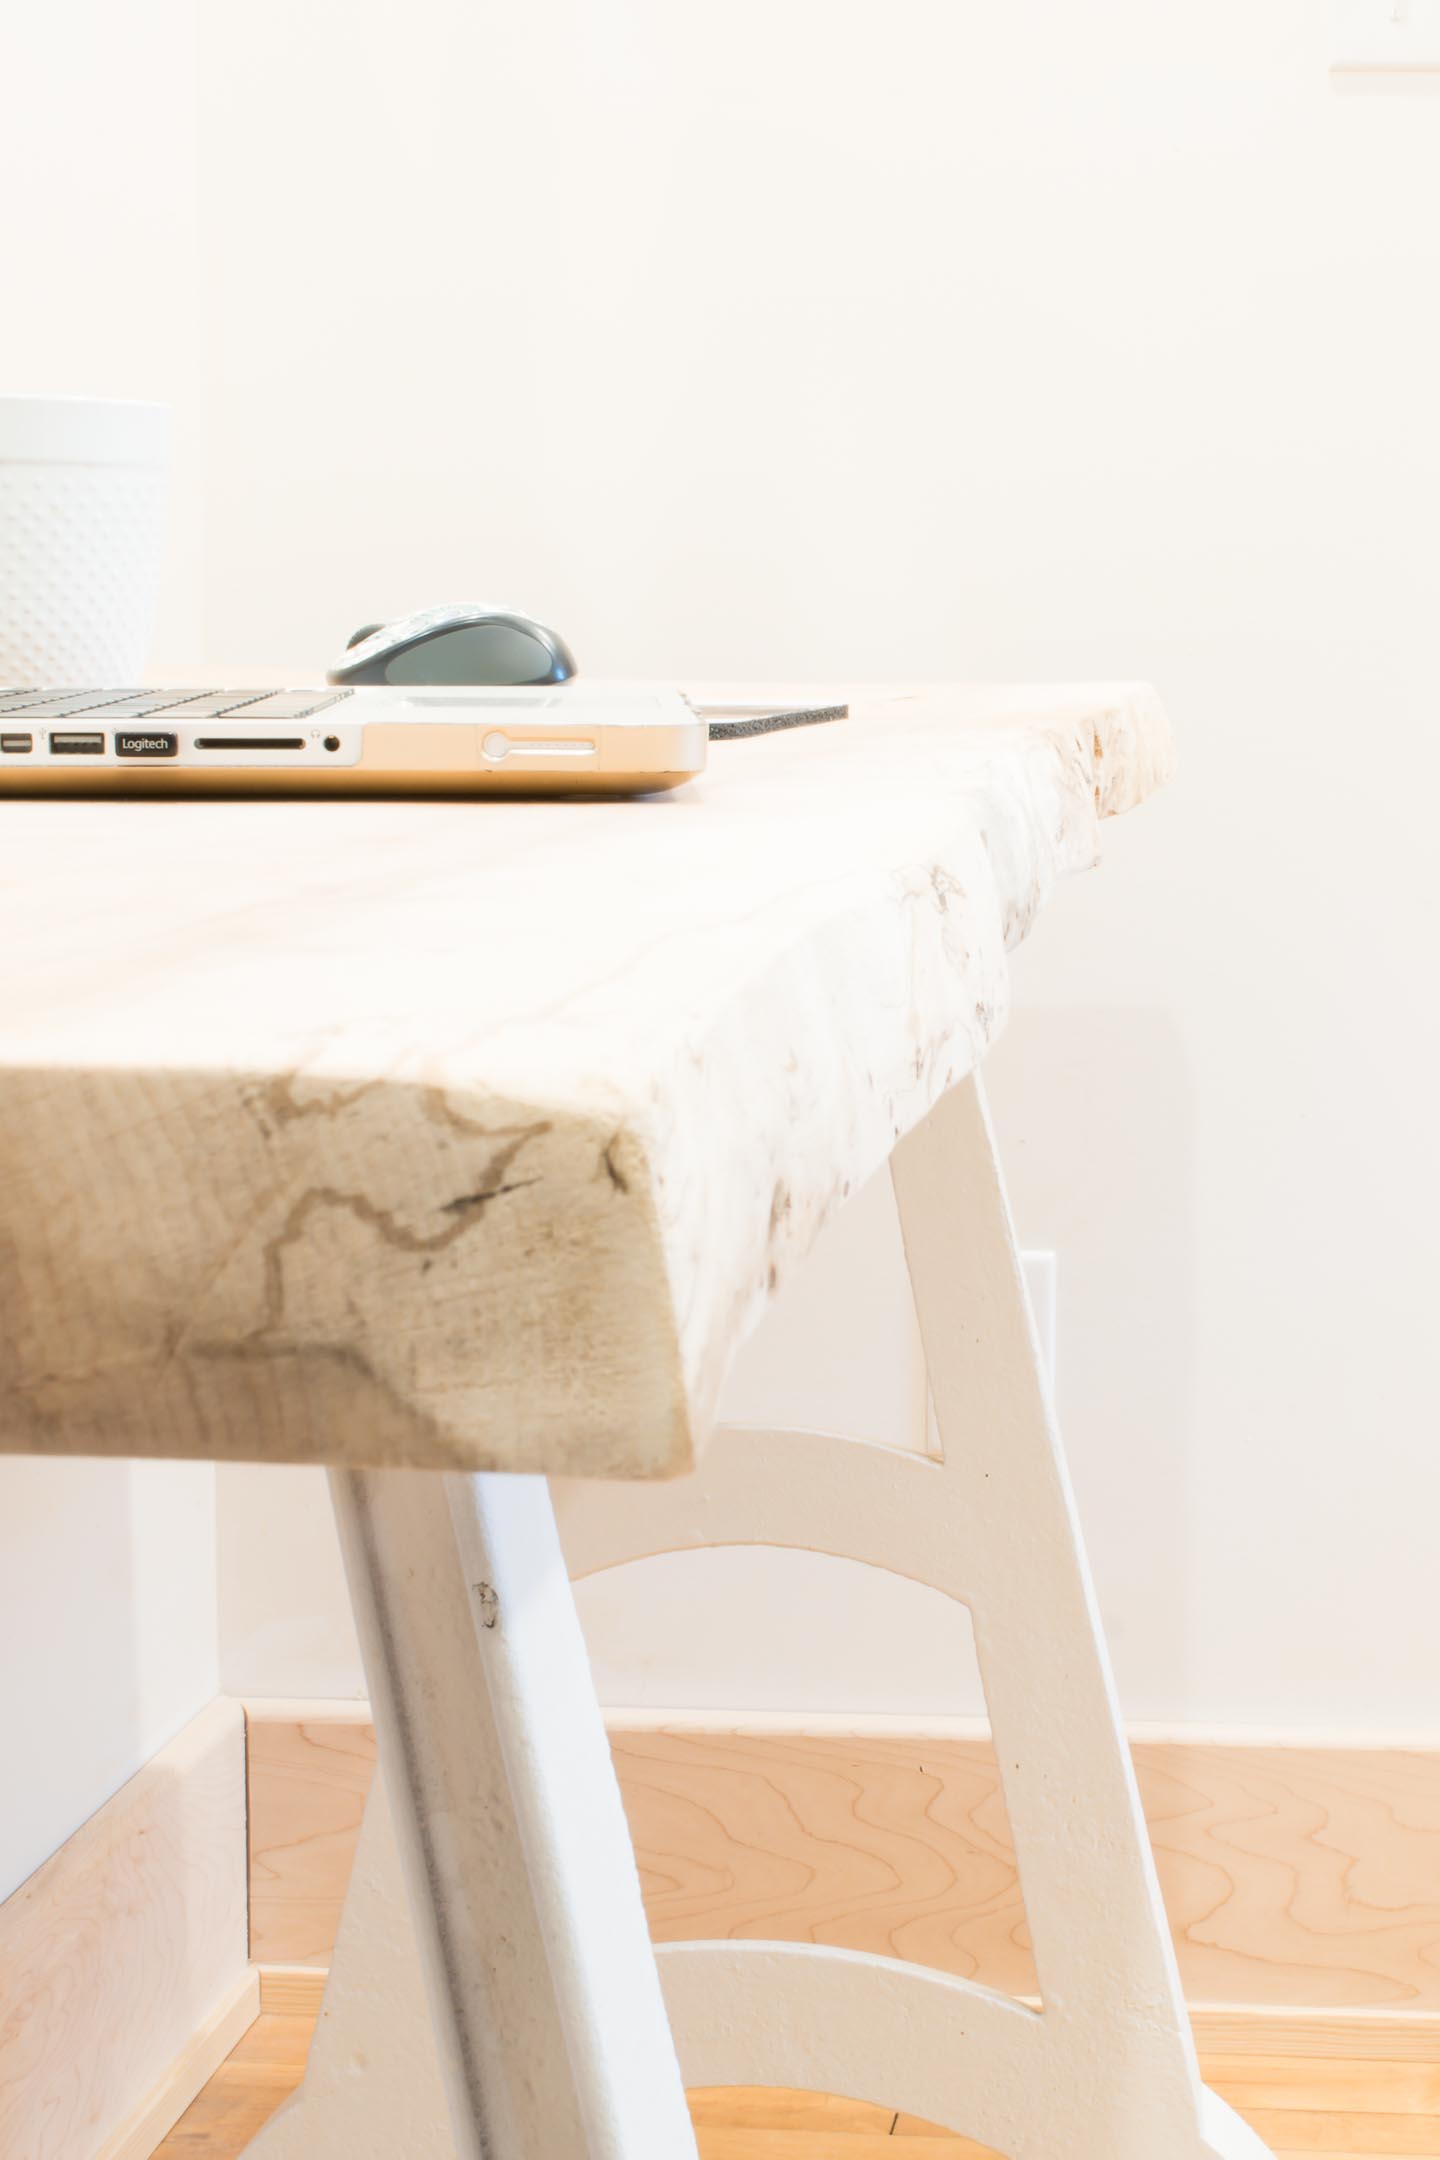
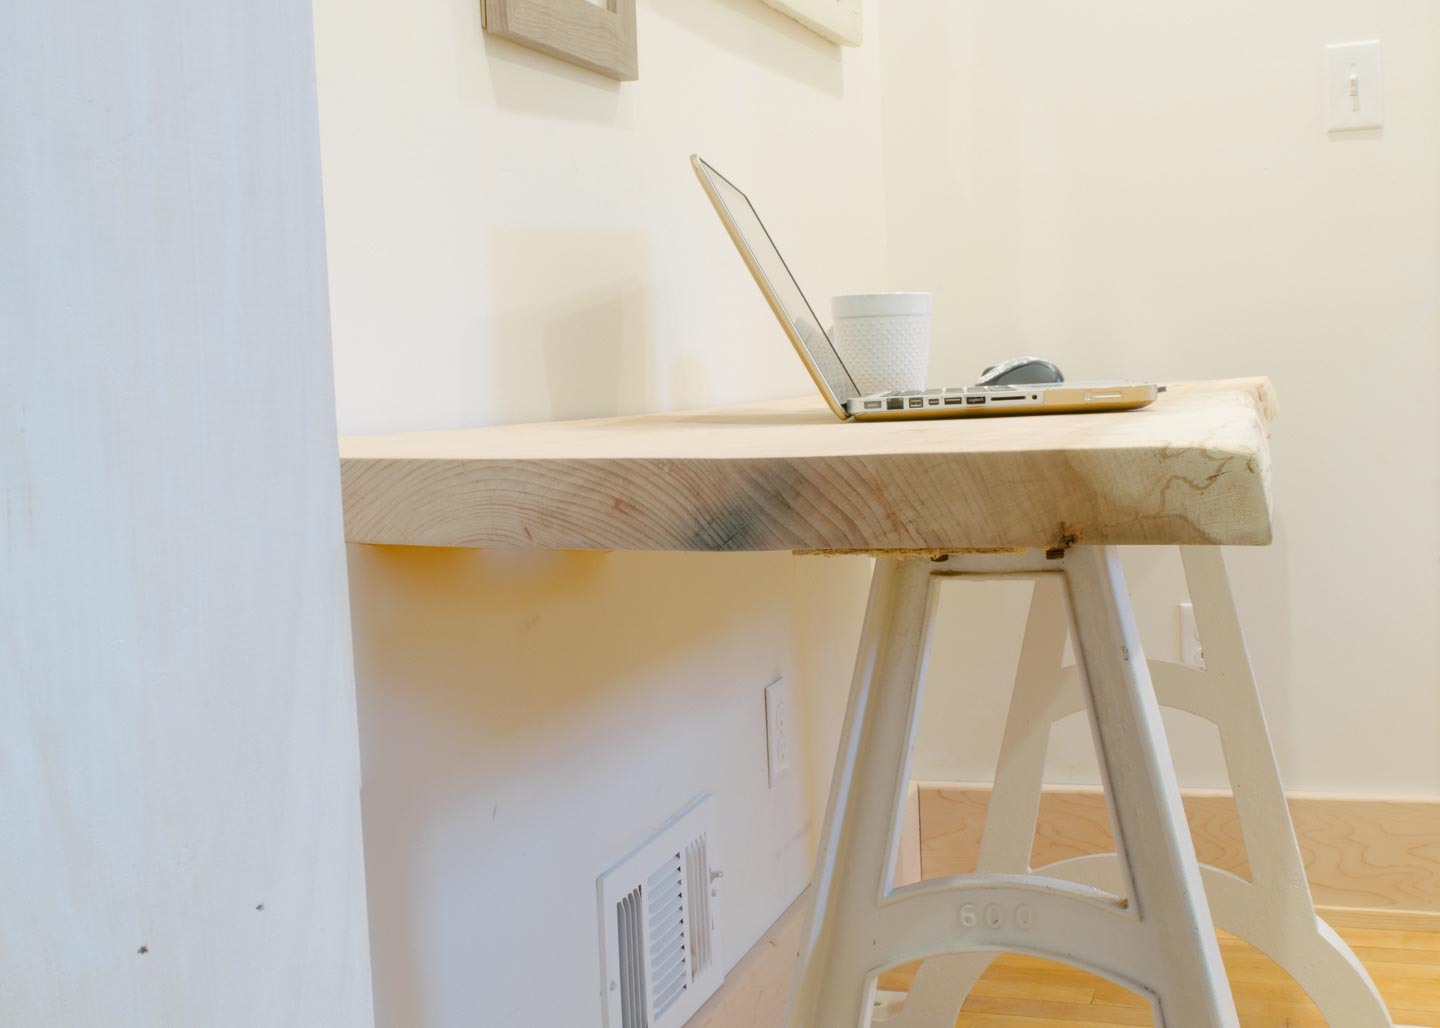
These industrial desk legs mark the start of my obsession with antiquing; specifically at the Brimfield Mass. Antiques show. It also is the start of Mitch cringing everytime he heres about the show “coming up soon”. Everytime I go with the intention of “just looking” and everytime I come back with new projects. office live edge desk

I’ve always had this tendency, but until I found this particular antique show, I've have never had so much inspiration. This show is one of the largest in the country (country, not county).

Finding the industrial legs

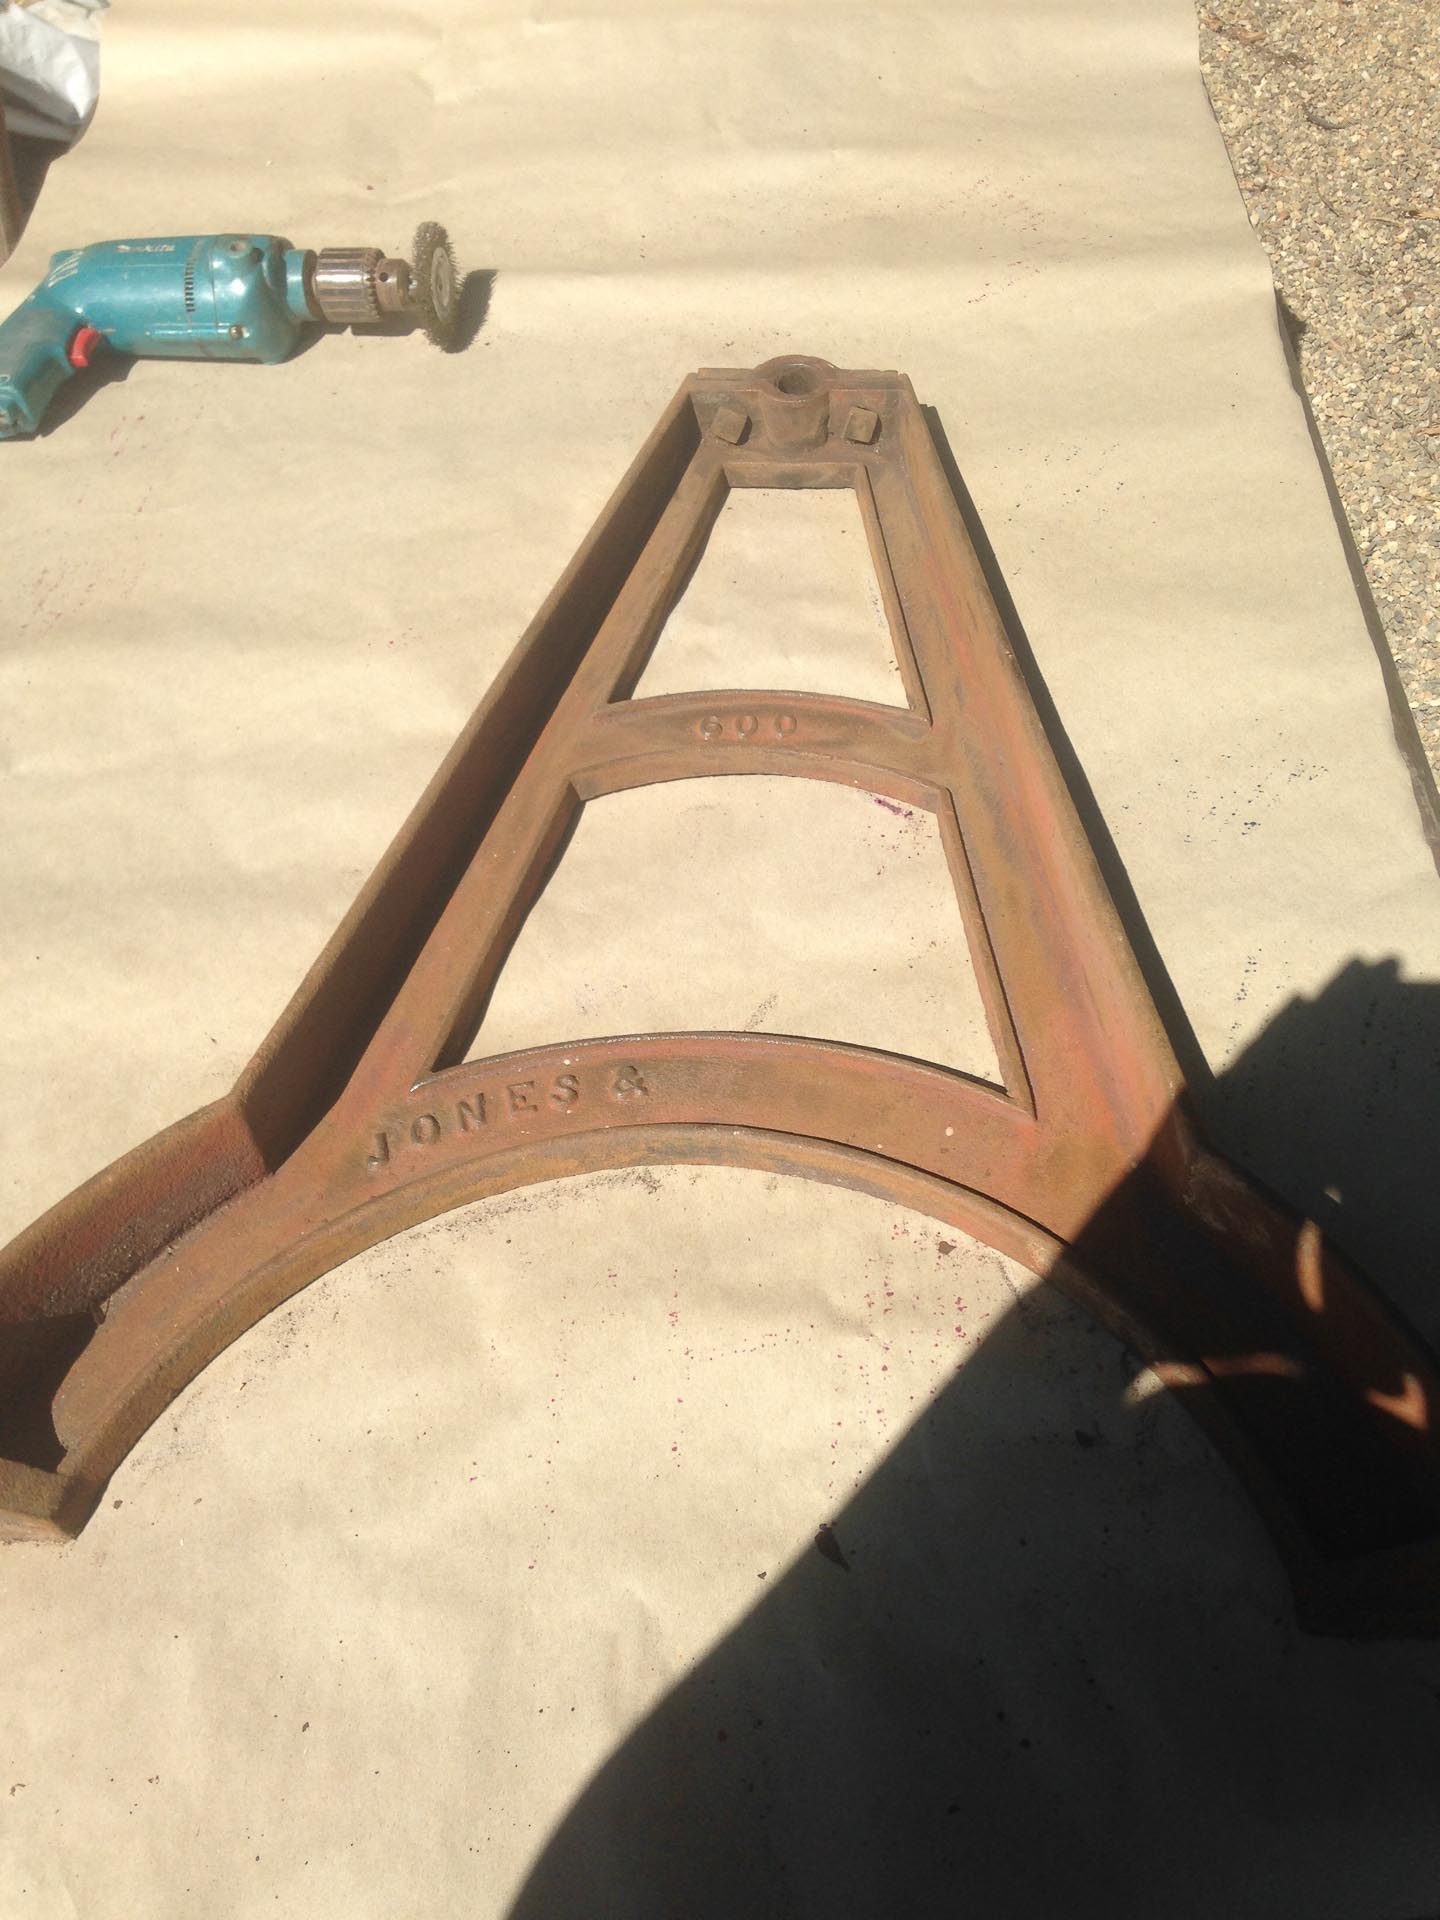
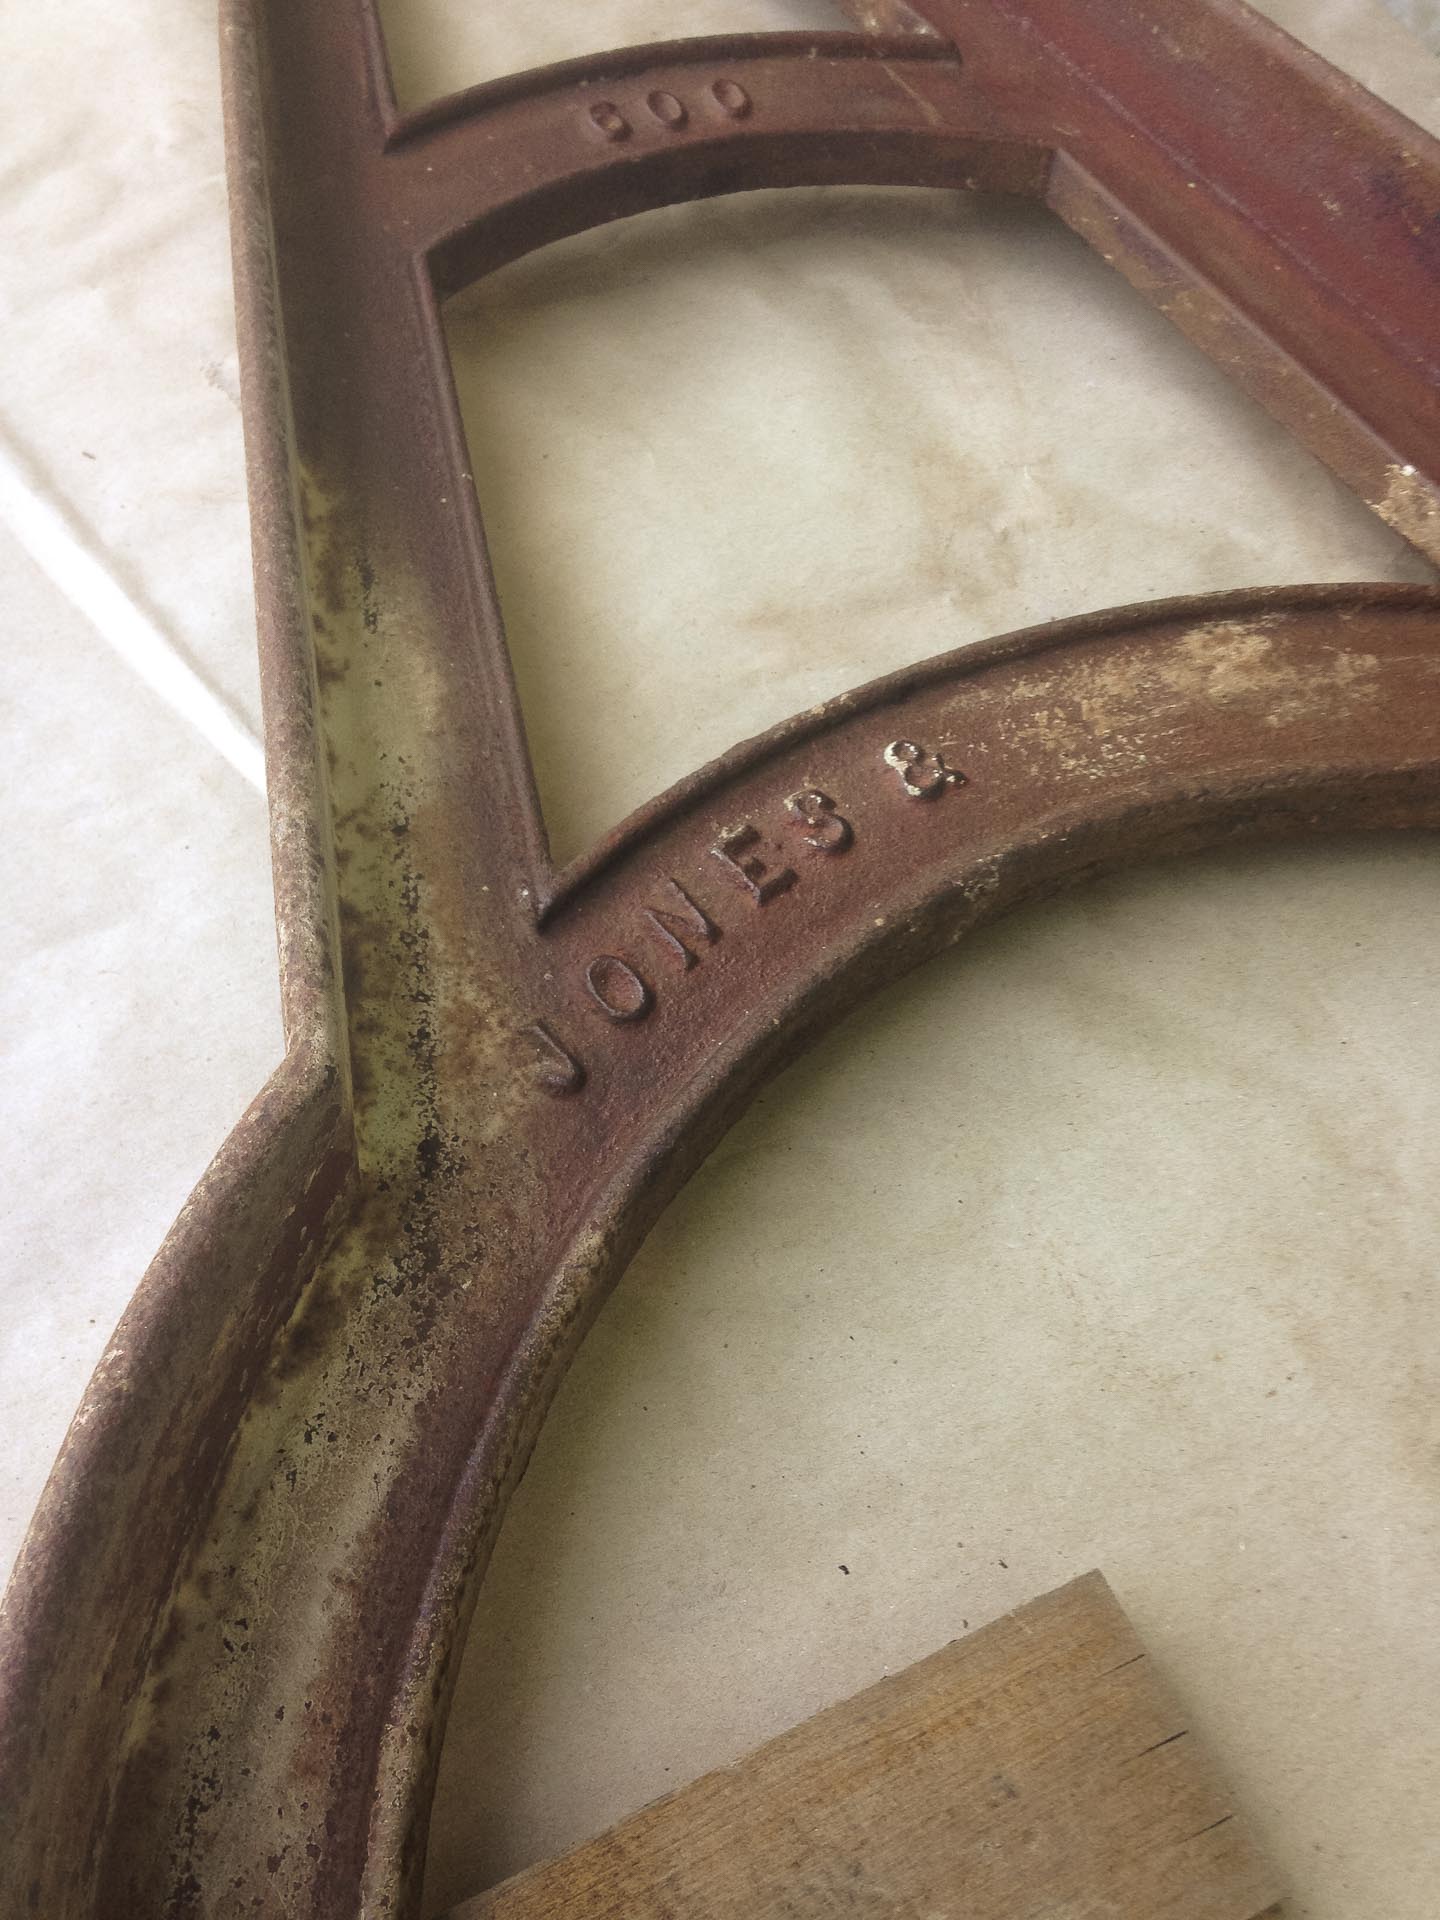
church bell legs before paint

I found these amazing legs leaning up against the back of an architectural salvage tent, like they were the cast offs of the bunch. When I asked the gentleman about them he said they came off a 1860’s church bell in upstate New York .

I shelled out $135 which ended being every last cent I had on me, to get as close to the $150 he wanted for them. I was literally standing with my wallet open, no lunch money in my near future, hoping to god he would take the $135. Cue the puppy-dog eyes and we were off!

Refinishing the industrial legs

church bell legs before paint

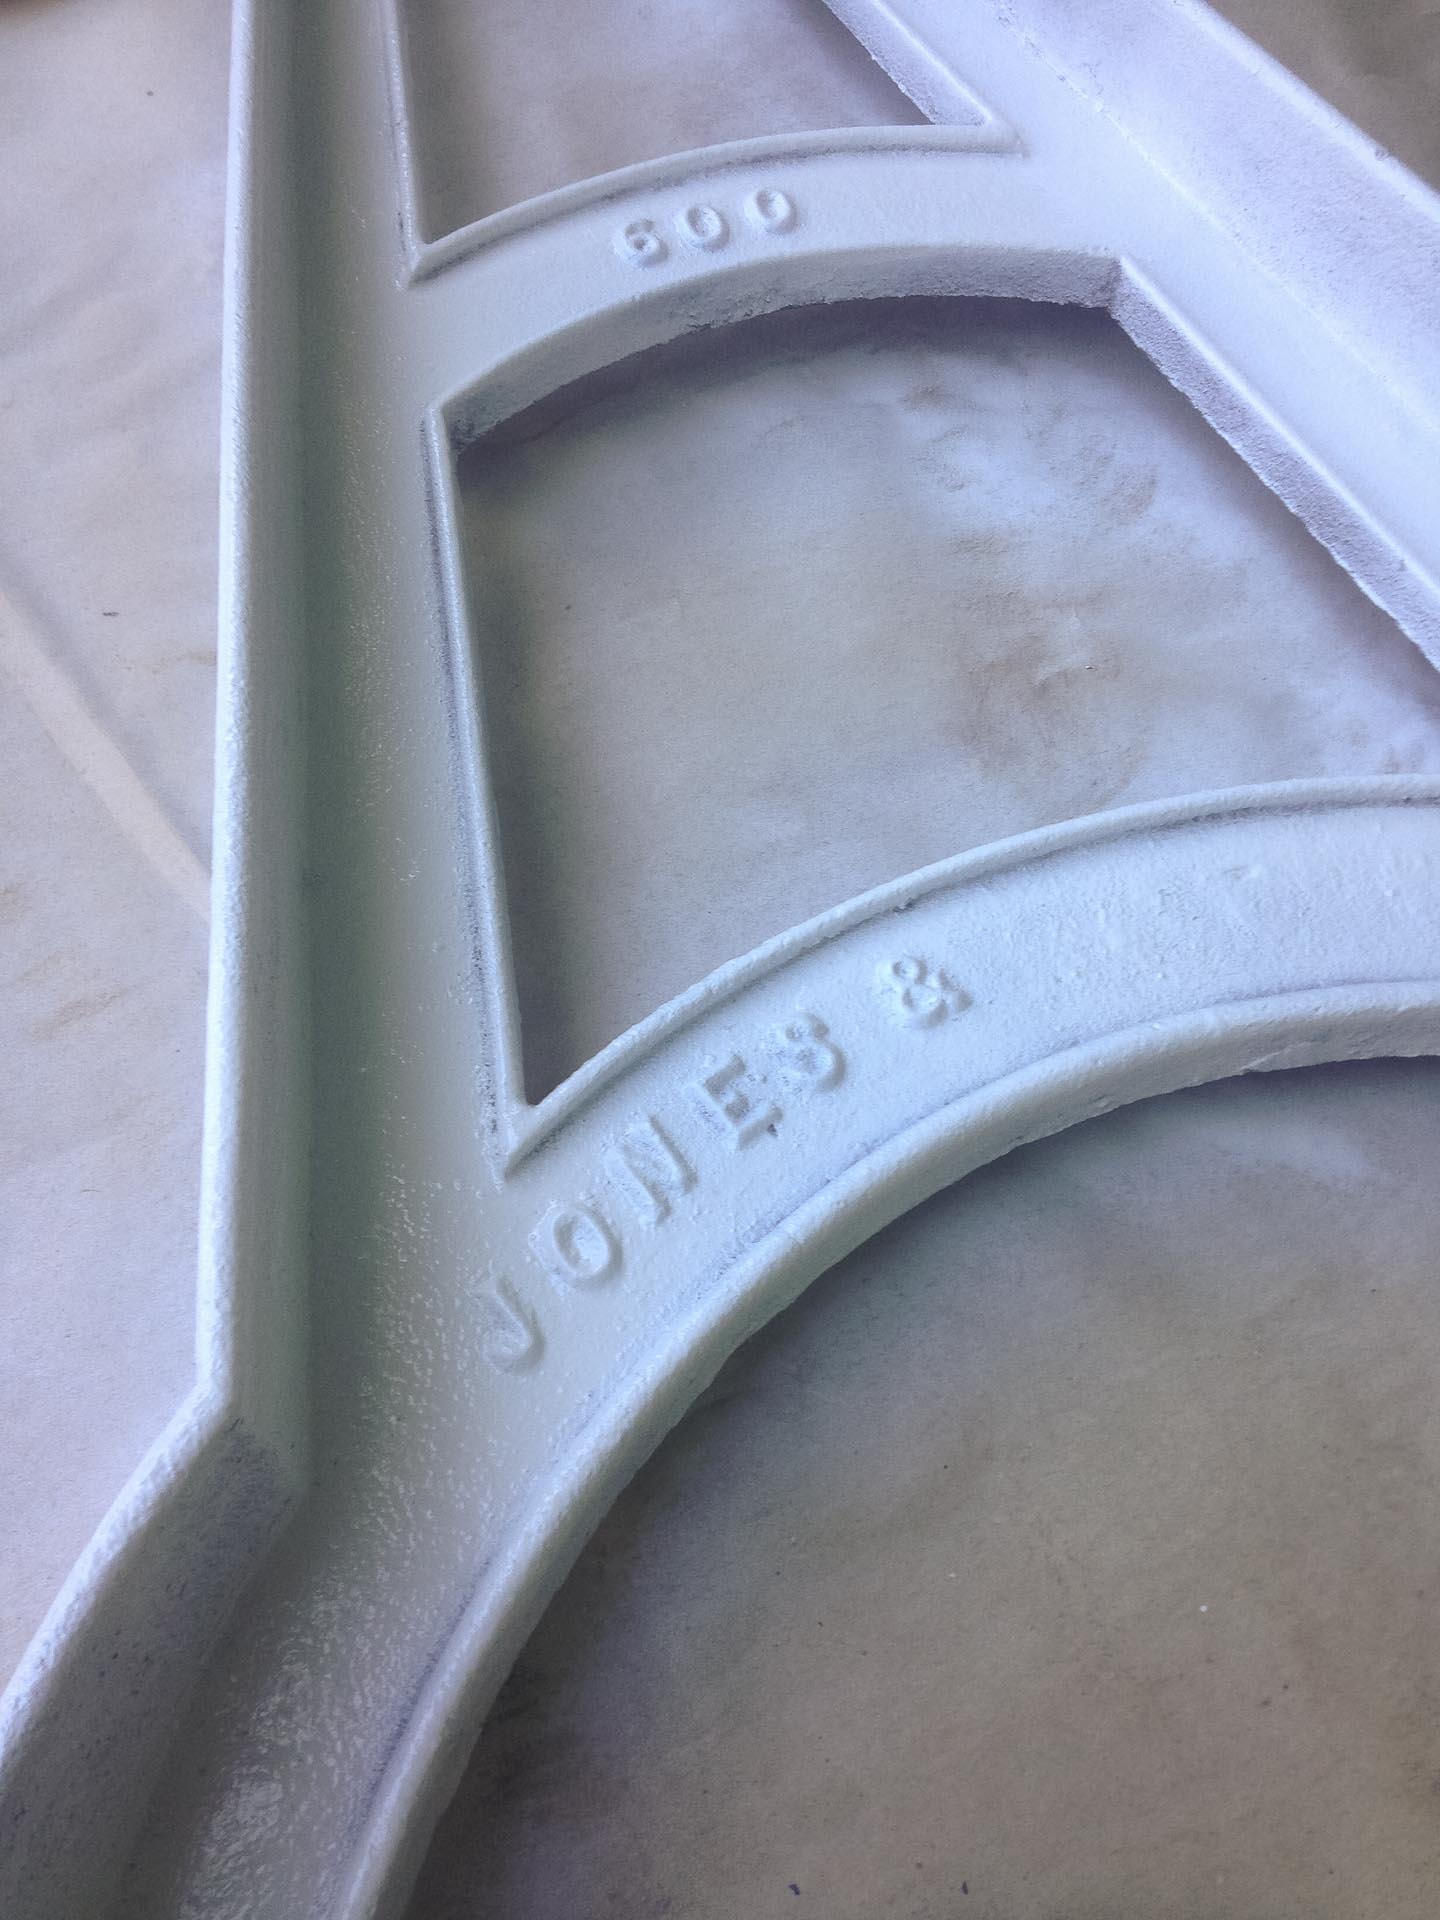
My original plan was to paint the legs white, for some reason they made sense to me painted. This was a very hard decision to make because most of the appeal of lies in the rustic character. By painting it white I would be taking some of that away and making it modern.

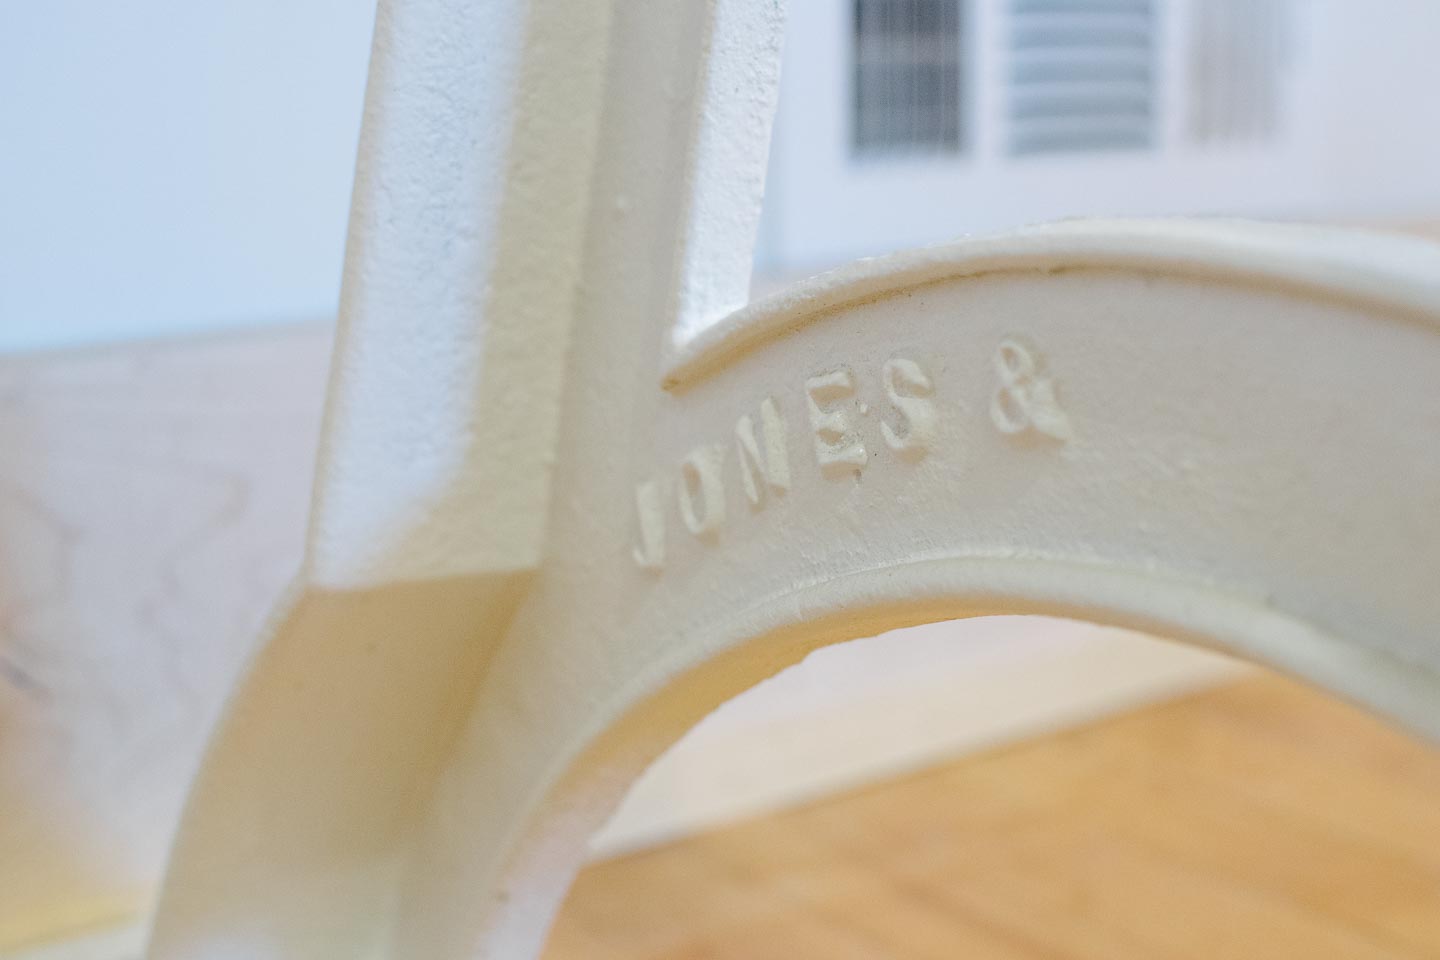
church bell industrial desk legs after paint

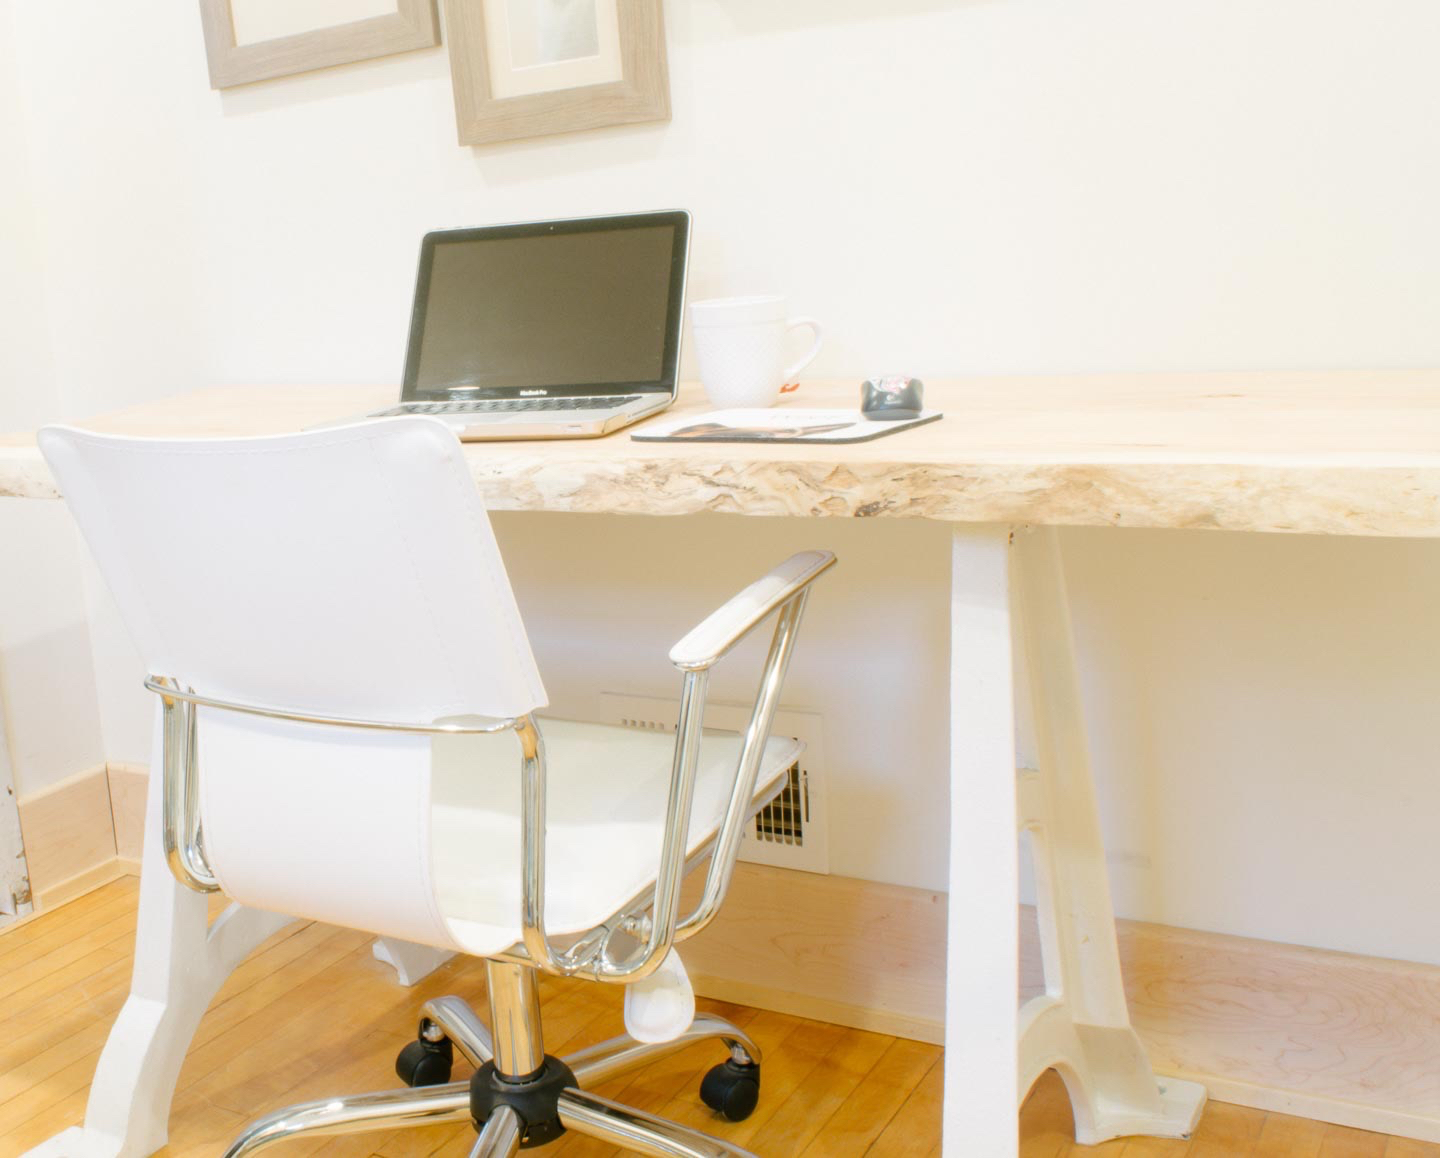
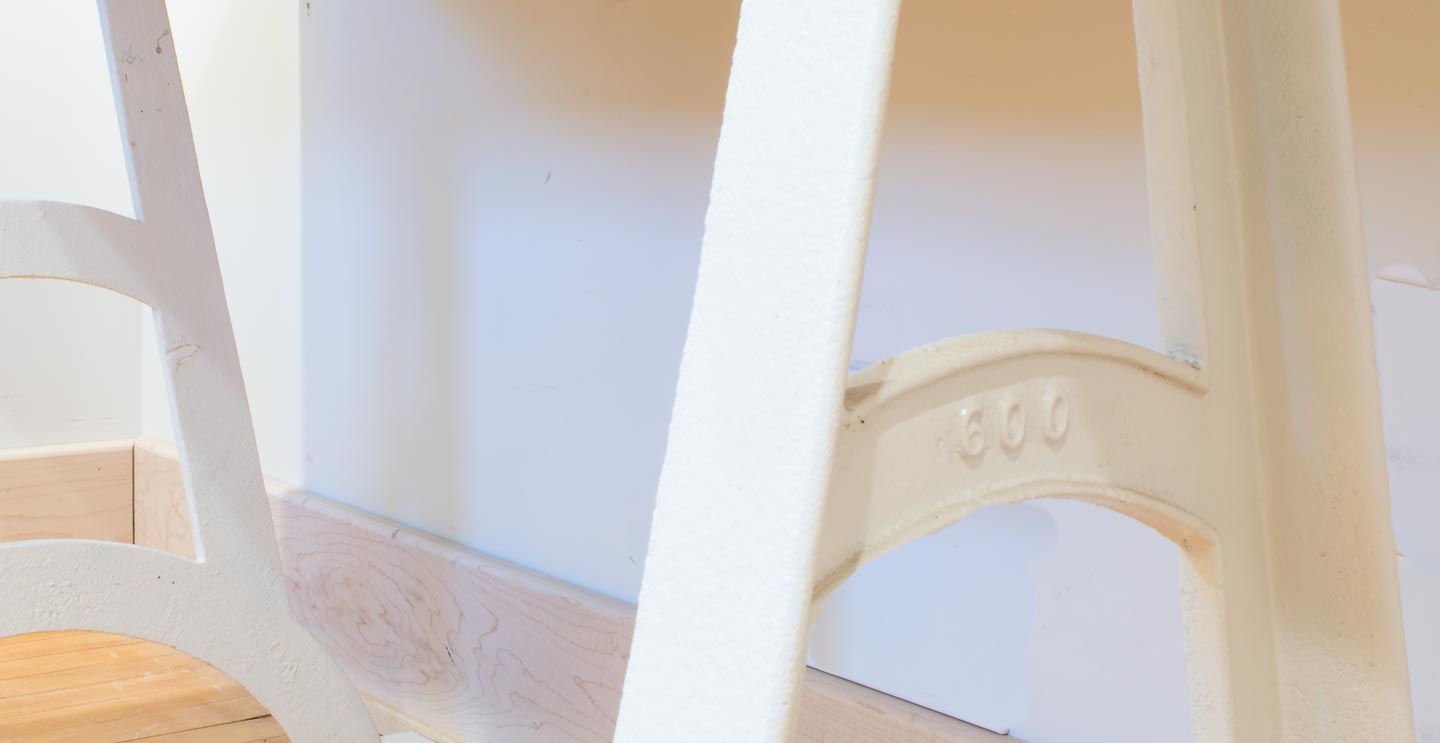
I decided to go with the white to highlight of company lettering Jones & (In those days they didnt bother writing & Co.), soften the industrial look, and to tone down the desk which was destined for such a small room.

Jones & co. Industrial Desk Legs

Industrial desk legs


So I used appliance enamel paint to cover the cast iron legs after sanding them up a bit. We then secured them together with a board and then created a cleat for the wall along the back of the industrial desk top.

industrial desk

industrial desk top

Industrial Desk

Reality Check

The appliance enamel has pulled away in a few places, giving back some more of the character over time. Thats what always amazes me about a project... it's beauty is revealed in the initial refinishing process, but also over the lifetime of the piece.


Our new fiddle fig and the canvas tote created to house him

FiddleFigtitleimage.jpg

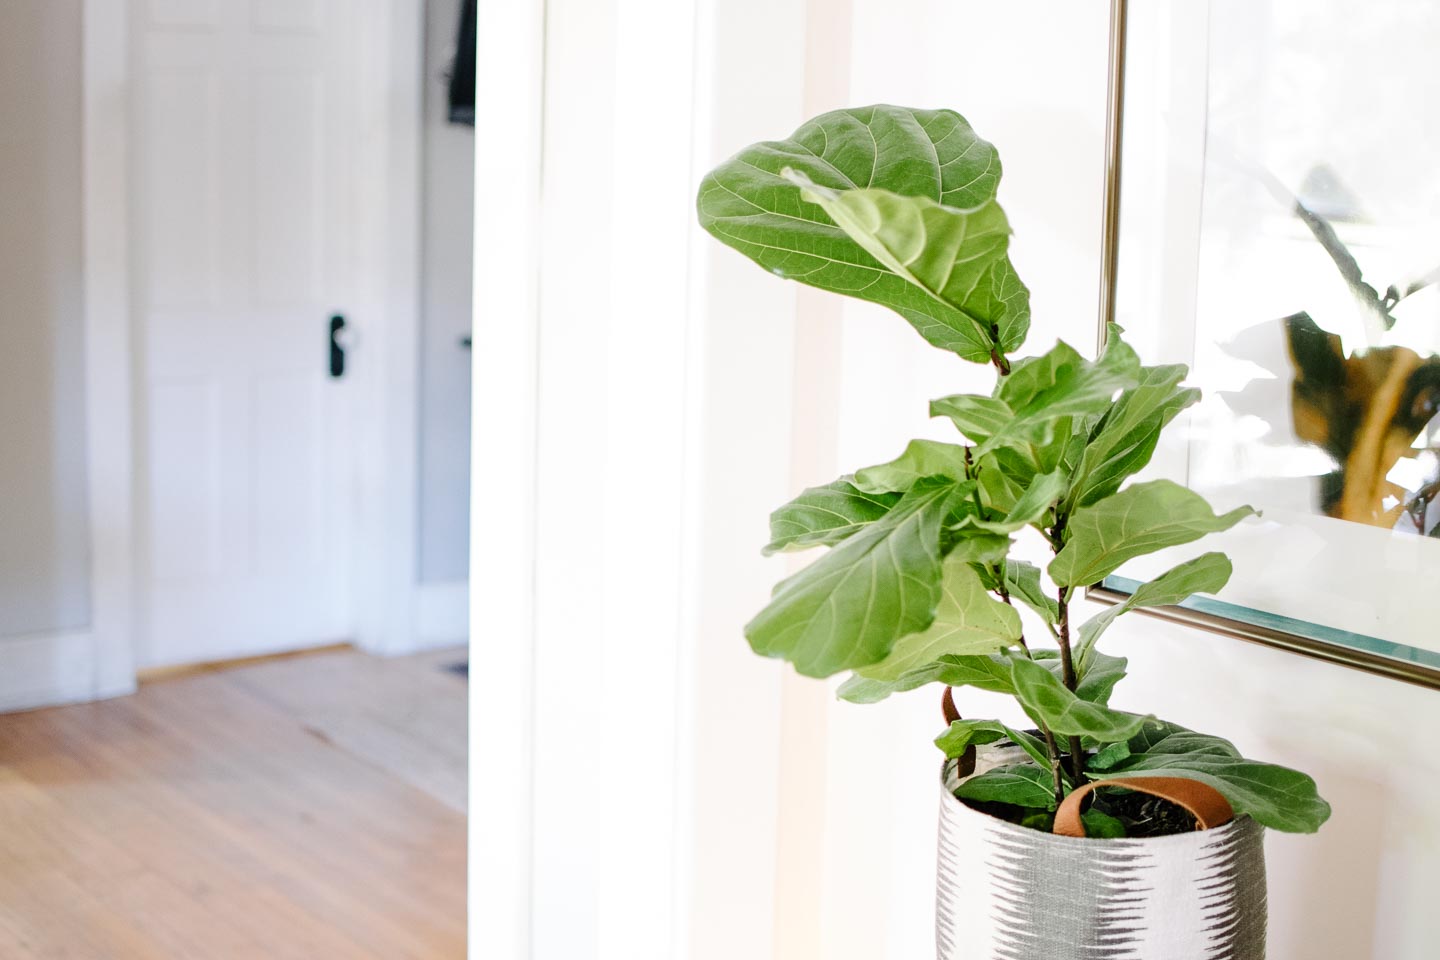
I jumped on the fiddle fig train a few weeks ago and bought this beauty. I've had a slight obsession with them for about a year now, but with my tendency to kill plants, I just wasnt sure spending the money was the best idea.

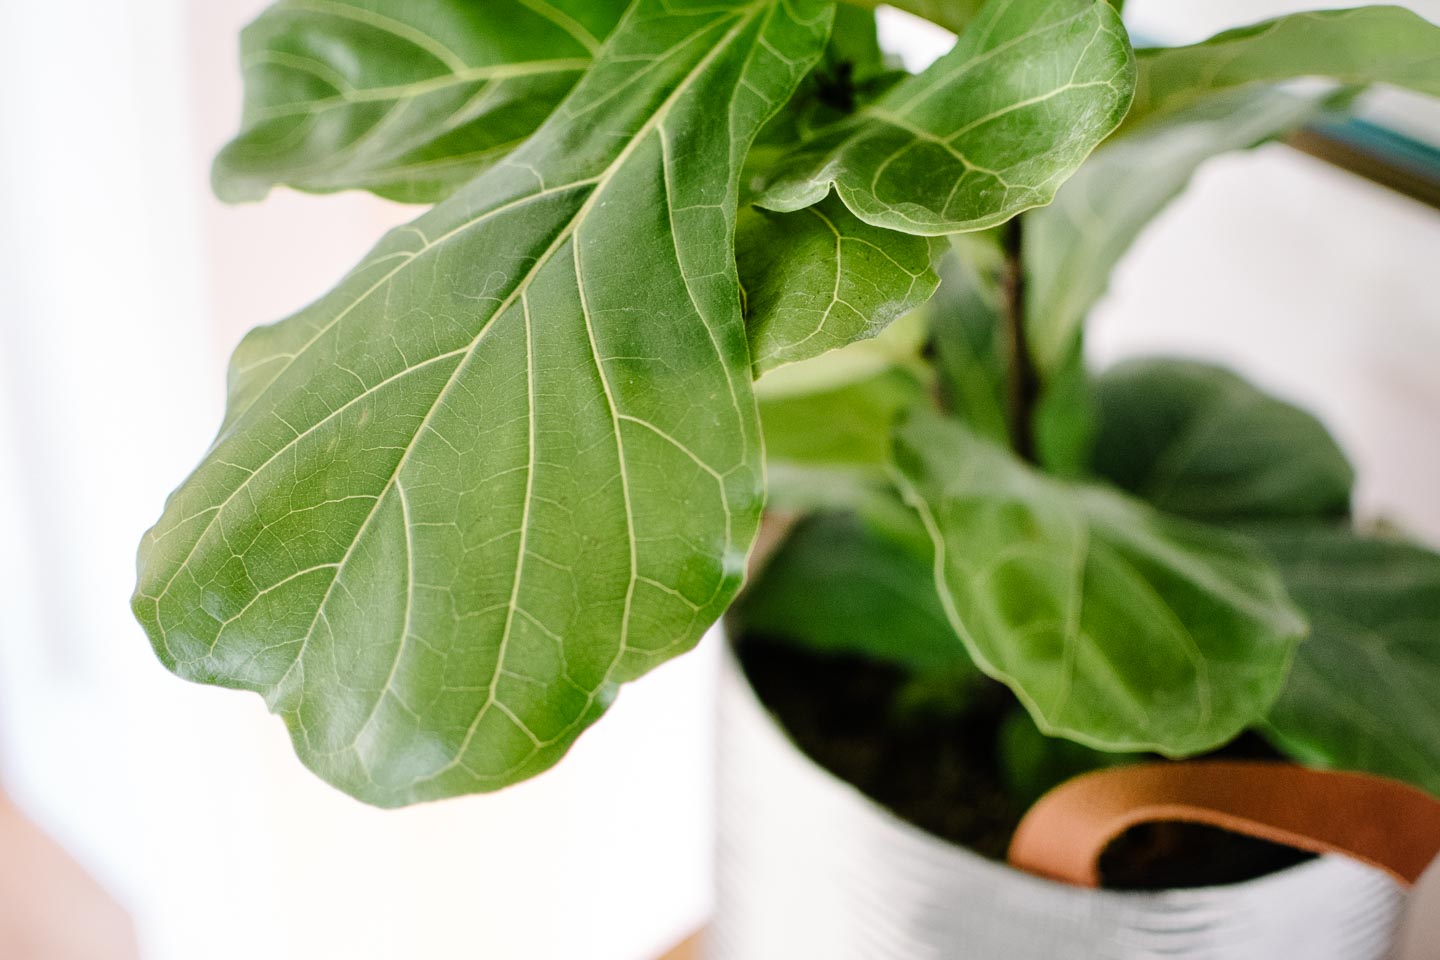
close up of our fiddle fig in the front entryway

Keeping the fiddle fig alive

In my defense I usually have help killing the plants in this house. One (or all) of the four dogs we share our space with, likes to eat dirt from our plants. Not dirt outside, nope, dirt inside that is helping our plants live. Please tell me I’m not the only dog owner who has this problem?

So, this little guy is being sheltered from the crazed dirt eating dogs by living high up on our midcentury cabinet. Now we will have to hope Mitch doesn’t overwater the guy trying to get me a green thumb.

No over-watering this guy got it... but air plants need little water, some need no water, some need occasional water...ill have this over-hydrated in no time....

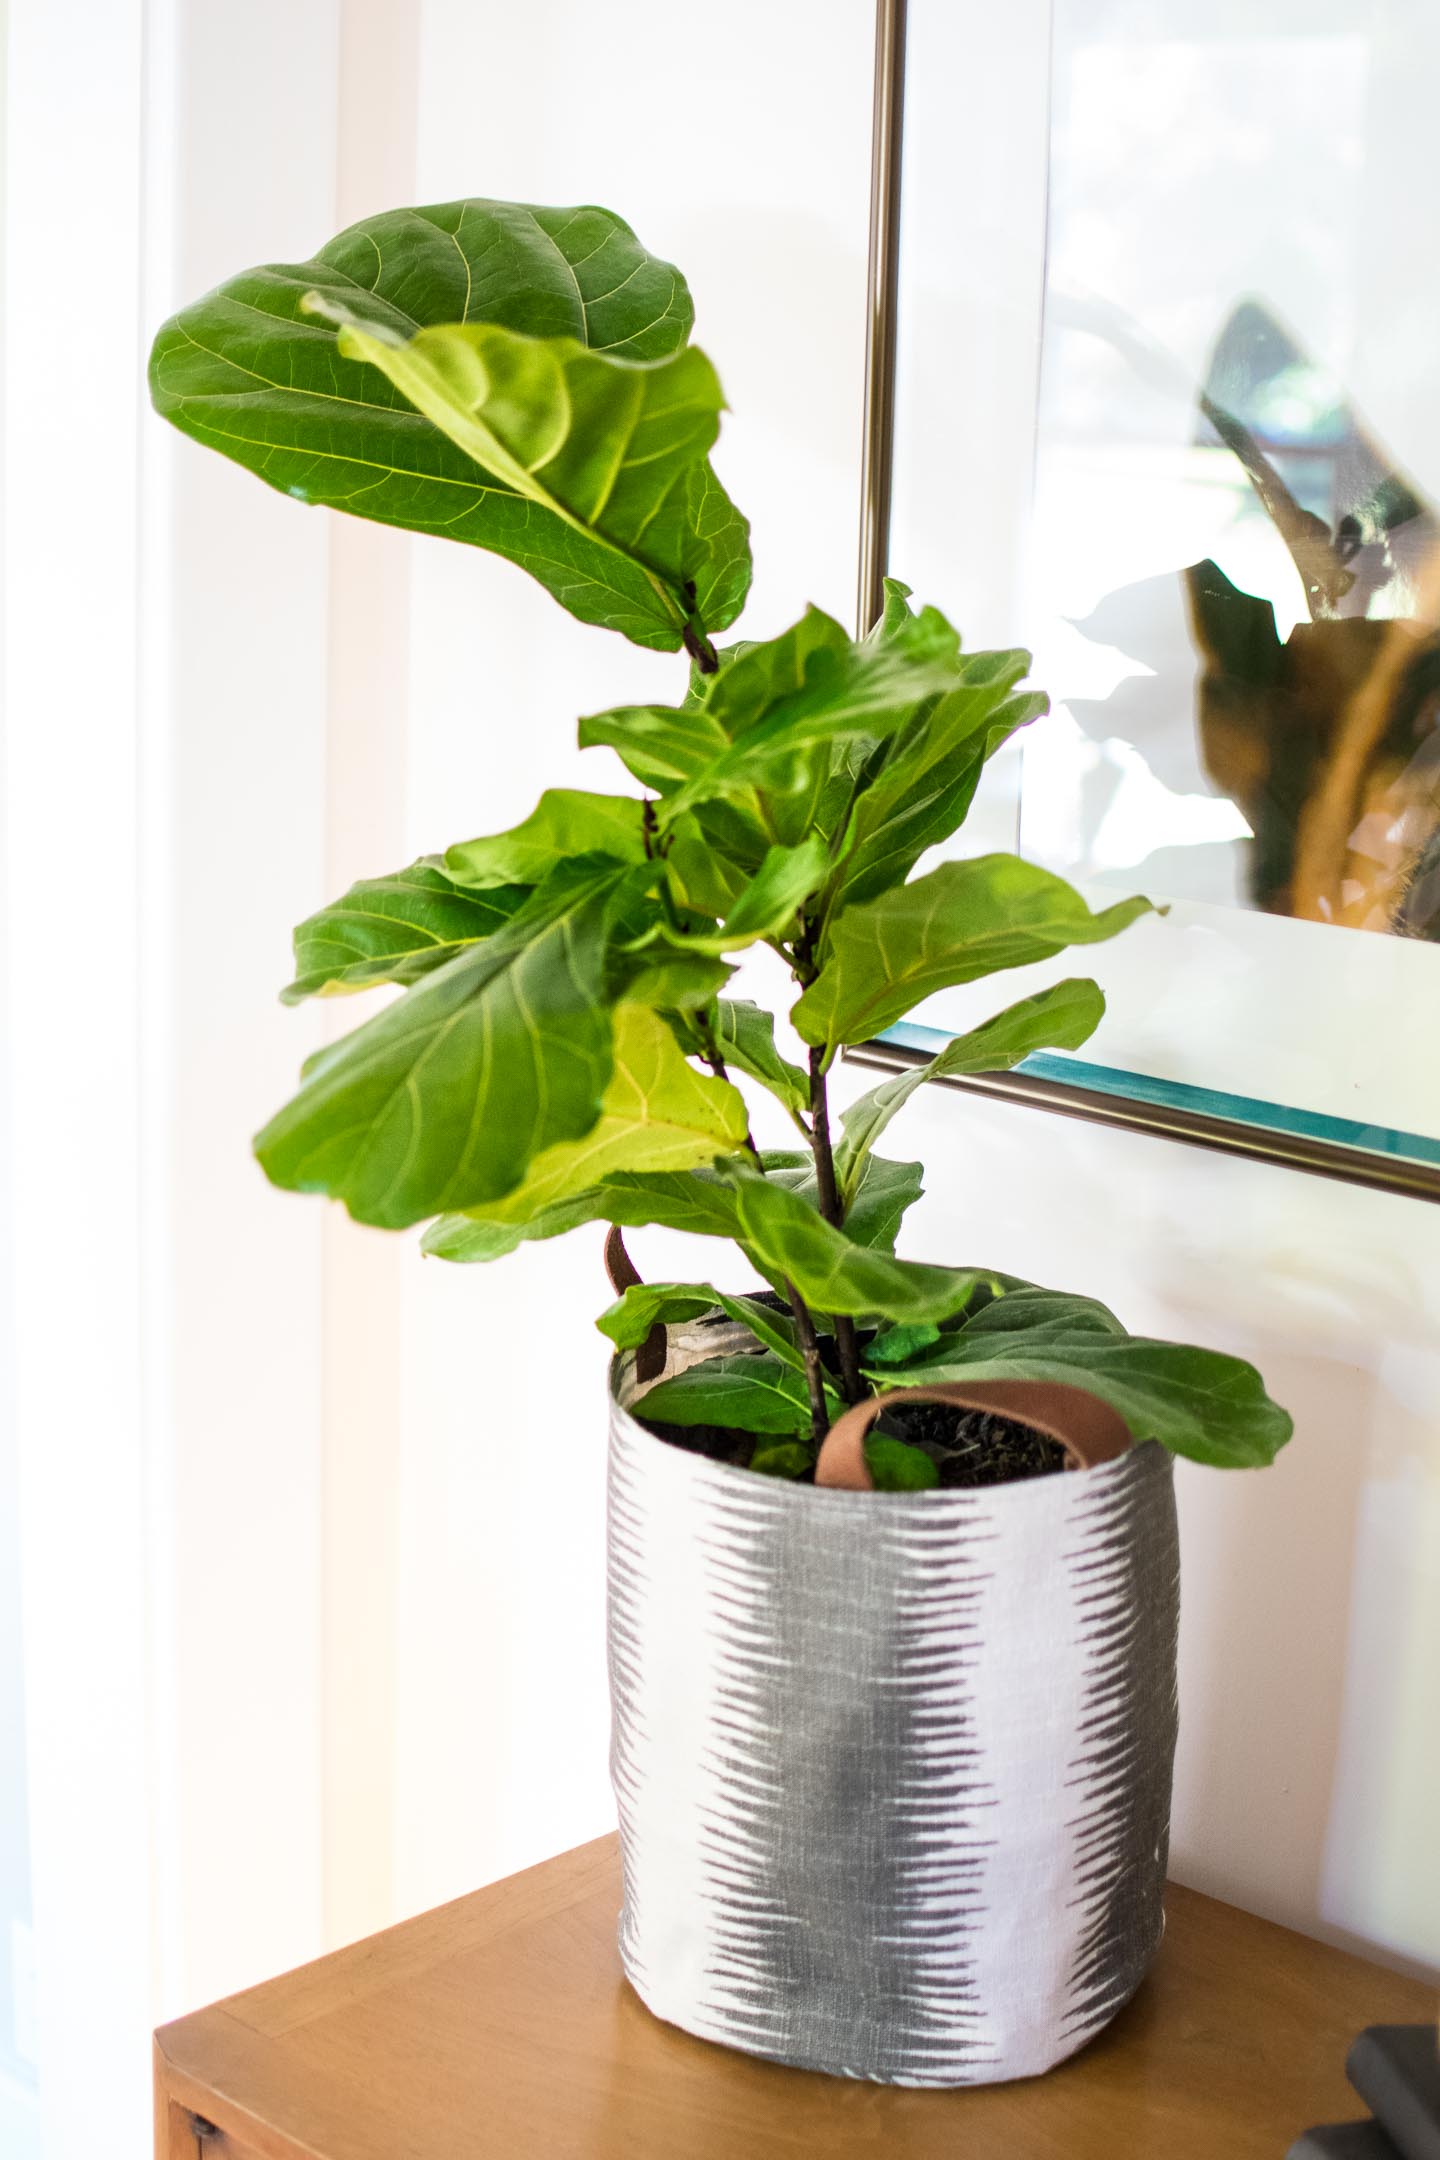
our fiddle fig in the front entryway

The DIY canvas tote

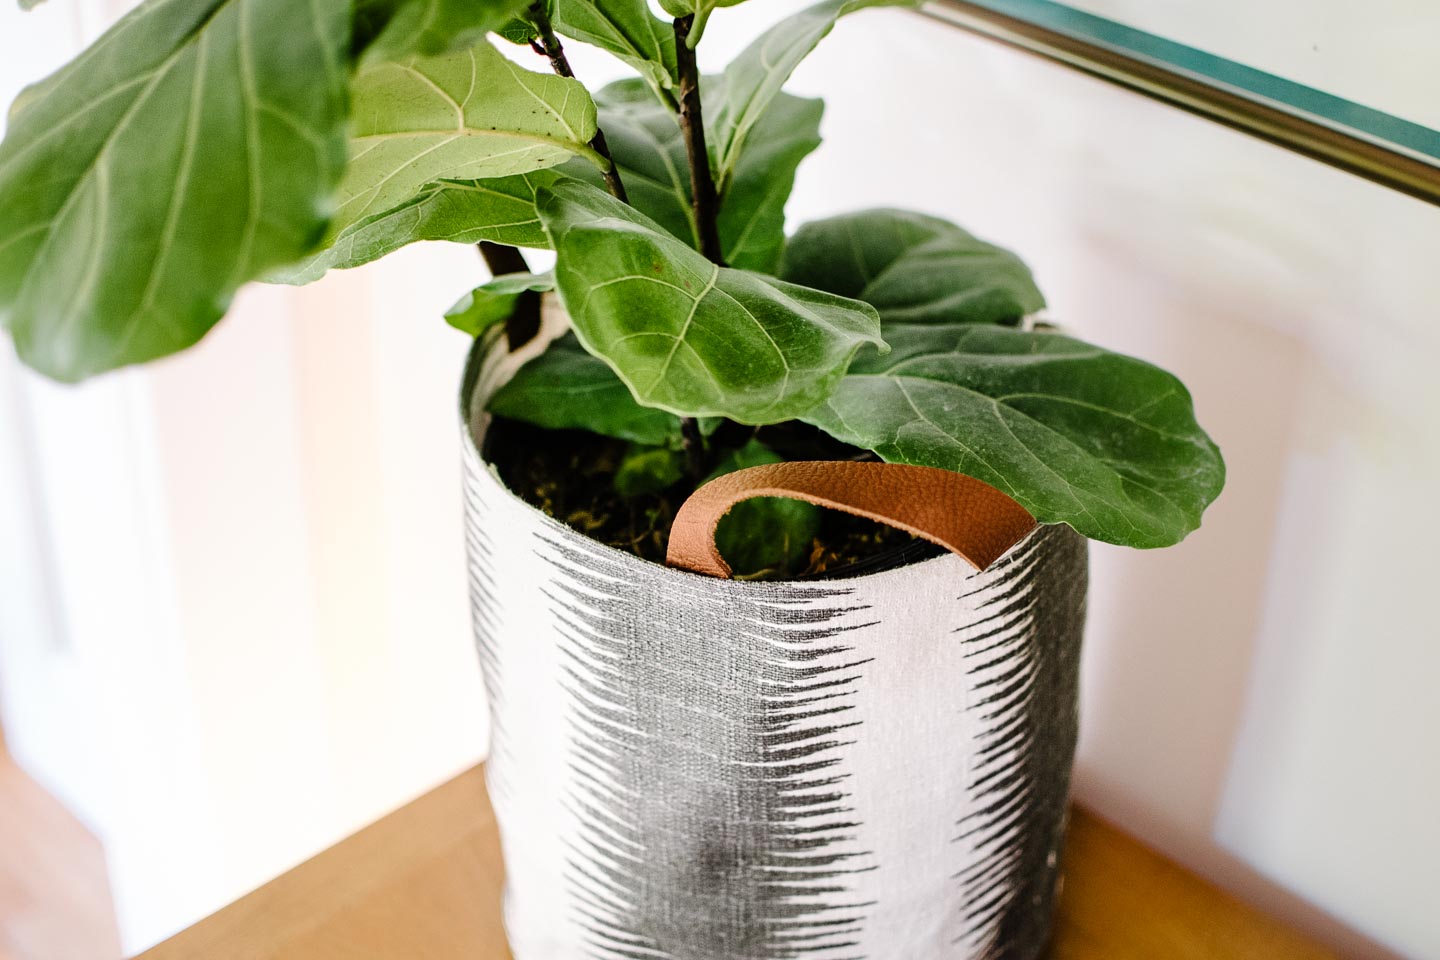
I decided to go with a handled canvas bag so I could easily move Mr. Fiddy Fig, (who’s obviously best friends with our large print of Trigger aka Mr. Triggy Trig). I grabed the fabric leftovers from our laundry room wall-paper project and liked the added texture without too much color to compete with the bright green leaves.

close up of our fiddle fig and diy canvas basket


fiddle fig in canvas basket

Reality Check

Perfection it is not, its really hard to sew a round bottom on things! For me it wasn’t about having every detail be perfect, it was about the creation, learning, and having a fun time. It certainly works well for grabbing those leather handles and moving him around the house to get extra light.

our fiddle fig in the front entryway

What have you worked on recently (perfect or not) that your proud of, I’d love to hear your story?