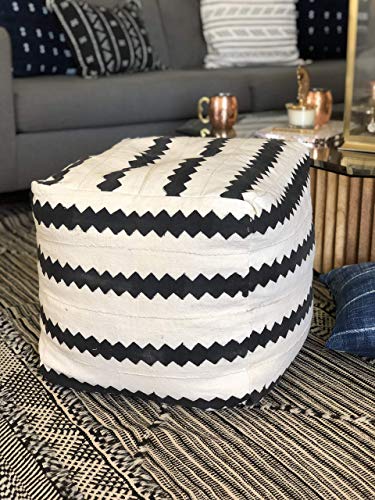
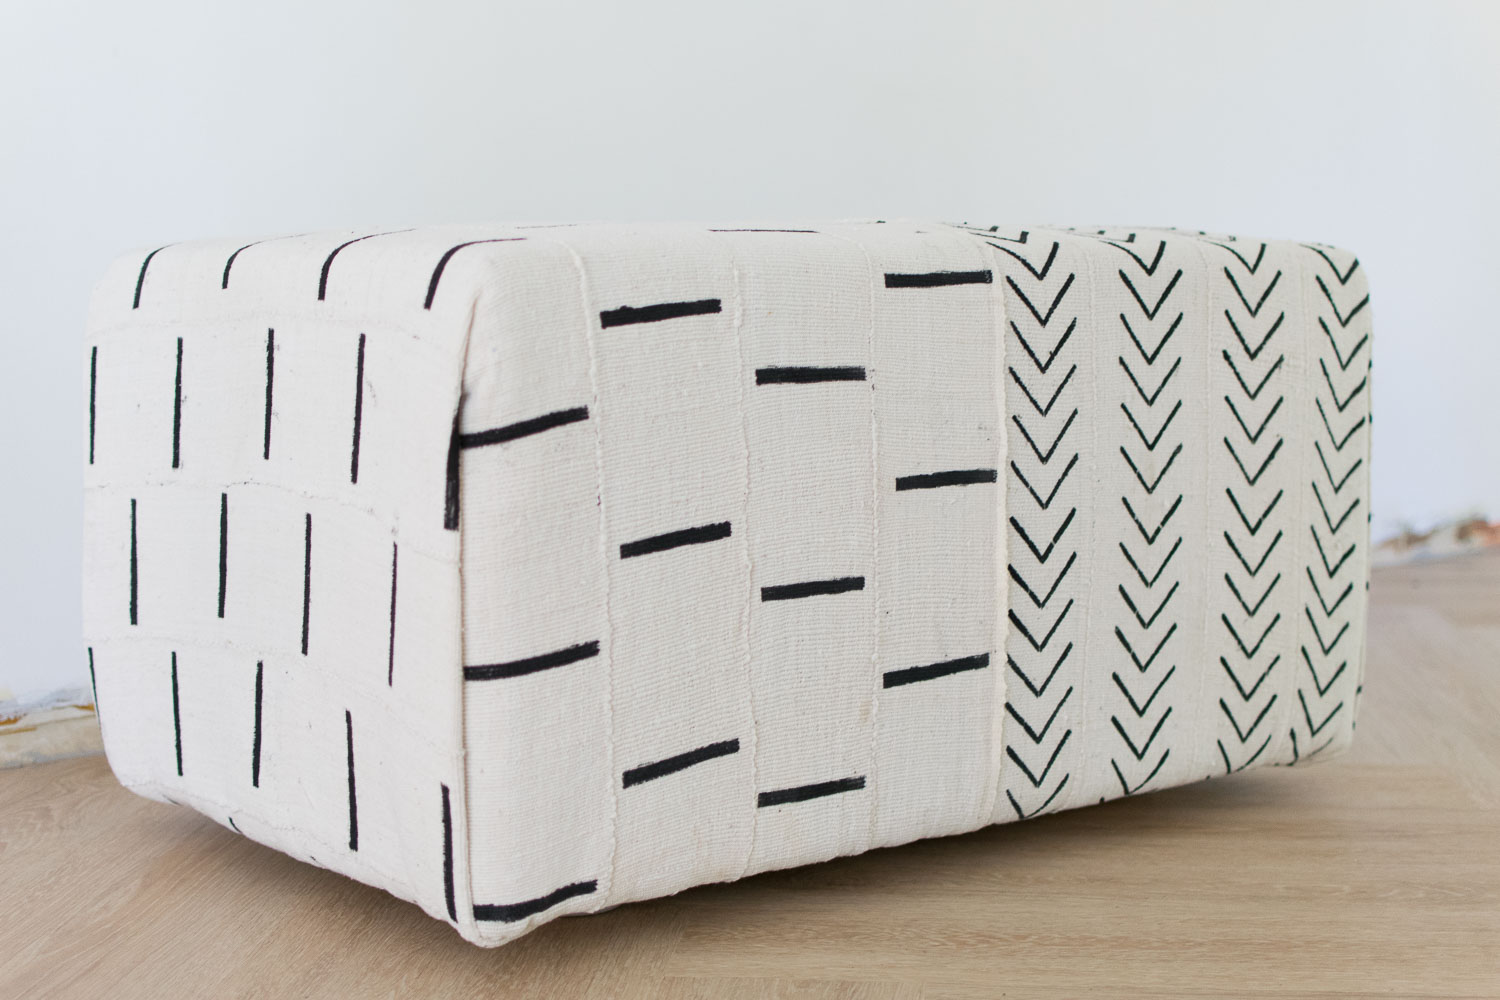
DIY Boho Mud Cloth Ottoman
/Apparently mud cloth as becoming a thing with me. We used it in the Airbnb Suite as art, I’ve made pillows, and now this amazing coffee table ottoman!
Here’s how I put this together in a couple of afternoons.
This post may contain affiliate links. When you click on a link and purchase I will get a small compensation at no extra cost to you, win win. Read the full disclosure here.
Mudcloth Ottoman Materials:
Two pieces of Mud cloth (Roughly 38” x 66”)
Plywood Cut to 24” x 36” (They will cut this at Lowe’s for you)
(2) 2x4x8 Cut into 16” Lengths ( making 10 pieces)
1 3/4” Wood Screws
Tools:
Chop Saw or Miter Saw (You could also rent one or have them cut pieces at the store)
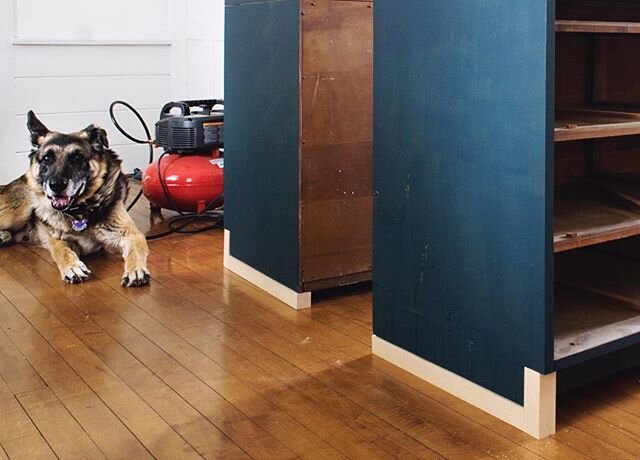
Nailer (Unless you use a battery nailer, you will need a compressor and hose- I love my little compressor like this and a lightweight hose)
Driver Drill ( We have two sets of these so that neither one of us has to share!)
Staple Gun, or Stapler
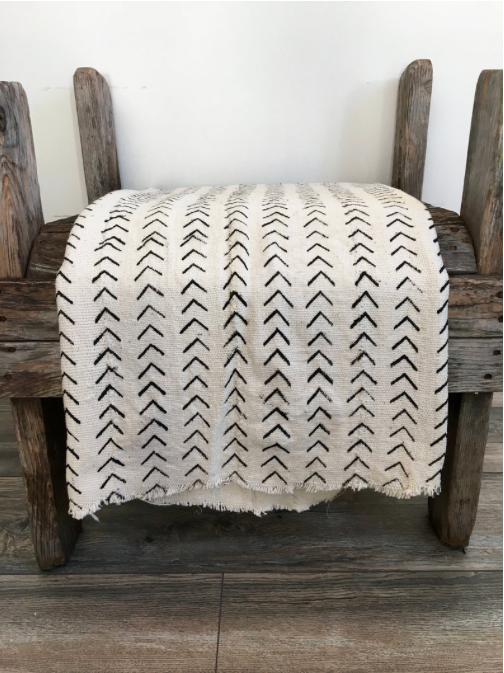
Finding Your Mud Cloth Fabric
I found my fabric at a local antique show, but you can easily find yours online at Etsy!
Here’s links to a few I love ❤️


Deciding on the size of Ottoman
Measure Fabric
Measure in 2” for your fold underneath that you will staple.
Measure in 18” for seating height (or whatever height you would like the ottoman to be)
Gave me 20” on all for sides.
Figure out what you have left for the top area of your ottoman, that’s the size of plywood you will purchase as well.
78” -40” (20 “ on both sides) =38”
66”-40” (20 “ on both sides) = 26”
This left me with a 38” x 26” area, which I then rounded down to 36” x 24”. Simplifying the plywood cut for Lowe’s.
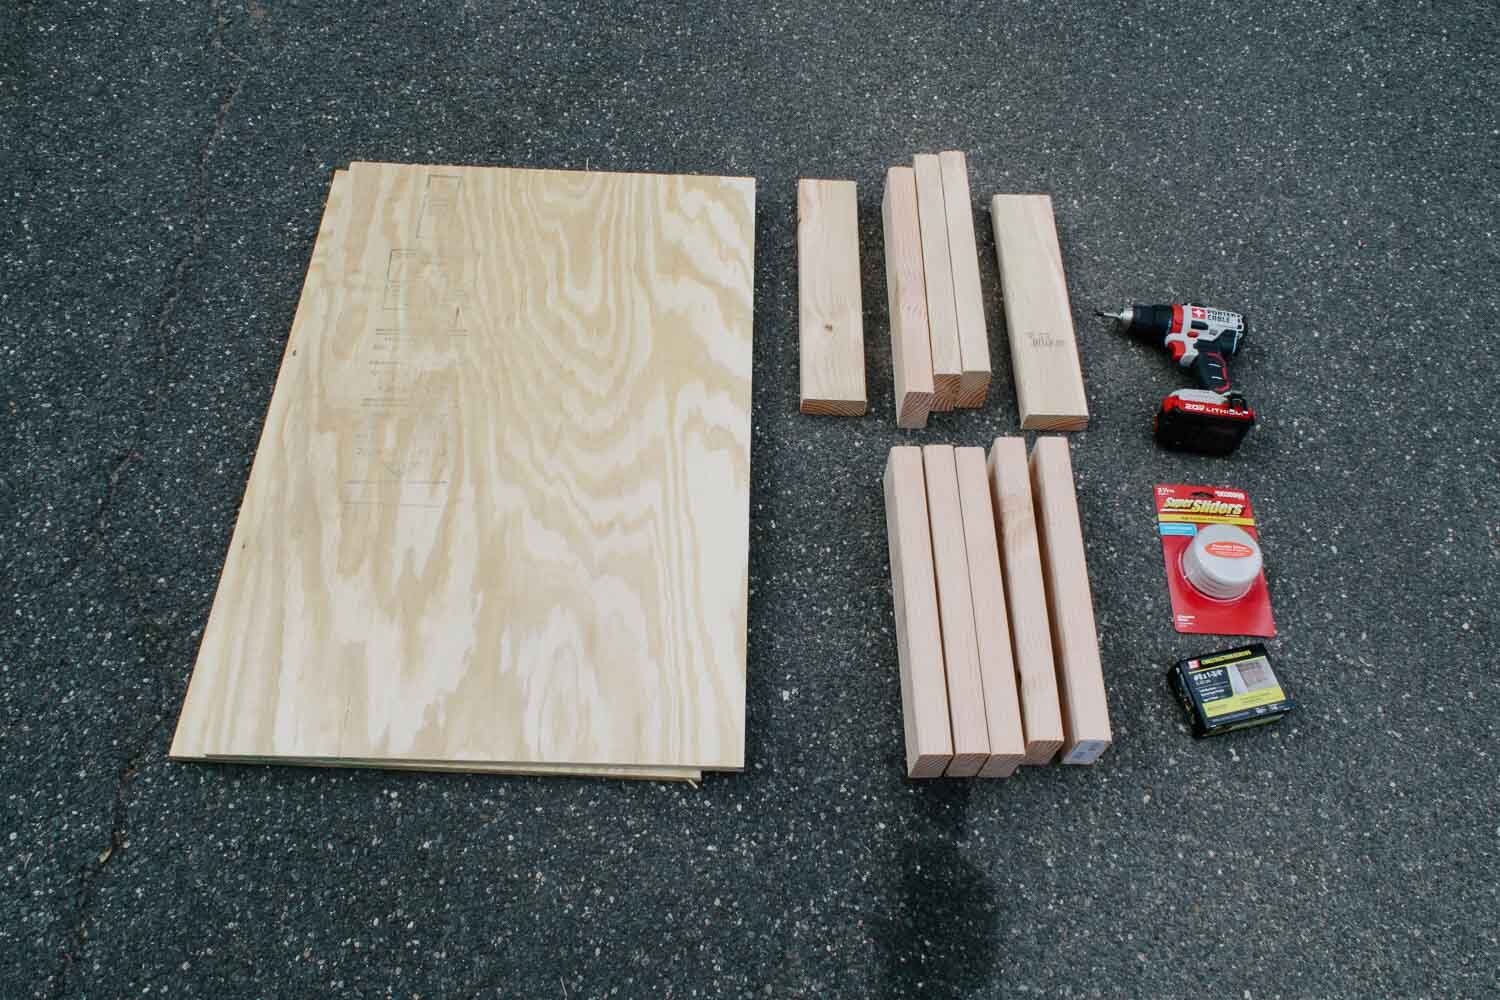
Getting Supplies
Getting supplies was relatively easy because I had Lowes cut my plywood down for me at the store. This actually meant that I didn’t have to haul the plywood and I also didn’t have to cut it when I got home.
Lowes cut my plywood down to 24“ x 36“, that same measurement we found above.
I then cut my 2x 4’s to get 10 pieces with our new Miter Saw.
Building the Ottoman Frame
Once I had all my materials cut and ready I started building the inside structure. I’m not really sure what the “standard” way of doing this is but I just used what I had on hand and made it work.

Putting down the bottom plywood I :
Clamped the 16” 2x4 to the plywood
Pin nailed it to the plywood
At the corners I made an L shape with the 2x4’s for further
I moved around the structure nailing as I went and finally adding the top and nailing it on.

Then, I went around and screwed everything together. Using 1 3/4” screws made sure to hit every 2x4 on both the top and bottom.
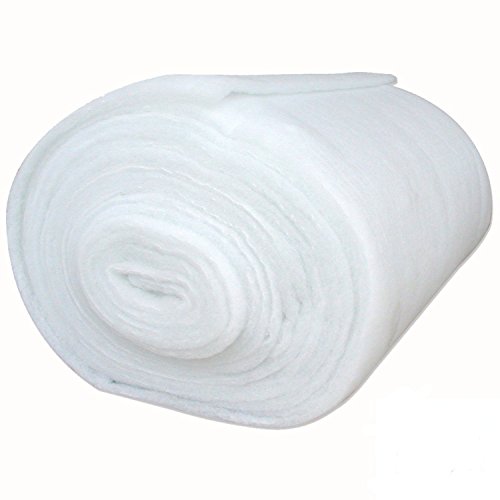
Adding the batting
Are use an old blanket for my batting but you can find batting online or at a local fabric store.
I used my compressor and staple gun to staple the batting, keeping in mind I can cut off extra waste as I went.


I did end up with these triangles that I then cut off at each corner of the Ottoman.


When I wrapped the batting around the bottom, I cut it off at 2 inches so that the fabric would cover it later.

Sewing the Mudcloth Together
Sewing them together was fairly easy.

I used my sewing machine and some white thread, you could also use a no sew method and iron the two pieces together.
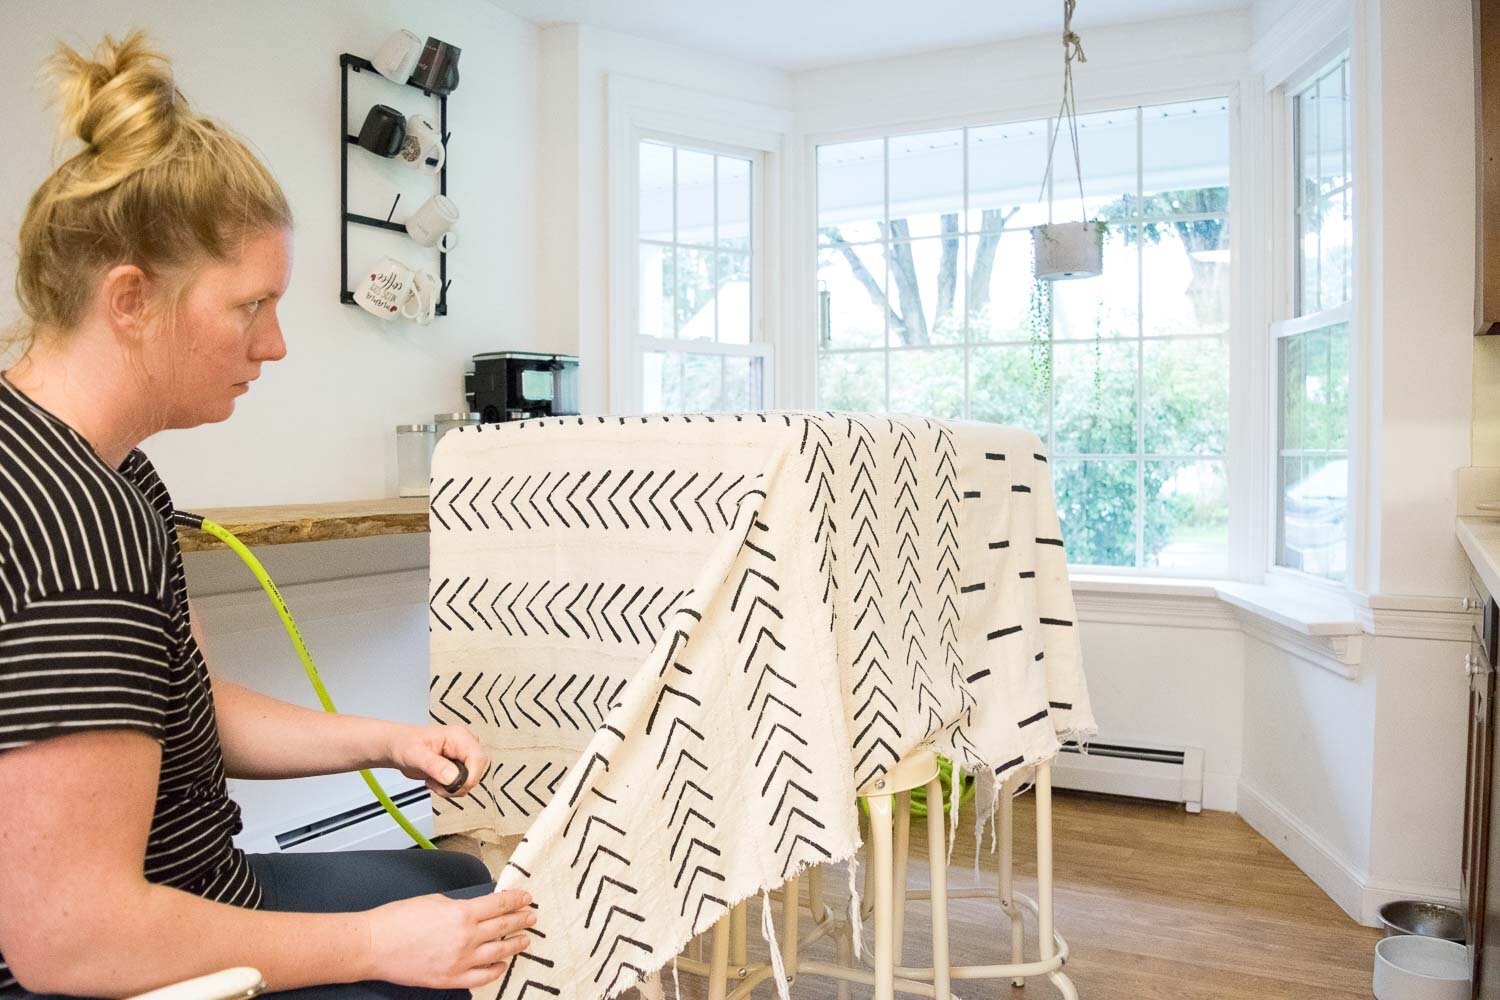
Stapling the Mudcloth to the ottoman
I went ahead and through the mud cloth over my structure and then centered it up as best I could.

Once you get to this point you won’t be stapling anywhere but the corners and underneath the ottoman. This is so you won’t see any staples.
Making the casual envelope corners

I would first start by trying to get the corners to lay down the way I wanted them naturally with gravity.


You had to pull out the corner and then walk in the triangle, staple that piece down, and then cover the staples piece with your envelope fold.
These pictures below show the process best.


I played around with this envelope folds (with out stapling) for quite a while before I felt confident in how this would turn out.
Finally you will flip the ottoman over and staple down your 2 inches of fabric around the bottom!

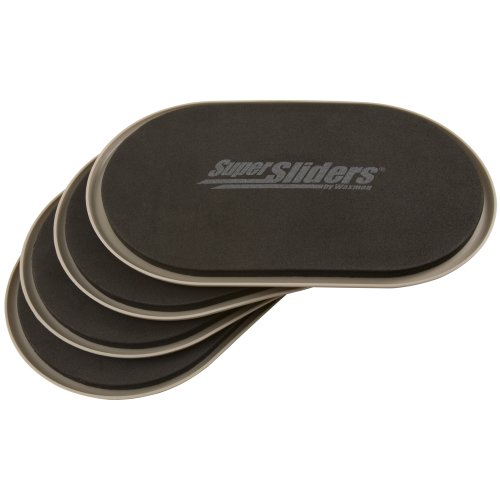
Making sure it slides effortlessly
Who doesn’t want to be able to move an ottoman that you can either use as a sitting area or a coffee table am I right?
In this case we created the mud cloth ottoman as a coffee table for our most recent living room client project (A UMass Sorority). It needed to be easily moved by the sisters.
So we decided to put feet on the bottom. I used extra 2x4’s to create them (that you can’t see when the ottoman is upright) .

And then these specialty Super Sliders worked perfectly to easily move the ottoman. I just adhered them with construction adhesive.

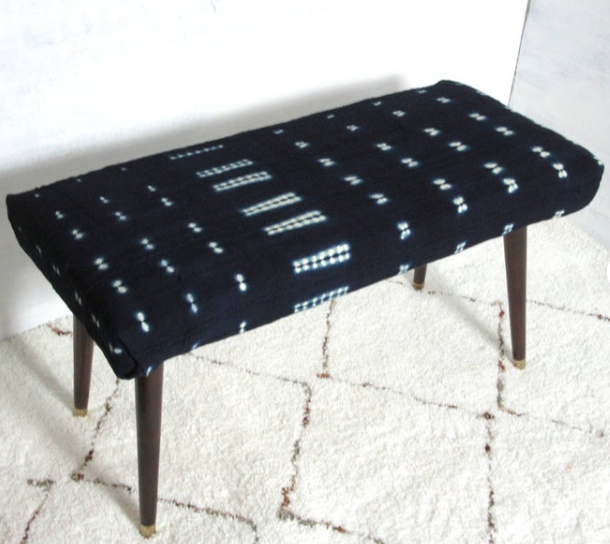
I couldn’t be more happy with the results. It truly goes to show that DIY can be a really good option to stay within budget and have a phenomenal outcome!
Buy or DIY This Ottoman?
We all have to pick and choose what our budget is and what we want to DIY or have time for. Here are some similar poufs I found on Etsy:


Here are even more purchase options if you want the look, but not the work!