Redesigning a Small Corner Shower (+ other bathroom reno updates)
/A couple of weeks ago we started this $1,500 bathroom makeover with the intention of doing phase 2 reno in a few years.
As you can imagine in a very old historic home, things didn’t go according to plan. The shower (which was going to get some maintienence ) needs to be completely removed due to water damage.
Find us through the ORC? Nice to meet you!! We’re Susie & Mitch a couple of DIY lovers who have been updating our 1847 Historic Colonial in Western Mass for the past couple of years (a craftsman bungalow before this). Find out more about us here.
This post may contain affiliate links. When you click on a link and purchase I will get a small compensation at no extra cost to you, win win. Read the full disclosure here.

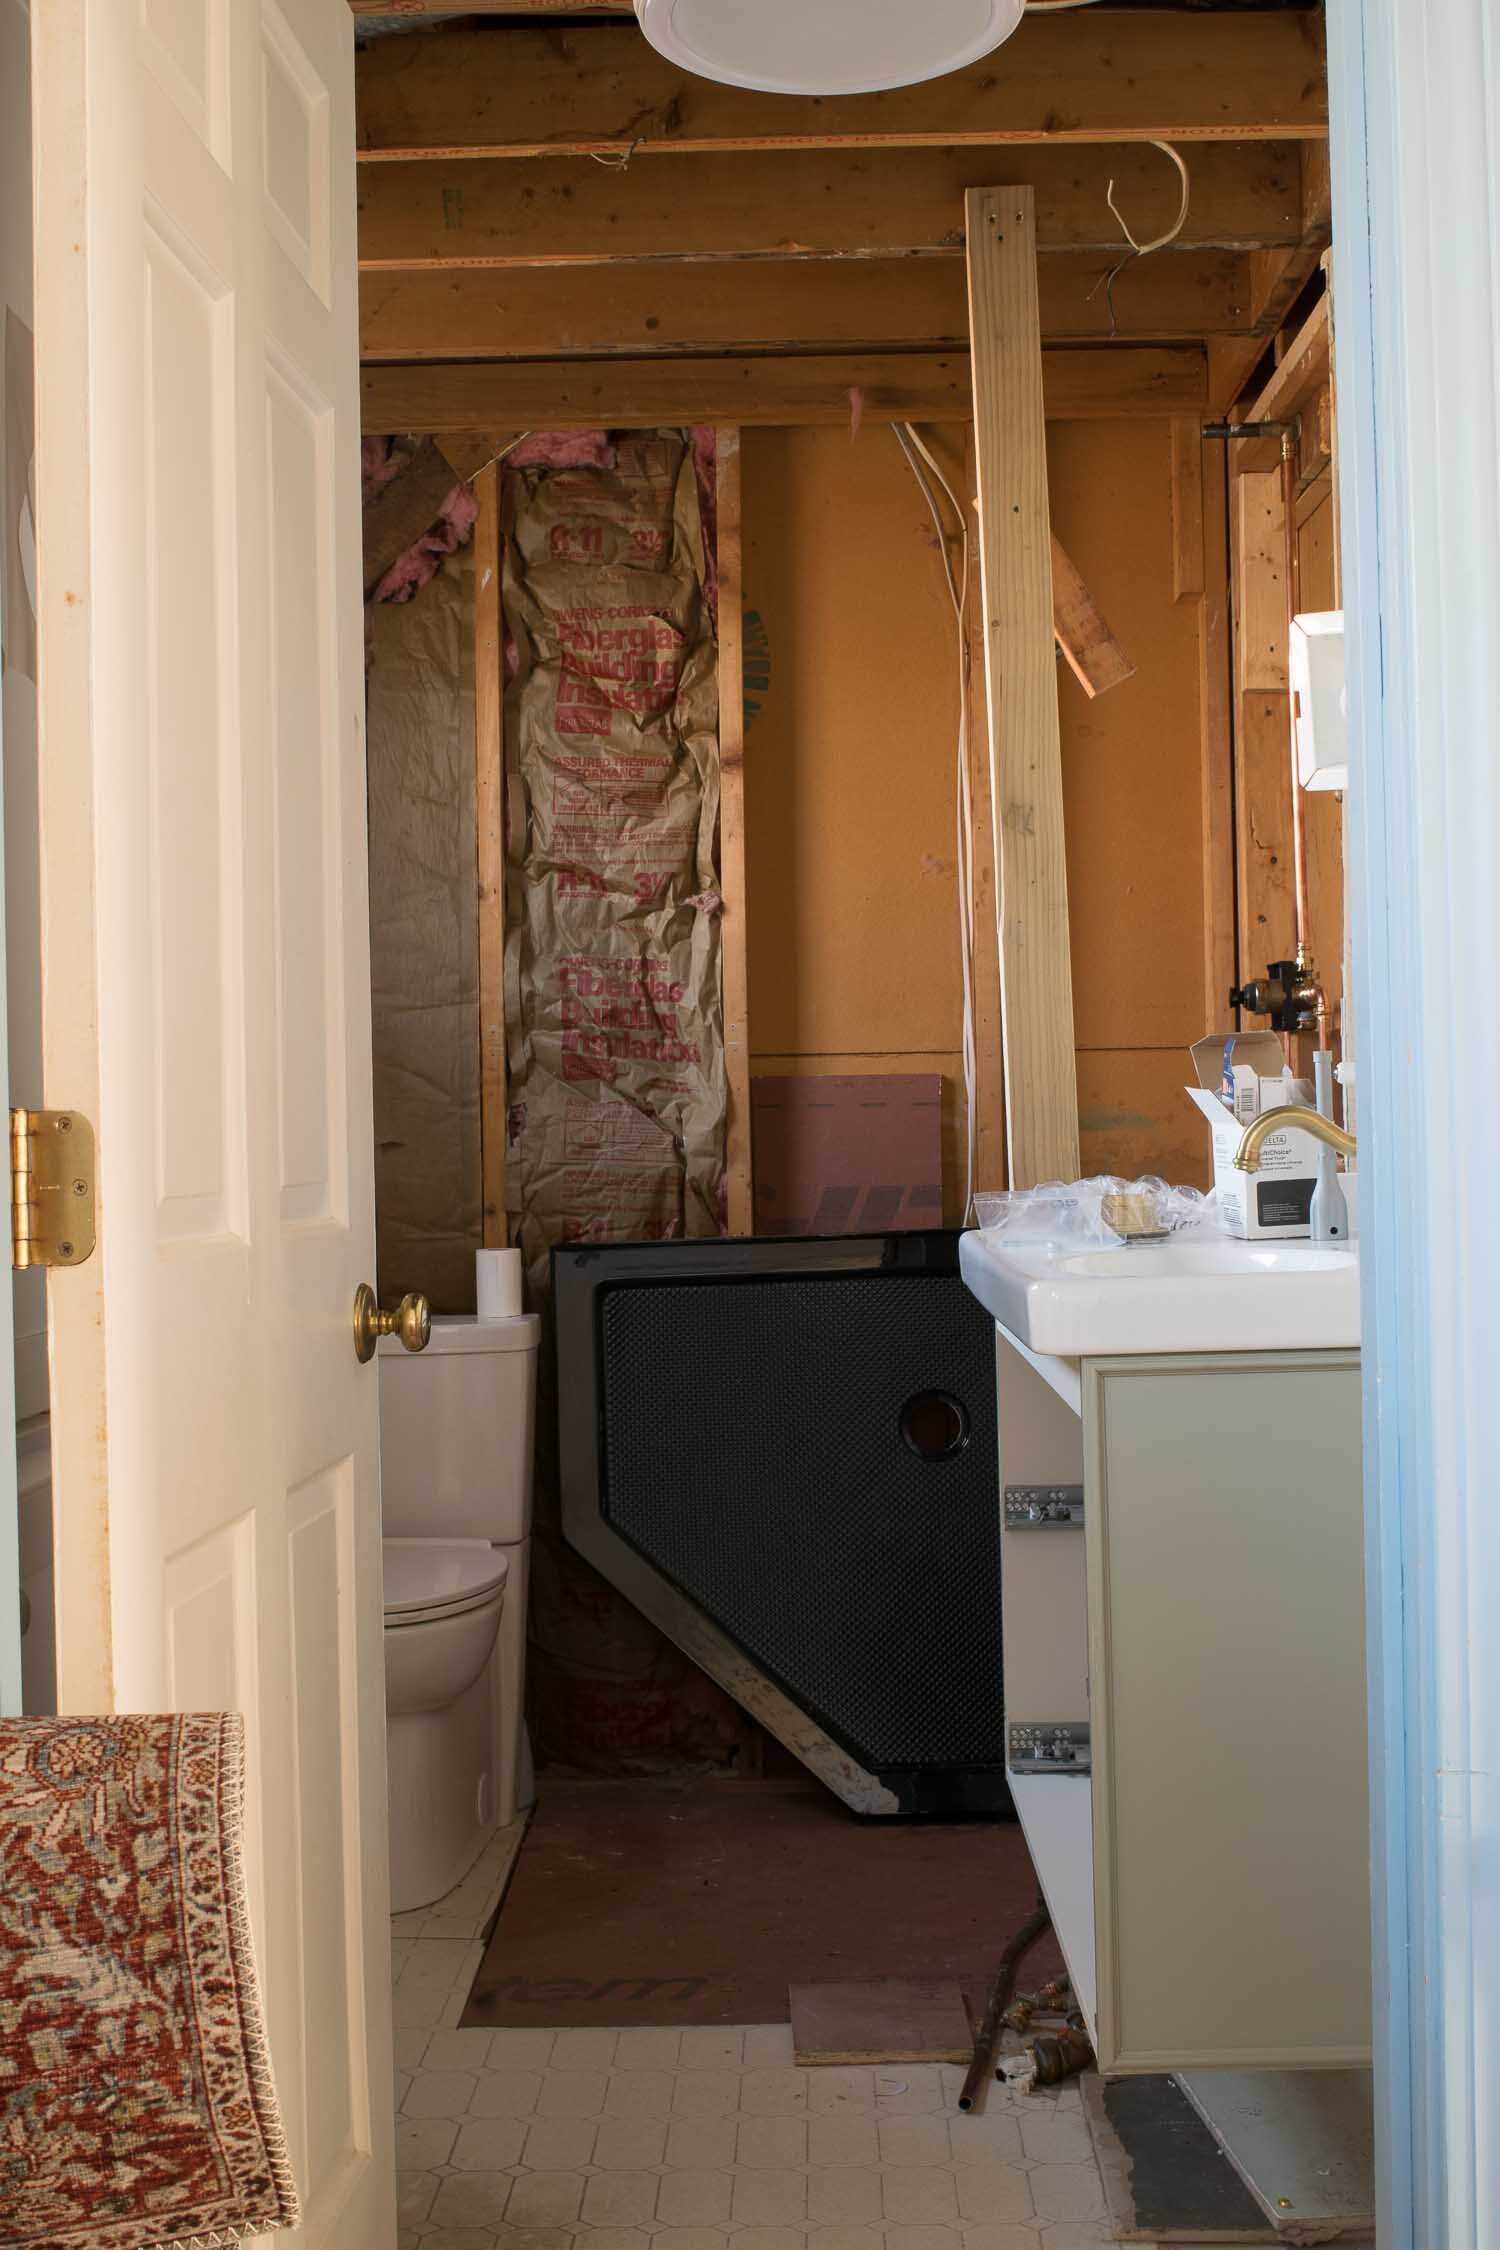
Since we weren’t able to keep anything we decided to change the shower corner for budget, function, and looks.
From the Ground Up
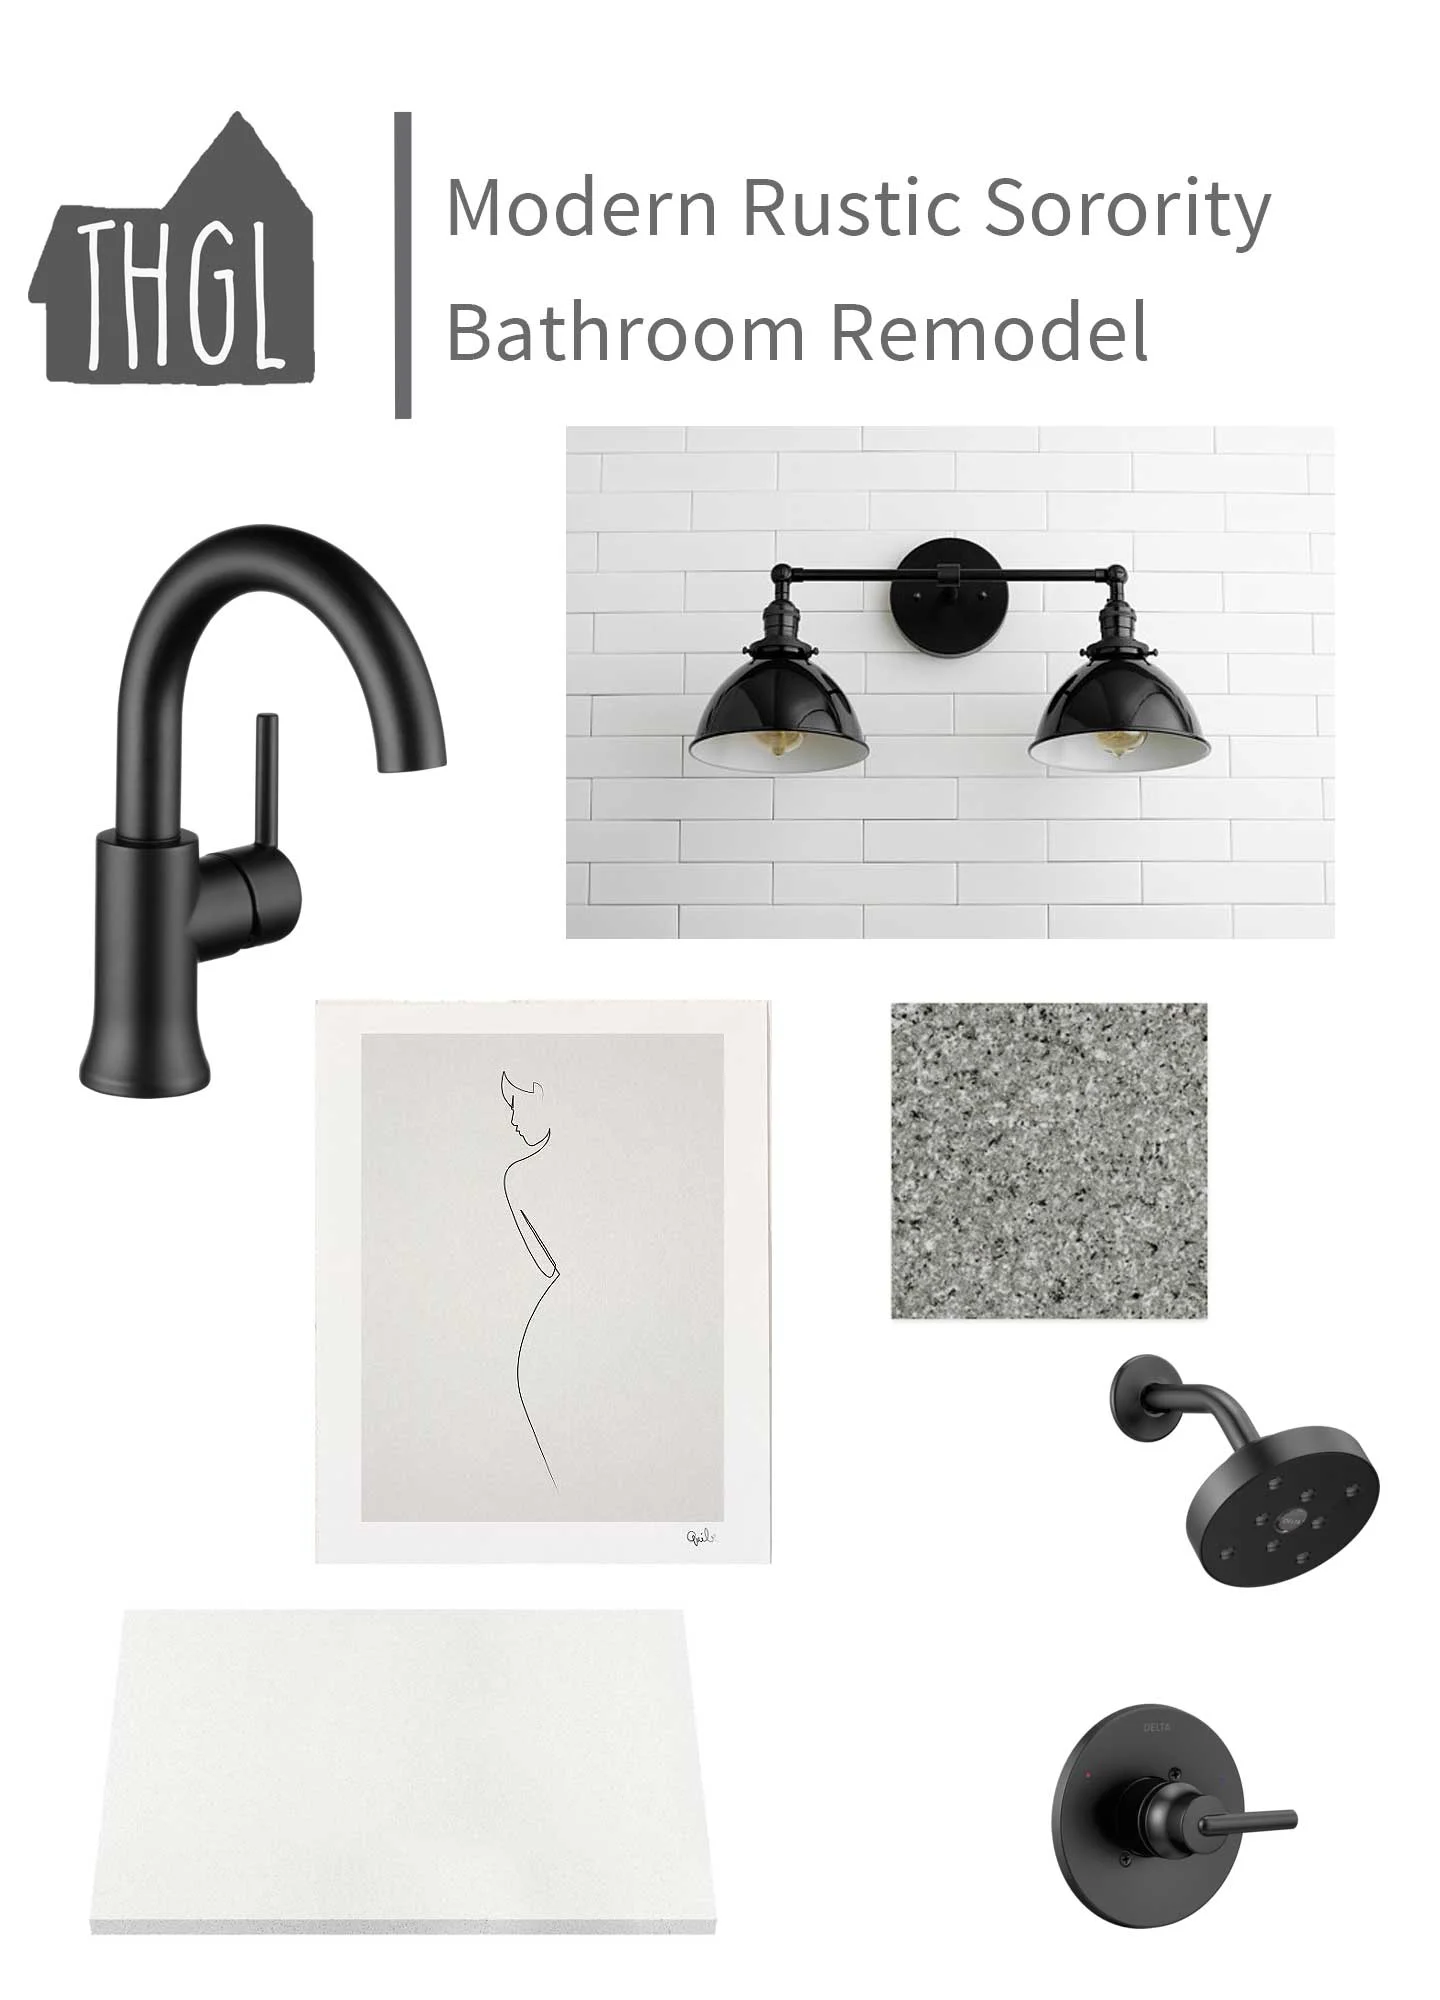
We picked this Dreamline Shower Pan because it came in the same existing size we had.
That cuts down on plumbing costs.
Because it came in black, working seamlessly with our black hexagon flooring.
Making the small bath appear larger.
Annnnd, because it had built in slip resistance
We’re a multigenerational family, young to old this bathroom is used by all.

We then decided to keep the side walls open.
First, so the bathroom appeared larger than it is. Like I mentioned before.
Then, so that we wouldn’t need to tile two more walls.
And finally, we decided on a shower curtain instead of glass panels.
This cuts down on costs as you can imagine, but also made the shower easier to get in and out of. My mother lives with us and we decided to build a shower she could ‘age in place’ with. Something no one likes to actually discuss.
Can a shower look ‘real’ without tile?
This was a hard decision for me, both upstairs when we used a tub enclosure (I do have to say the Delta Upstile does the best I’ve ever seen), and with this bathroom.
Putting in modern materials into a historic home feels…. well wrong.
I’m sure lots would say it is. But we believe home renovation should function for you on so many levels. Budget, function, and aesthetics.
Tile gets expensive, and time consuming. Since this is still a phase one renovation (phase two will probably be further out at this point) we decided to look at surround panels.
The ones we used upstairs weren’t actually made for a corner shower so we went on the hunt.
and found absolutely nothing. zilch. nada.
They were all really fake, very expensive (why not tile at that point?), and practically none of them fit our small corner.
NEXT idea…
I had already decided on a shaker peg rail paneling on the other bathroom walls and got to thinking.
They make exterior plastic PVC “wood” for contractors, couldn’t that be used to make our very own shower panels? Could I just make them look exactly like the walls?
Had anyone else ever done it? One click over to pinterest and I found the answer, yes they had.
Here are two examples of shiplap surrounds using this exterior PVC “wood"
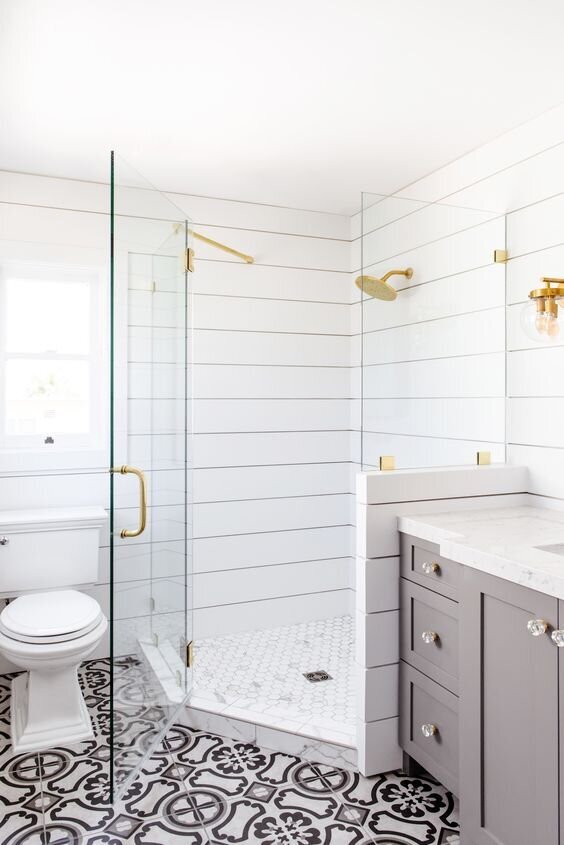
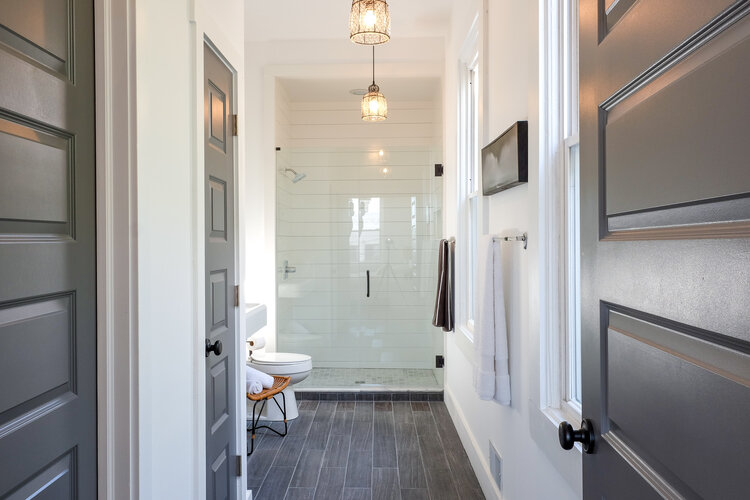
Click Photos for Sources
So were venturing down a unknown path, it can be done, but can I make it look the same as my wall paneling plans? We’re going to find out soon!
So there you have it. A small wild corner shower design, budget friendly, all while being convenient for aging in place.
Now back to instagram where we have been creating a vintage look out of a modern ikea vanity, DIYing a hidden recessed cabinet for above the toilet, and even creating privacy by frosting our windows.