Our DIY keyhook for the entryway
/See our new entry key holder here
Read More
This laundry bin was a great solution to our laundry woes. As I am sure you can imagine with several dogs and a young child, we do some laundry. That means four or five laundry baskets right in our kitchen/laundry...one for darks, whites, kid's clothes, towels, delicates. Tripping over them, kid(s) dumping them out, dogs knocking them over...mass hysteria right?
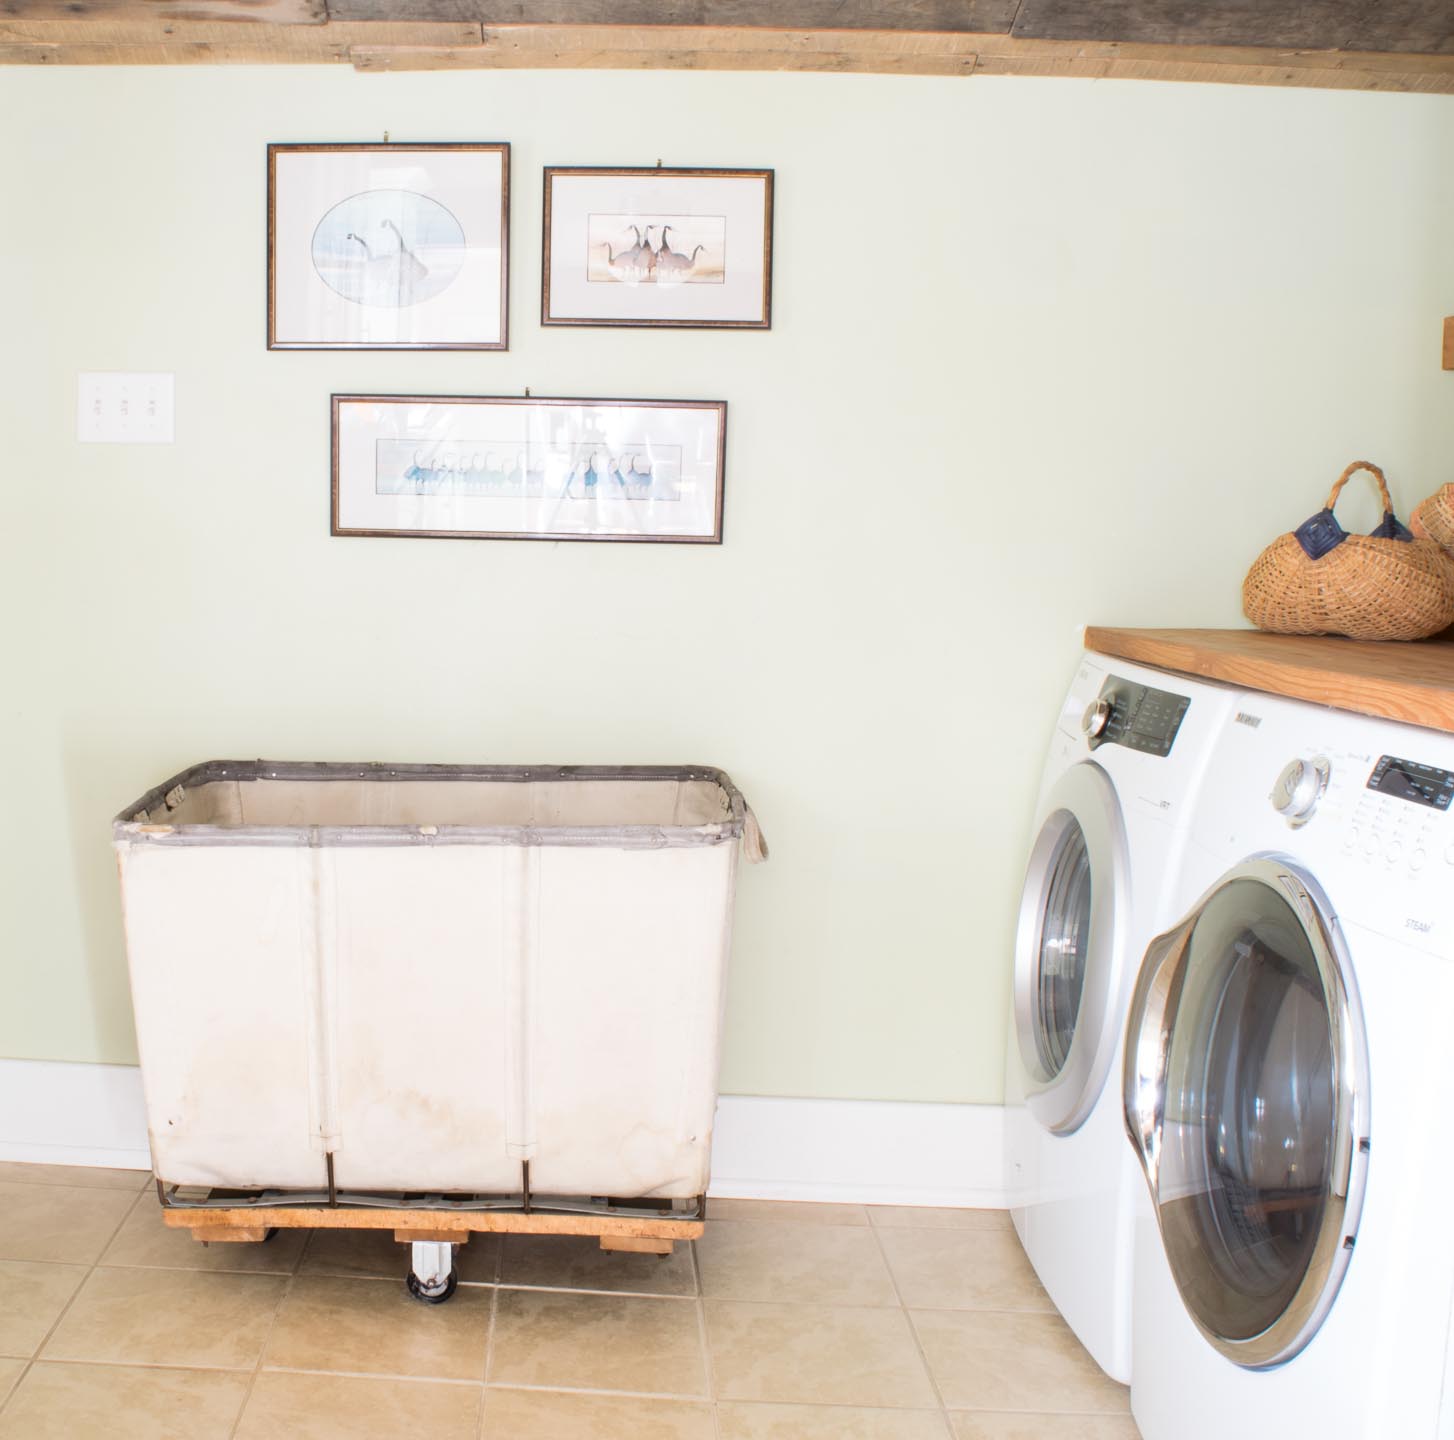
Now you have it all separated, and you have the first load going , great. Now, cue the kid again, cue the dogs, bump in to the laundry baskets maybe even throw one?
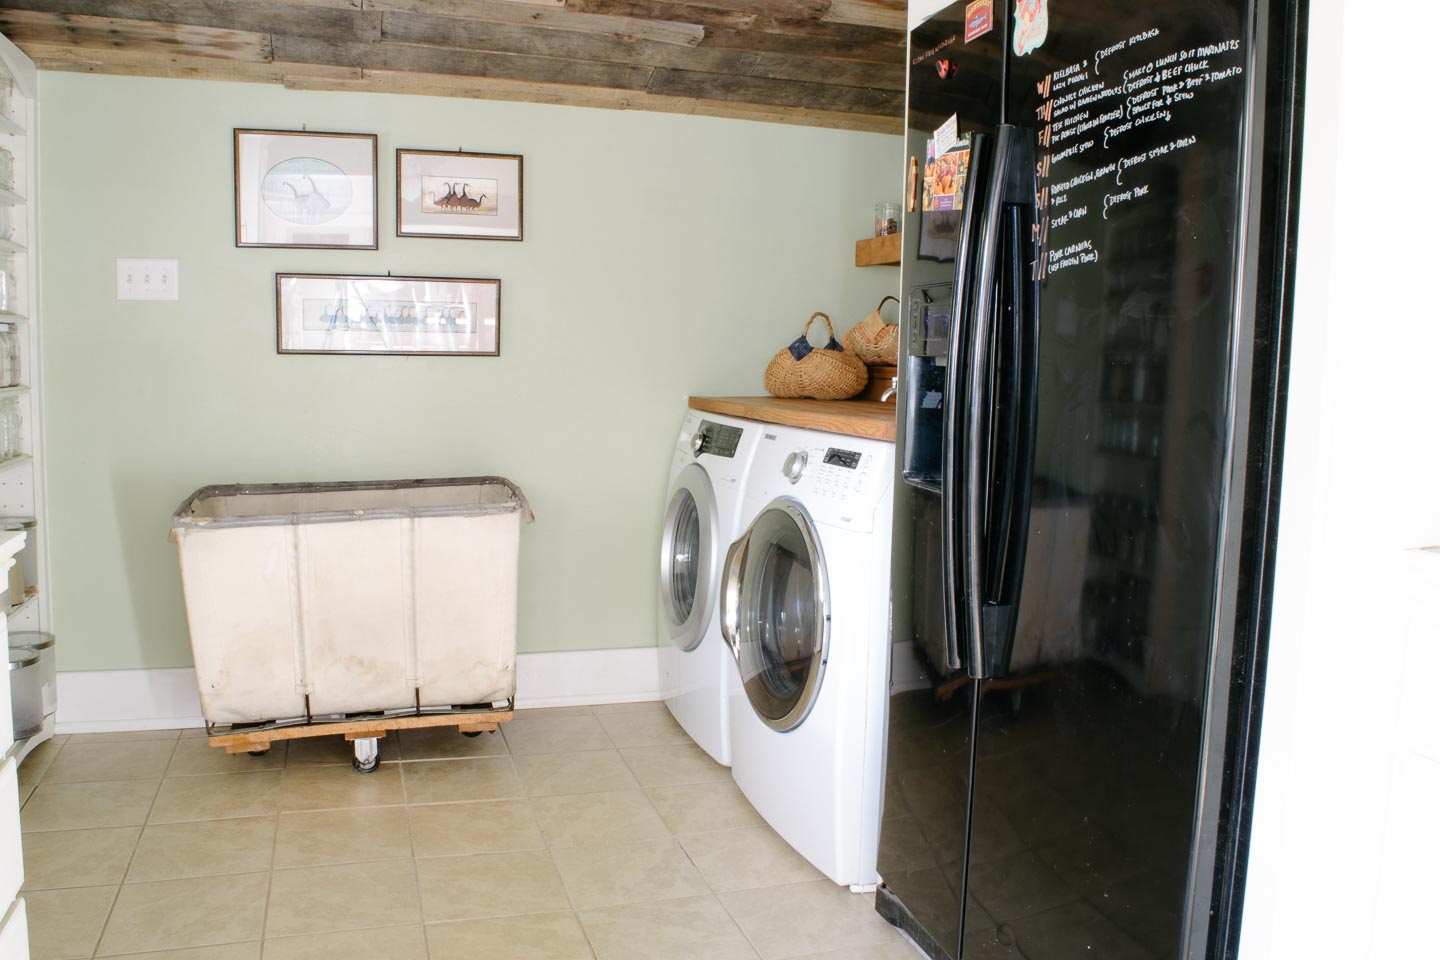
Unload, dry, rinse, repeat right??? Over and over again, every other day at least.
We gave our baskets the middle finger and added our bin on wheels.
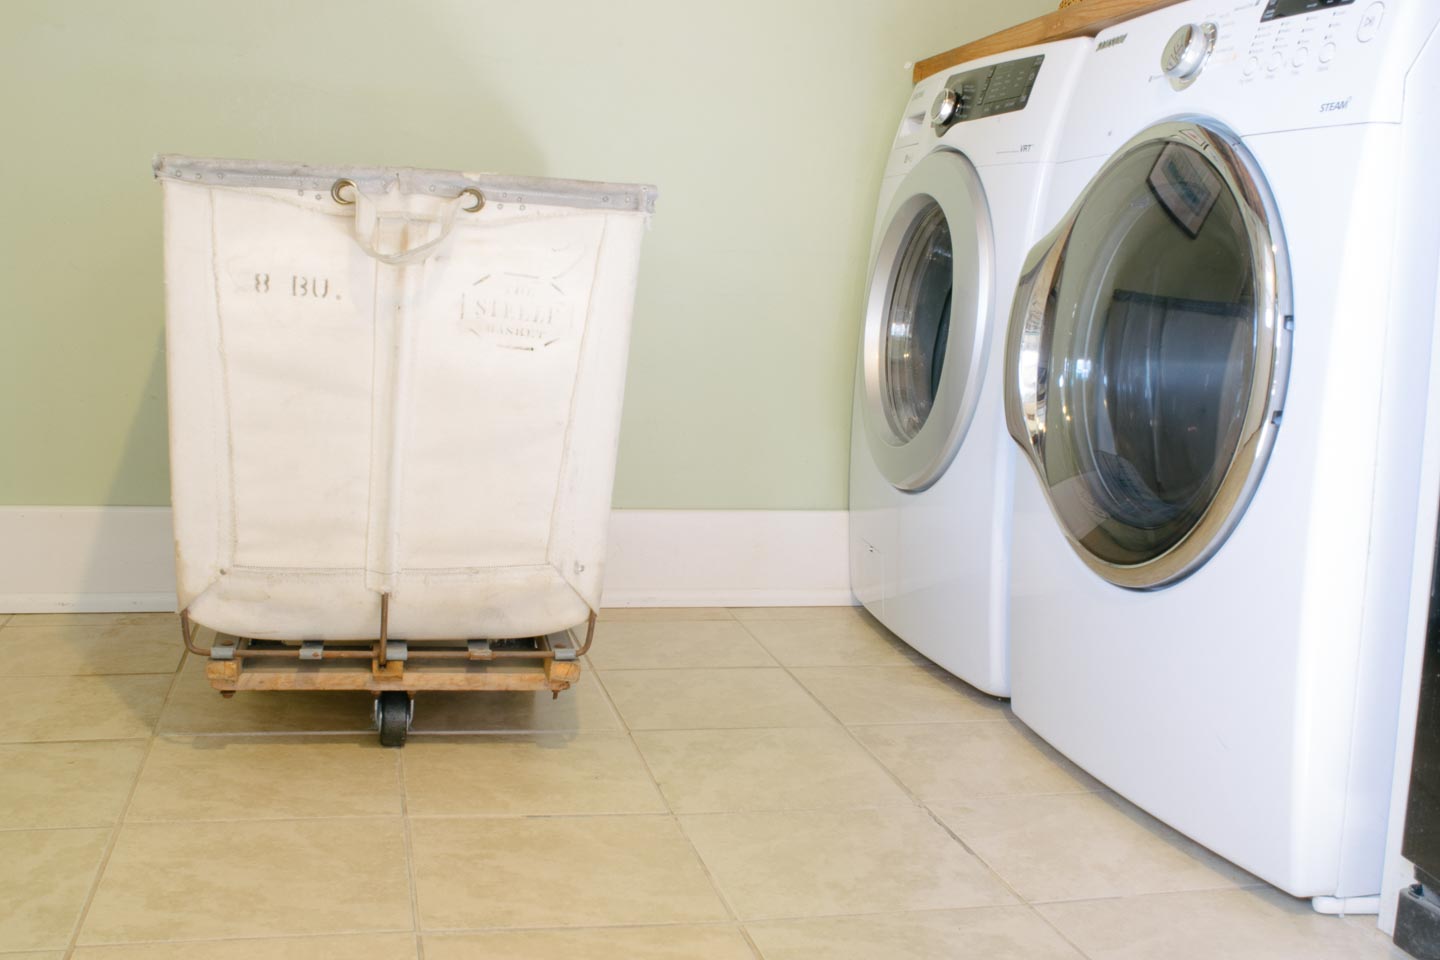 Everything goes in, sorted right from the basket.
Nothing to knock over, for anyone to dump out, difficult (but not impossible for our hulk dogs) to knock over.
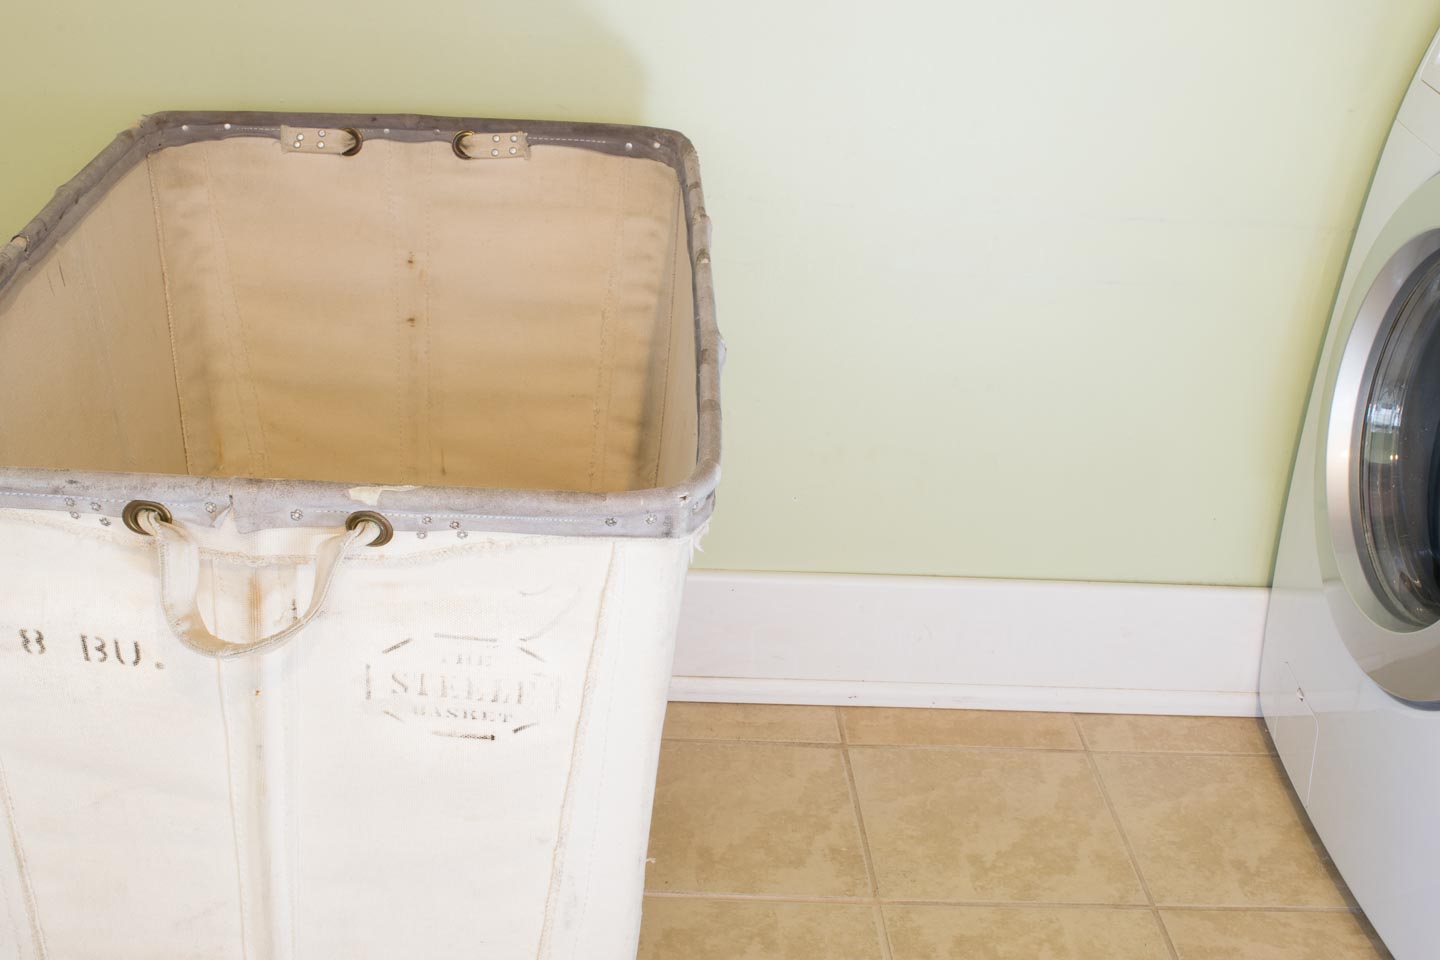
It's heaven, in the laundry room (& kitchen) with this bin, and its so much fun to "shoot" the dirty dish towel directly into it.

I must have seen these bad boys at a previous Brimfield Fair (which is the East Coast's biggest and greatest antique show), because when I set out this past summer for another trip the laundry bin was the first thing on my list to find. Usually when you have a list like that and have previously seen an item, you can't find it the next year because someone far smarter than you grabbed it while you stood around wondering if you should. Then you kicked yourself all year long for waiting to pick it up.
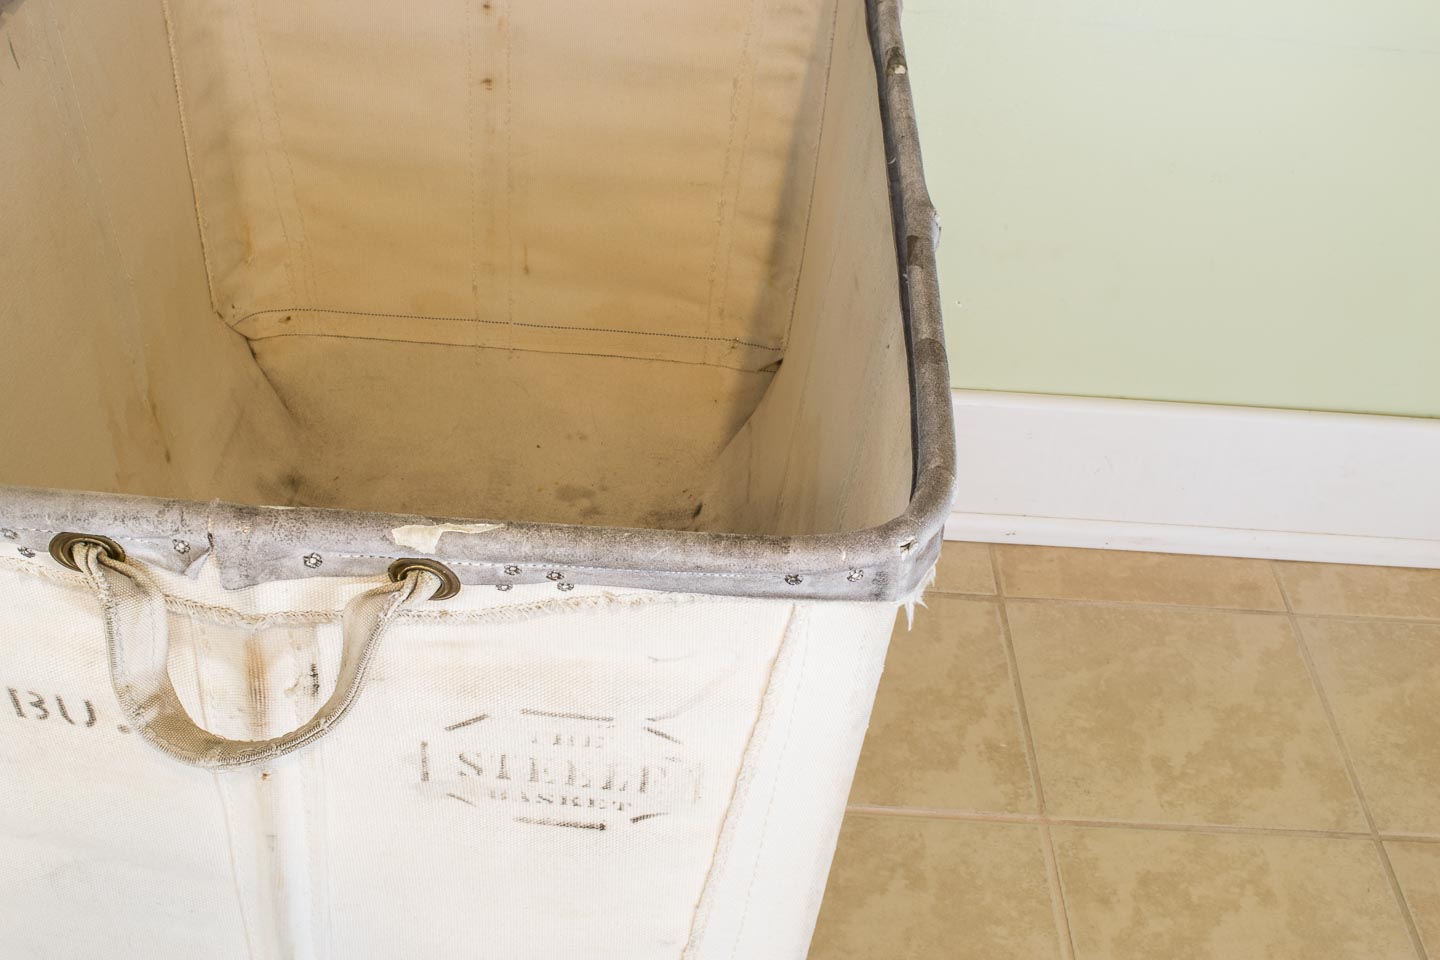
Seems the laundry gods were looking out for me on this day because not only did I happen across this bin, but at least 5 others at one of the venders. This badboy happened to be one of the smallest and with hardly any stamping so he gave it to me for 65$!
I couldn't believe my lucky stars when I saw the bins all nicely covered with fabric, no sharp rusted metal, in darn near perfect condition, and small enough for our little laundry space. It would only make sense that they would be wayyyyy out of budget (Murphys law ehh?). So paid him a quick as I could just incase he changed his mind.

Turns out they came out of an old textile factory and he had hardly any interest in them so far, so he wasn't going to make me pay a ton for 1 of the 6 or more he still had lying around.
If your interested in getting one of your own I found new versions you can buy from Steele Canvas American Made right here in Massachusetts since 1921 (perfect for our home which was built in the early 20's). Or you can search out some textile factories in your area, see if they have any broken versions they are willing to sell you and you can do a quick repair, otherwise I'll see you at the Brimfield Antiques Show searching them out!
No matter what you do to try and keep a small galley kitchen/ laundry room organized and clean even a giant bin doesn't help us all the time. Its usually a crazy mess in our household, and thats just the time in our lives , wouldn't have it any other way.
Anyone have some good tips on how to keep the laundry corralled in a small space?

These industrial desk legs mark the start of my obsession with antiquing; specifically at the Brimfield Mass. Antiques show. It also is the start of Mitch cringing everytime he heres about the show “coming up soon”. Everytime I go with the intention of “just looking” and everytime I come back with new projects.
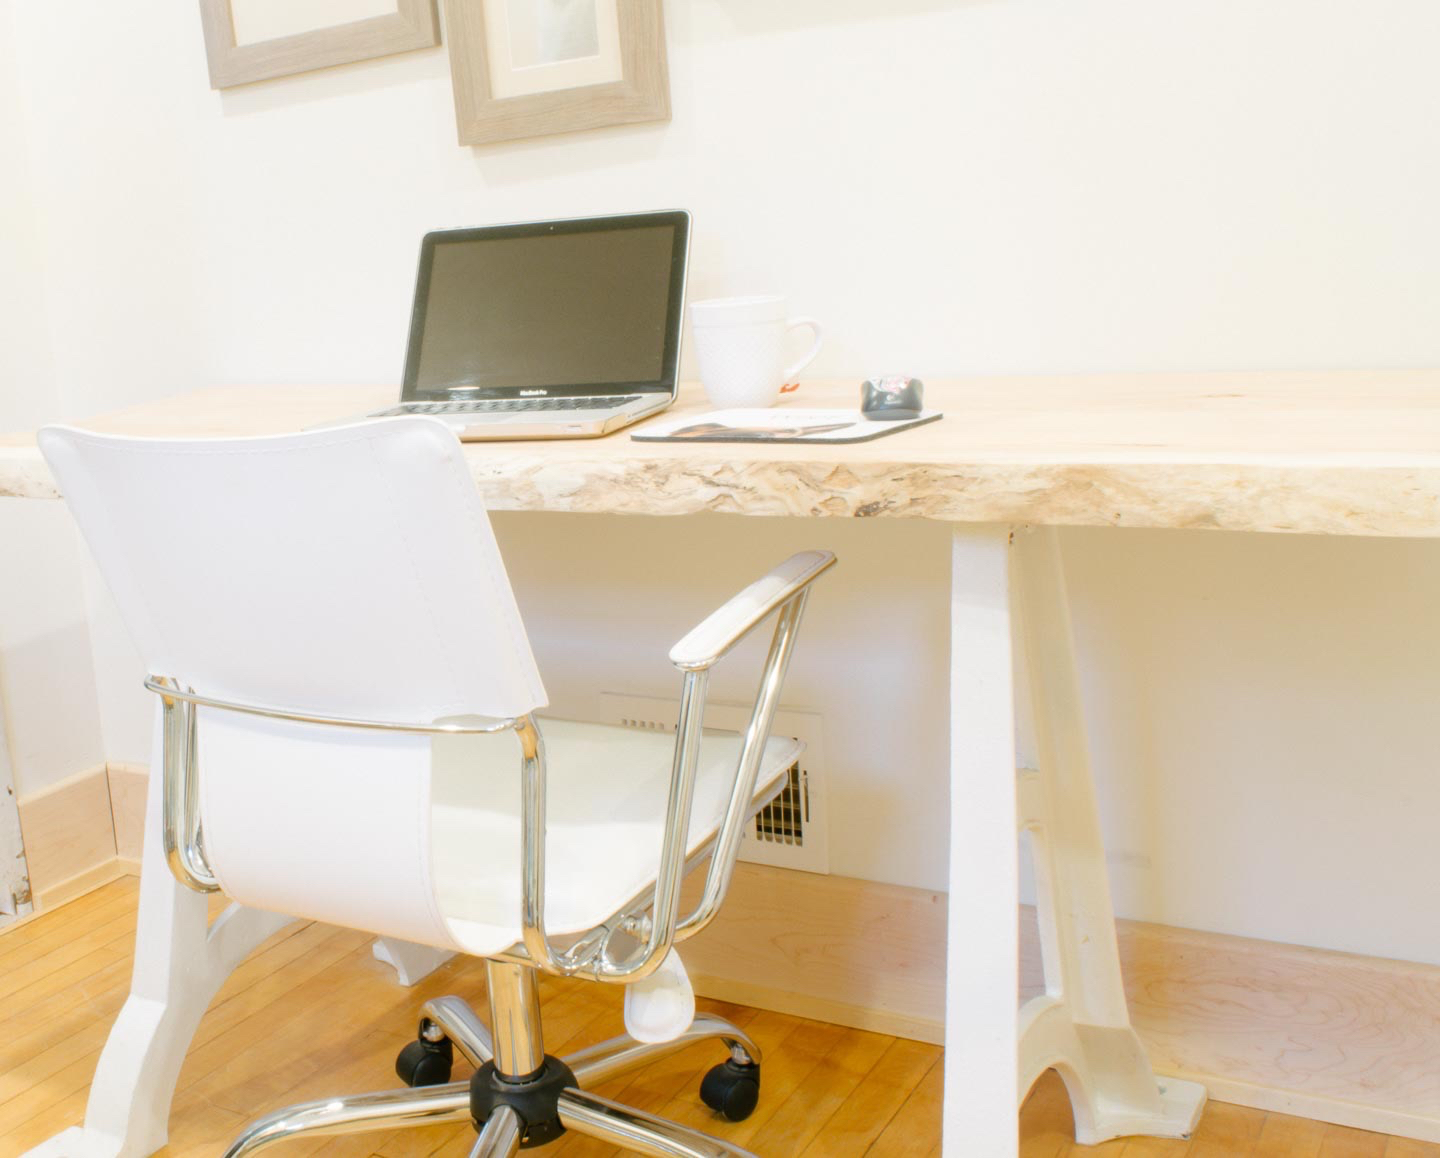
I’ve always had this tendency, but until I found this particular antique show, I've have never had so much inspiration. This show is one of the largest in the country (country, not county).
I found these amazing legs leaning up against the back of an architectural salvage tent, like they were the cast offs of the bunch. When I asked the gentleman about them he said they came off a 1860’s church bell in upstate New York .
I shelled out $135 which ended being every last cent I had on me, to get as close to the $150 he wanted for them. I was literally standing with my wallet open, no lunch money in my near future, hoping to god he would take the $135. Cue the puppy-dog eyes and we were off!
My original plan was to paint the legs white, for some reason they made sense to me painted. This was a very hard decision to make because most of the appeal of lies in the rustic character. By painting it white I would be taking some of that away and making it modern.
I decided to go with the white to highlight of company lettering Jones & (In those days they didnt bother writing & Co.), soften the industrial look, and to tone down the desk which was destined for such a small room.
So I used appliance enamel paint to cover the cast iron legs after sanding them up a bit. We then secured them together with a board and then created a cleat for the wall along the back of the industrial desk top.
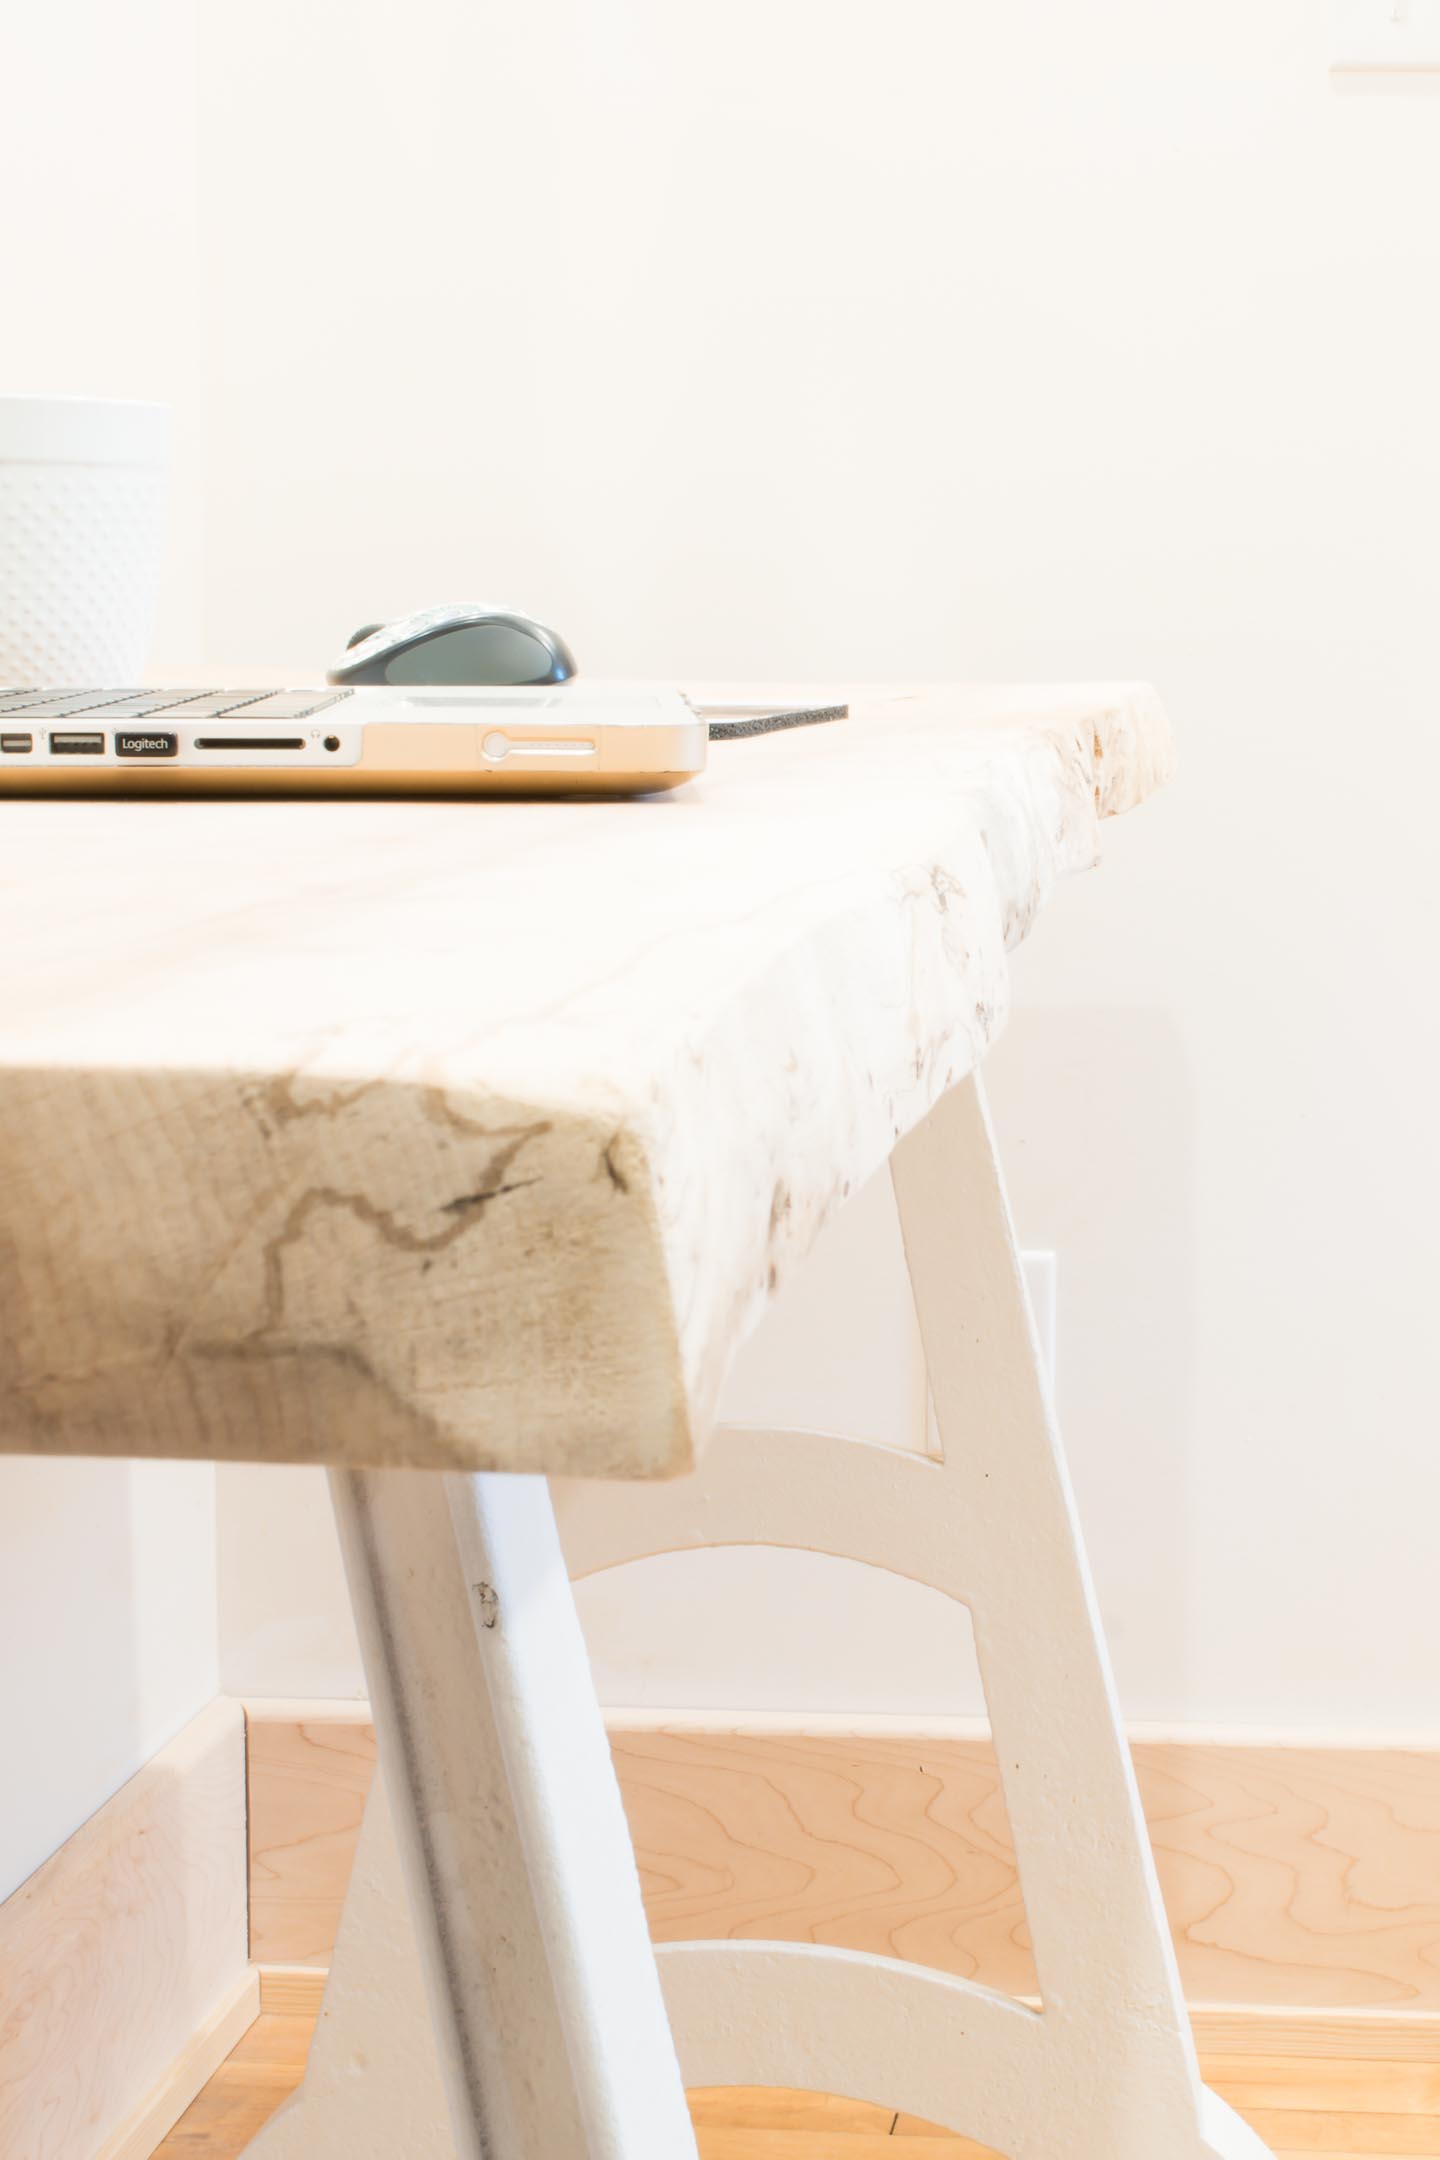

The appliance enamel has pulled away in a few places, giving back some more of the character over time. Thats what always amazes me about a project... it's beauty is revealed in the initial refinishing process, but also over the lifetime of the piece.

I jumped on the fiddle fig train a few weeks ago and bought this beauty. I've had a slight obsession with them for about a year now, but with my tendency to kill plants, I just wasnt sure spending the money was the best idea.
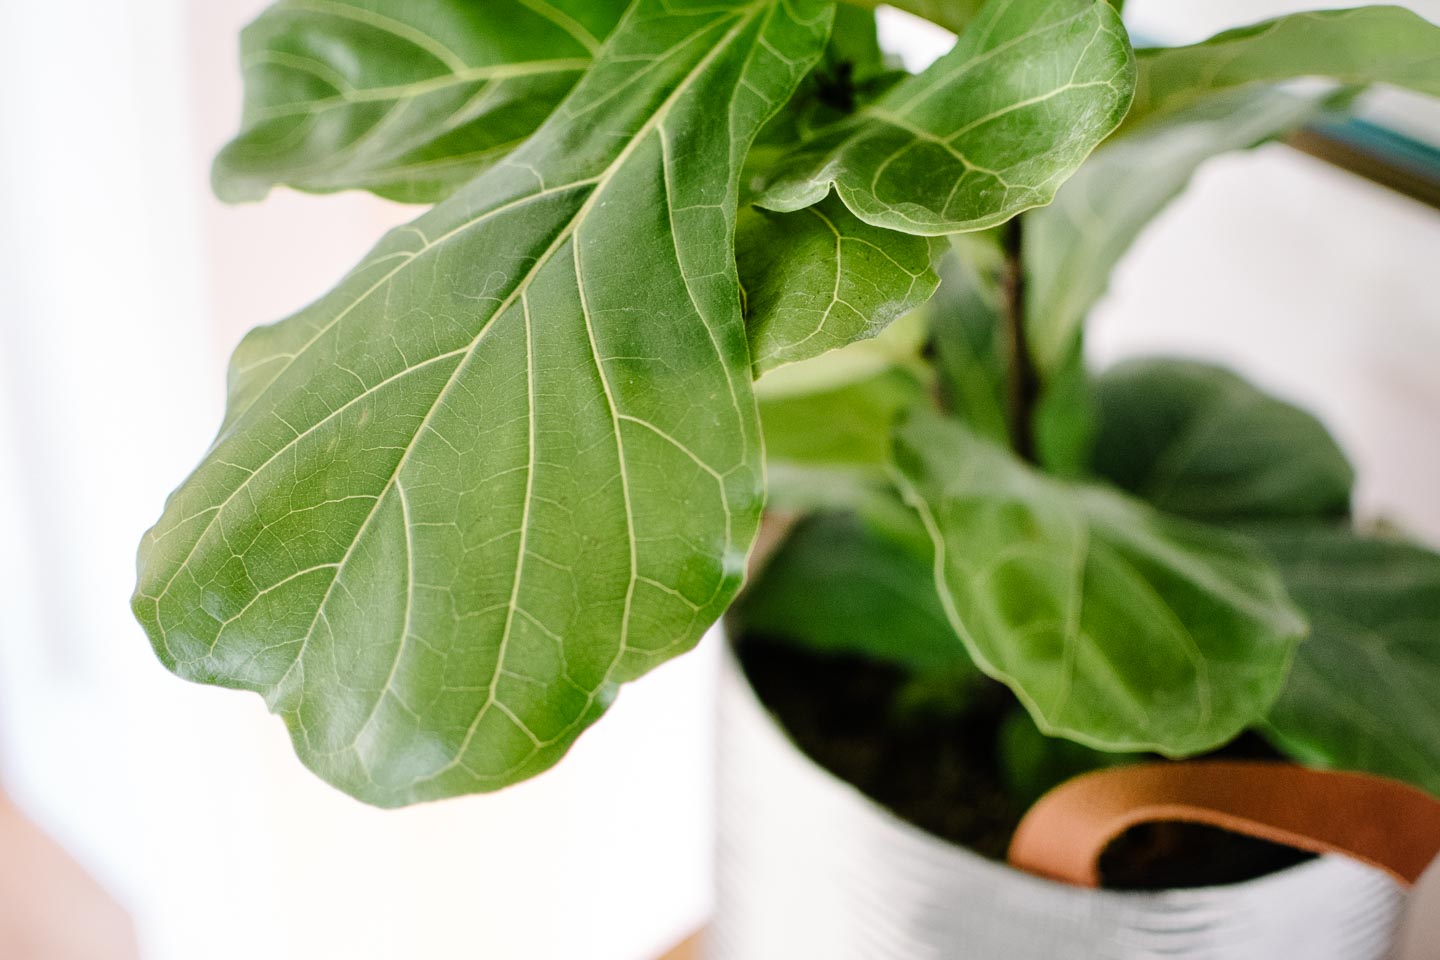
In my defense I usually have help killing the plants in this house. One (or all) of the four dogs we share our space with, likes to eat dirt from our plants. Not dirt outside, nope, dirt inside that is helping our plants live. Please tell me I’m not the only dog owner who has this problem?
So, this little guy is being sheltered from the crazed dirt eating dogs by living high up on our midcentury cabinet. Now we will have to hope Mitch doesn’t overwater the guy trying to get me a green thumb.
No over-watering this guy got it... but air plants need little water, some need no water, some need occasional water...ill have this over-hydrated in no time....
I decided to go with a handled canvas bag so I could easily move Mr. Fiddy Fig, (who’s obviously best friends with our large print of Trigger aka Mr. Triggy Trig). I grabed the fabric leftovers from our laundry room wall-paper project and liked the added texture without too much color to compete with the bright green leaves.
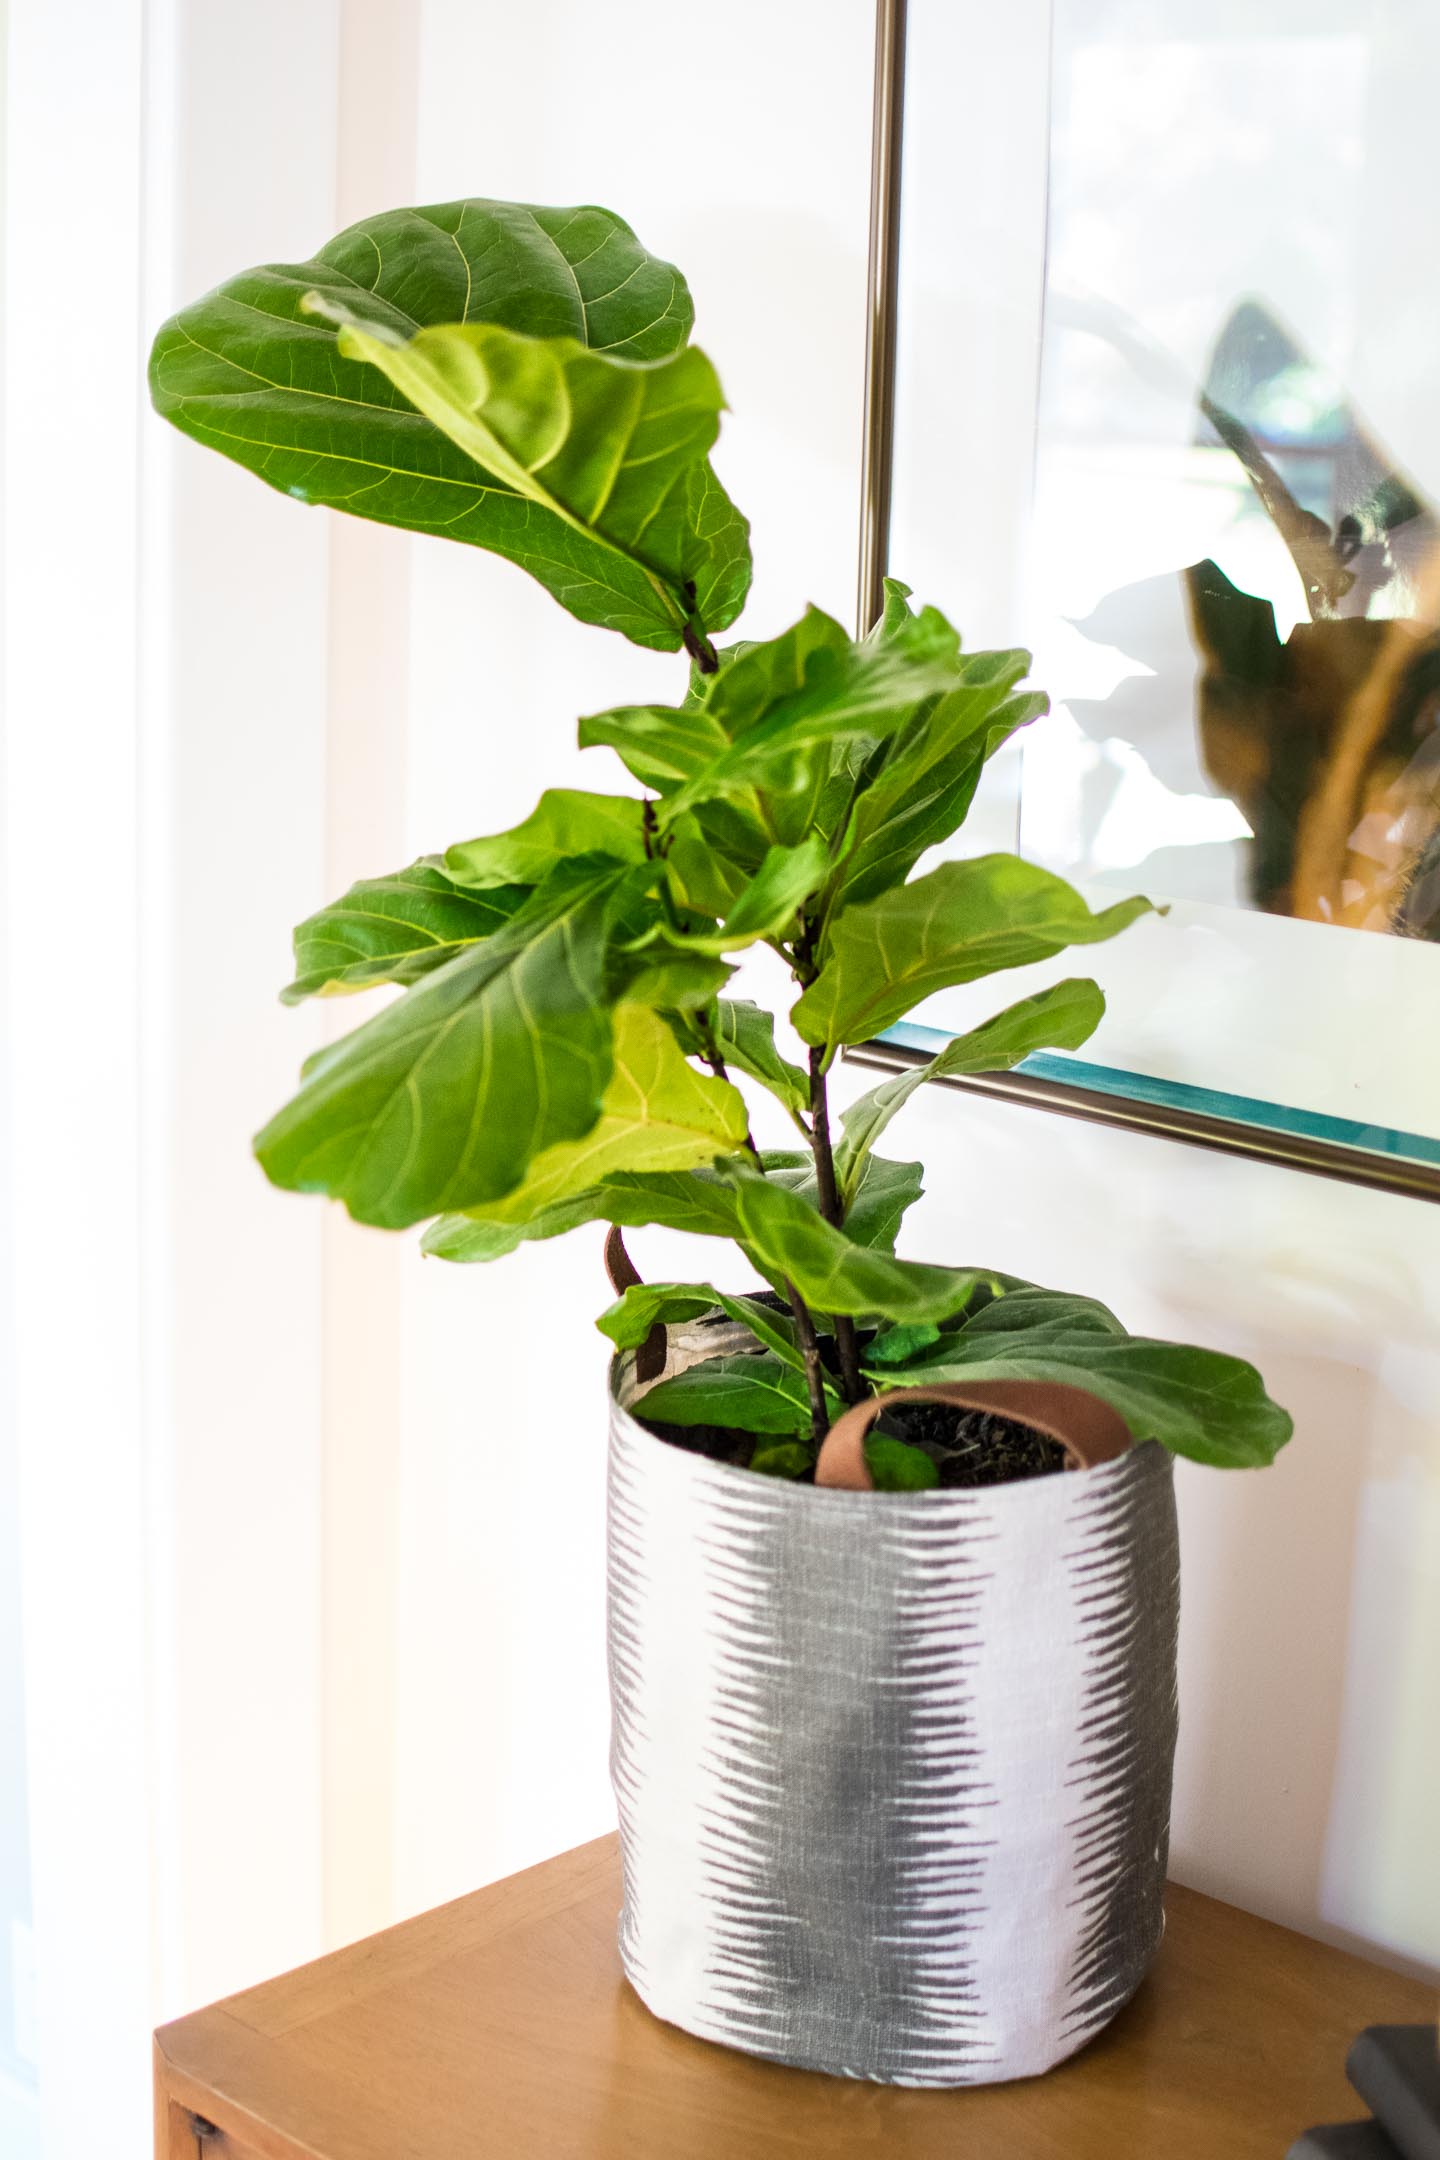
Perfection it is not, its really hard to sew a round bottom on things! For me it wasn’t about having every detail be perfect, it was about the creation, learning, and having a fun time. It certainly works well for grabbing those leather handles and moving him around the house to get extra light.
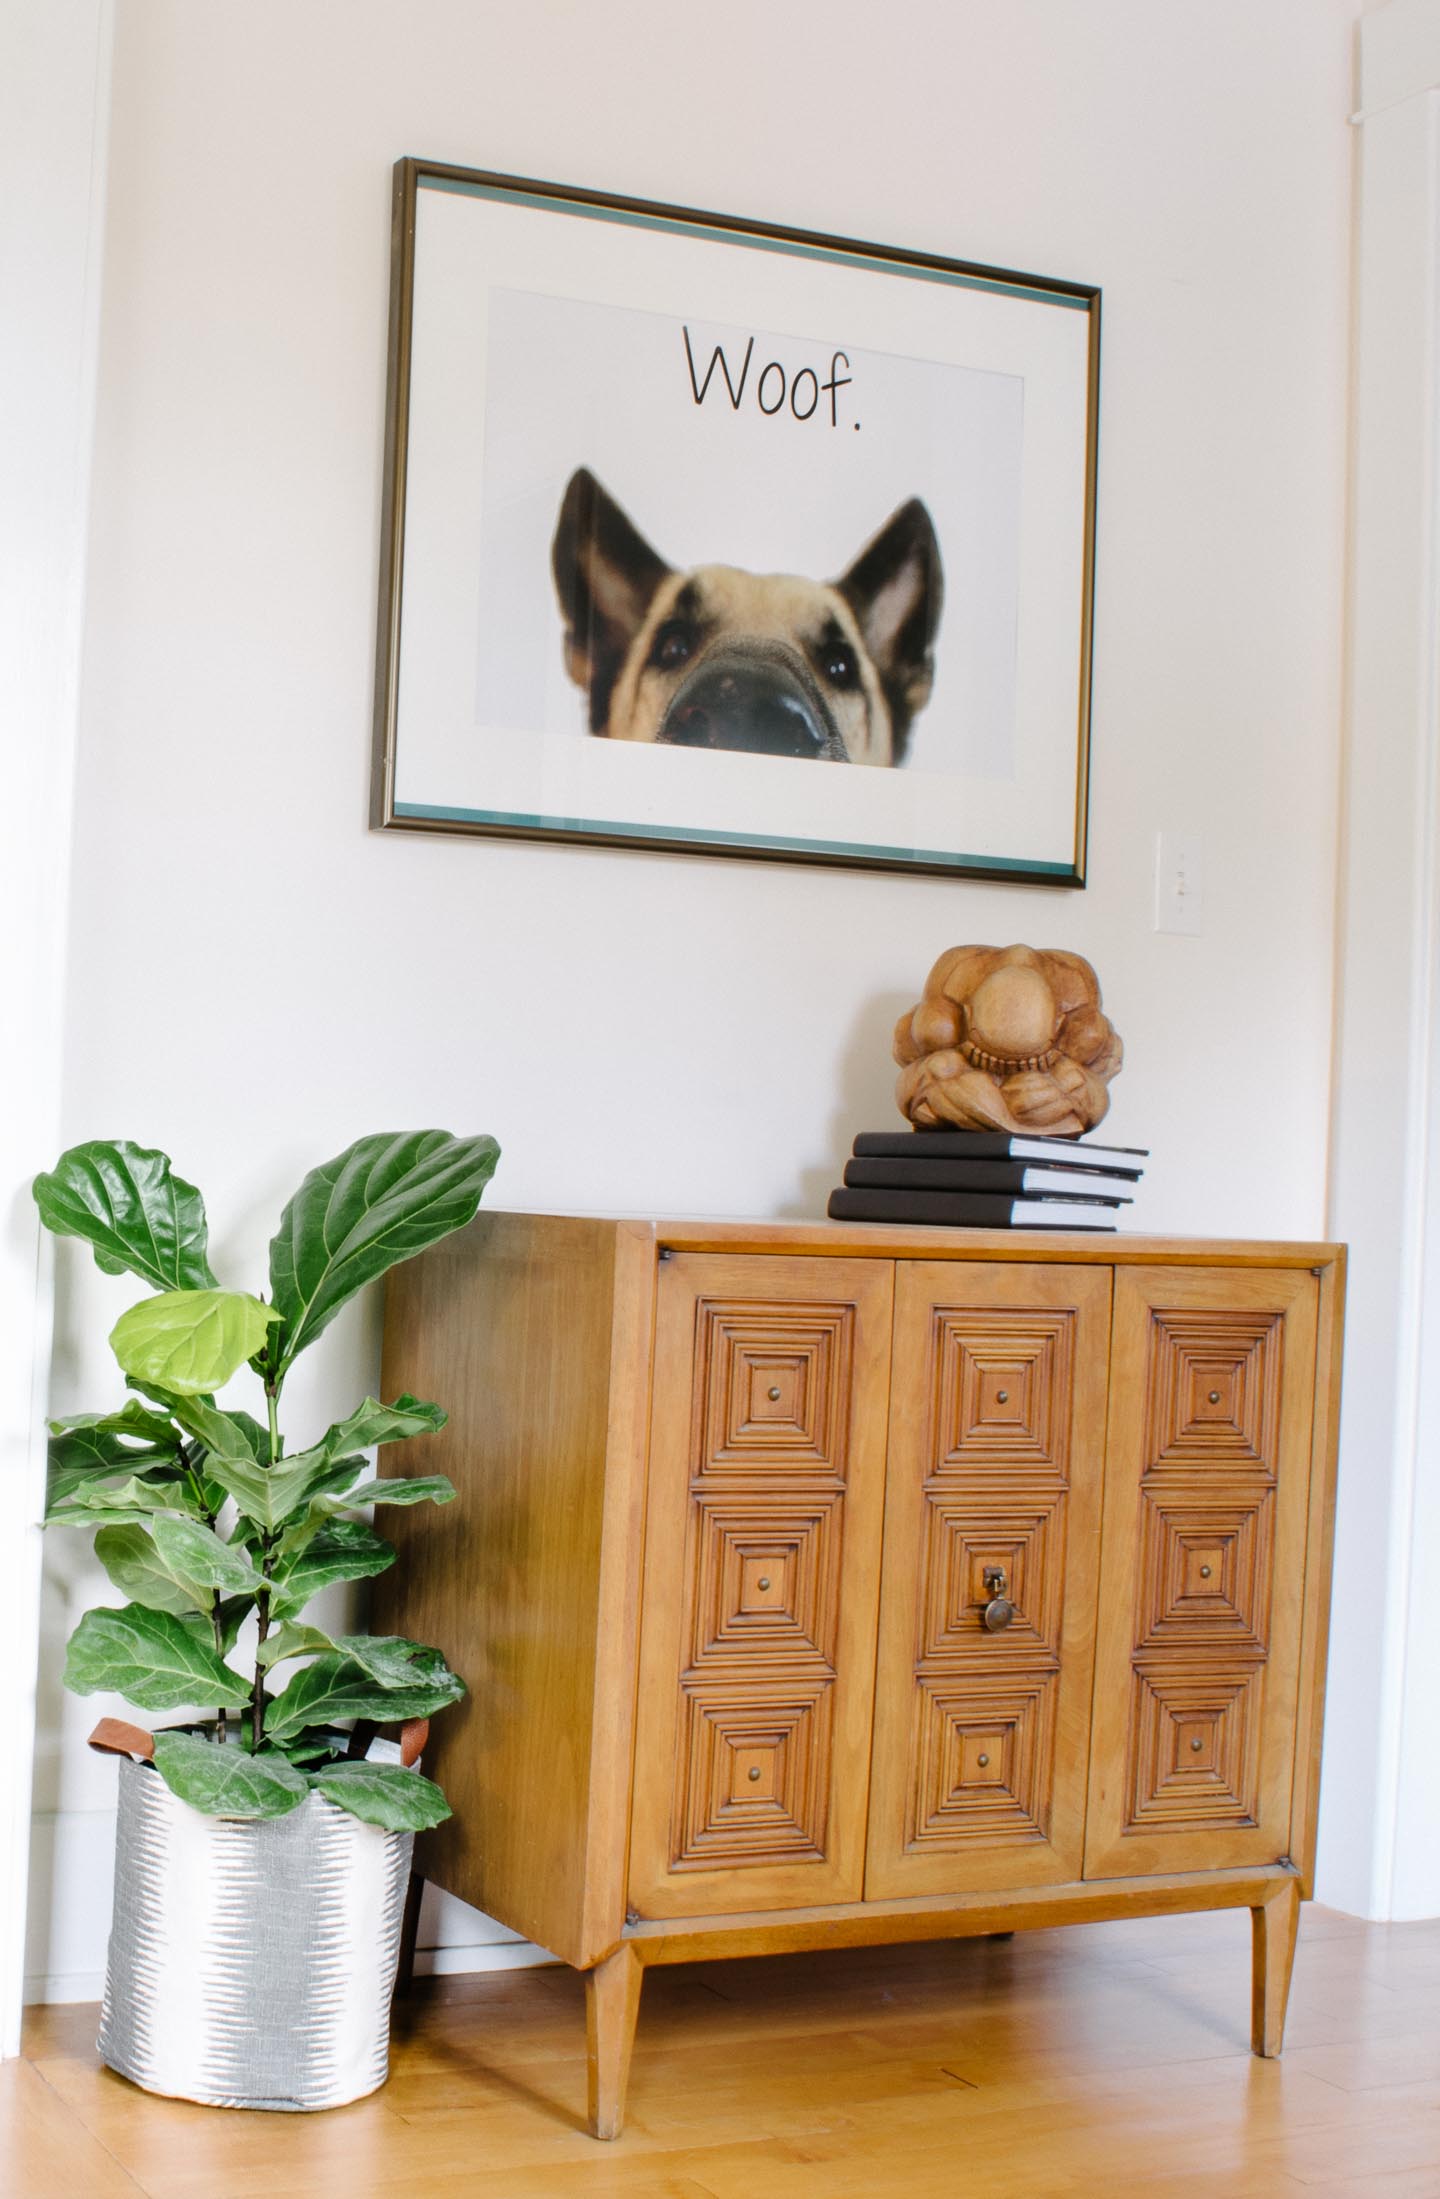
What have you worked on recently (perfect or not) that your proud of, I’d love to hear your story?

I have to admit, I’ve got a hoarding problem, hoarding of picture frames for a future Gallery Wall. Seriously, I’ve been collecting picture frames since college (which I’m purposefully omitting how long its been since I went off to school). I already had a collection big enough for a gallery wall in our livingroom when we first bought this place in 2010, so I had Mitch spray paint all the frames brown. Yep thats right, brown, the most boring matchy matchy thing I could think of.
I’m sure you already guessed that it didn’t take but two seconds for me to hate an all brown gallery wall; what was I thinking anyways?
I’ve always been the eclectic collector type. That's the reason I had all these unique frames to begin with, but I’ve also always had a bit of a problem embracing that crazy eclectic side. So the brown, matchy matchy frames stayed up, for way to long. When I took them down for a new paint color on our walls, I even stored them all wrapped in paper as to not get damaged so I could use again, possibly all white!
Thankfully, I came to my senses while going through the Magic Of Tidying process last year. All the frames got donated (but should have been burned), so I could start fresh with a new gallery wall design. By new I certainly don’t mean all brand new frames or items, but new and fresh; as to not fall into the big black hole of matchy matchy.
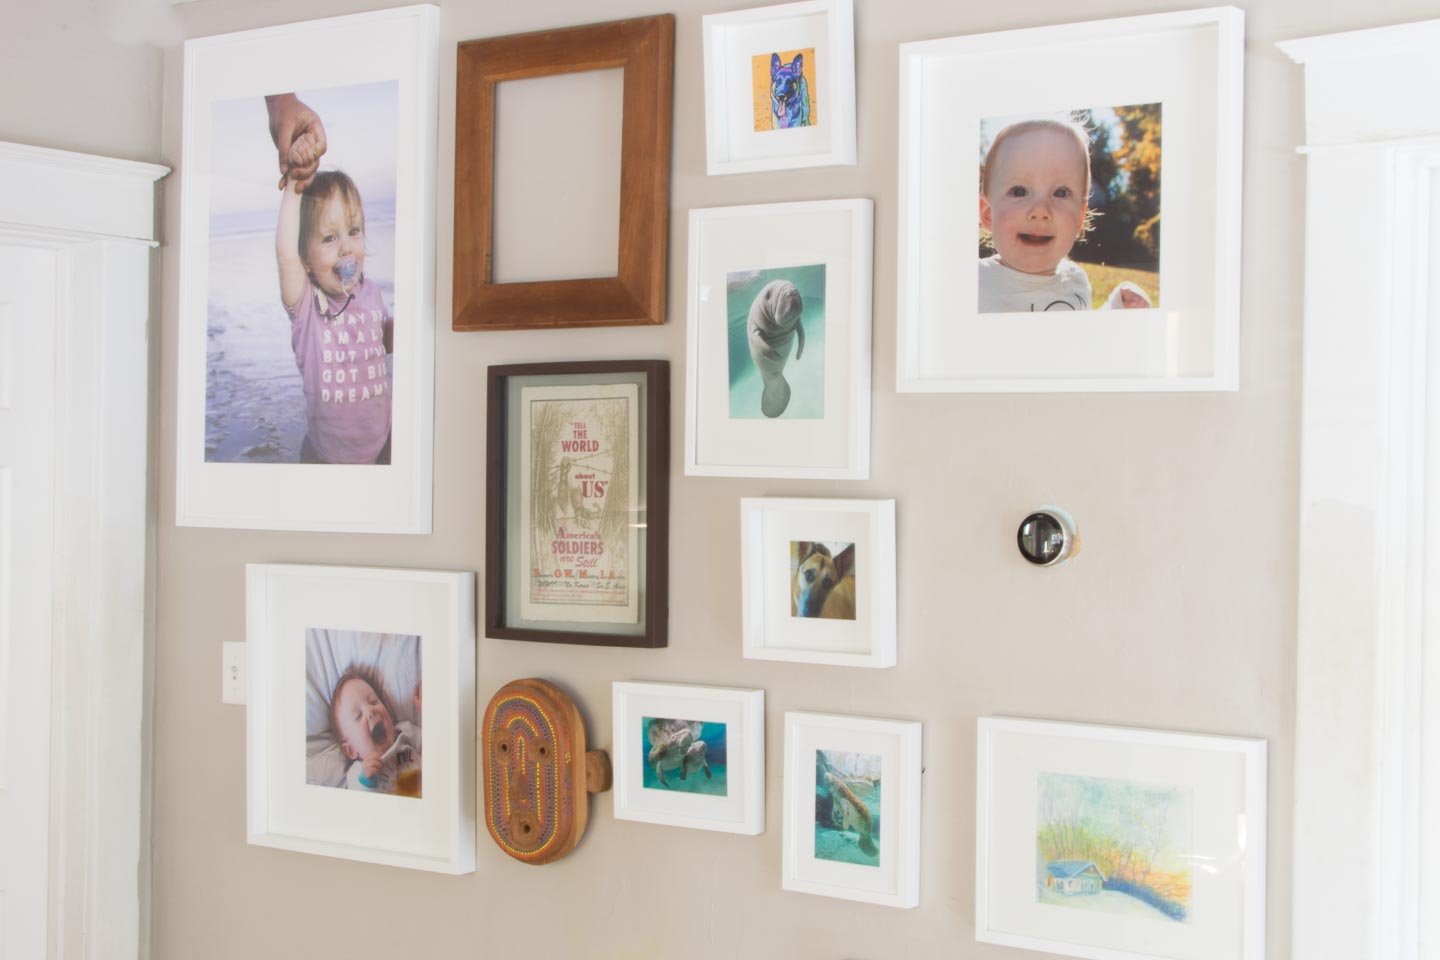
Around the same time I pulled down the brown frames I had also taken about a million pictures of my new born girl, Haverly. Which I’m pretty sure, given my facebook feed, every single parent does.
The pictures were actually starting to turn out really great and I was wondering, "what do photographers do with all of these wonderful pictures of their families?". I vowed that if I was going to take the time to create these beautiful photos, I wouldn’t just let them sit in the digital world.
While sipping my morning coffee and looking at these photos and items, they remind me of so much to be grateful for. So, the easiest way I’ve found to keep the wall fresh with these beautiful pictures, has been to rotate them seasonally.
So I set out to find some examples of gallery walls I liked and found a couple floor to ceiling walls I just loved.
Photo by Mary Prince Photography - Design by Jennifer Clapp
Above the art and frames seemed so cultivated and eclectic but didn't seem to overwhelm the space.
Design by Turnham Designs
It seems many of the photos hung are actually artwork and while I have a few pieces, the majority are photographs.
Photo by Elizabeth Metcalfe Interiors & Design Inc.
The photo above caught my eye because of the clean lines, with all those photos I worried too many frames and colors would take over our small house.
So I ended up with a mix of all my inspirations. Almost all the way ceiling to floor, mostly white frames with some pops of color in the art and photos.
The very first thing I did was went shopping, in my very own home. I grabbed the old bins and boxes that have all those little items I’ve found, inherited, or saved over all these years. If it made my heart sing and I could hang it on the wall; well first it went in the gallery wall pile. I had five things that were unique and that spoke to our family by the time I was done.
Then I grabbed my Mom and went on a little trip to Ikea for frames.
Every husband's dream to hear....IKEA
I first picked out the few frames I would need for specific peices I’d have up year round. Like the art our neighbor created for us depicting our house (on a day with such an amazing sunset).
I also went ahead and picked a large frame at 24” x 36”. I knew that in order to have a full sized gallery wall that potentially went completely floor to ceiling I would need some larger peices. That way I didn’t overwhelm the space with too many small frames of all different shapes and sizes. I also picked up a few 20x20’s and 12x12’s in all white, that way the pieces I already had at home could really pop.
Once I had all the frames I thought would work in the space I went ahead and layed out the gallery wall both on the computer in my design software, and on the wall with brown craft paper.
If you’re really unsure of how to layout a large scale gallery wall then just start doing it. All the brown paper in the world isn’t going to help you if you can’t visualize the outcome. The picture here shows my layout with all the old brown frames I still had.
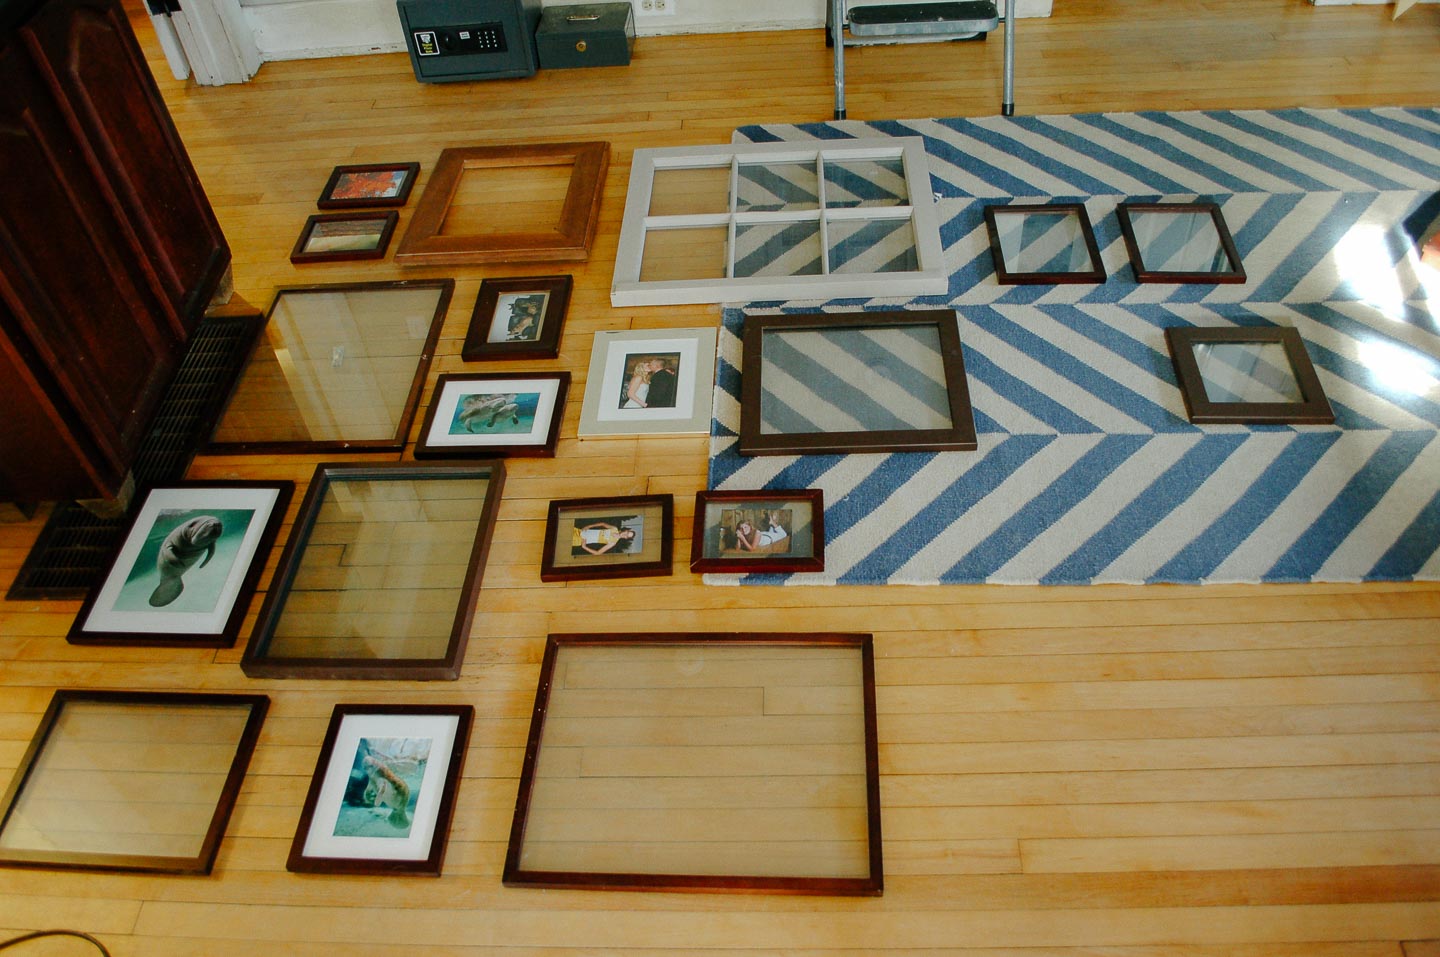
Start putting the holes in the wall (yep, you heard that right). You will quickly see what you hate. As soon as you see what you hate, you can narrow down too what you like.
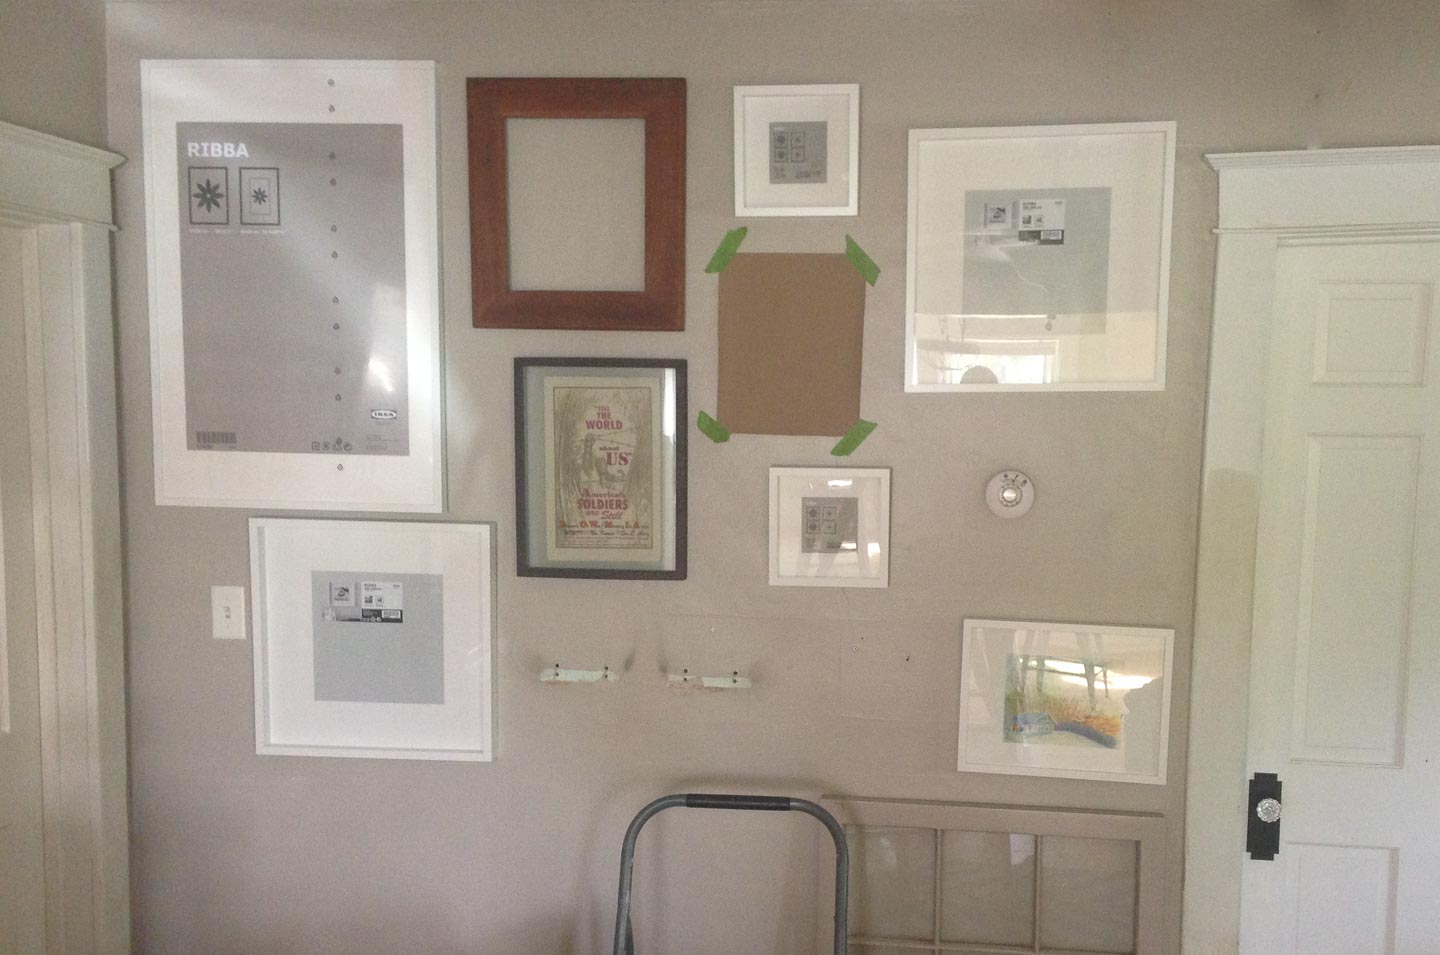
What are some holes to fill at the end of the project from you moving things around? Otherwise your standing around with brown paper cut-outs and going crazy trying to make sure it will be “perfect” from the start.
Since the orginal gallery wall was created, switching over to a different “seasons” pictures has been relatively easy. I just go through all of my favorite photos for what ever theme I currently want. Edit them and potentially put a preset in Adobe lightroom. Finally upload them to print. This last time I switched to a fall themed wall it only cost me $24 to get all of the new prints from Costco’s photo center, including the big print of our daughter Haverly.
For our family, printing new photos every couple of months (or longer if I just cant find the time), is worth the effort and money. We want to feel a sense of awe with our small space and our lives. That's accomplished with a quick style change on our gallery wall.
The ratio of dogs-to-house has always made dust and dander an issue. We are constantly vacuuming and dusting and cleaning it seems. The white frames get very dirty and show all the dust right away. I just run lightly damp rag along the edges to clean them up. I have a feeling these white frames could look dated a lot sooner than I think because of the amount of dust we have to clean off them.
Anybody else have some good ideas for displaying photos in such a small house?

Follow along with our Giant adventures as we fix up this 1847 Historic Colonial in Western Massachusetts.
P.S. Expect lots of wallpaper removal and don’t say we didn’t warn you!
Powered by Squarespace.