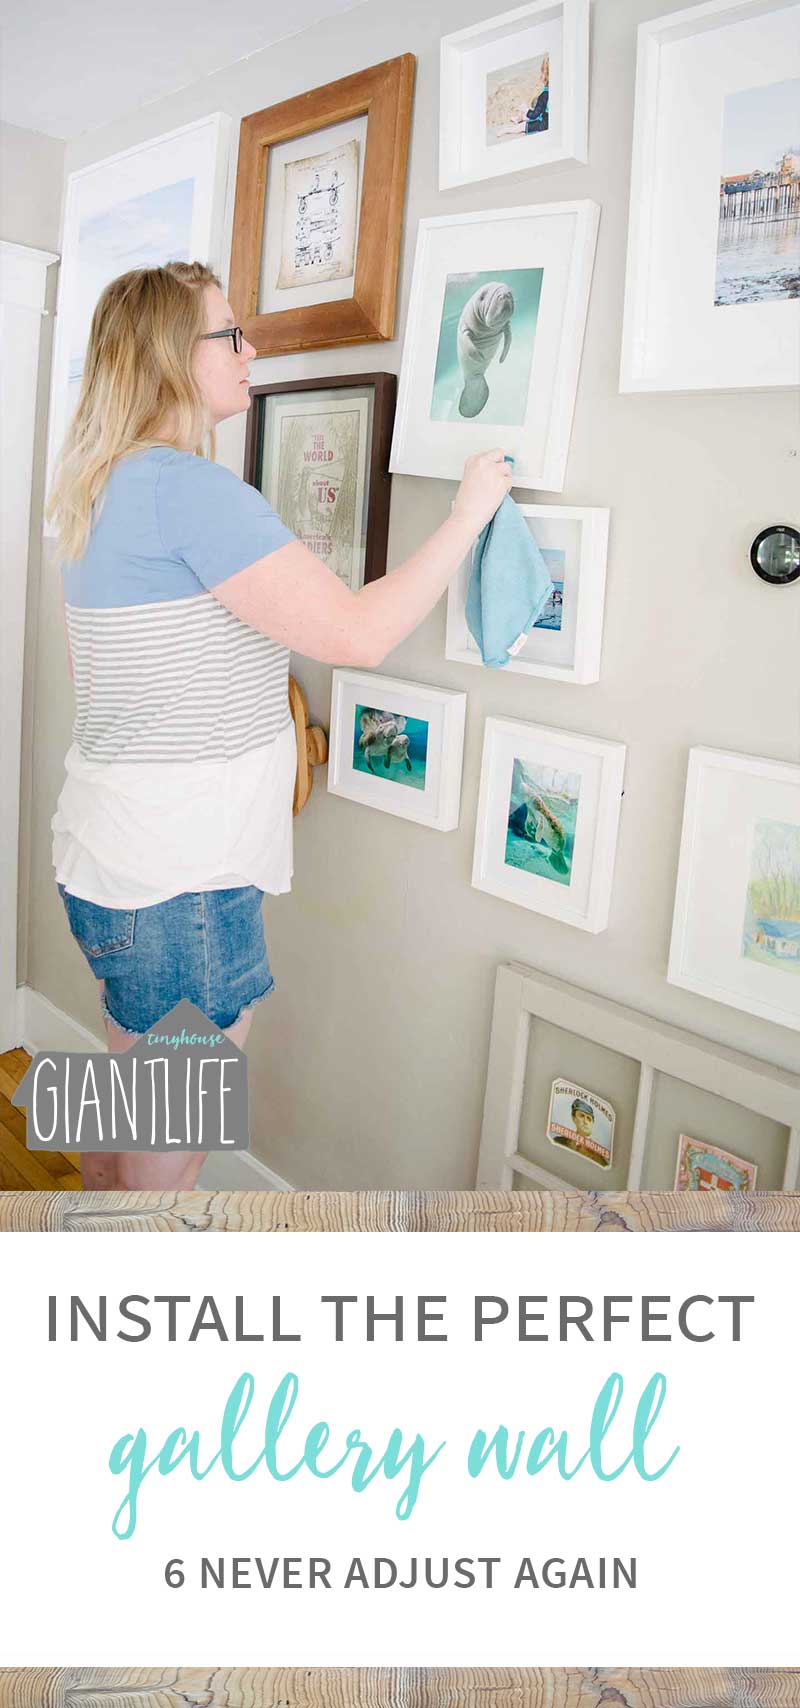
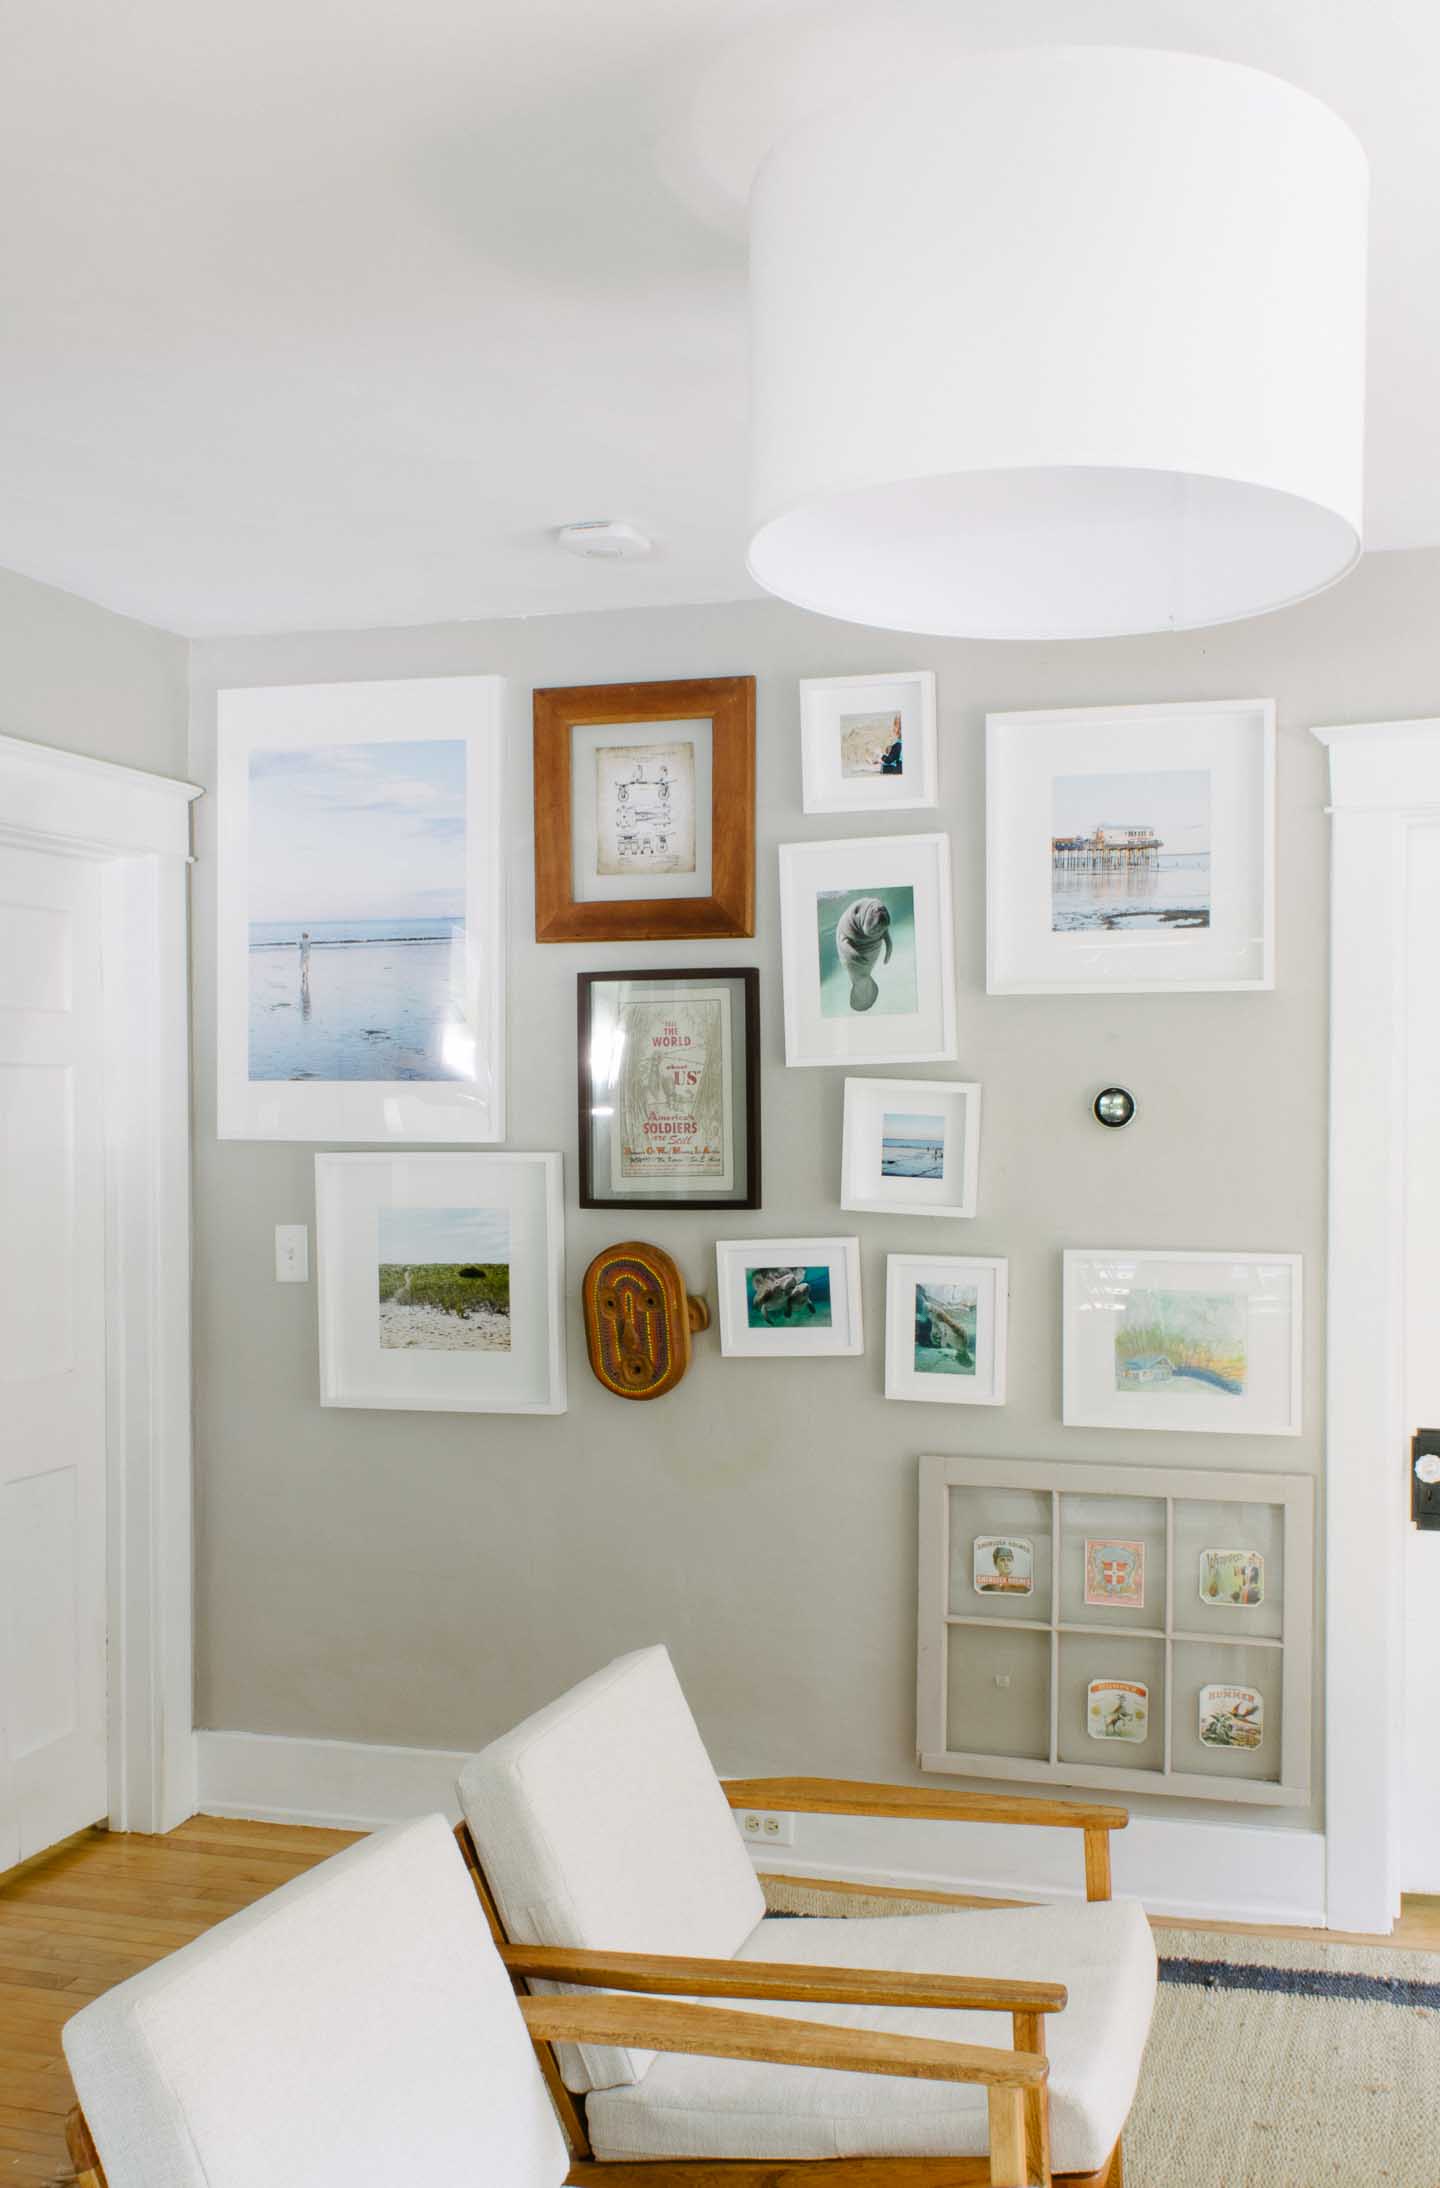
How To Install The Perfect Gallery Wall ( & Never Adjust Again)
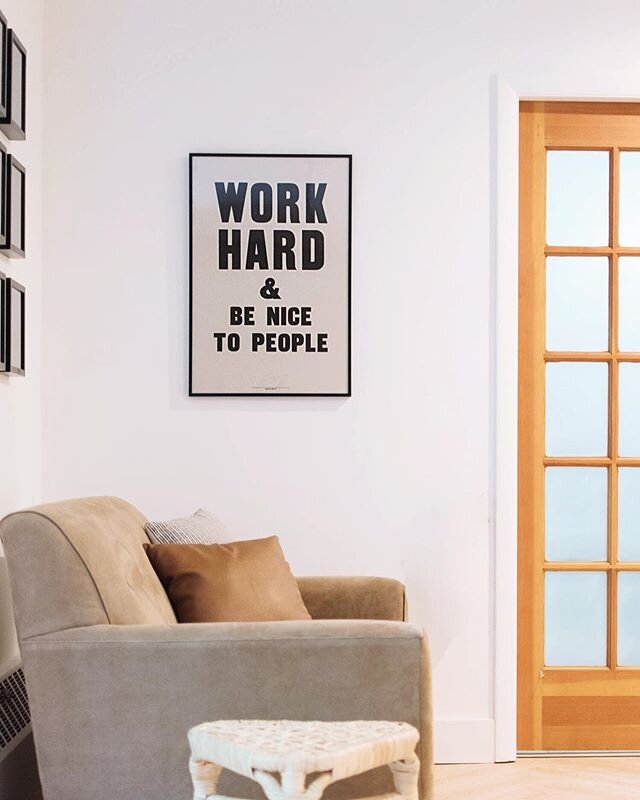
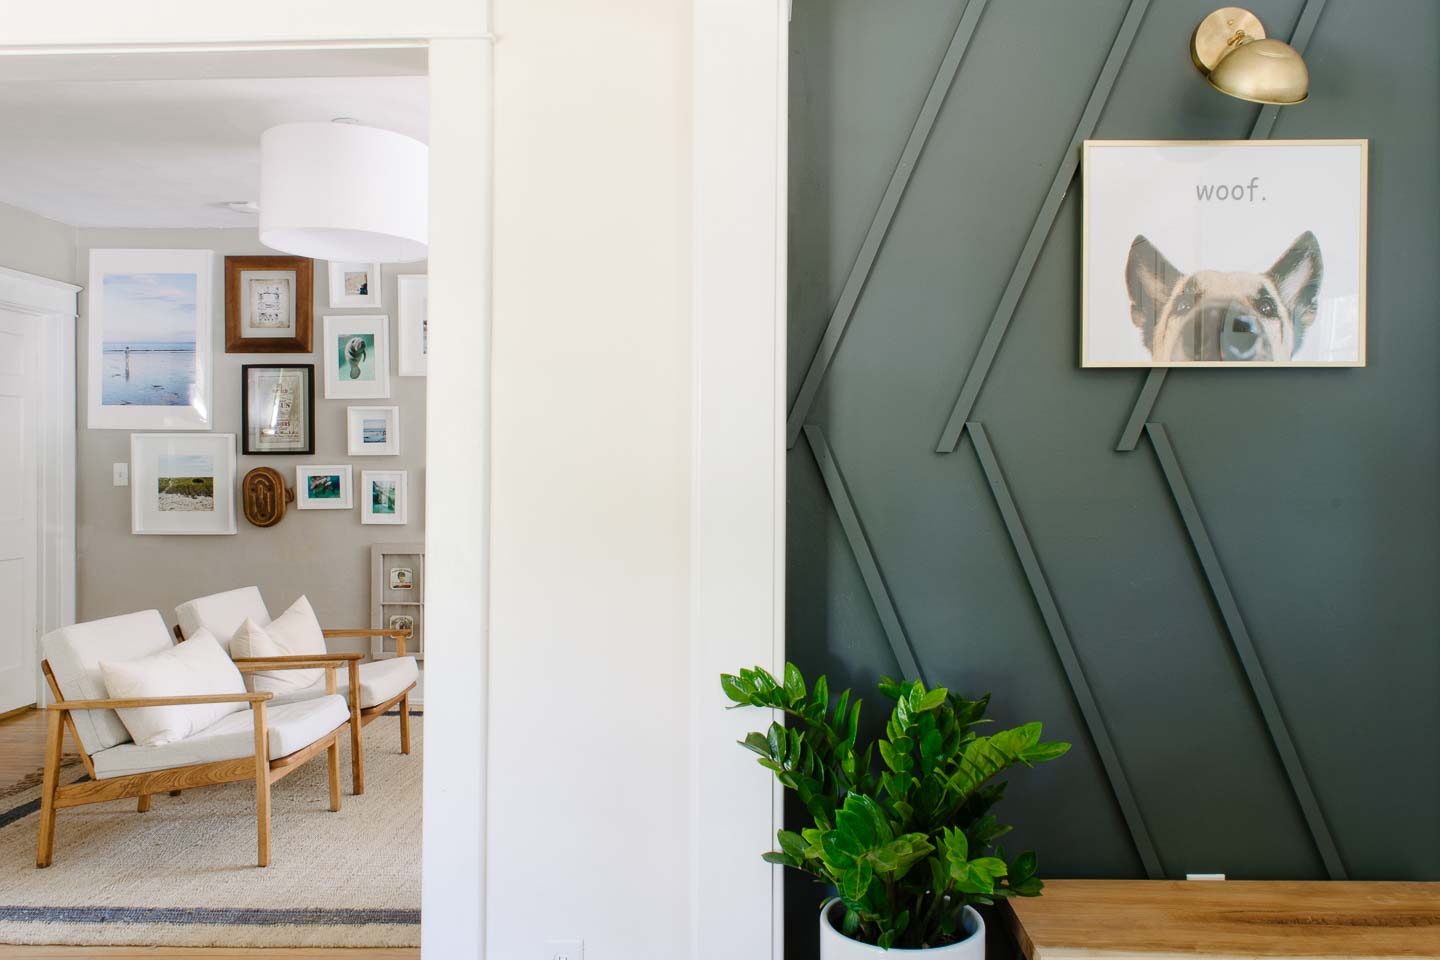
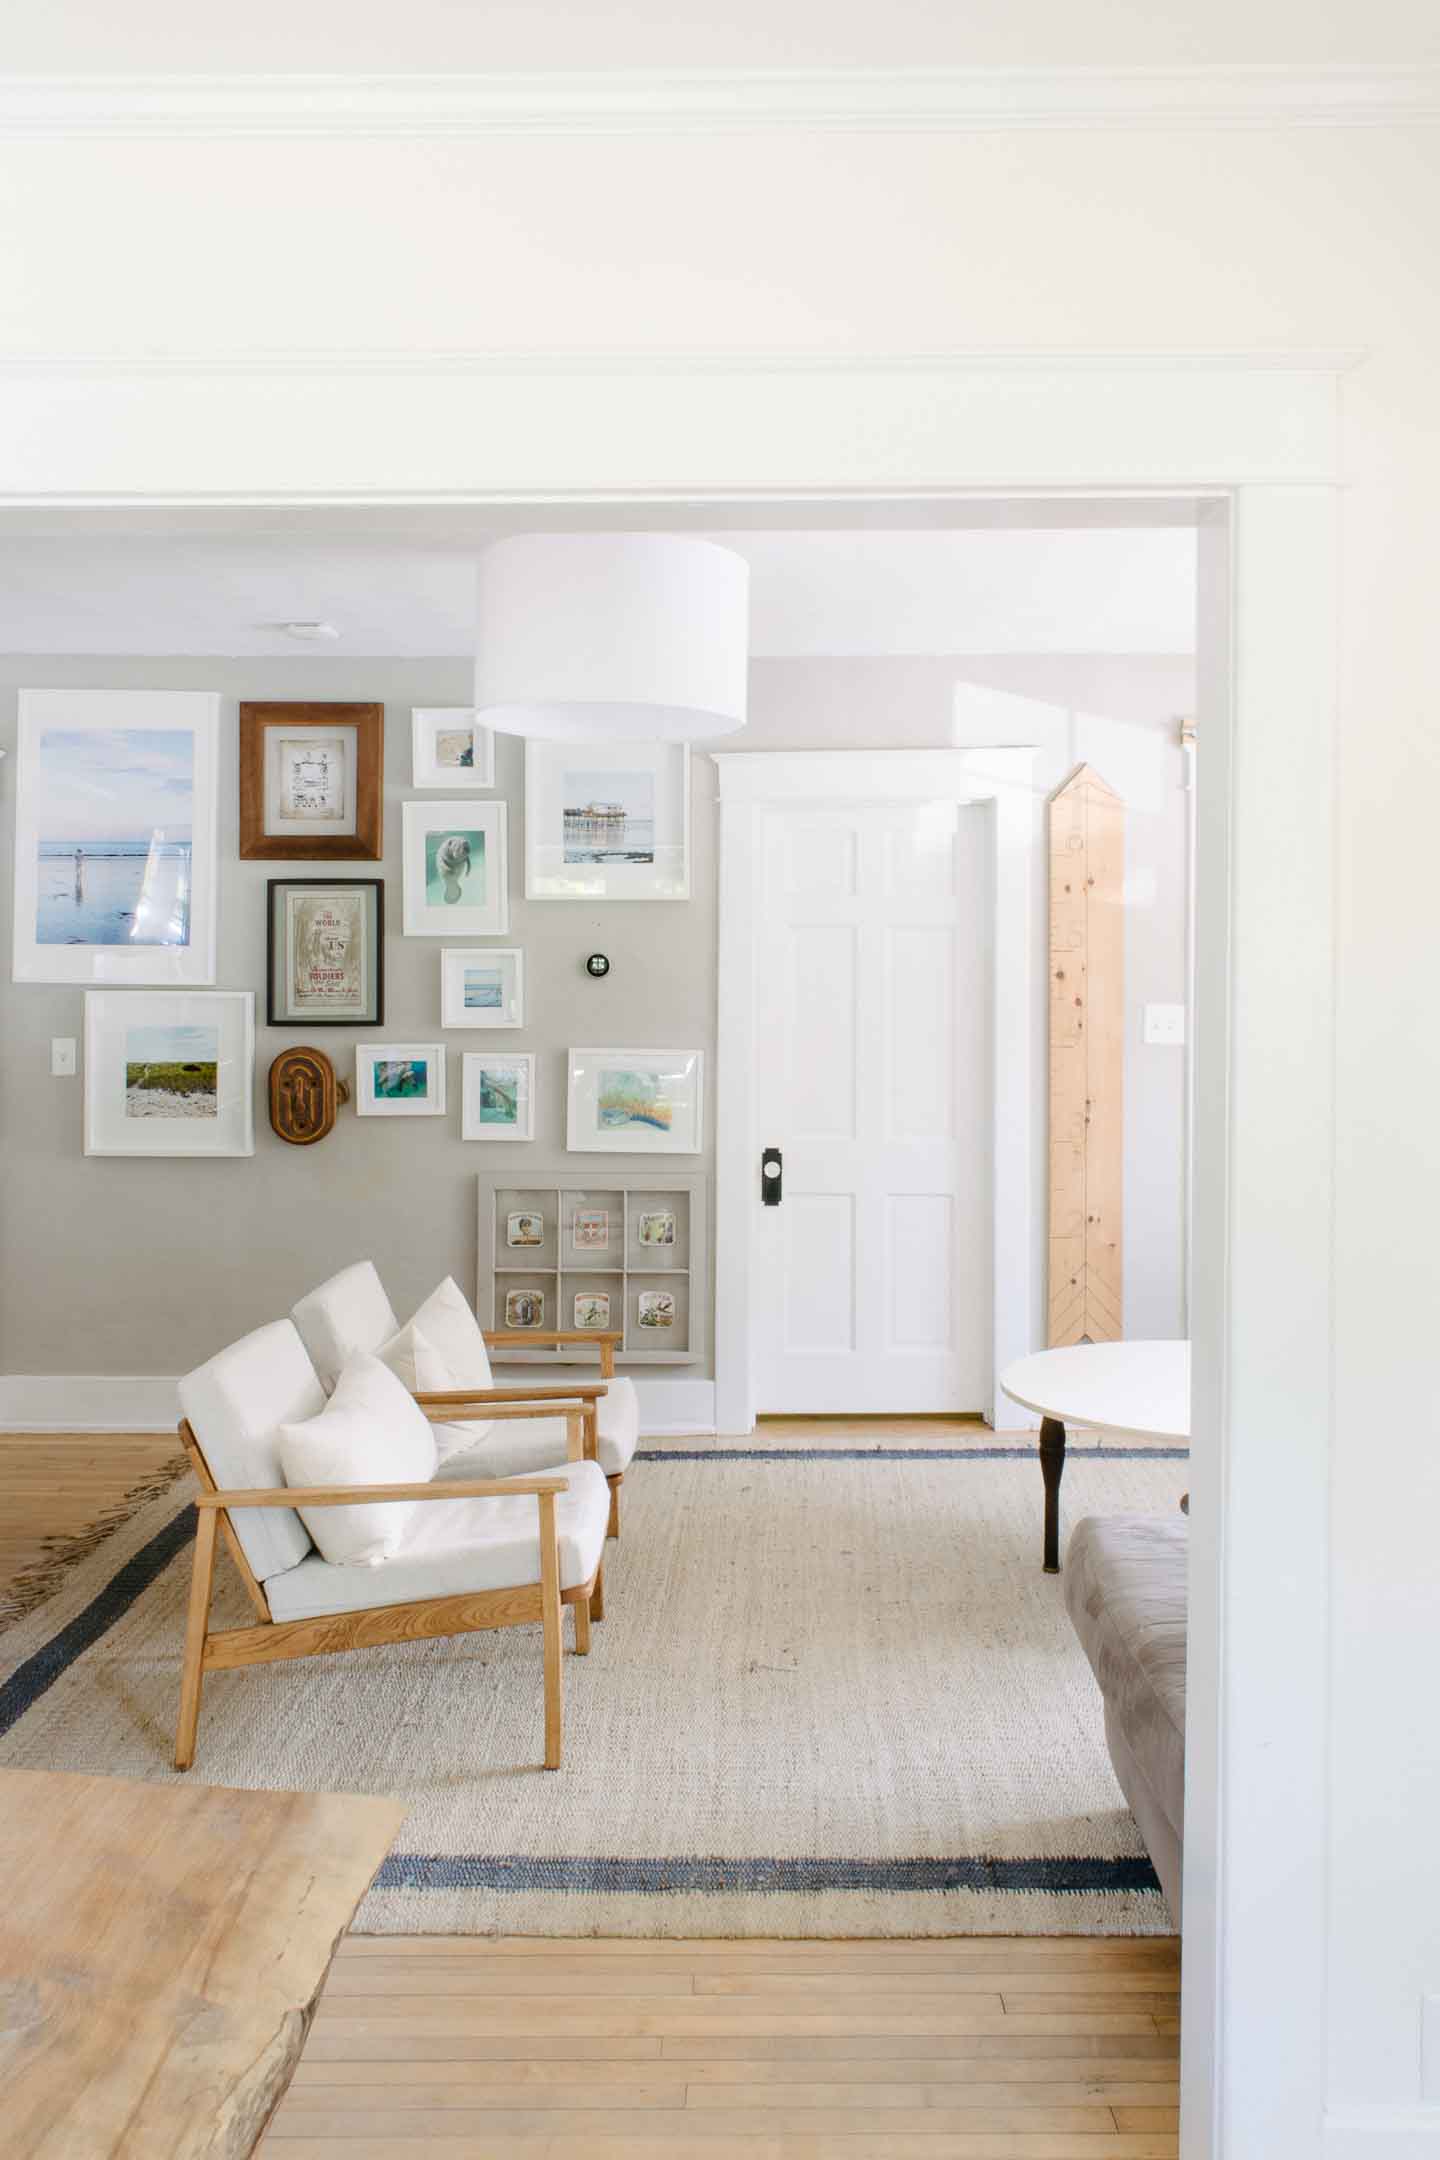
/Big thanks to Beehive Picture Hangers whom sponsored this gallery wall post and the Give-A-Way! All opinions are 100% our own. I don't know about you guys, but I have a love/hate relationship with my living room gallery wall. It's beautiful, fun, and represents our family but... anytime one of us brushes up against it or cleans the frames, it seems the whole thing needs adjusting to get straight, or it drives us crazy!

I finally got fed up with the constant adjustments and contacted Beehive Picture Hangers to fix the problem.
Your Perfect Gallery Wall Will Never Need Adjusting Again
We may have lots of pretty pictures of this household but real life happens here folks! If you were to walk through our doors at any given time you would find toddler toys strewn about (since our living room is where we do basically everything) . Things get dusty quickly because of the dogs, and the fact that Haverly and myself are home a lot! So the last thing I need is another project, and our gallery wall has turned into exactly that.
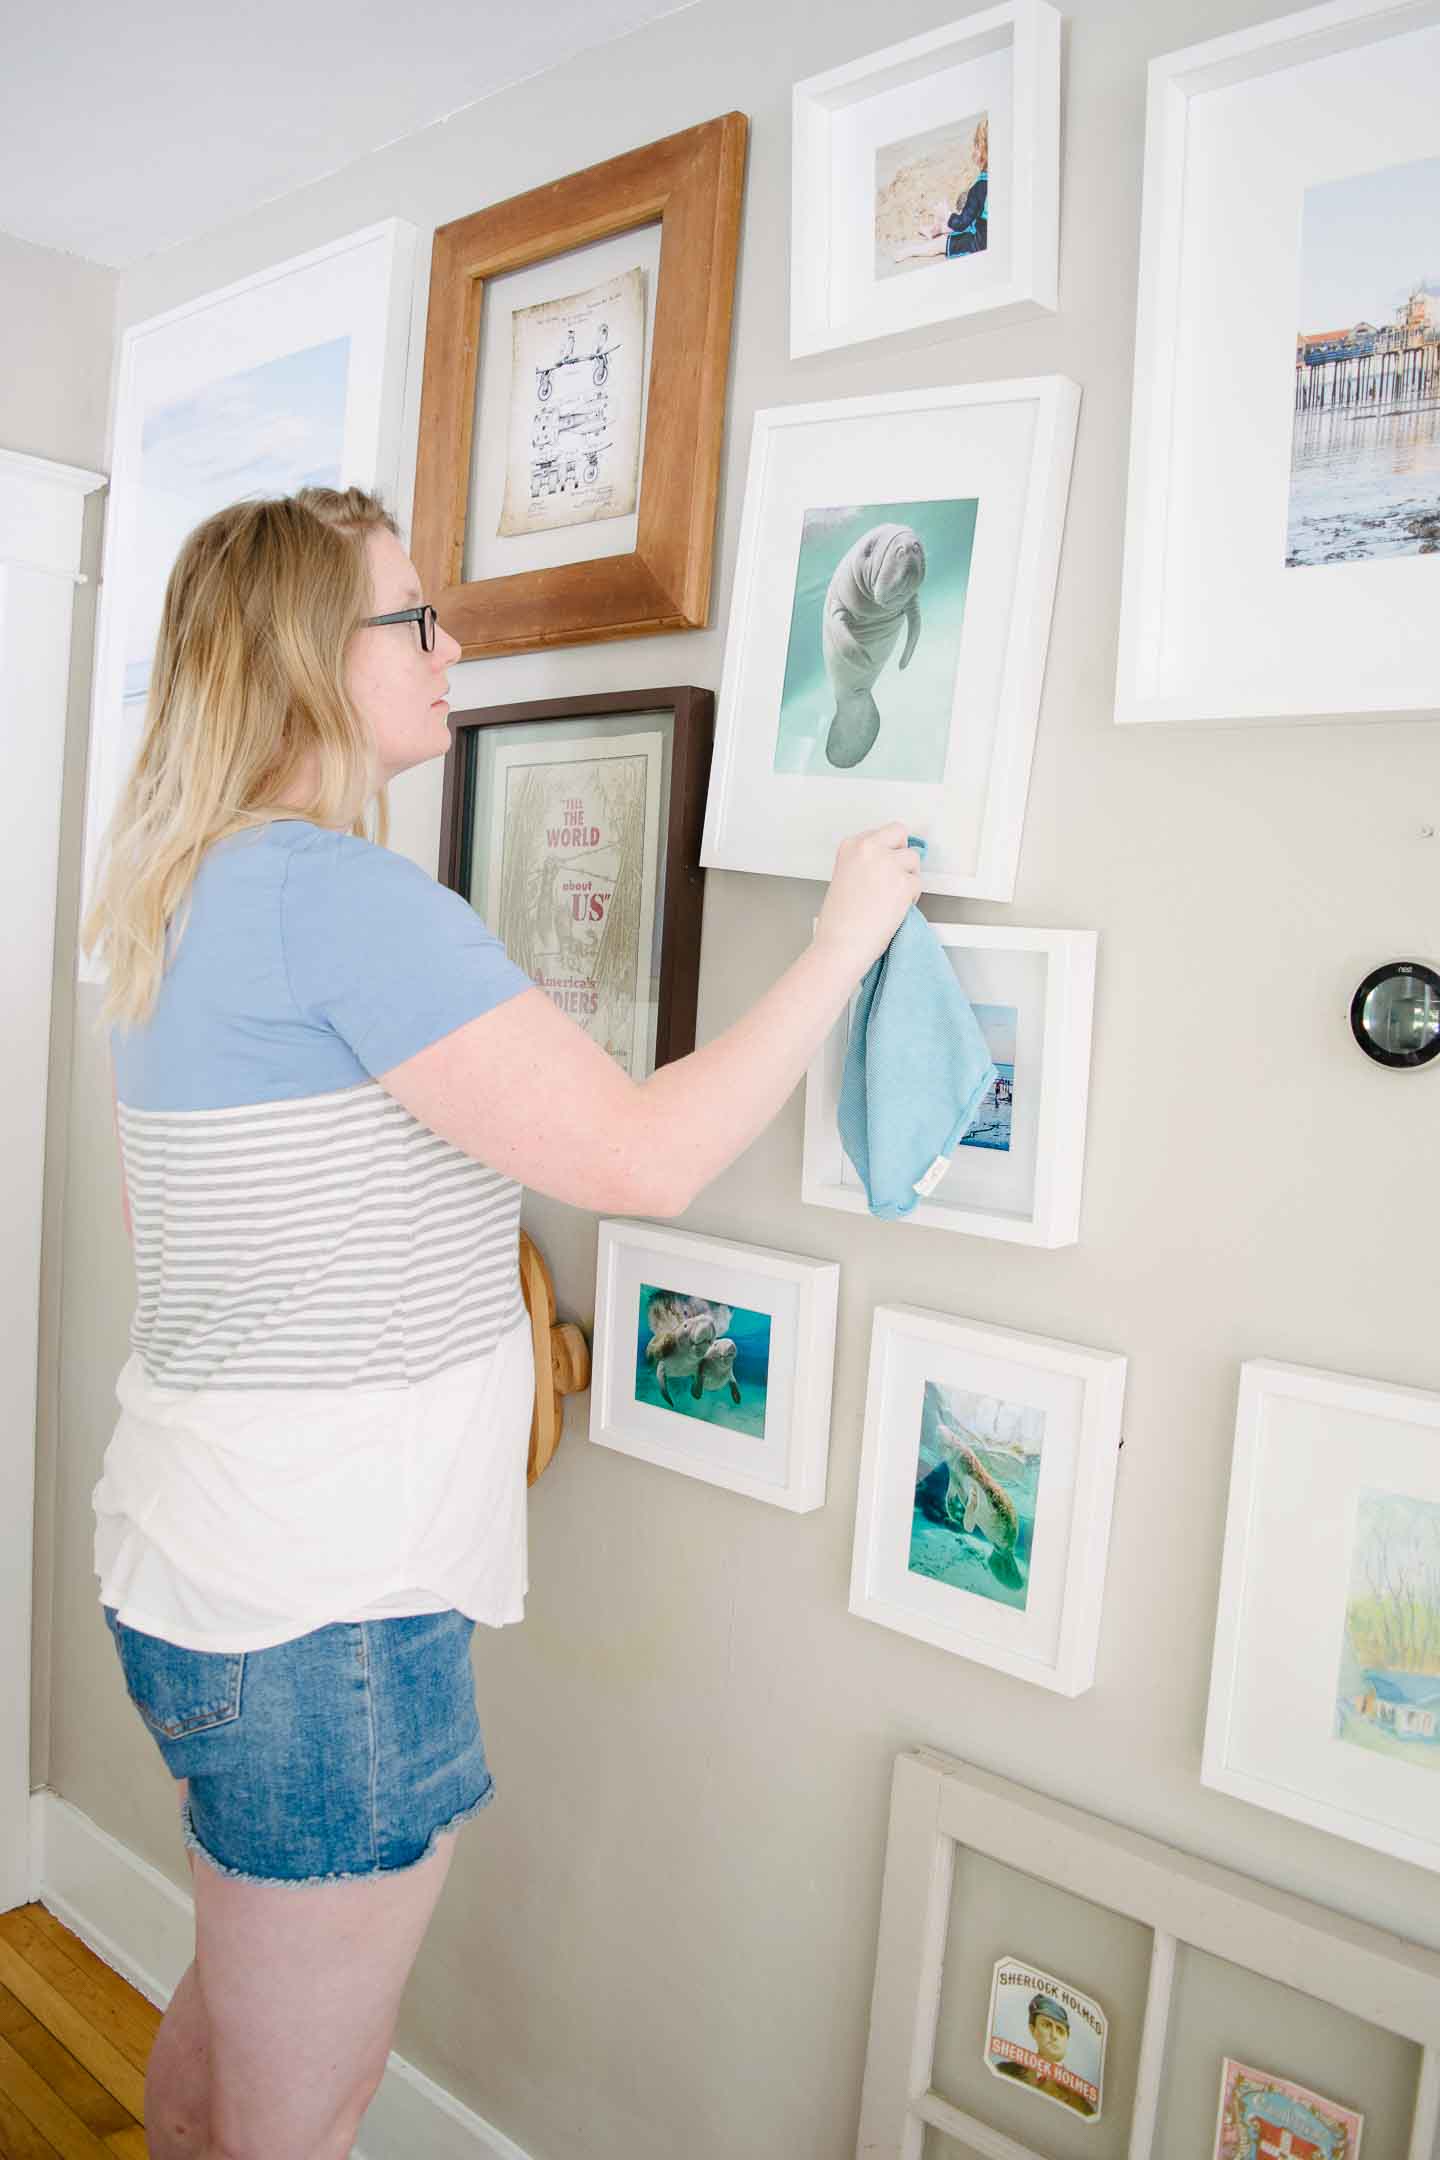
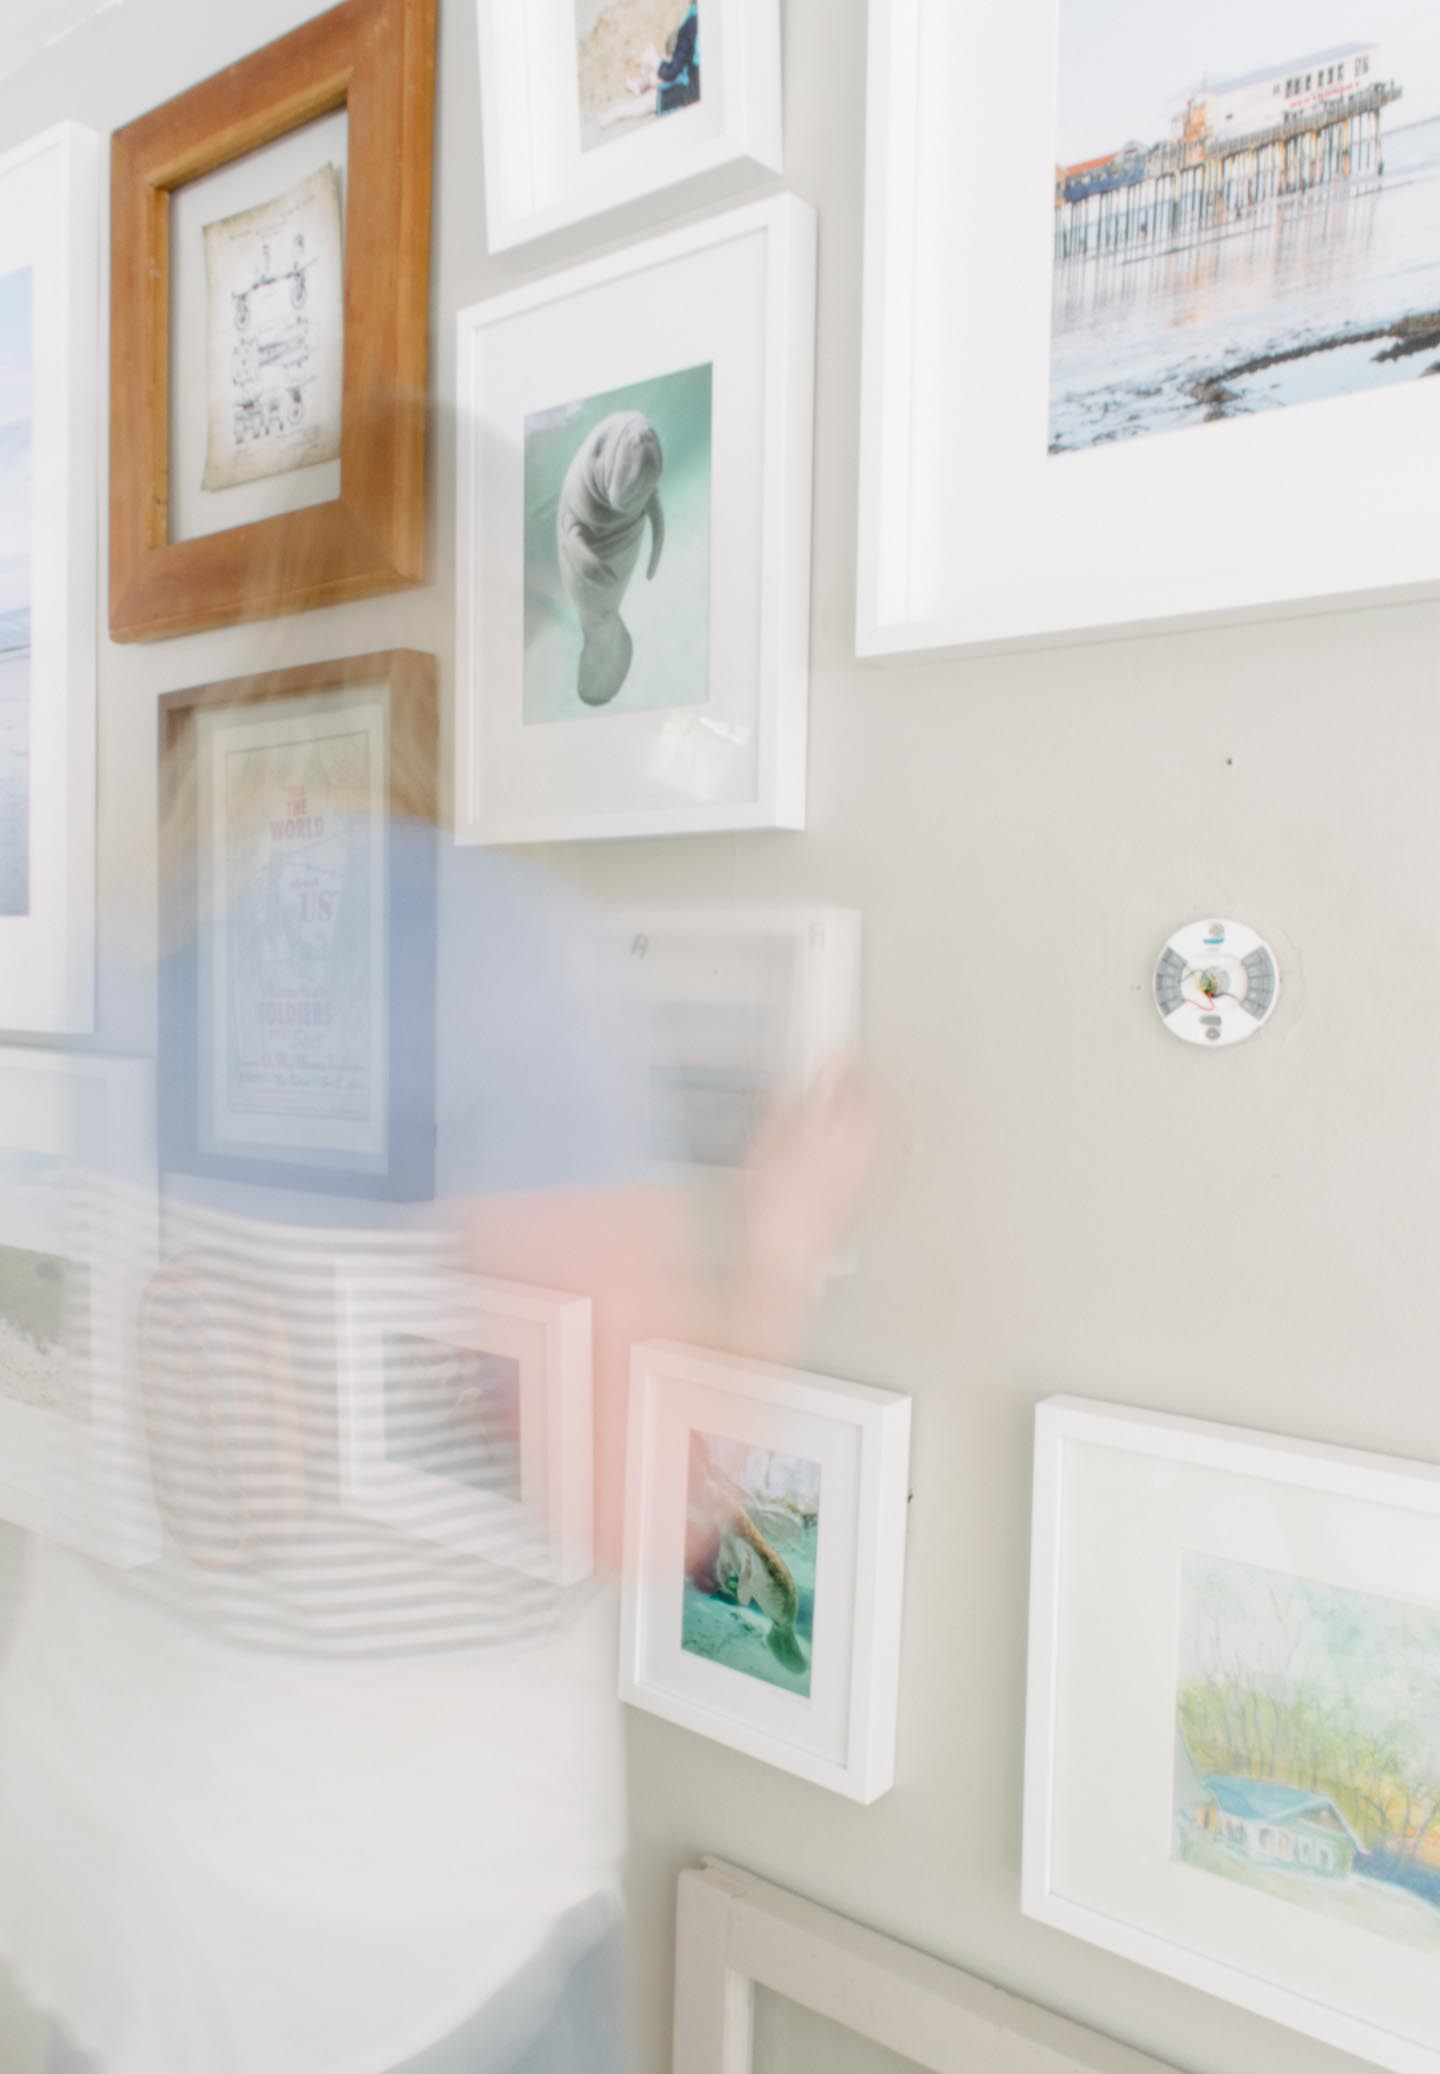
Every time we clean or play near the wall, it needs adjusting to look good again, and I've already spent so much time cultivating the content for it, another weekly or daily task is maddening.
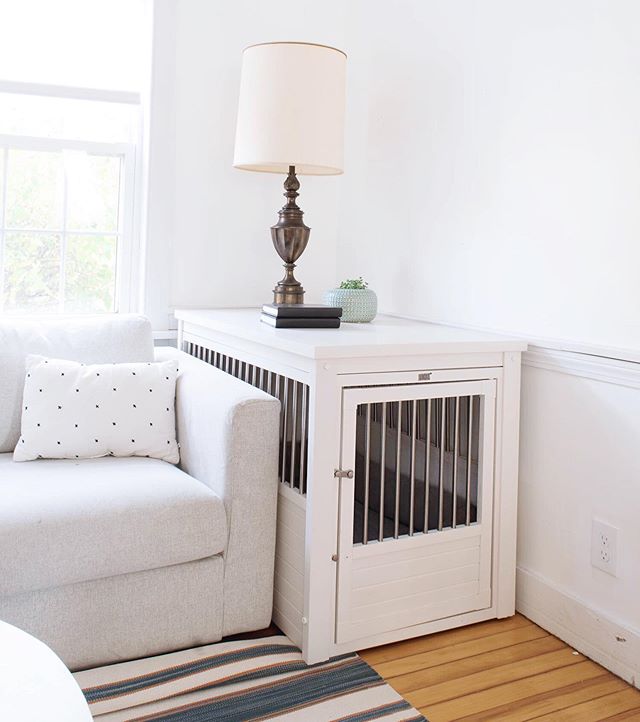
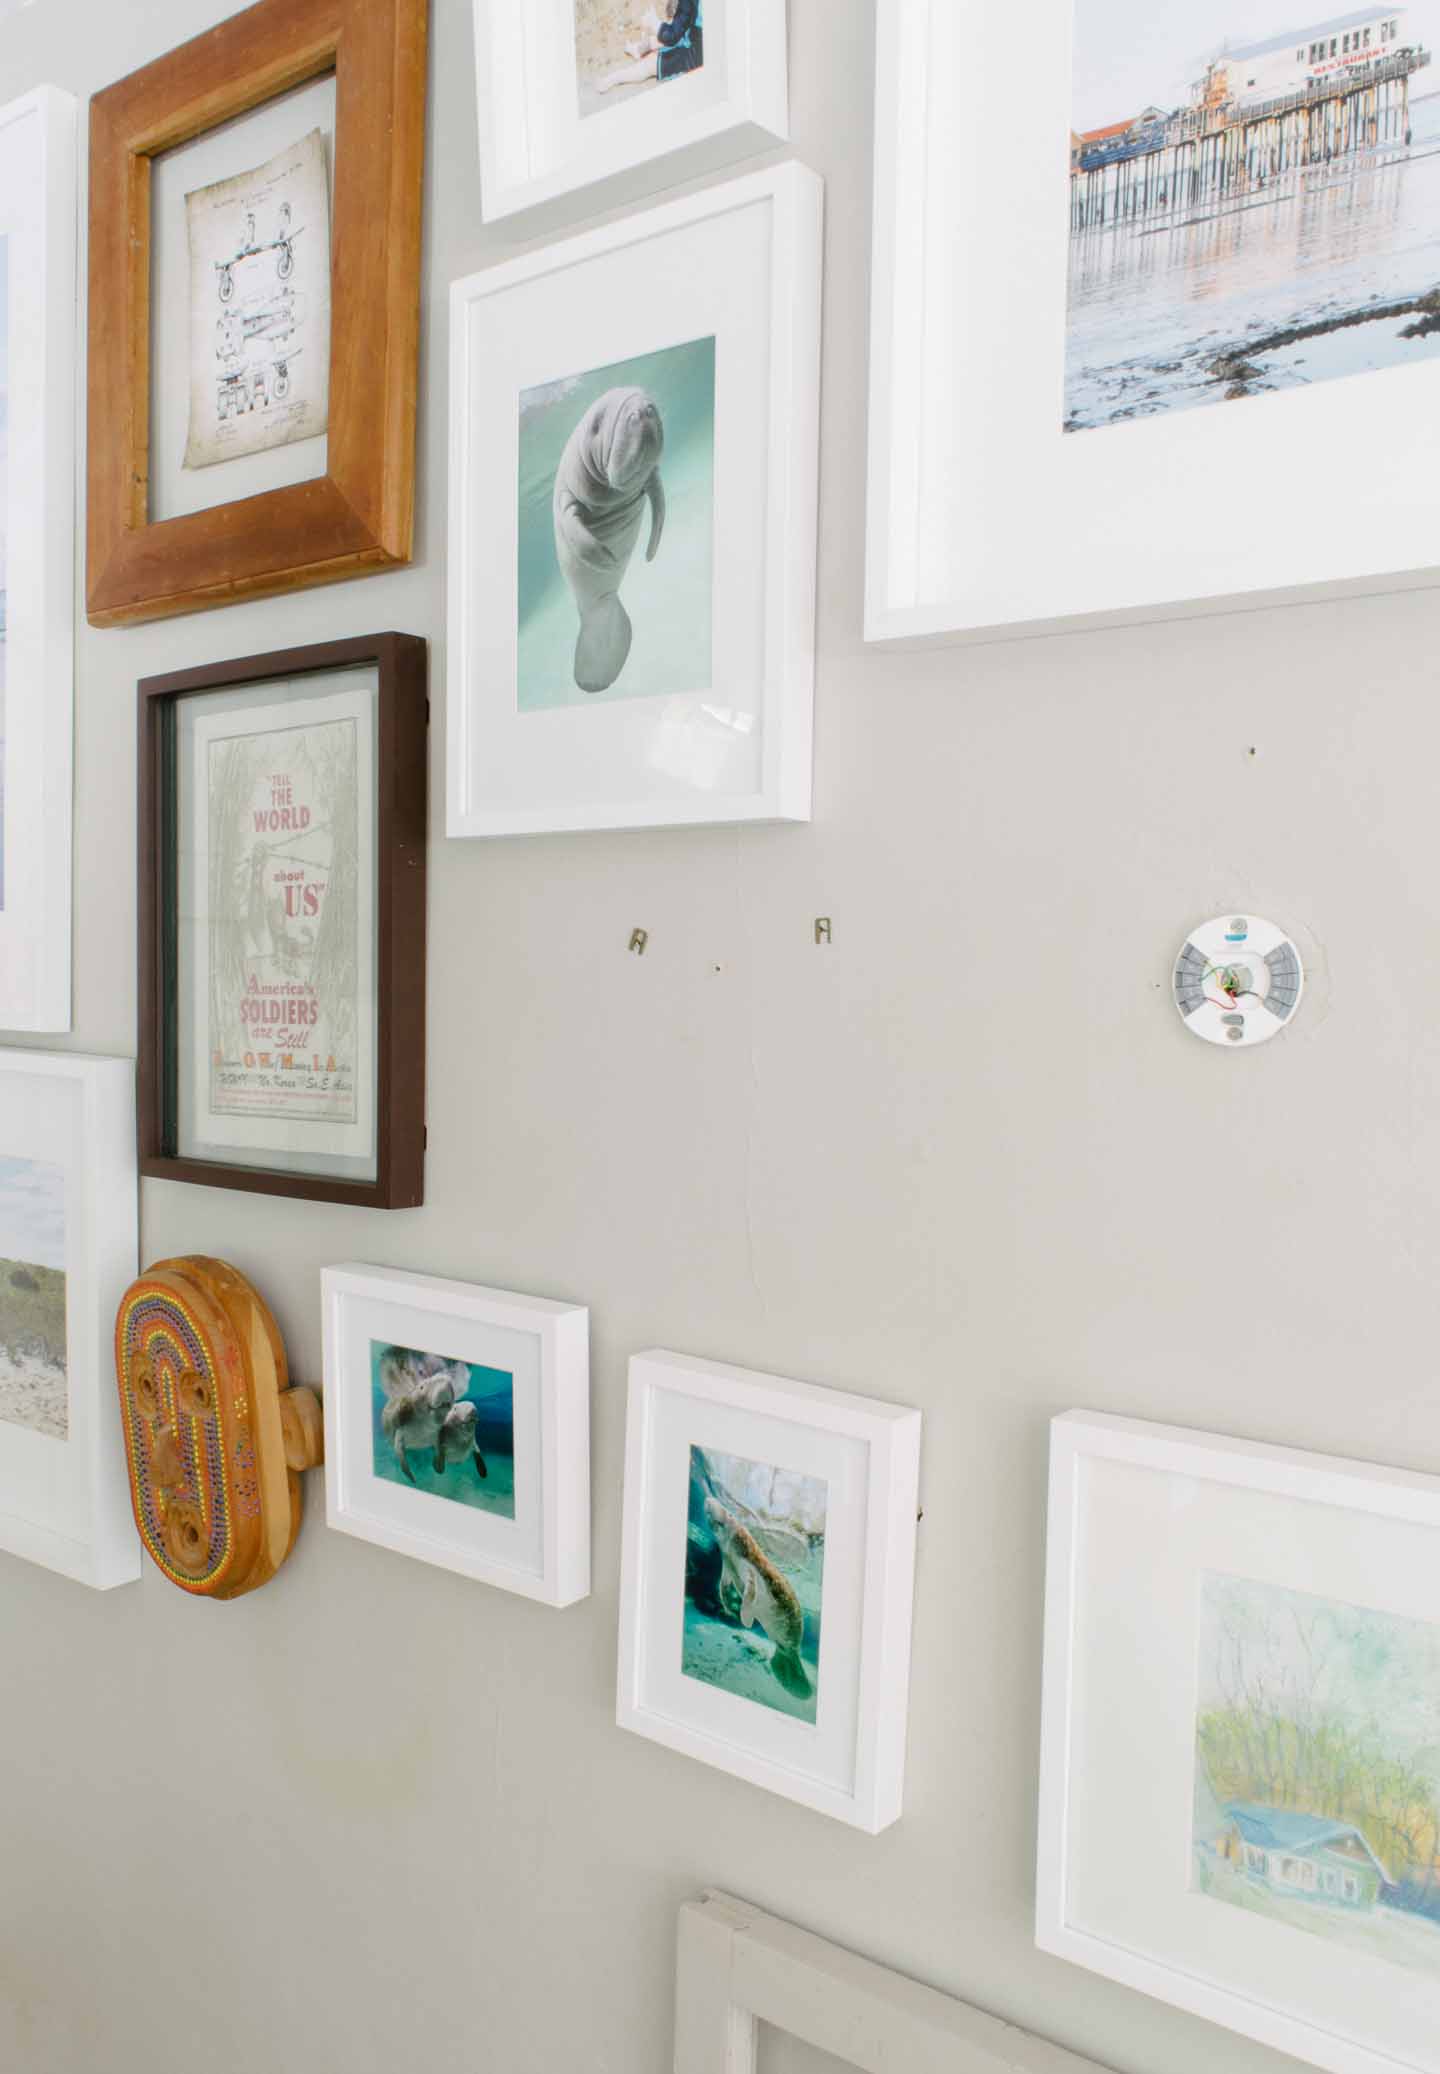
Here's what the gallery all looks like after a day of doggie and toddler play...
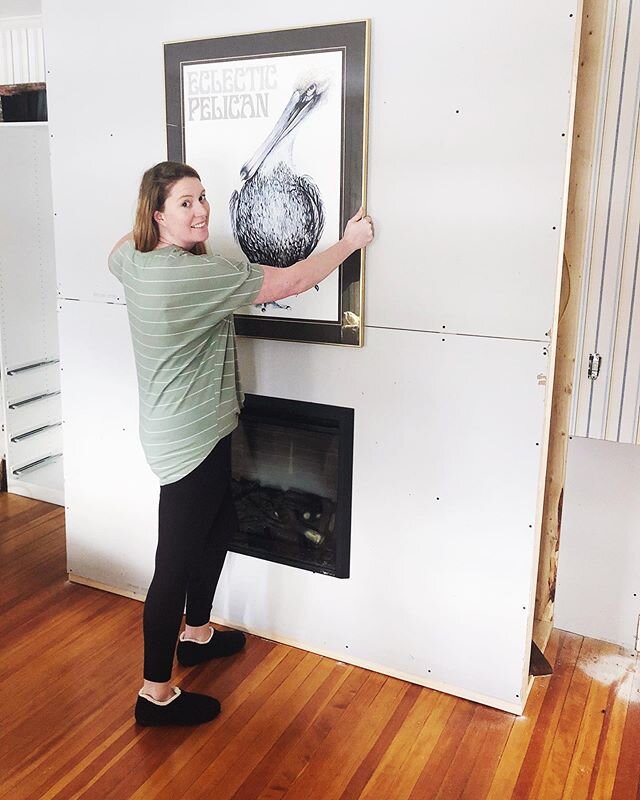
Installing The Perfect Gallery Wall
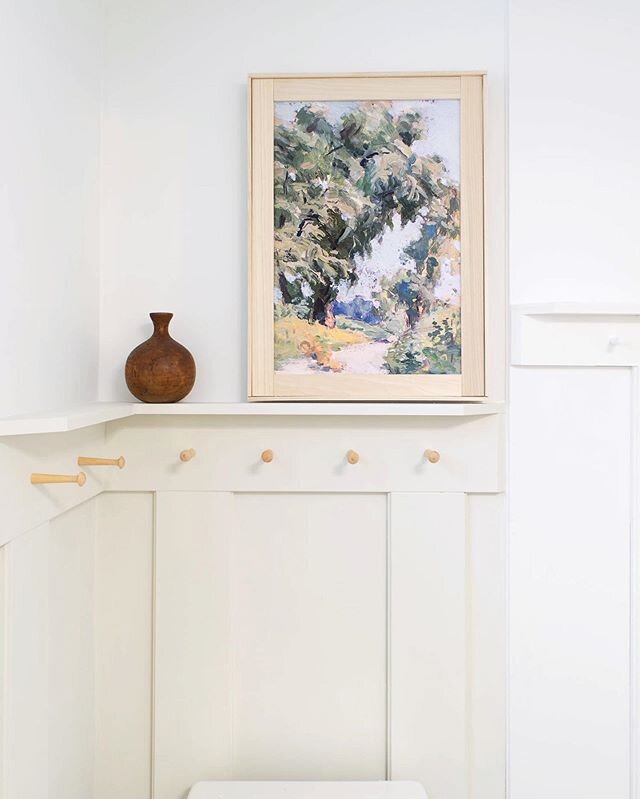
Since we really needed to update our gallery wall from winter, we decided to do all of it at the same time. Change out the photos for something more seasonal and change over the hardware which has already made such a huge difference in the look of this gallery wall.
If you've wanted a perfect gallery wall but haven't put up the frames yet, it's even easier to just start with installing these picture hangers.

Steps To Install The Perfect Gallery Wall
1.Install the "honeycomb" hangers to the top corners of frame, attaching to mitered joints to help prevent joint separation over time.
If you have particle board frames (like we did with these Ikea frames) you should drill a small pilot hole for the screw, or using your driver drill make sure to apply only the smallest amount of pressure.
2. Press the frame to wall firmly, it will make marks where you should install the support pins (nails into wall). This doesn't have to be lined up and perfectly straight since the picture hangers "honeycomb" design is easily adjusted in any direction to straighten your frame one the pins are installed
3. Hammer support pins into previous steps wall marks at a downward angle.
If you have large hands these may be a little difficult to hammer in, but rest assured even if the pins install a little crooked they work just fine (just make sure they are flush with the wall and fully installed)
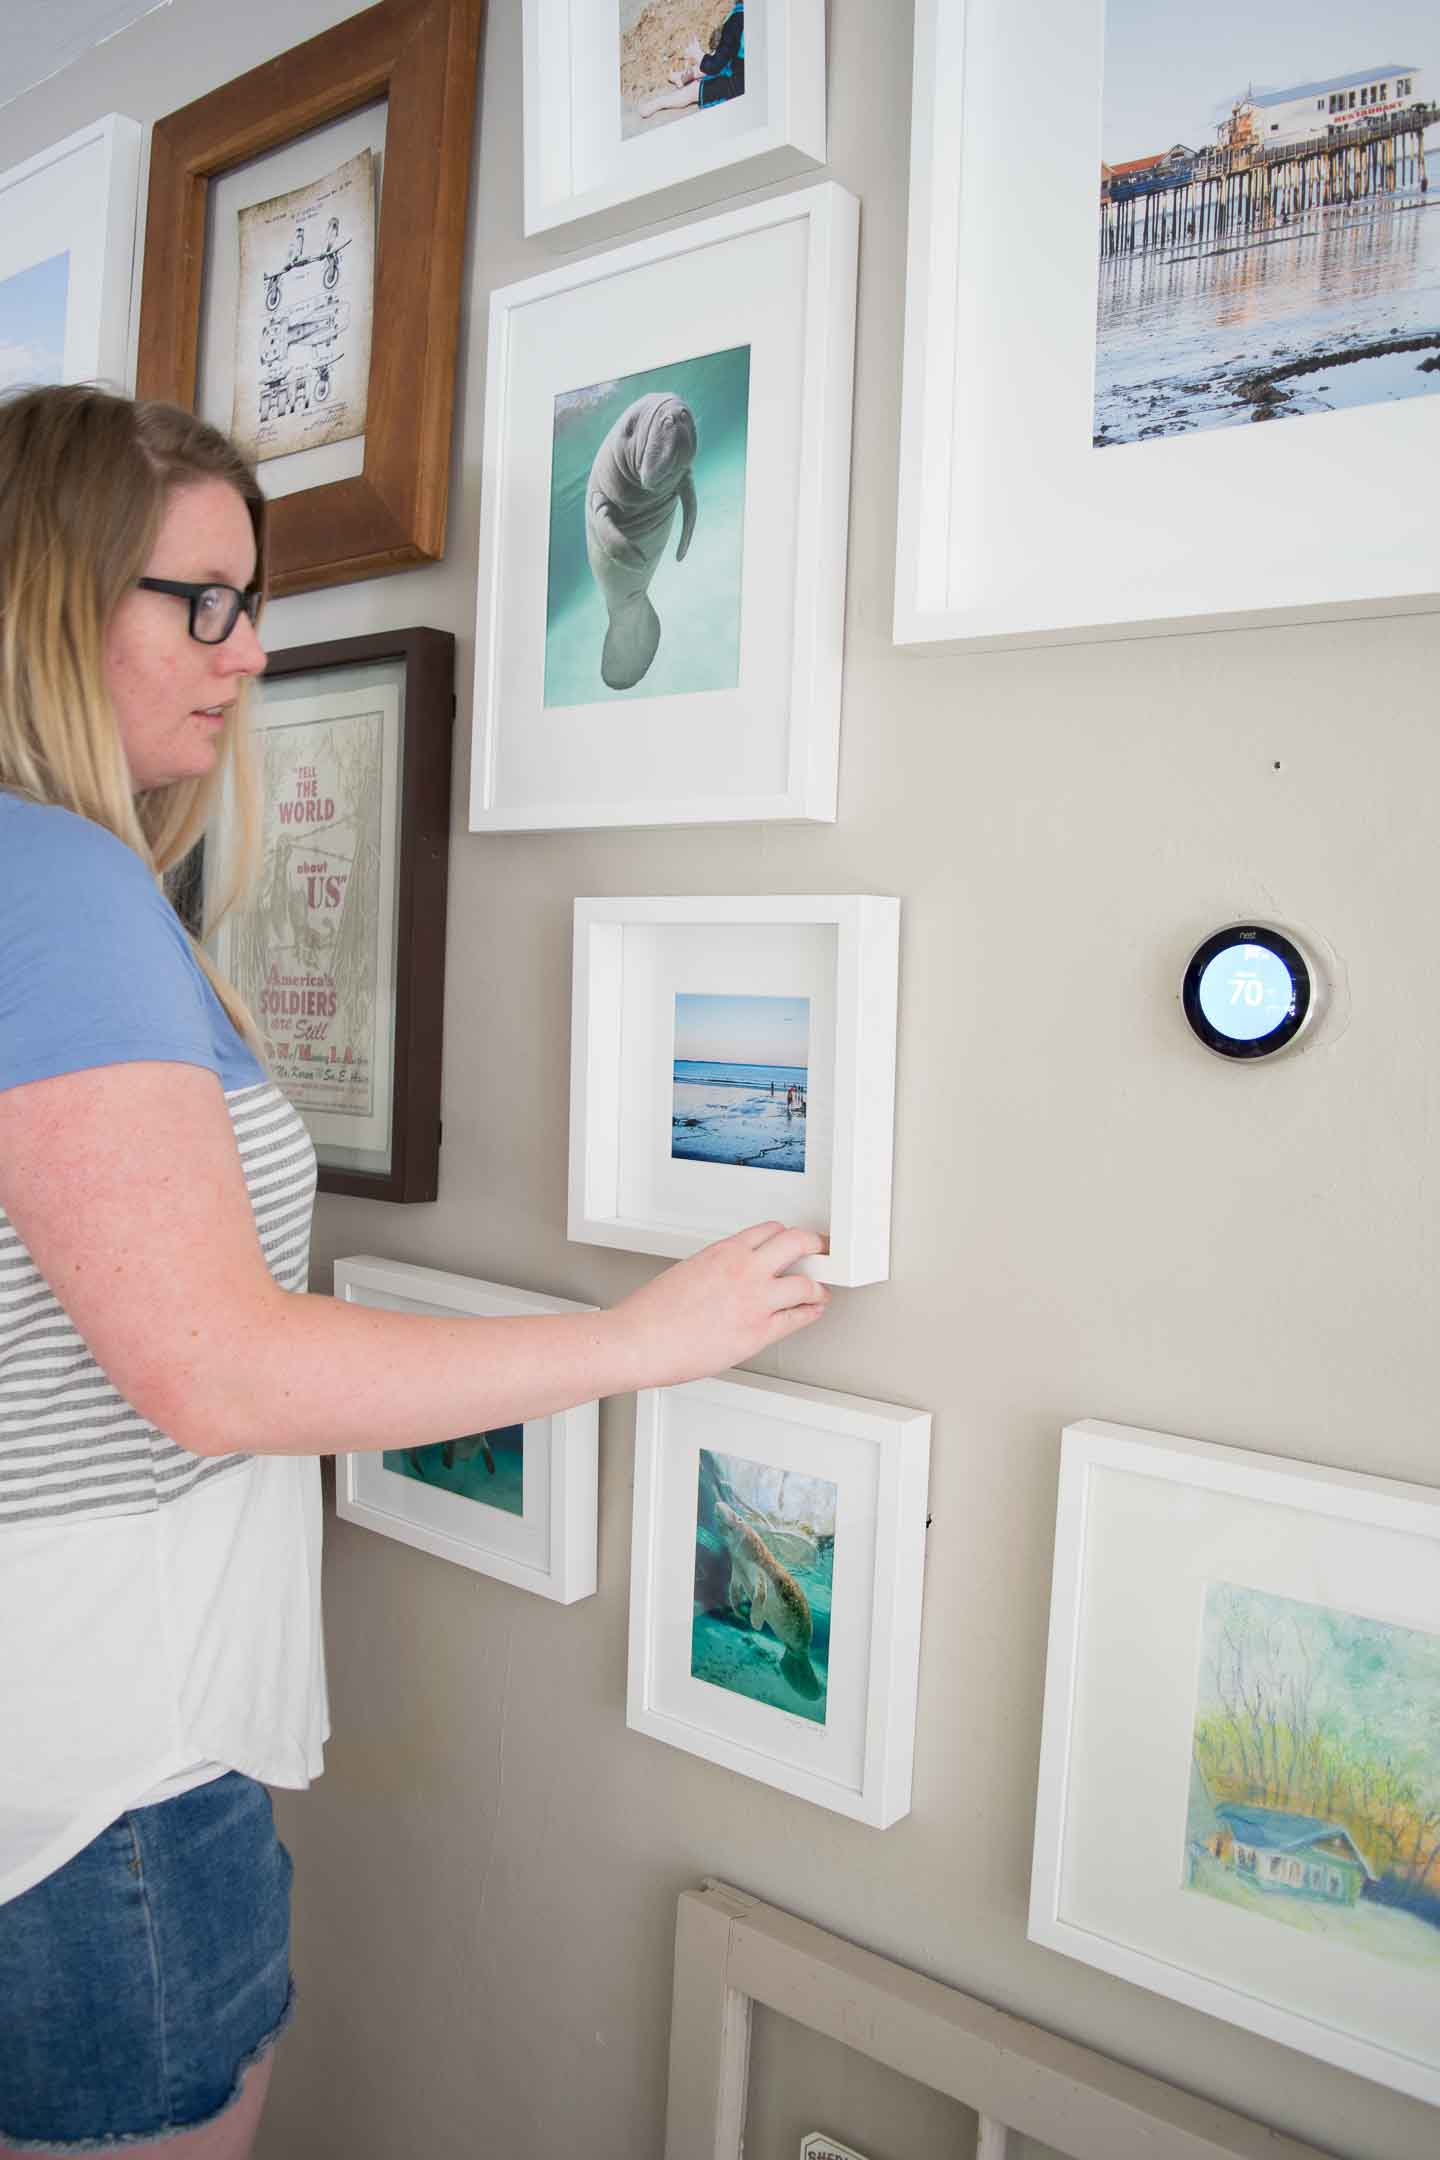
4. Hang the frame on the support pin. Lift the frame out on either corner and adjust in any direction to straighten and move.
Max hangers get installed just like the Original Beehive Picture Hangers but you can purchase additional Mega Hooks that add 60lbs to the weight rating. If you have something very heavy, this is your best bet!
If you have plaster & lath wall, mega hooks would be extremely difficult to install since they install into and up the wall and you would need to get them in-between lath boards. This ended up being the case for us.
Seriously, it's that easy you guys.
We know that cleaning while holding the frames really isnt the end of the world scenario, but with so much activity in this small space, I'm looking forward to not having to adjust these on a daily basis just because we brushed up against them.
Beehive Picture Hanger's Give-A-Way!
Enter for a chance to win 24 Original Beehive Picture Hangers on our Instagram; here is the post with the simple directions to apply for your chance to win! Thank you to Beehive Picture Hangers for Sponsoring this post and providing the product for our very first give-a-way on Tiny House Giant Life!