Vintage Inspired Brass Light | DIY It | One Room Challenge Week 5
/
I can't believe were already into week five of the One Room Challenge you guys! My intentions were to interact with as many bloggers as possible during this wonderful challenge, but because of a difficult and sad month it has been on the home front (we mentioned a family emergency in week 1) I haven't been able to do as much. The amazing people I have had the chance to meet have made this a wonderful adventure, and we felt very supported even by folks whom hadn't ever read the blog yet, thank you all.
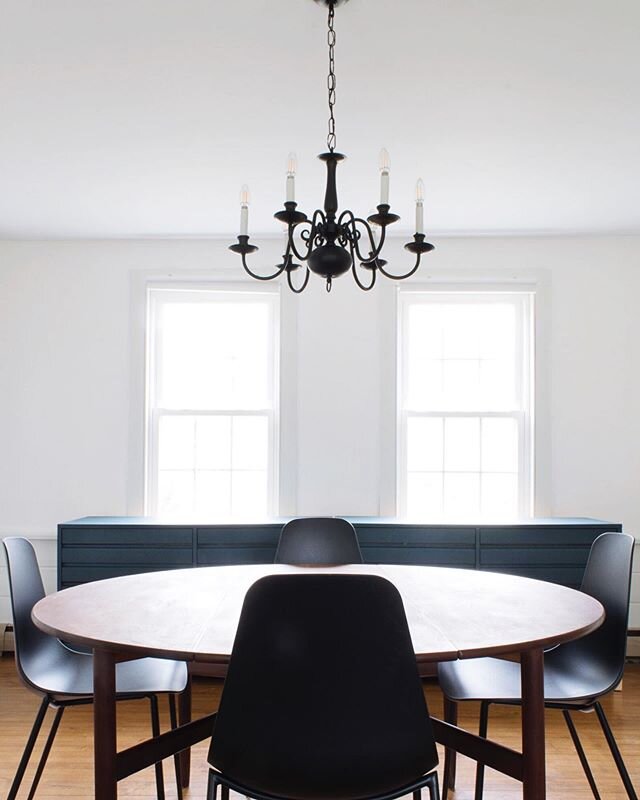
Back in January we worked on our dining room and finally got a real light for above our table. We had a neat find from the Brimfield Fair (an chicken feeder turned in to a lamp), but it was not a permanent solution. We finally decided to DIY our brass sputnik light. It has opened up a whole world of lighting design for us: "what do you mean you can just make a light (for a whole lot less I might add)!?" So naturally we also decided to create a brass light DIY in the entryway.
When we built our dining room Sputnik fixture, we used Grand Brass and we were very excited when they agreed to sponsor the entry lighting for our one room challenge. All opinions and thoughts are 100% our own.
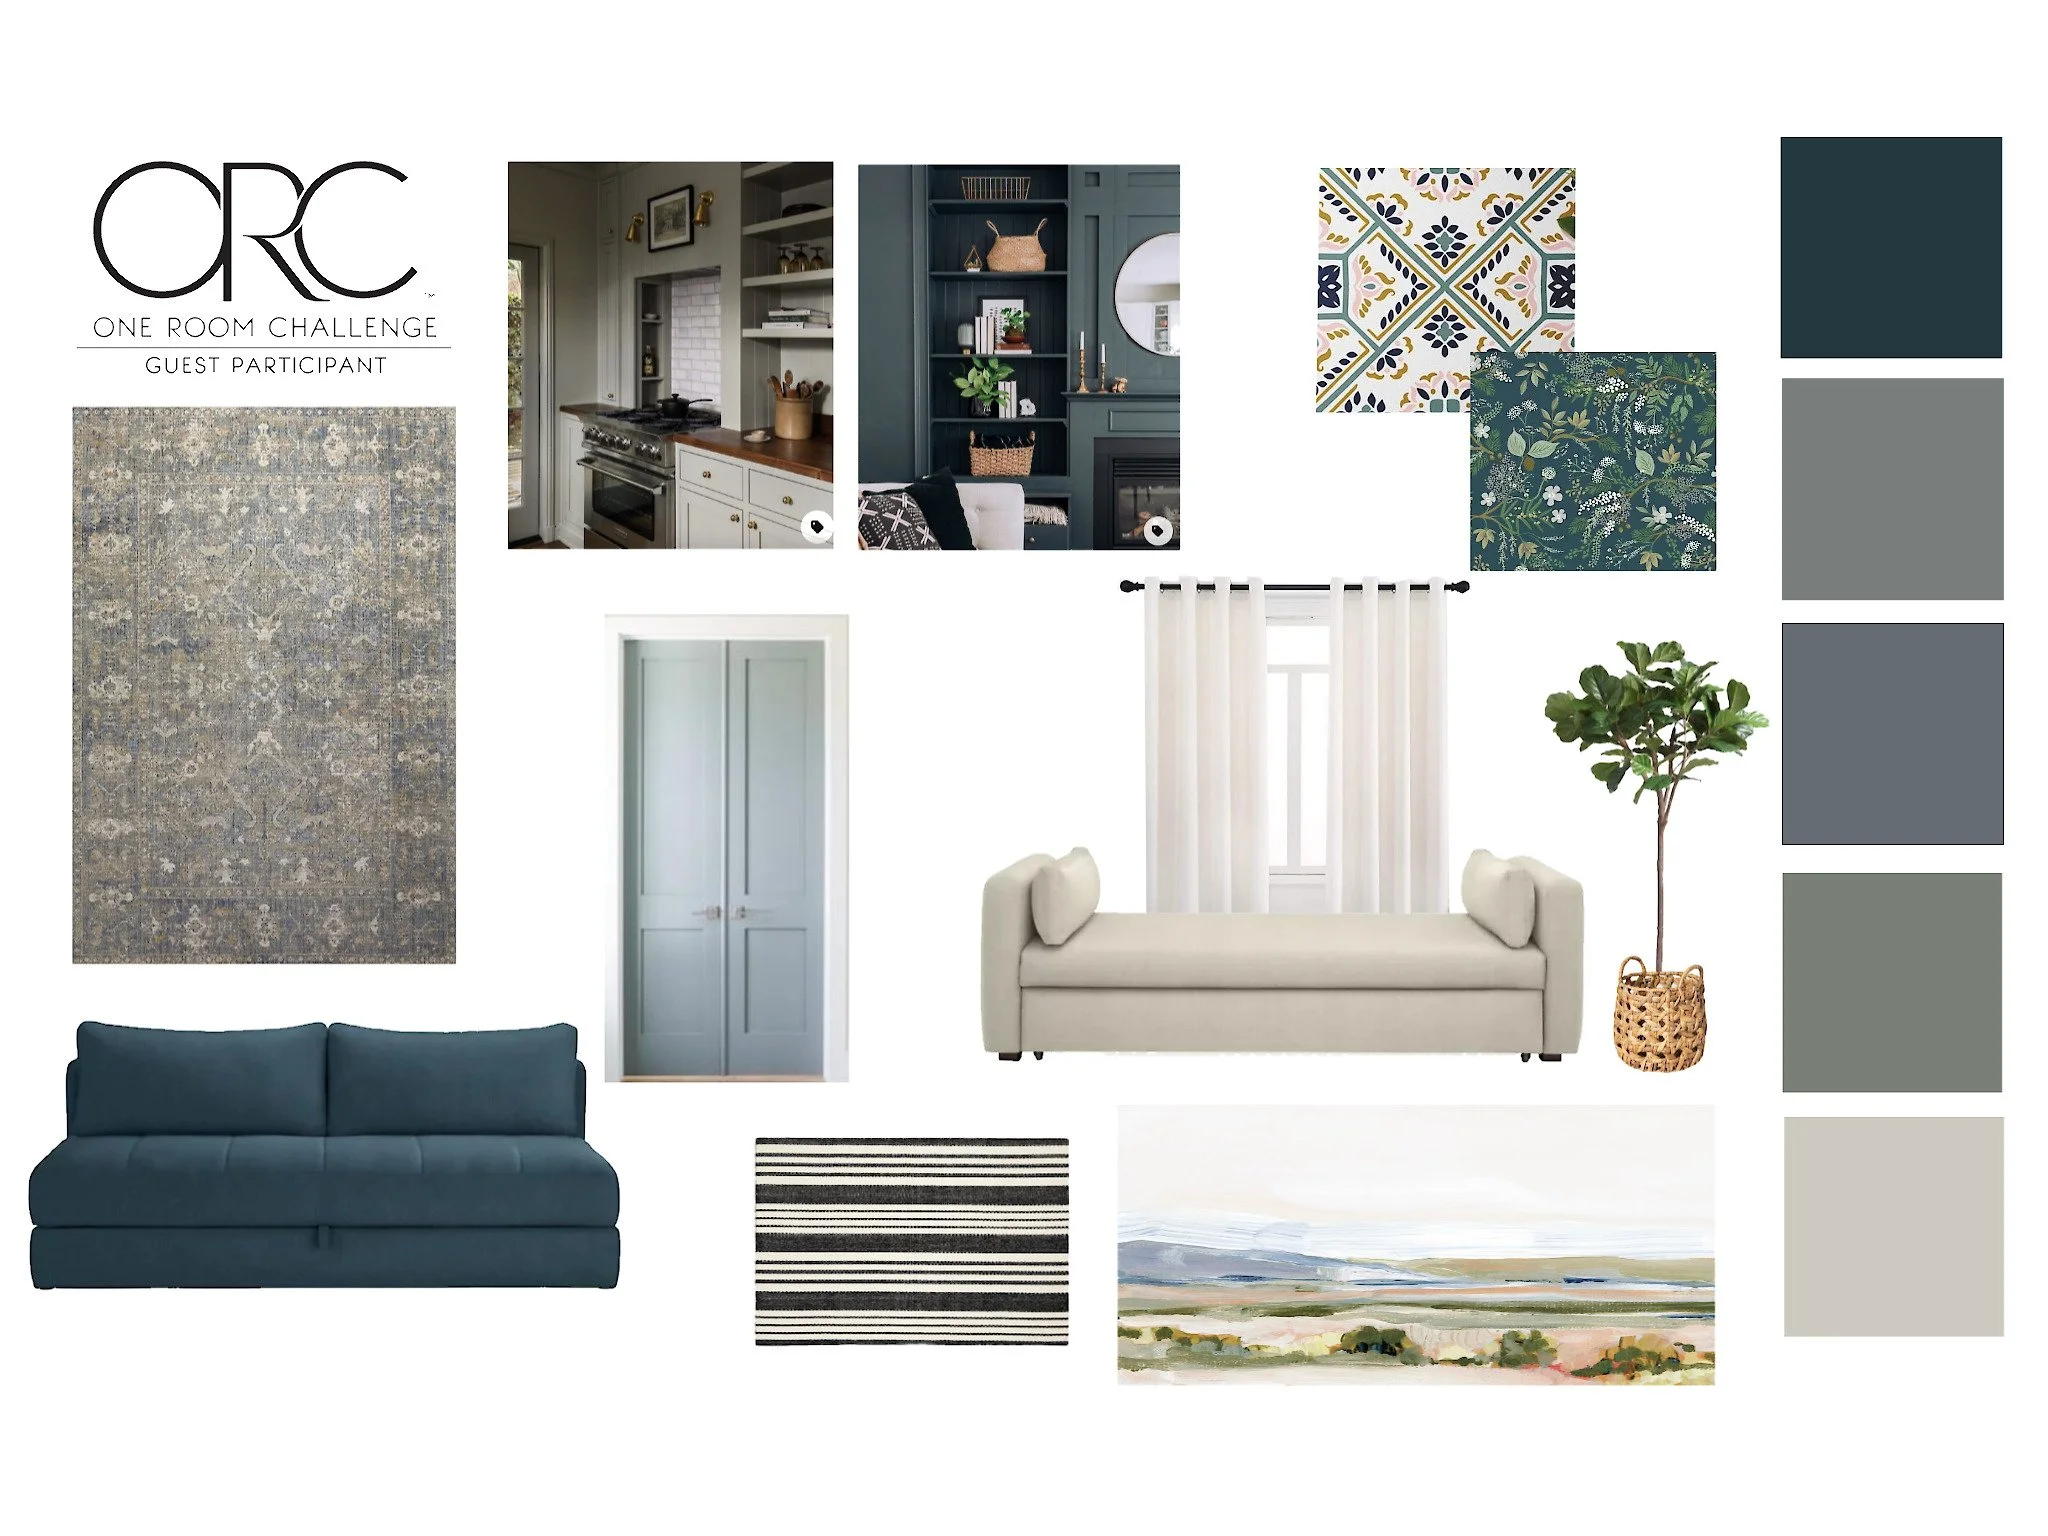
The Brass Light DIY Inspiration
In Week 2 we outlined the entry's design that included a mood board with a few ideas on lighting. Lighting can be difficult for the best of us but especially difficult when your home is a small open concept plan. SO... we needed to take the dining and living room fixtures into consideration when designing the lighting. We ended up going with more brass than originally planned because it looked SO GOOD, and I just couldn't help it.
One center light, classic, smaller than the last, and one sconce as a picture light. We ended up with the same number of bulbs in the room, but much more lighting.

Both times we have used Grand Brass for the lighting parts, we have been impressed with the turn around time from order-to-doorstep, the quality of materials, and the pricing. If we had purchased these light fixtures from a retailer they would have cost us upwards of $400; this was a significant difference for us with this One Room Challenge.
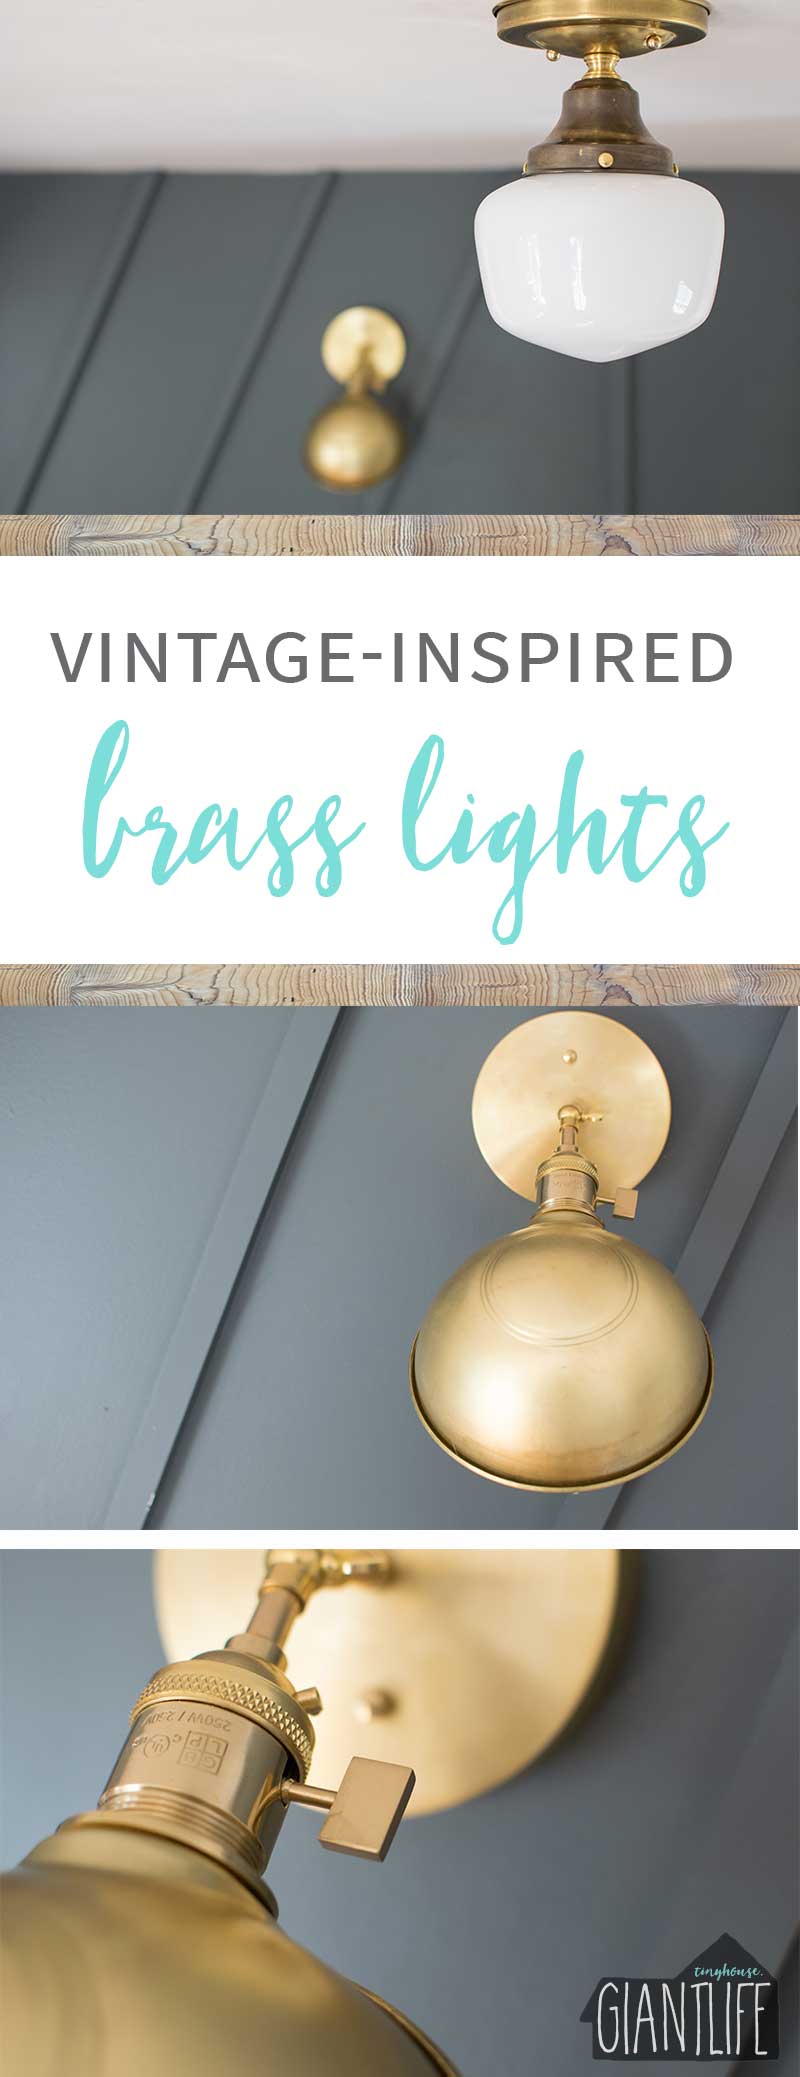
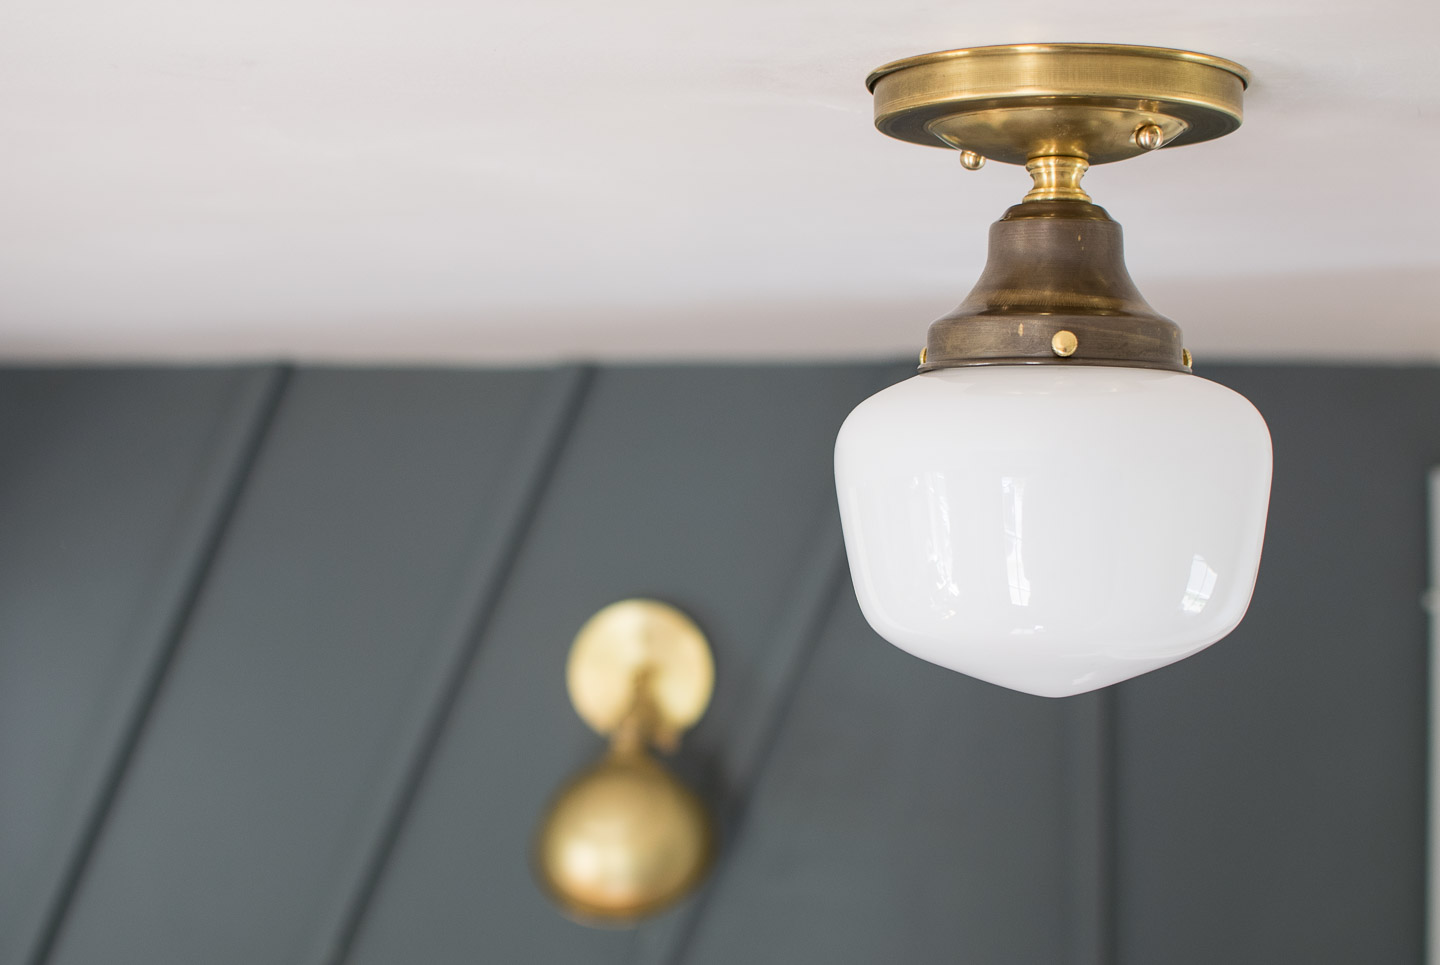
Easy Schoolhouse Light
This is a really simple build since you can just order the two pieces add your bulb then install. Although our inspiration had stripes on the glass shade, once I did some more research on painting the shade, I could see the results wouldn't be up to my liking and decided against the stripes for now.
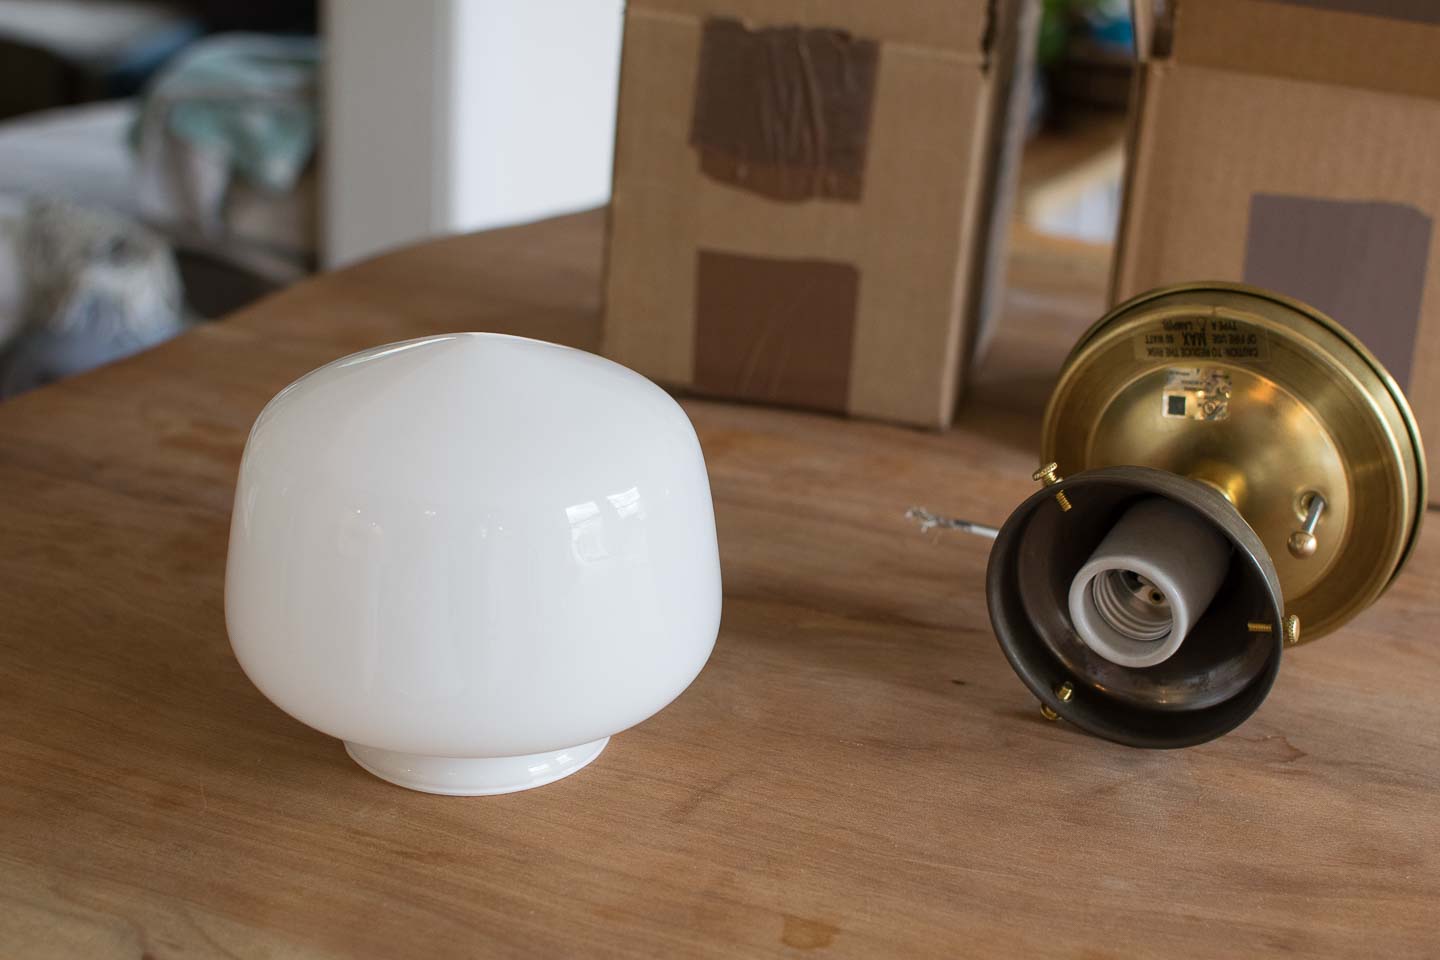
Schoolhouse Light Supplies
Total: $47.00

You guys $47 is a great price for this fixture, and I can't get over the difference in finish. It just added the perfect amount of detail without making the small fixture too ornate.
Sconce Brass Light DIY
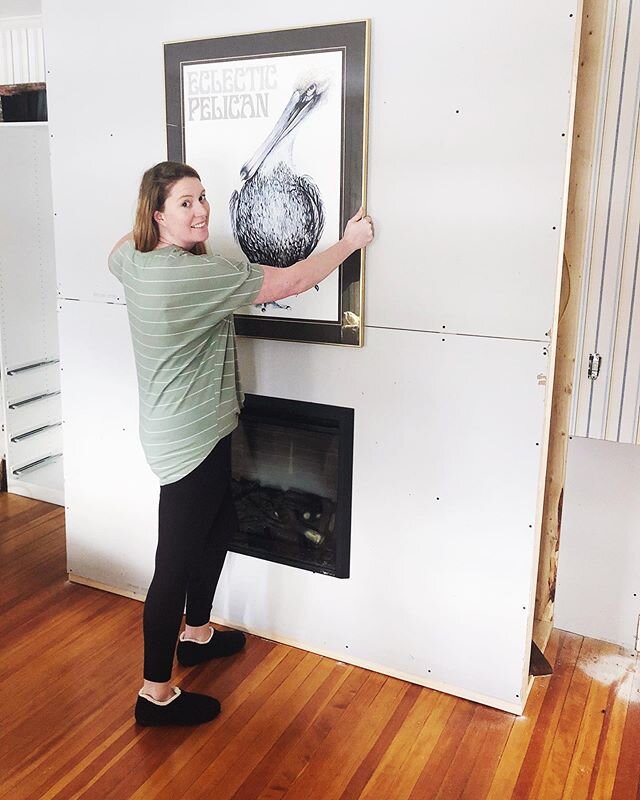
And now for sconce which we really needed to angle it in order to be used as a picture light.
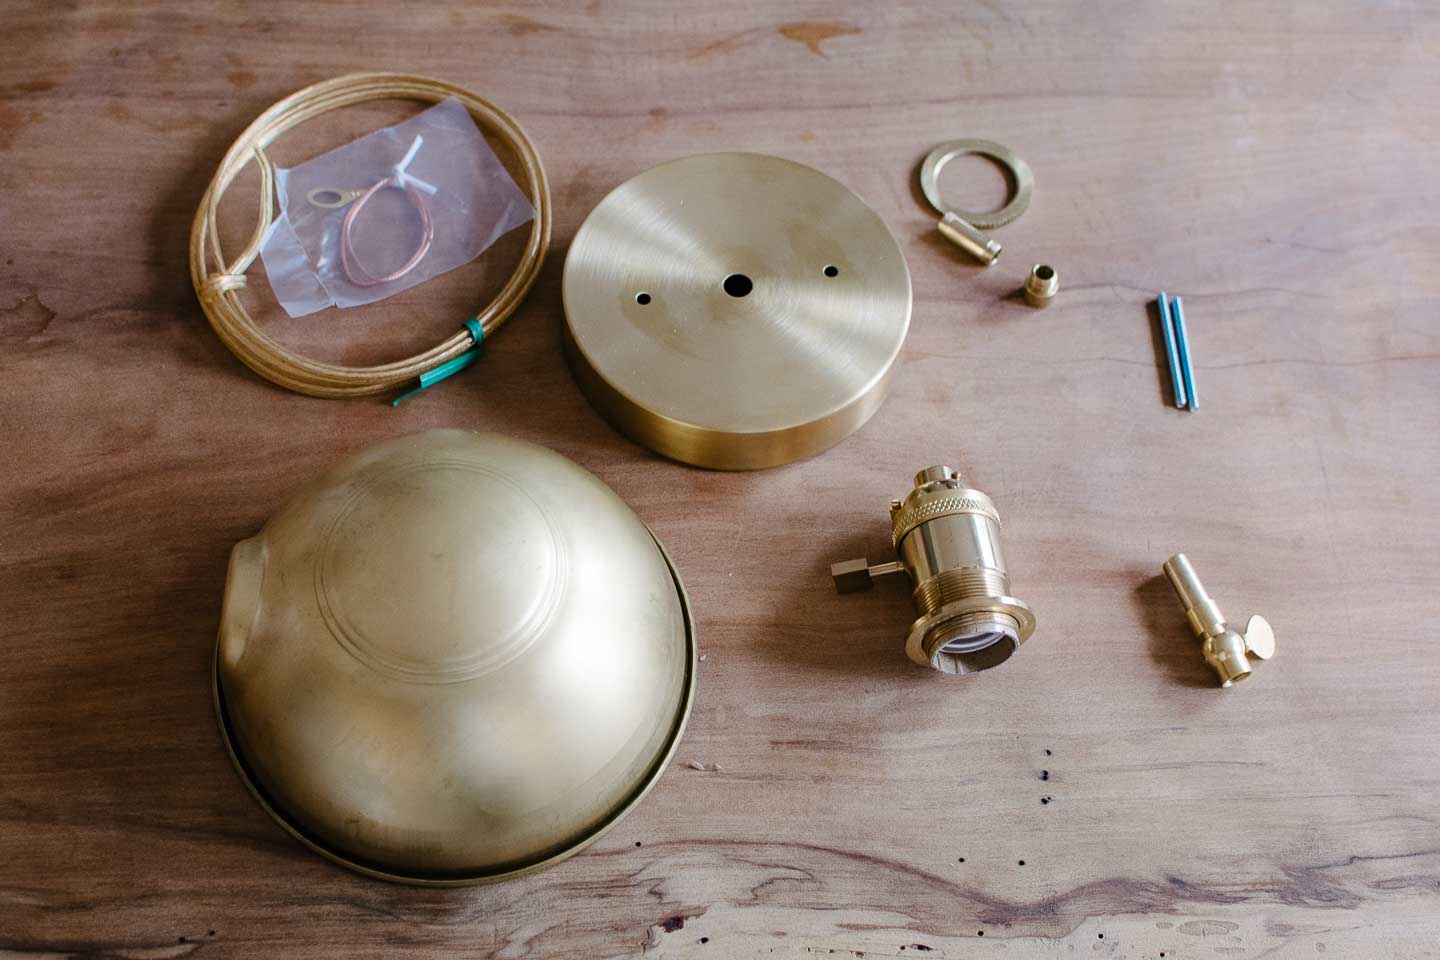
Brass Light DIY Supplies
- Flat Brass Canopy
- Universal X-Bar
- Brass Acorn Cap
- Unfinished Brass Straight Nozzle
- Hex Head Nut
- (2) 1 in Male Unfinished Brass Pipe
- (2) 8/32 Threaded Unfinished Steel
- Brass Parabolic Shade With Uno Thread
- Brass Uno Threaded Square Key Socket
- Unfinished Brass Adjustable Swivel with Wing Nut
- Brass Plated Washer
- Slip Star Lock Washer
- Clear Gold Wire
- Ground Strap
$64.86
This was very fun to put together as you can see in our hyper-speed video below. And even more beautiful once installed.
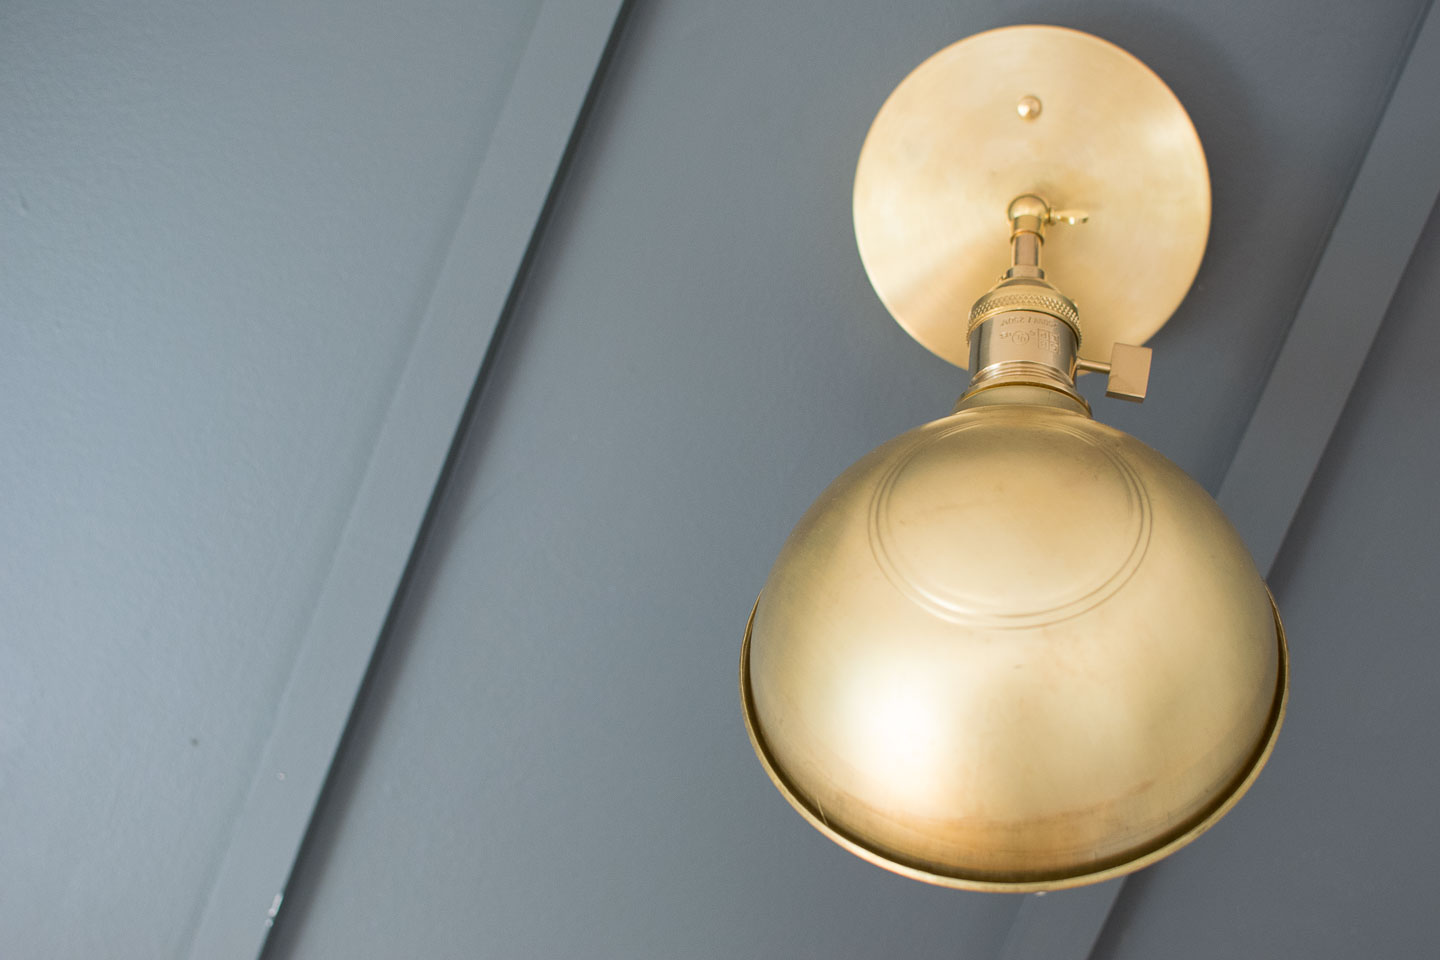
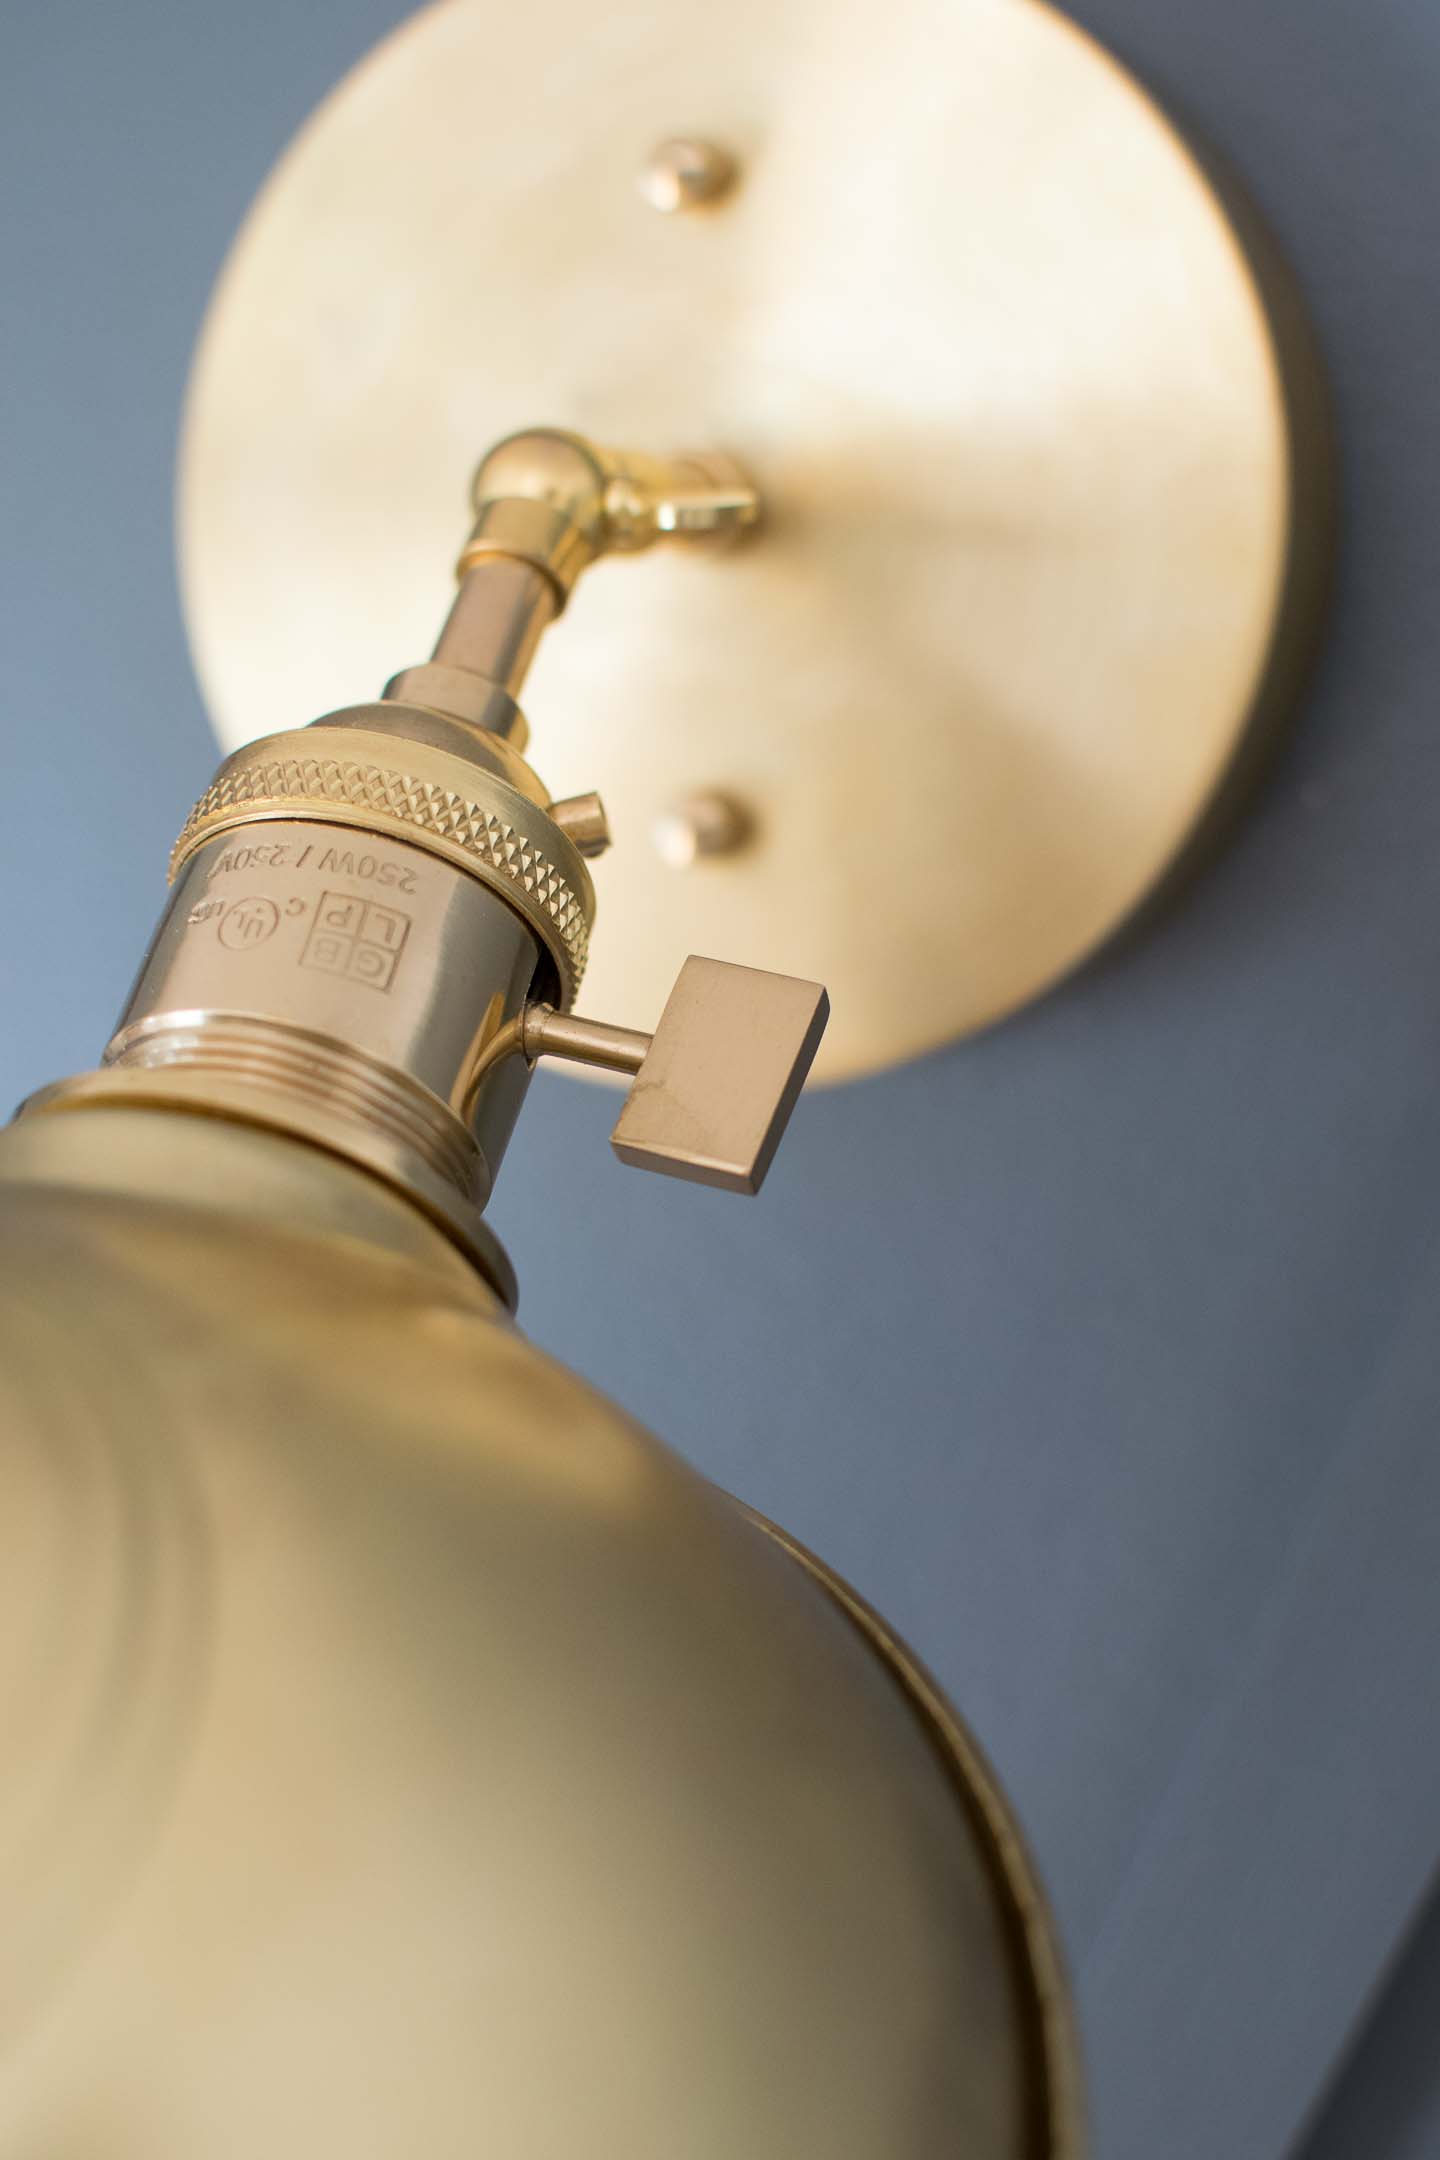
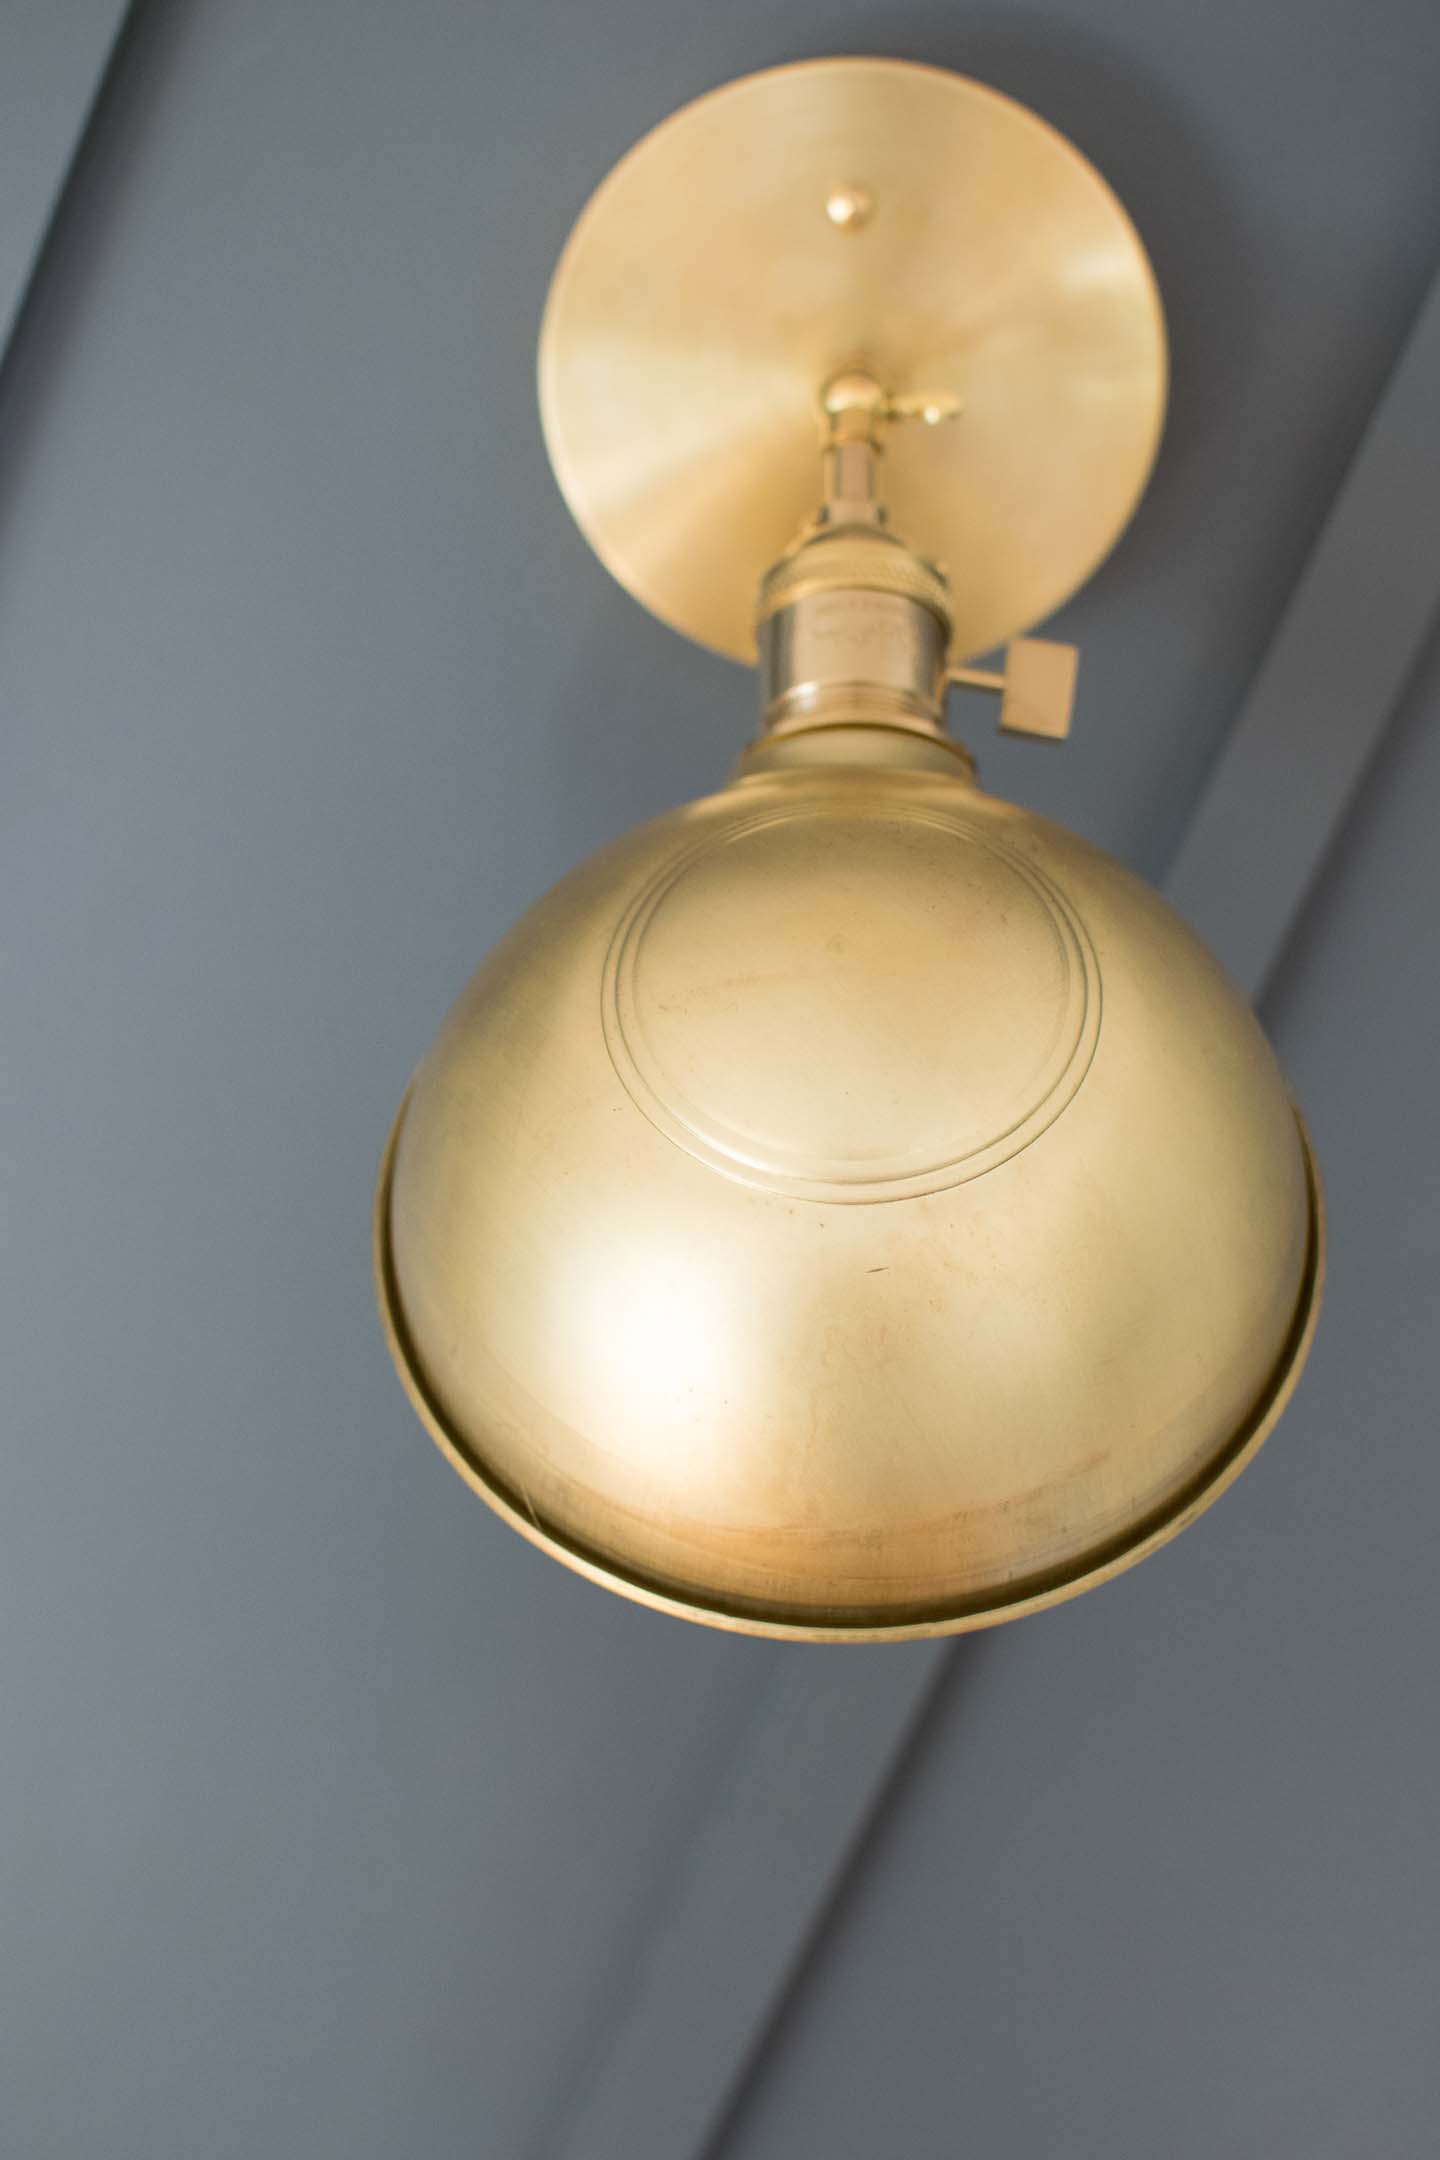
And it easily changes angles if I ever need it, something very similar would be perfect above a work bench!
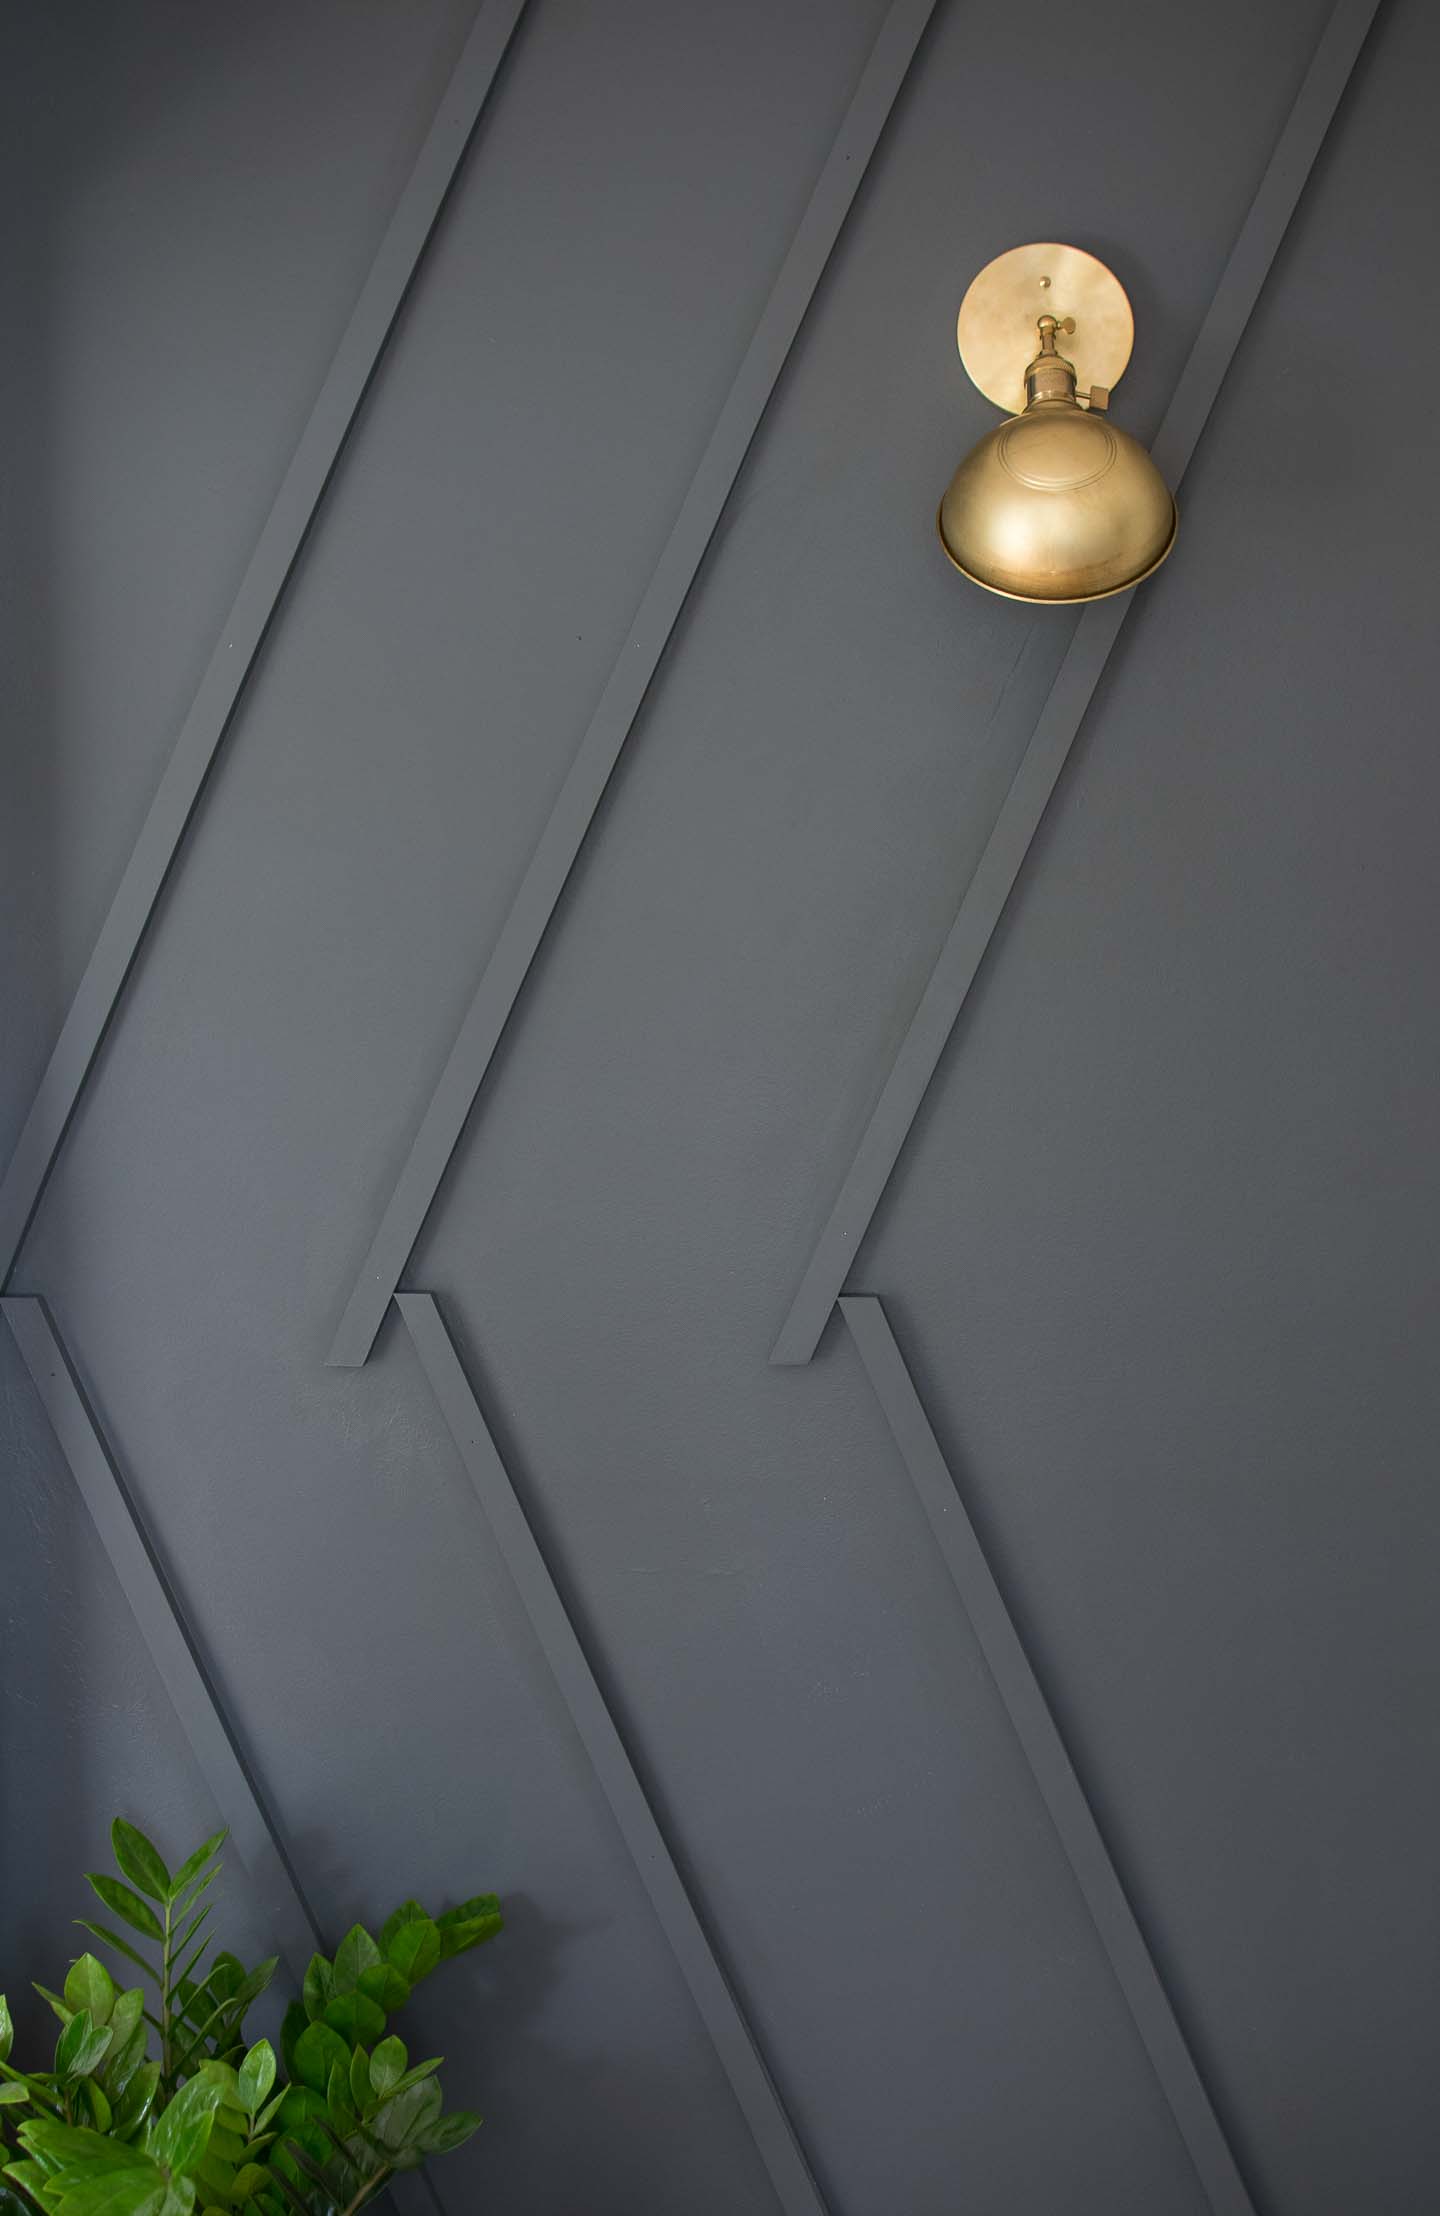
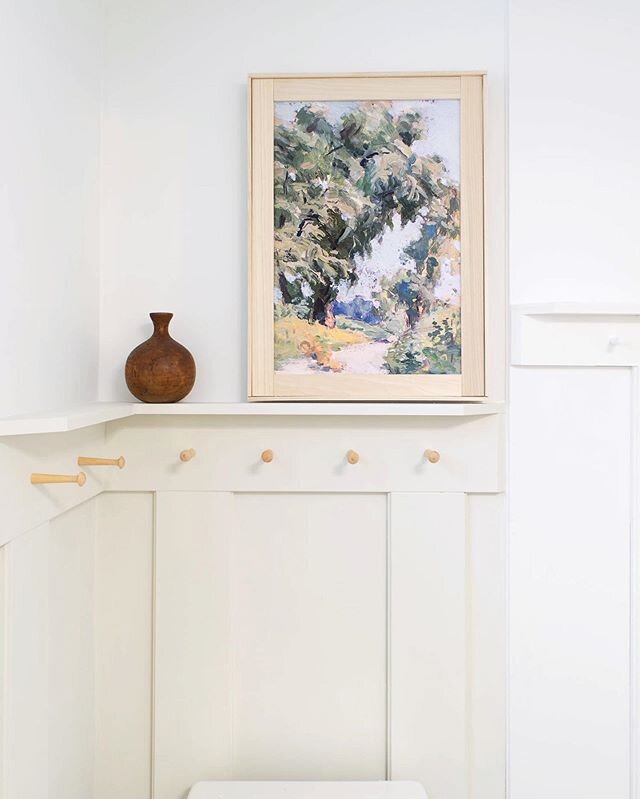
See that sneak peak of the greenery?! I can't wait to reveal the plant stand next week! Now I'm off to paint, finally finish the closet doors, and wrap up our art work among countless other things.
Can't wait to see what everyone else got accomplished this week during Week 5 of the One Room Challenge!