Fake Wallpaper With How To Avoid Our Mistakes
/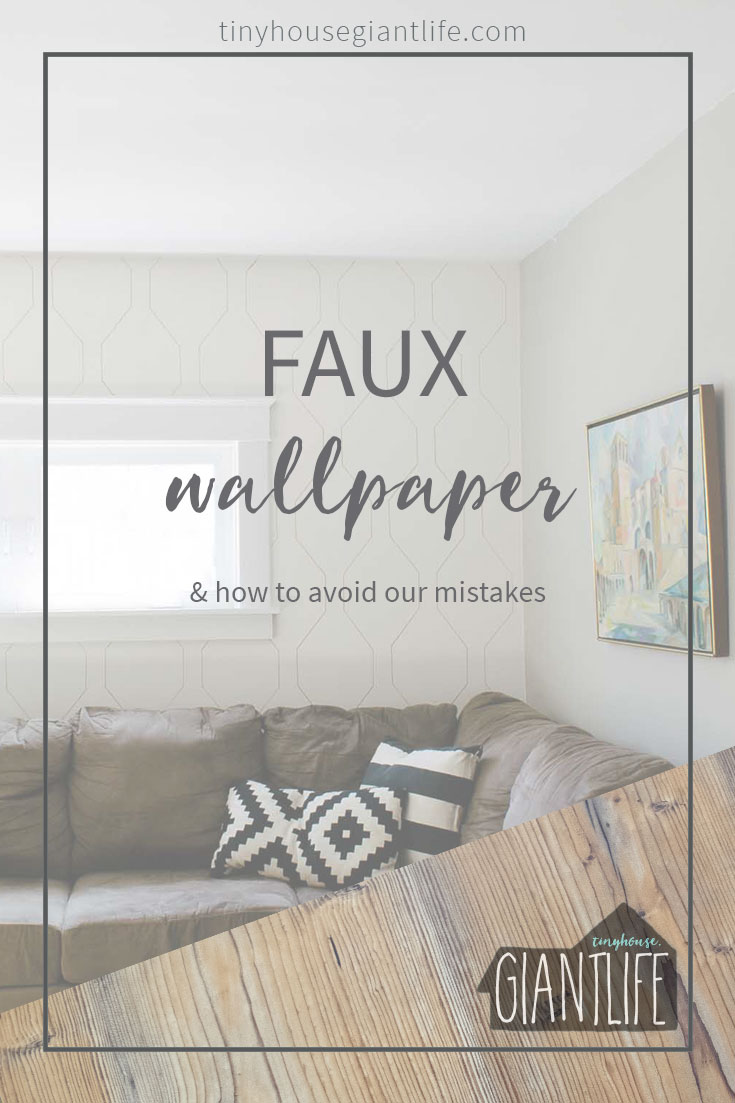 If you have been following us on Instagram then you know our design for the stenciled fake wallpaper changed.
In a previous post we discussed how we used a coloring page of our living room to make some design decisions, one of which was to lighten up the back wall of the room.
We nailed down a pattern we really liked but ultimately changed it last minute because it looked too "young" for the room. The only way I can explain it was that I realized all of the sudden I would love it in a nursery, and that made me think I wouldn't love it in my living room.

So we took some inspiration from a fabric trip I had taken a few weeks back. Here is a beautiful pattern I found:
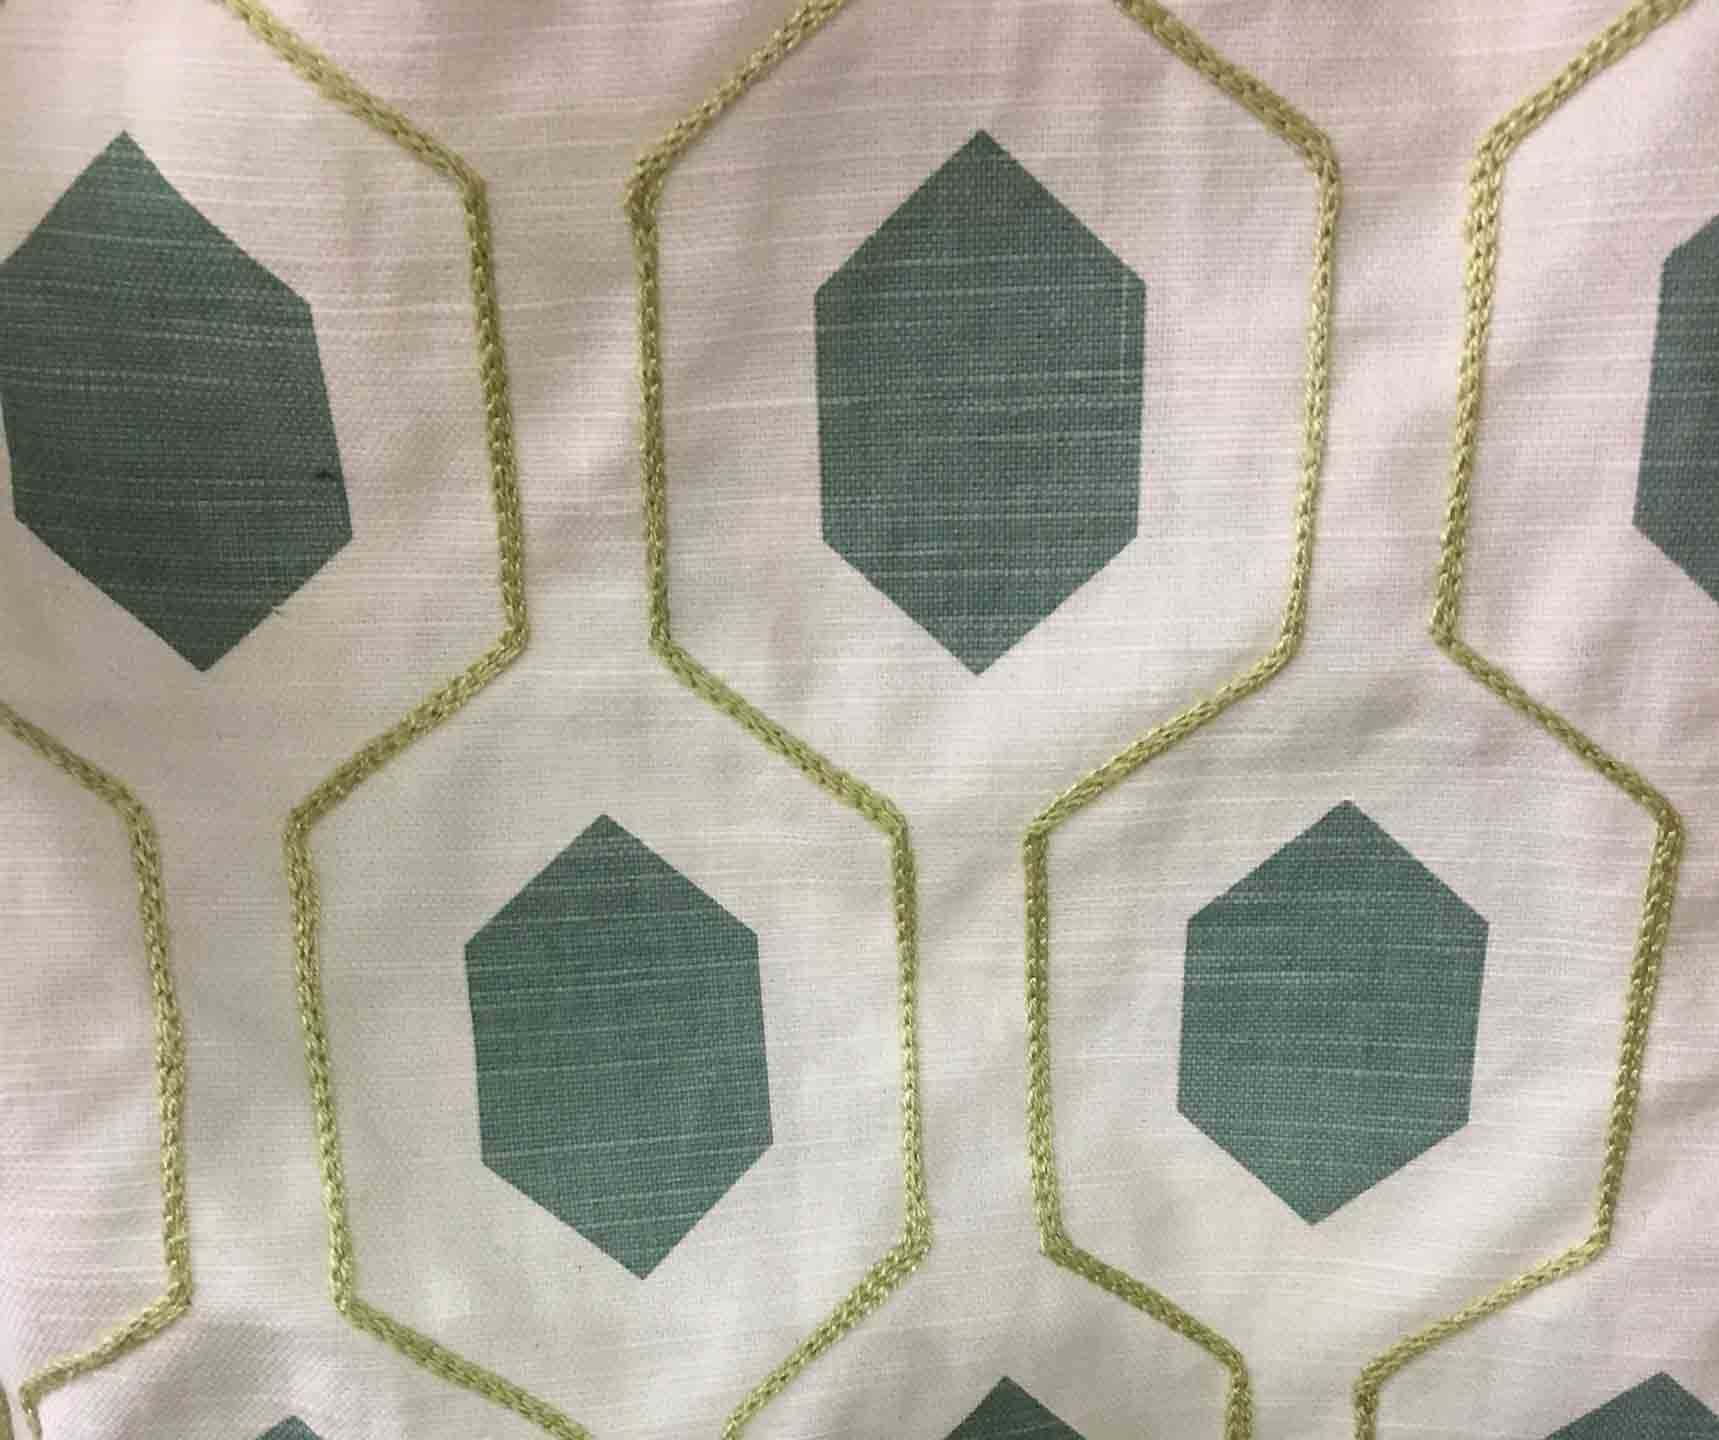
But I really loved this line only design from Vintage Revivals, so we decided not to fill in the center, but to create a few more internal lines like she did in her amazing diamond pattern.
No tutorial here
Originally this was going to be a how-to post, now, it's a how not to post. Don't expect too much instruction here because if your looking to do the same thing you're going to want to complete it in a different way then I did. For your own sanity, and so you don't really hate this blog for the rest of your life.
Creating a faux wallpaper stencil
This post may contain affiliate links. Read the full disclosure here.
You can find some really amazing stencils for projects like this. We liked a few from this shop on Etsy, but couldn't pull the trigger on any of them for some reason. So I decided to create my own stencil with construction paper, making dots at all the turning points and connecting them along the way.
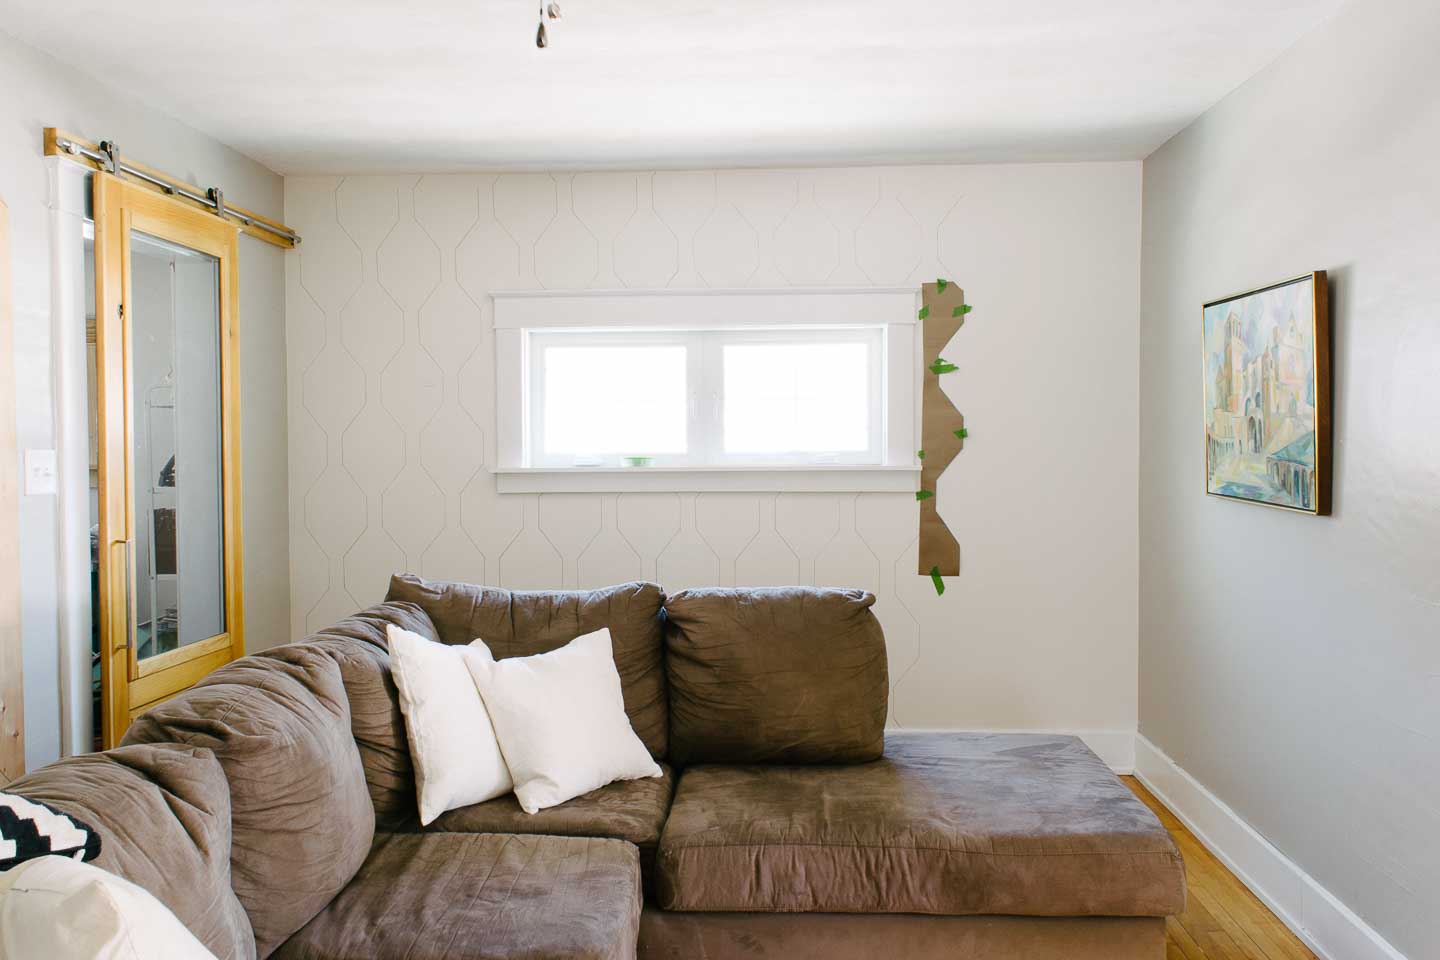
DIY Fake Wallpaper Mistakes
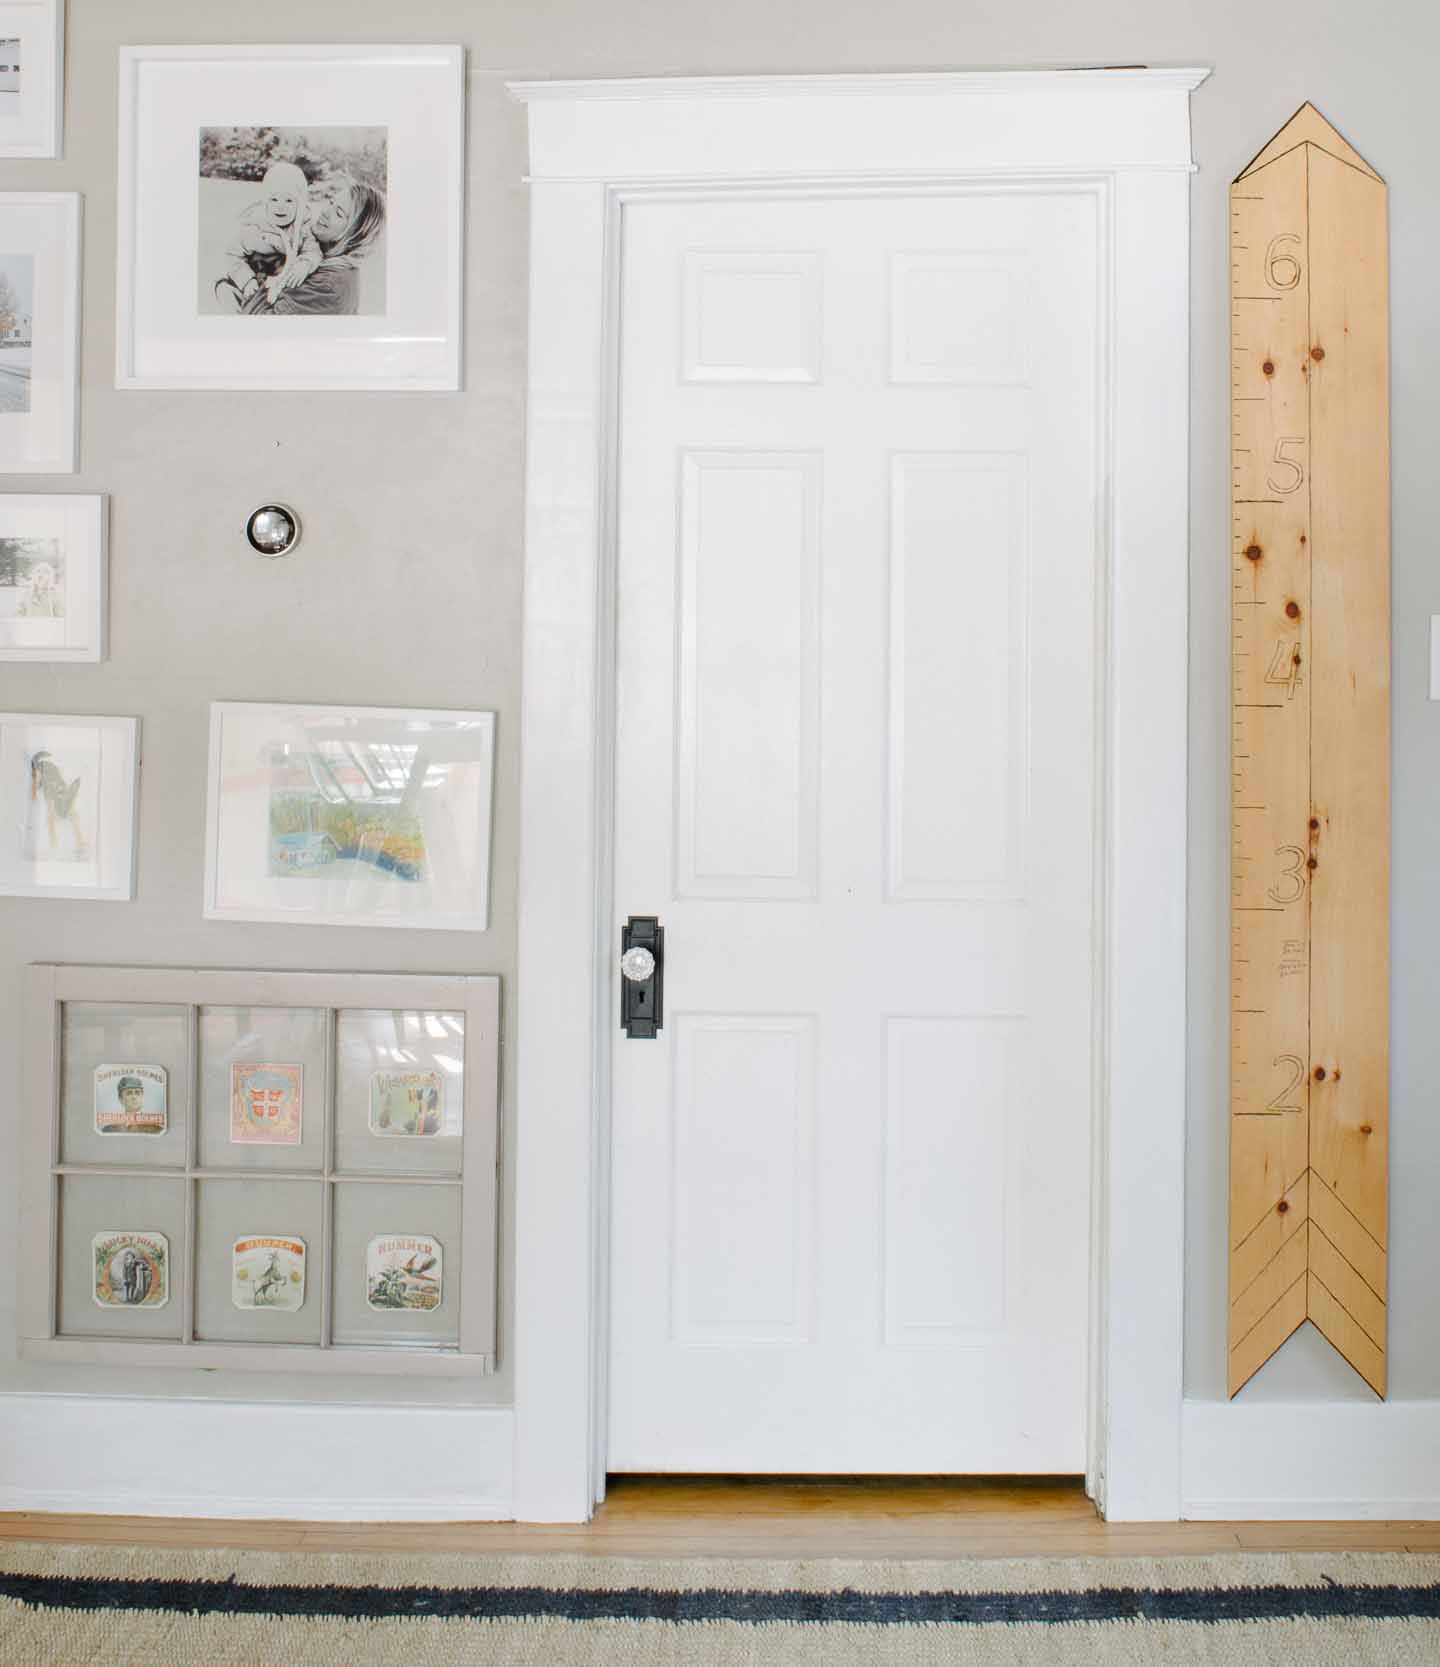
Old houses can be tricky, ours was built in 1925 as a catalog home (or partial catalog home, we still can't figure it out). As is two be expected in an older home, its had some issues with squareness (Is that a word?) case in point below. How much was someone drinking to put a header in that crooked?
Adjustments had to be made along the way and all was going well by the end of the first day. Or so I thought until I backed up and realized the top portion of the stencil about our window had slowly drifted up by about 2-3 inches!
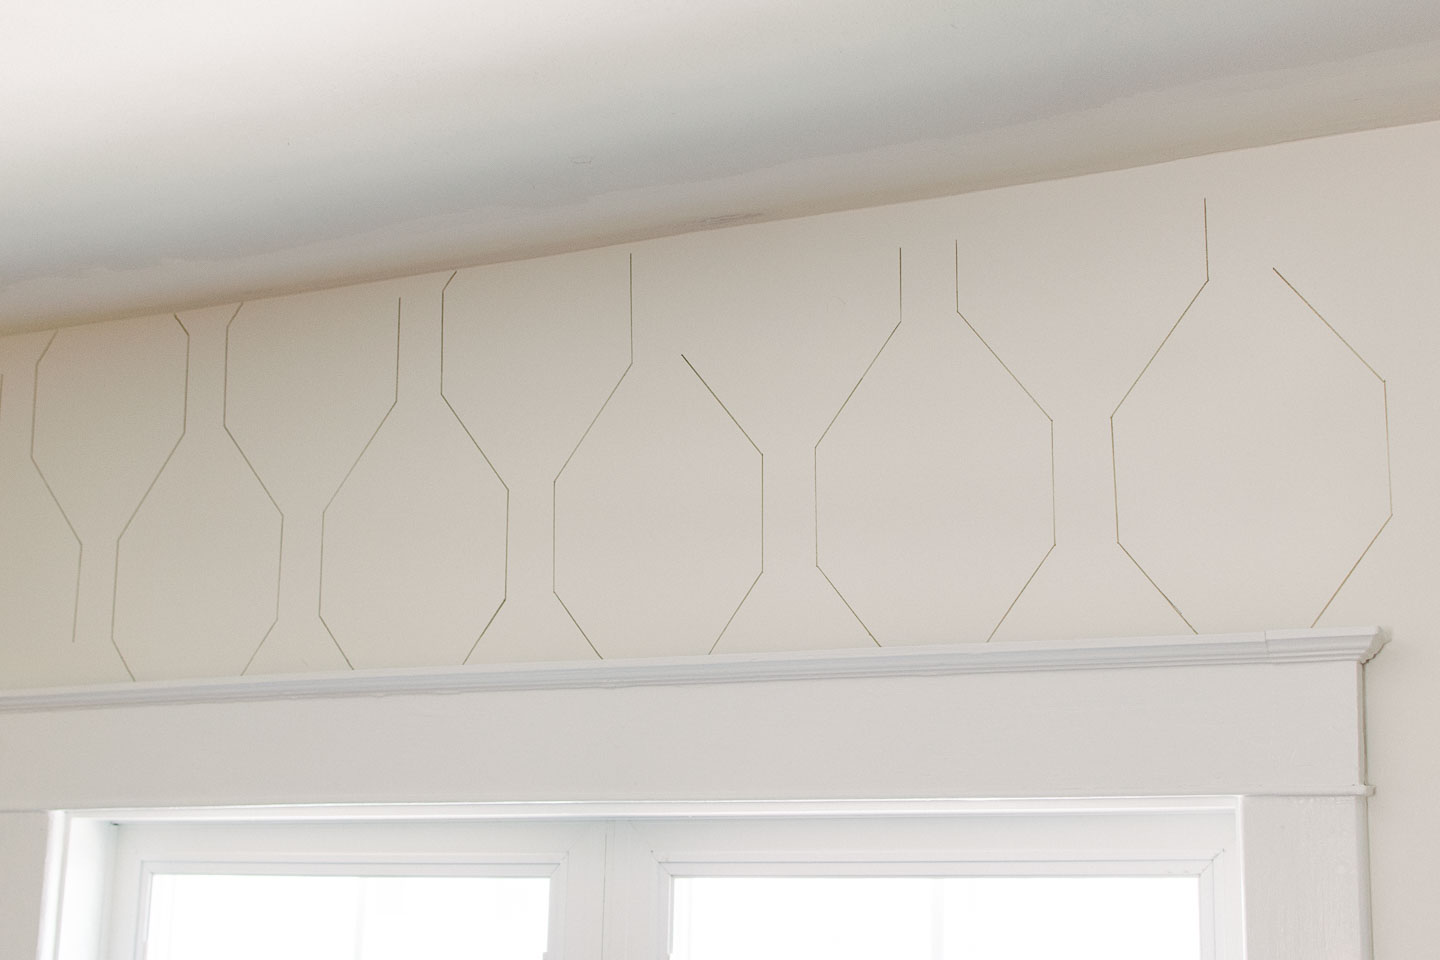
Time to prime and cover up those newly painted lines and start over...ugh.
DIY Fake Wallpaper Wall
When I went back to the top of the window I was meticulous with making sure the stencil was square in order to avoid the same mishap. It certainly came out tons better, but it still drifted a bit.
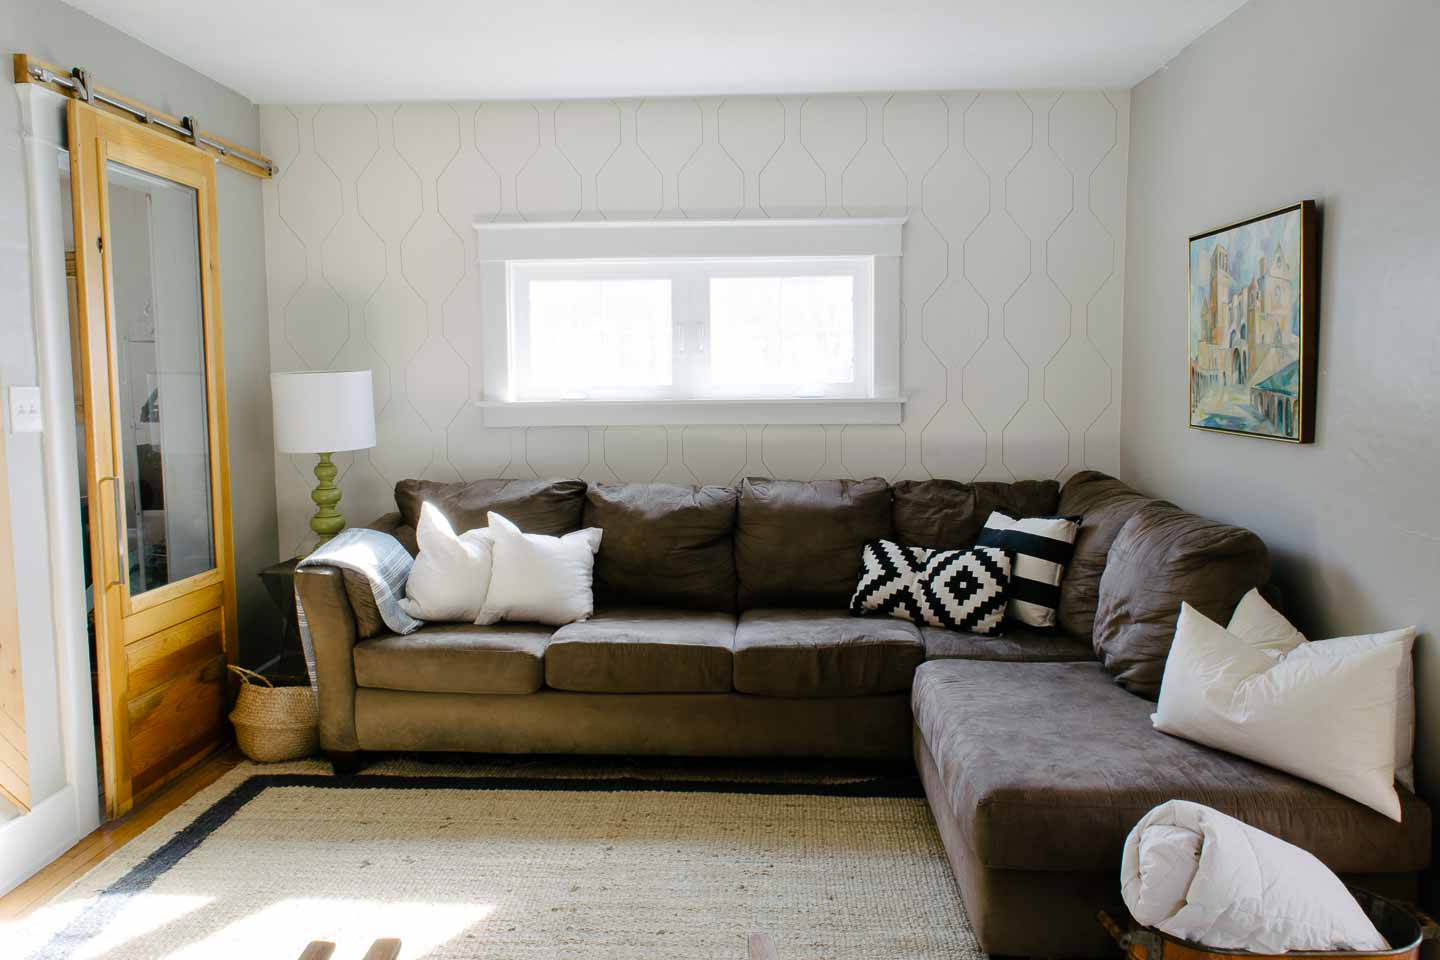
My advice (and what I'll do next time) is to follow Mandy's tutorial on Vintage Revivals with one change. I wouldn't worry about my lines being level because then the squareness issue comes into play.
I would snap a chalk line from one end of the room to the other each at 2' down from the top corner.
Then go ahead and mark your points along the line and connect the dots to create your pattern.
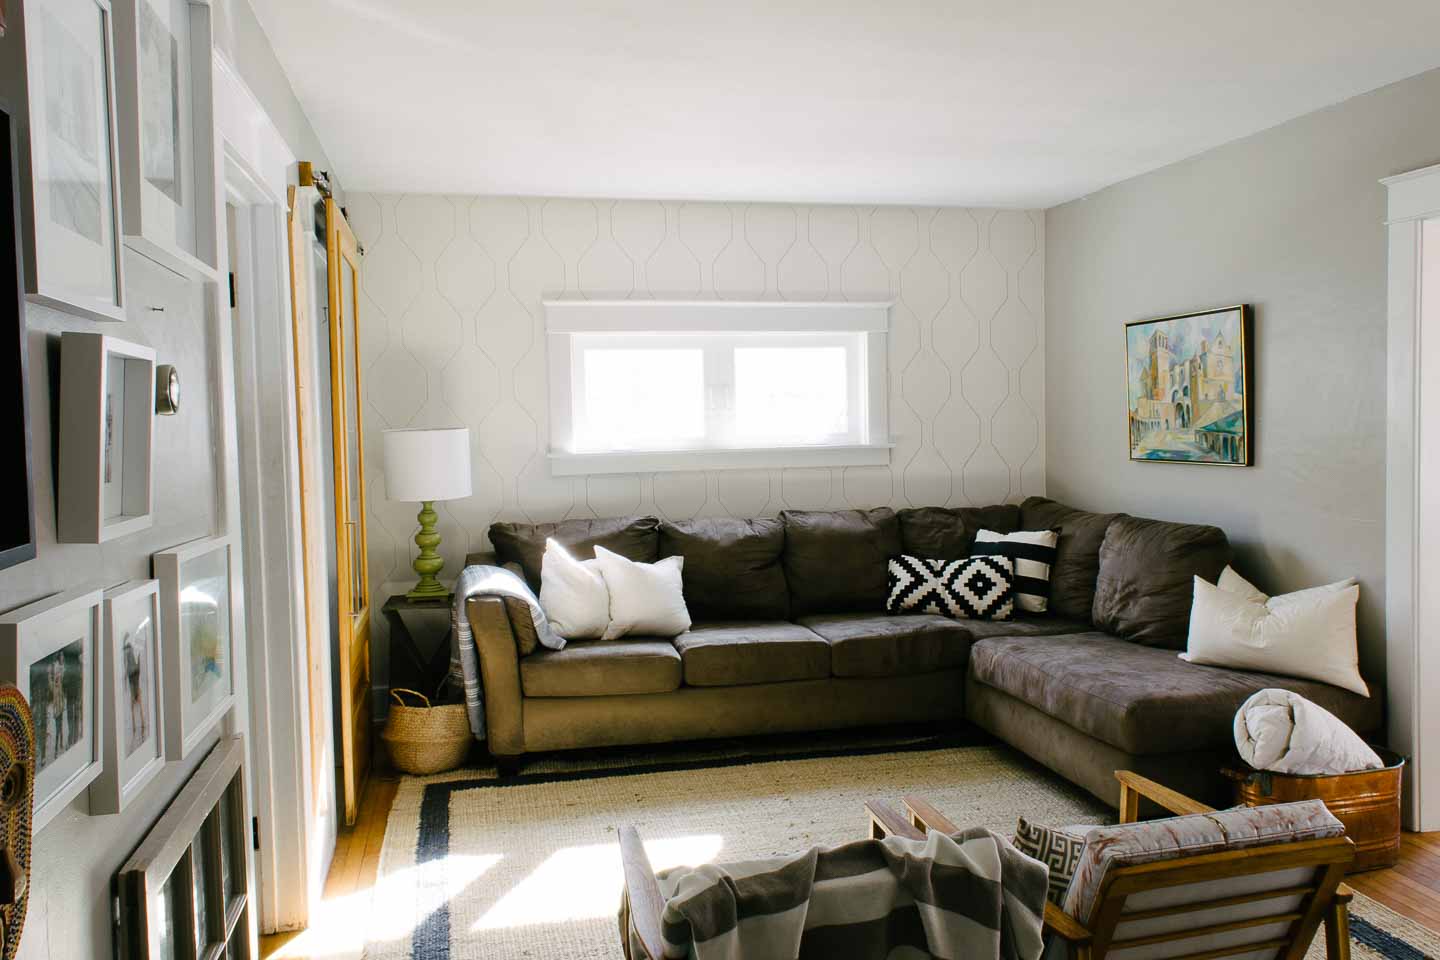
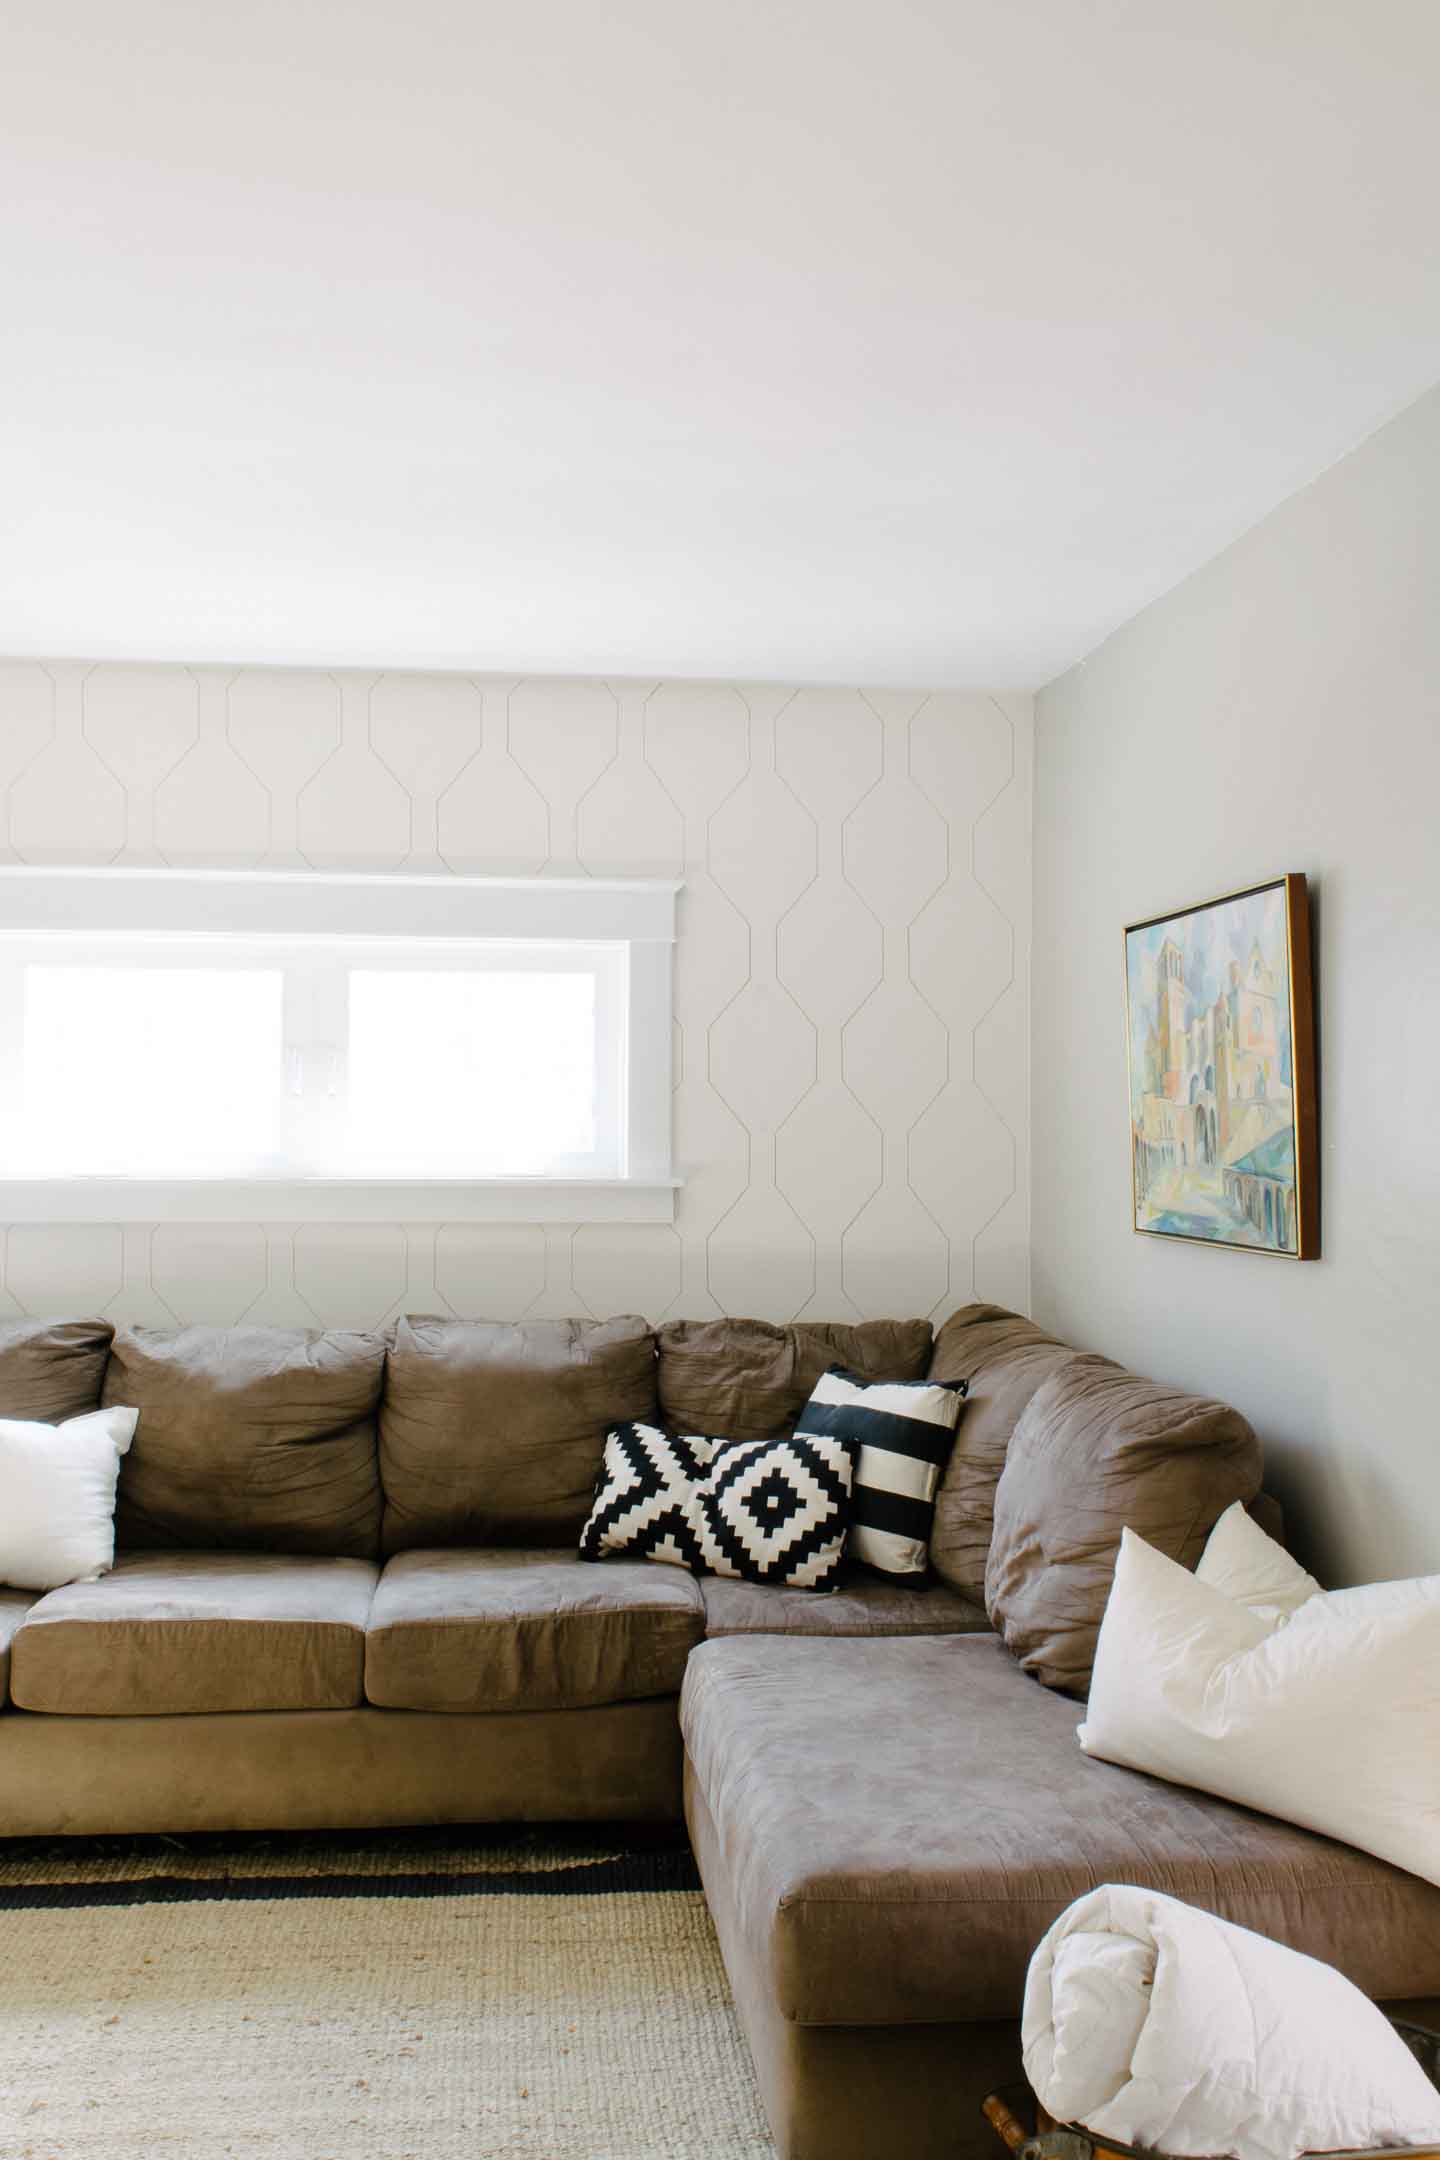
In the end we even opted out of doing the medallion in the middle, once I put it up on the wall we both thought it was way too busy for our space. Especially with the couch up against the wall.
Here's the test medallion:
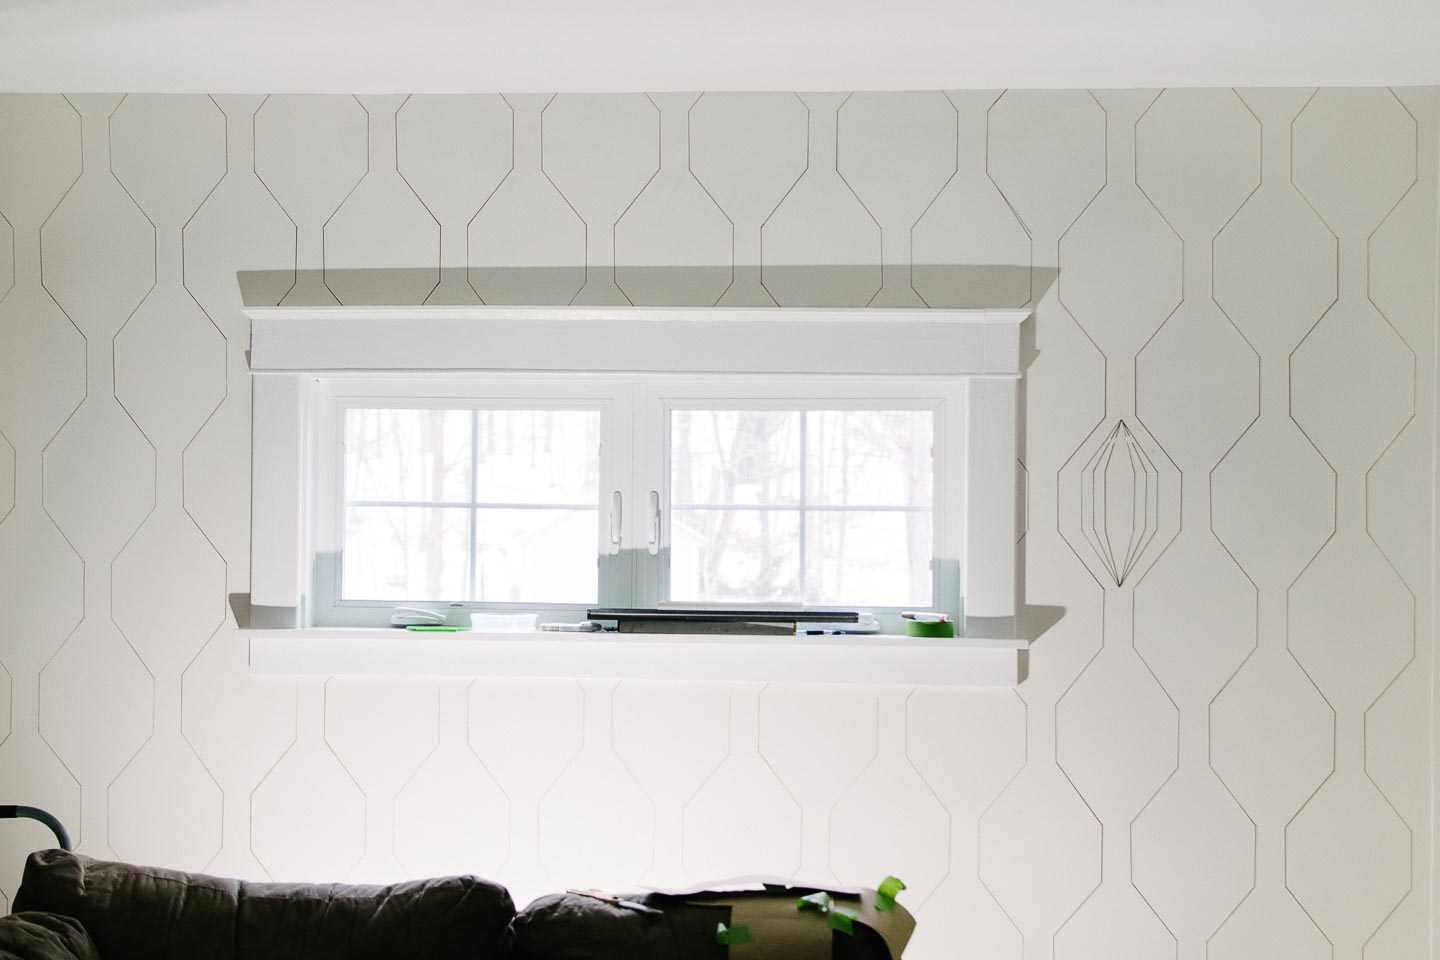
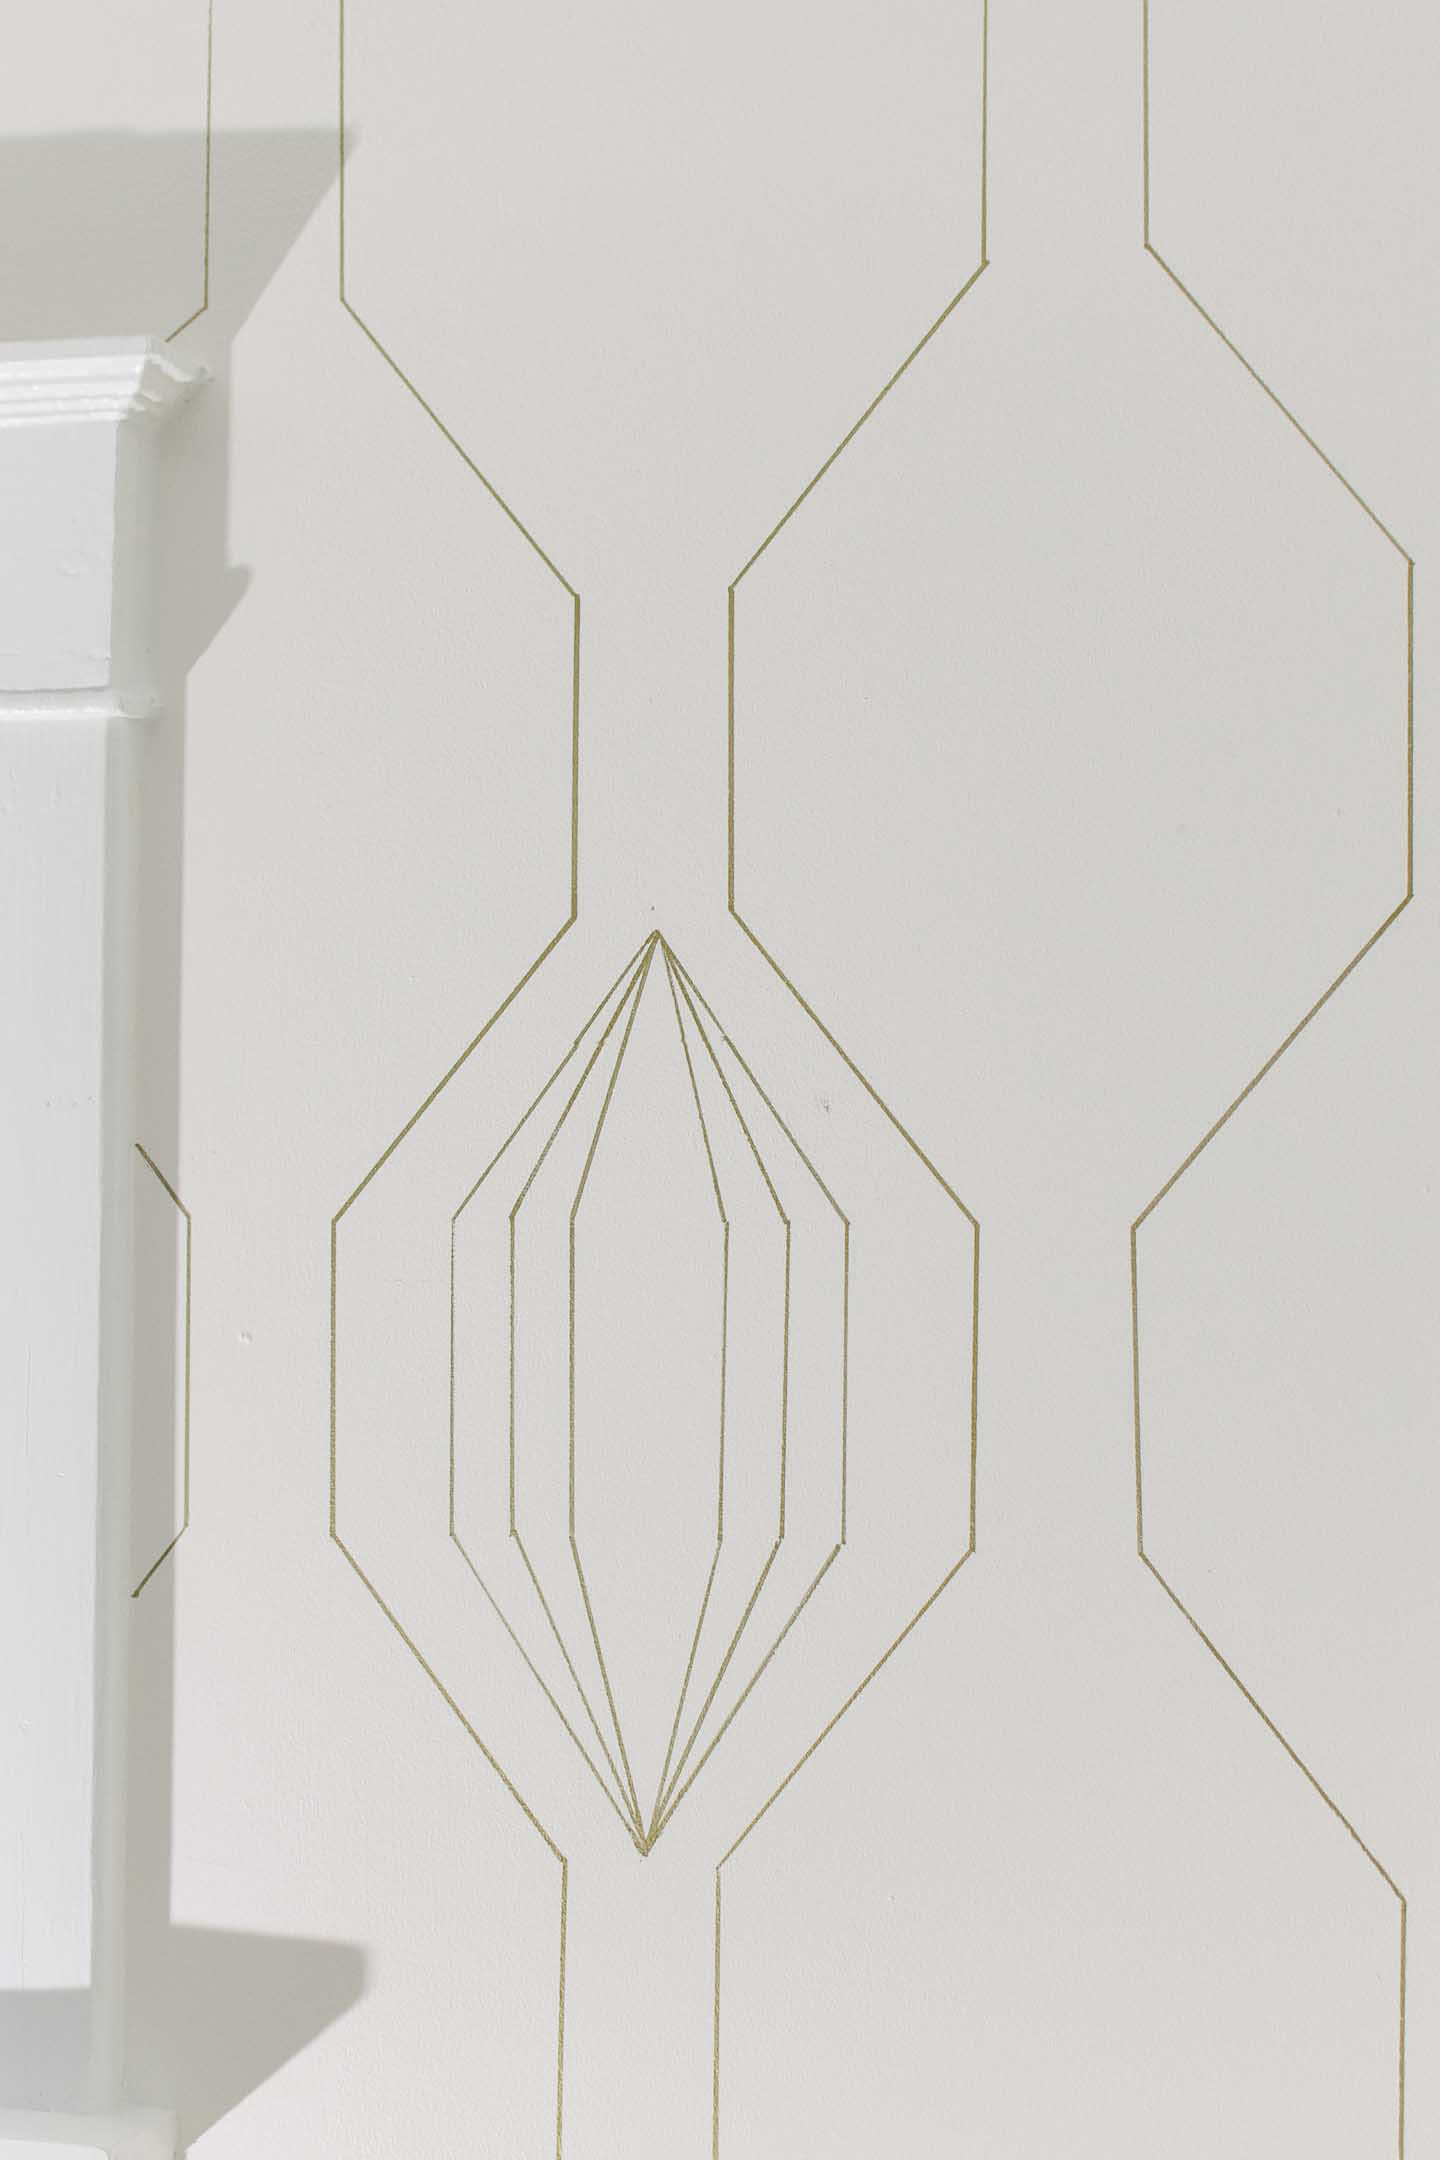
I have to admit I feel a bit guilty about not finishing the pattern as we planned, this way is just very plain and simple and I wanted to wow you all.
But, having things change and morph into something else is one of my favorite parts of DIY-ing and design, I suppose thats what happened here, the project just simplified itself.
Reality Check
- Would I do it again? Yes! Since we like the DIY aspect of it and it has added another layer to our cozy living room.
- Would I recommend a novice DIY-er do it? Yeah why not? Its not like its rocket science, and its pretty easy/ inexpensive to fix if something doesn't turn out like you wanted.
Resources
- If you want a ready made stencil we loved this Etsy Shop.
- You can get wall paper printed for you at Spoonflower.com, and even create your own design if your into that sort of thing!
Let me know what you think? Did it brighten the room a bit and break up all the brown?


