When The Design Plan Takes A Detour | Mid-Century Bench | One Room Challenge Week 4
/
We are really starting to feel the rush to the finish line, its already week four of the six week One Room Challenge! If you're new here, we have already created a moody feature wall in week 3, outlined the entire design in week 2, and got everyone up to speed on the remodel that gave us an entryway in week 1. This week we had a major hiccup with the original bench design (hint, hint: it didn't fit), and had to switch things up at warp speed. When we reached out to Colorhouse about the DIY Moody Feature Wall they sponsored last week, I also fell in love with another color for the industrial bell legs (a smaller version of these desk bell legs) we had planned for the bench. They agreed that the two colors would be wonderful together, and that they would also send us a quart of color GLASS .05. Little did I know I wouldn't be using the paint on the industrial bell legs!
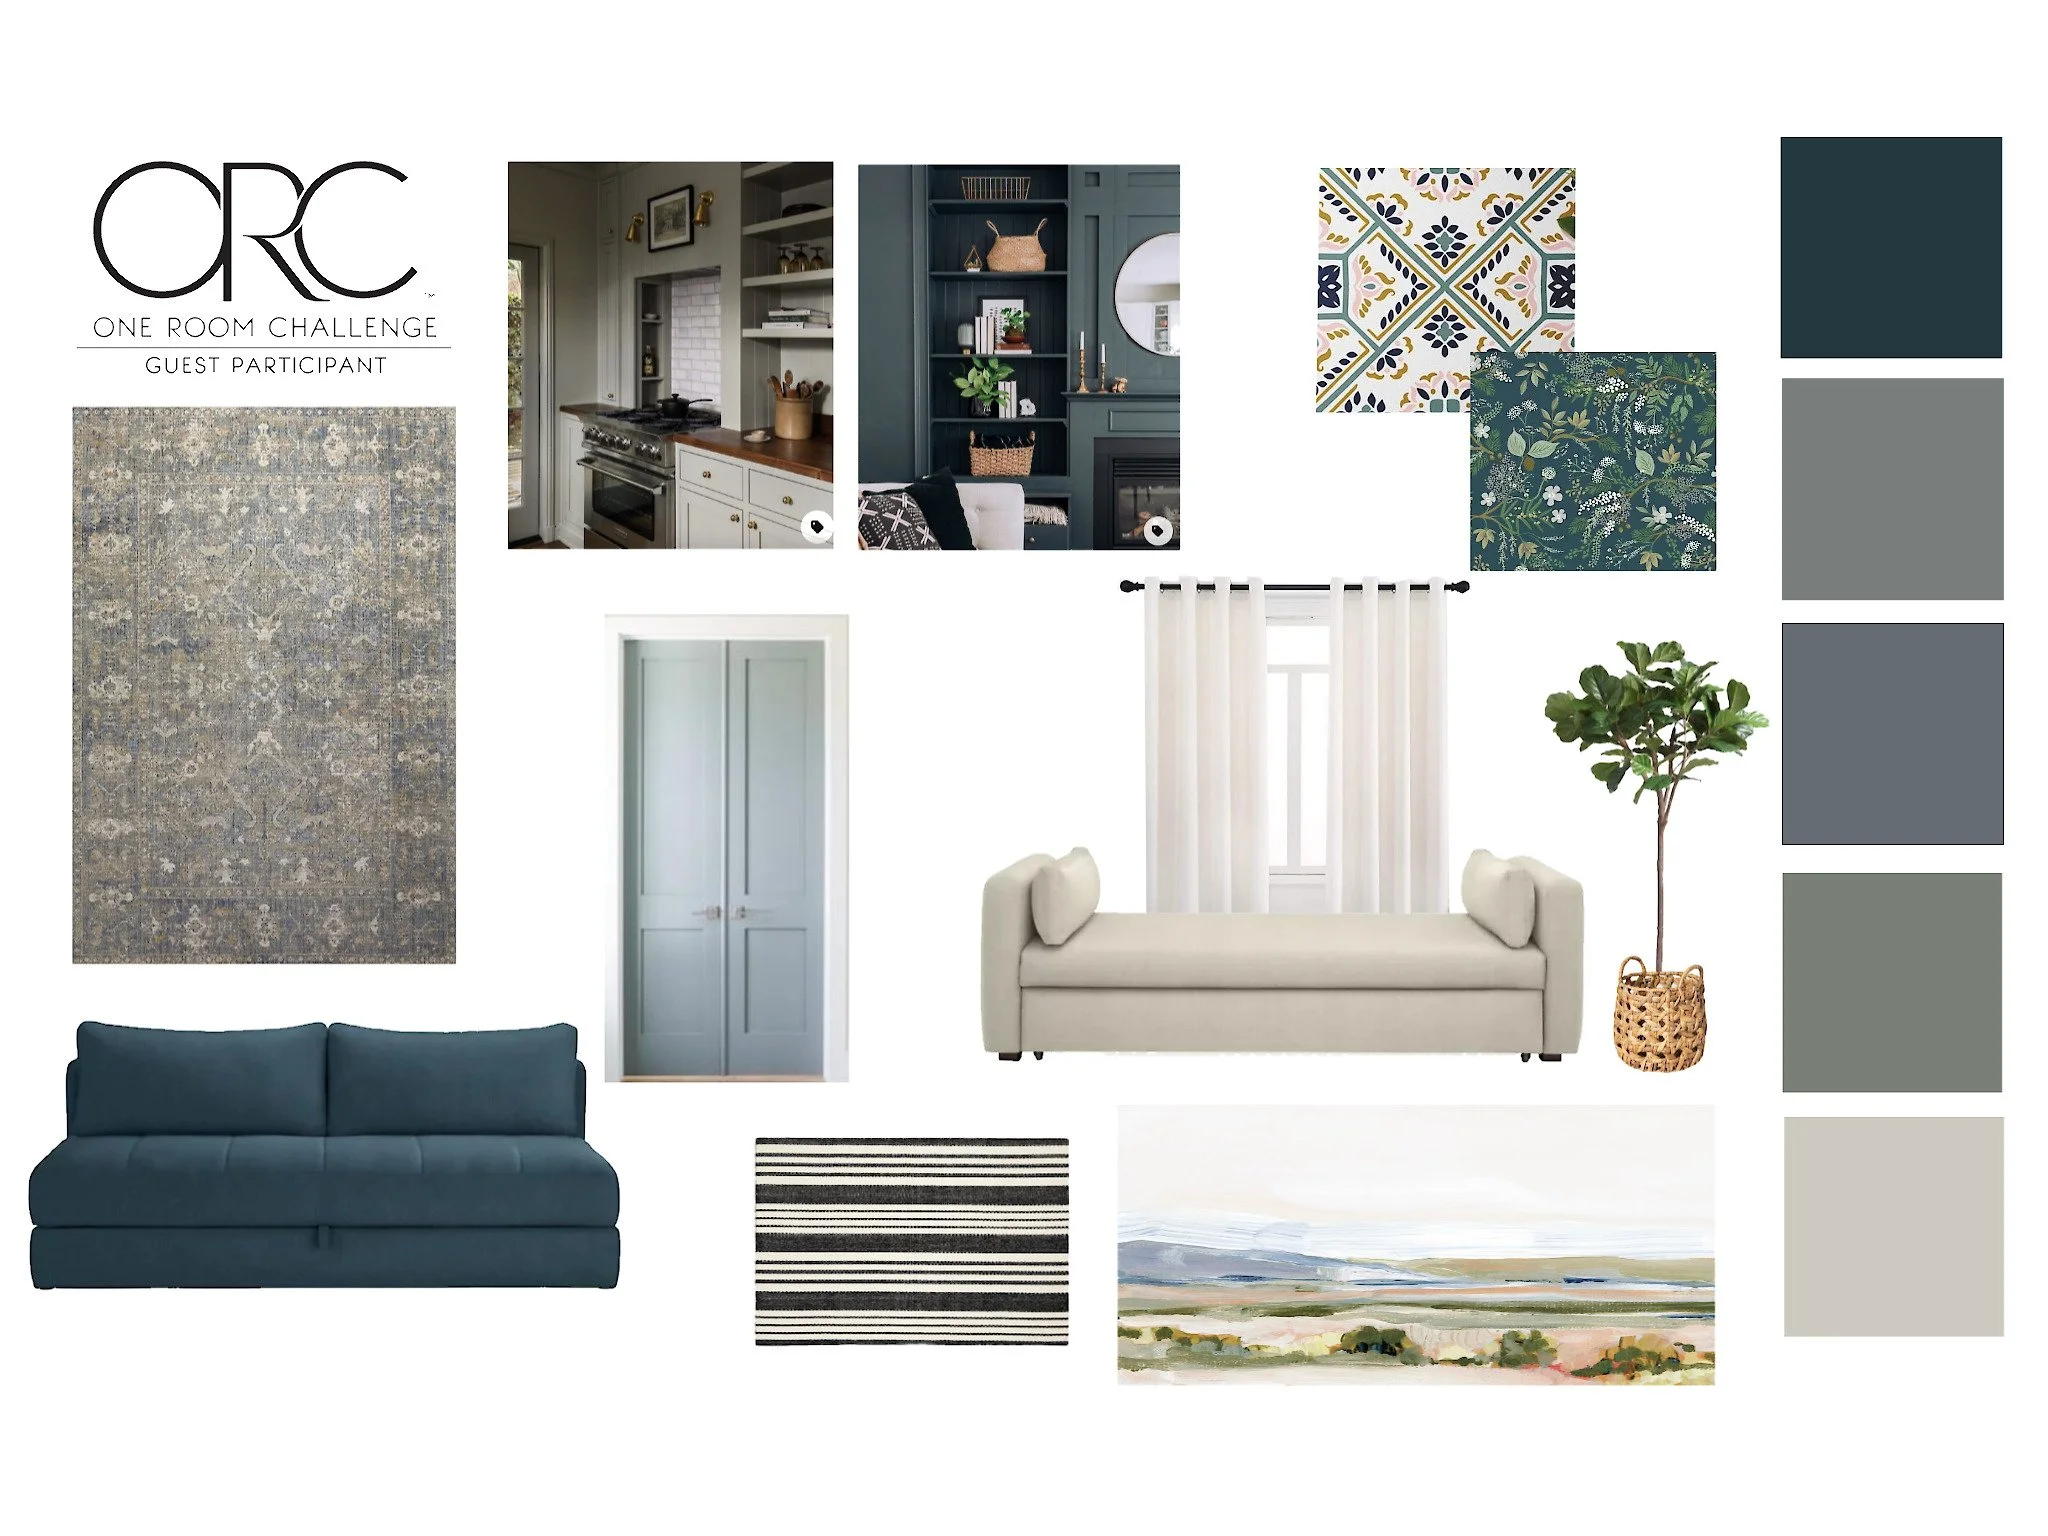
The Original Bench Design
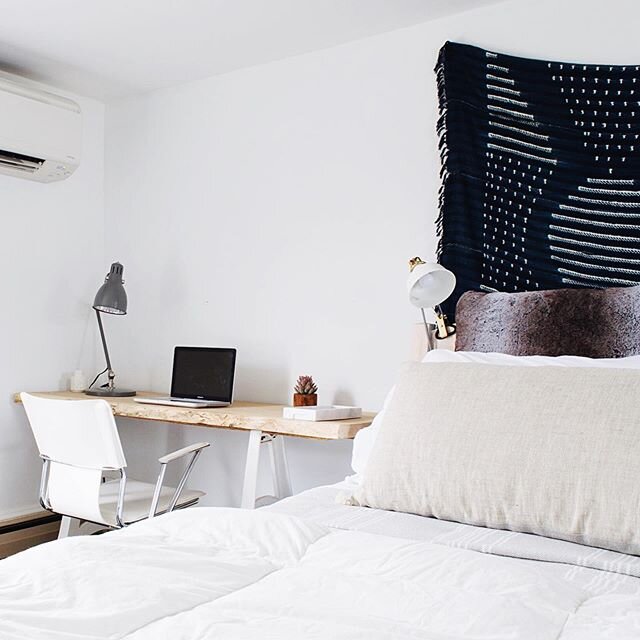
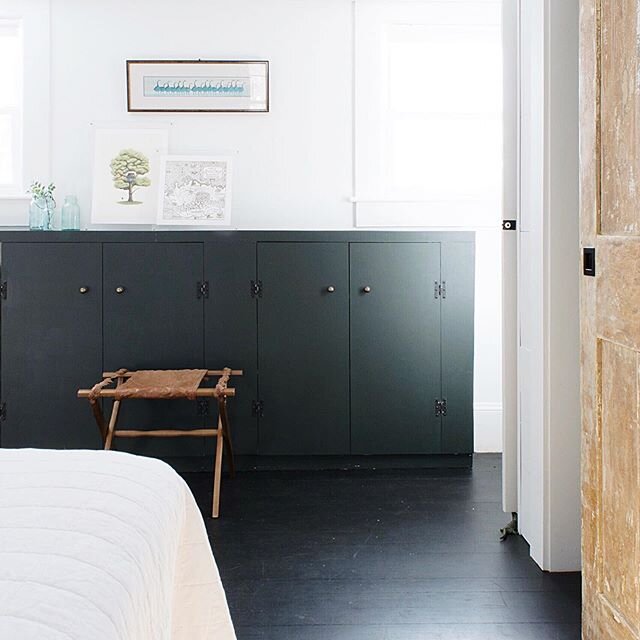
Mitch and I envisioned a pair of vintage stadium seats in this spot since the seat pops back up and would leave adequate room to get in and out of the closet. I figured I'd look for them at future Brimfield Antique Shows (for the right price), but currently I've amassed other inventory (how do I even amass inventory in a 1,000 SF house?!) So, we decided the bell legs would be a great substitute until we find the vintage stadium seats.
This was all great in theory, but since they were stored in our freezing detached garage, I didn't check sizing when I devised the design plan (design 101, gesh). So as you can see:
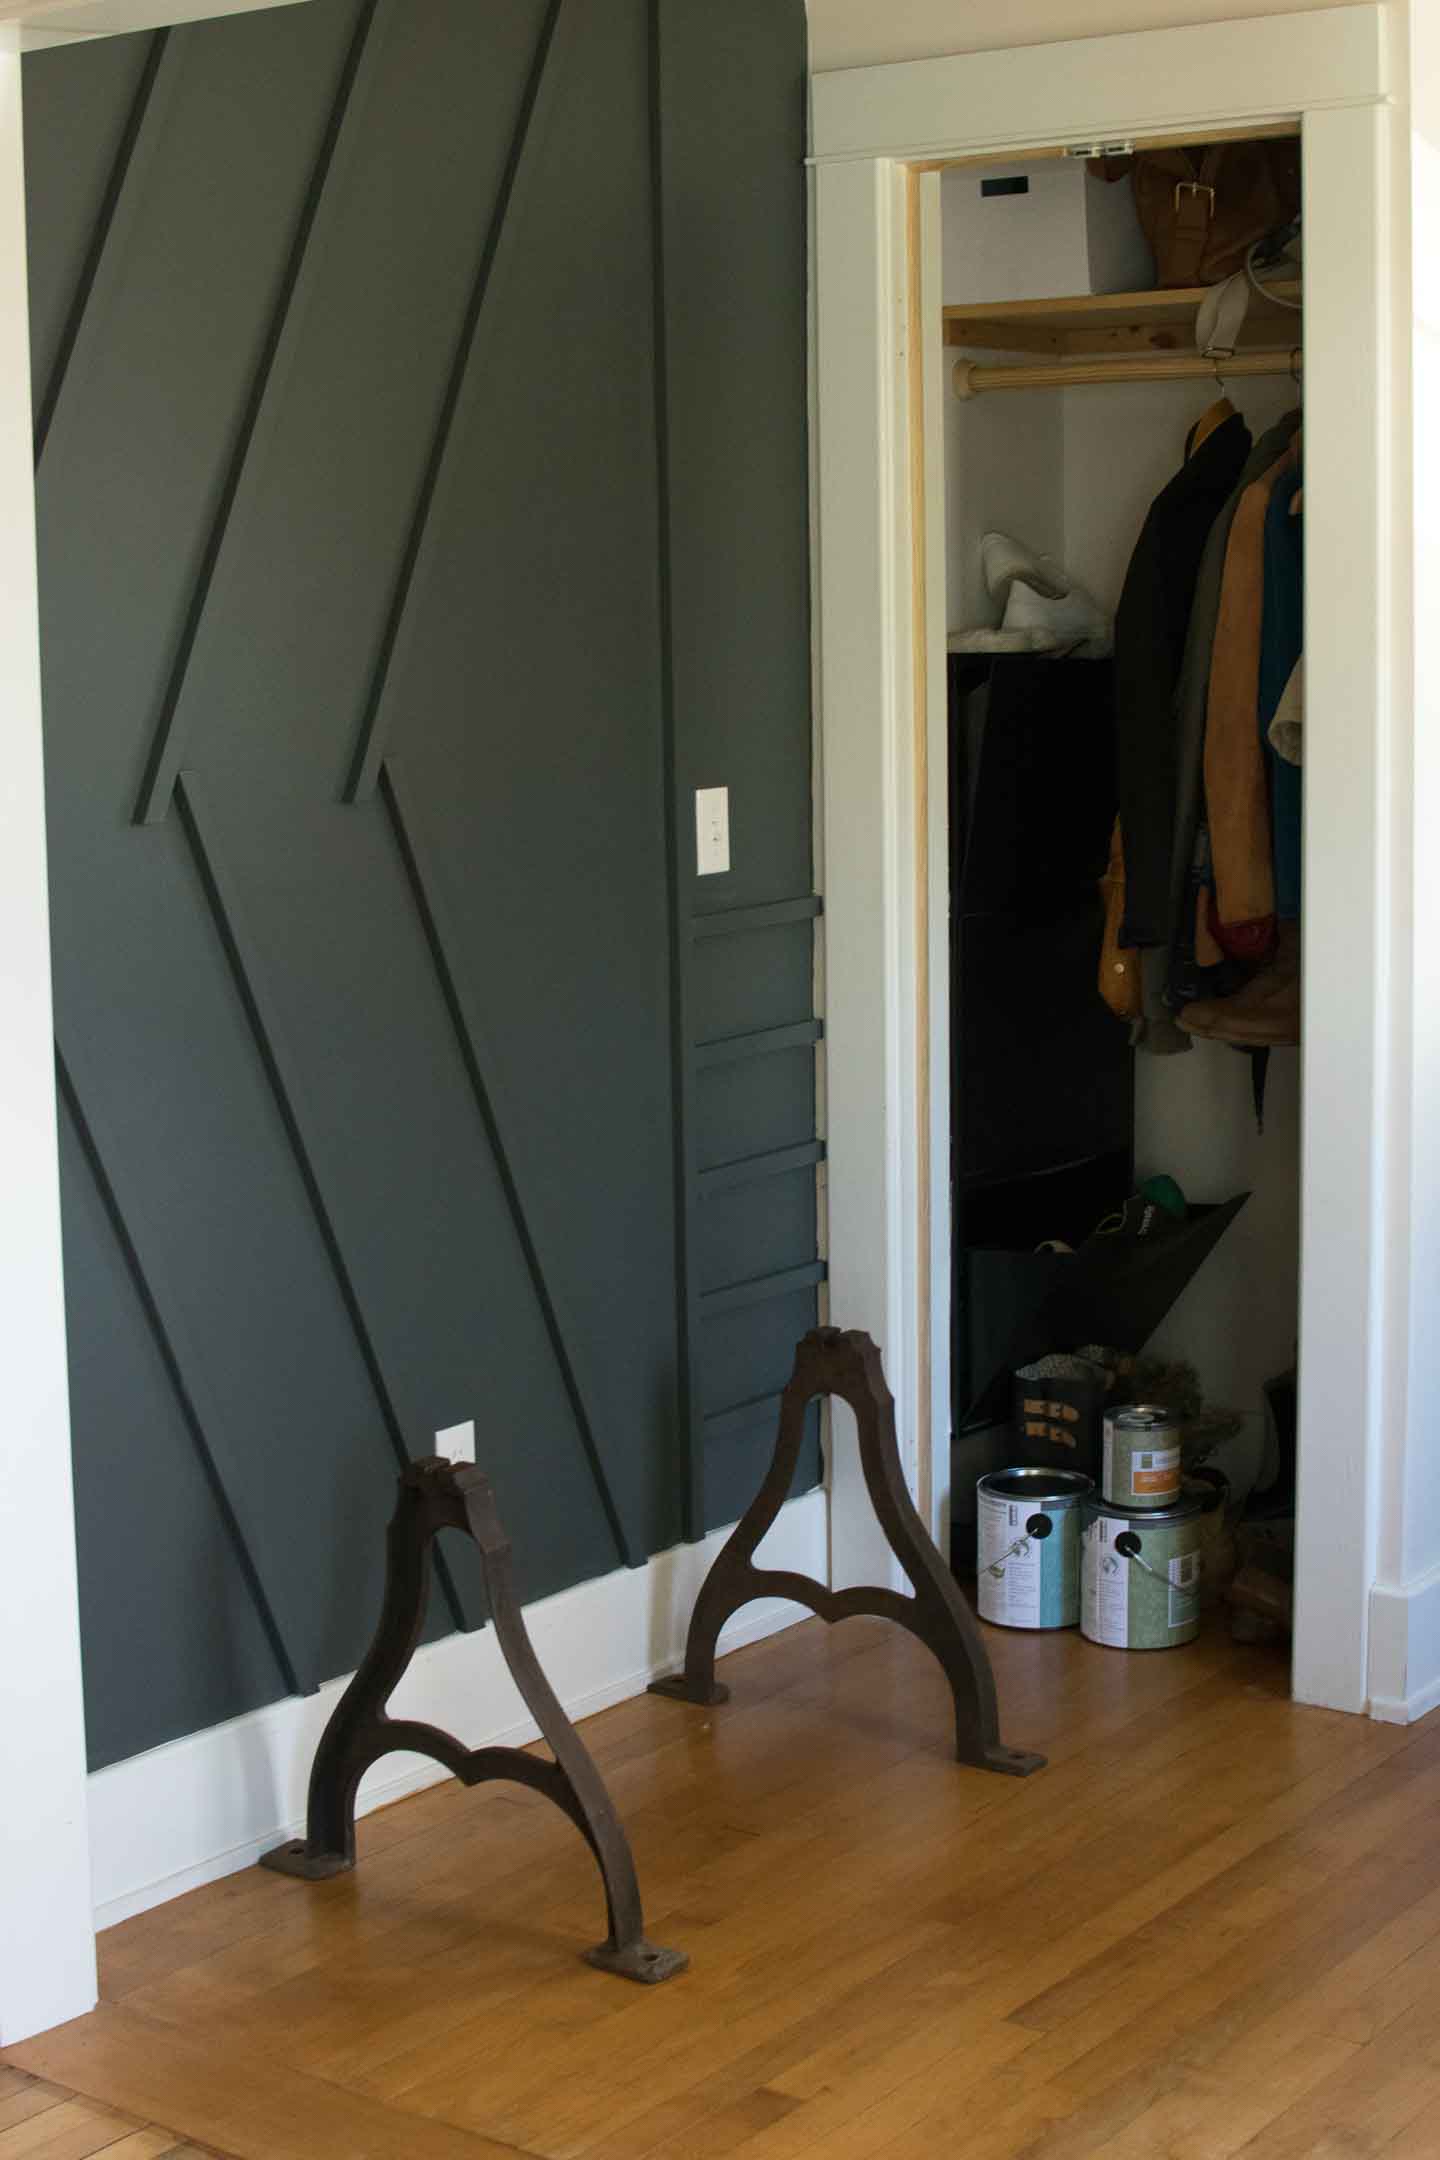

It was pretty clear I wasn't getting into my closets if we made this bench here. Thats a no-go since I seriously would kill for closet space after living in this house without any for six years.
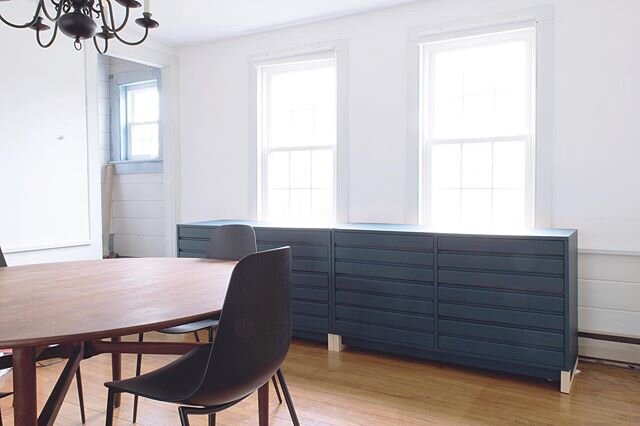
Then we thought maybe some rearranging?

And put the dresser against the feature wall..
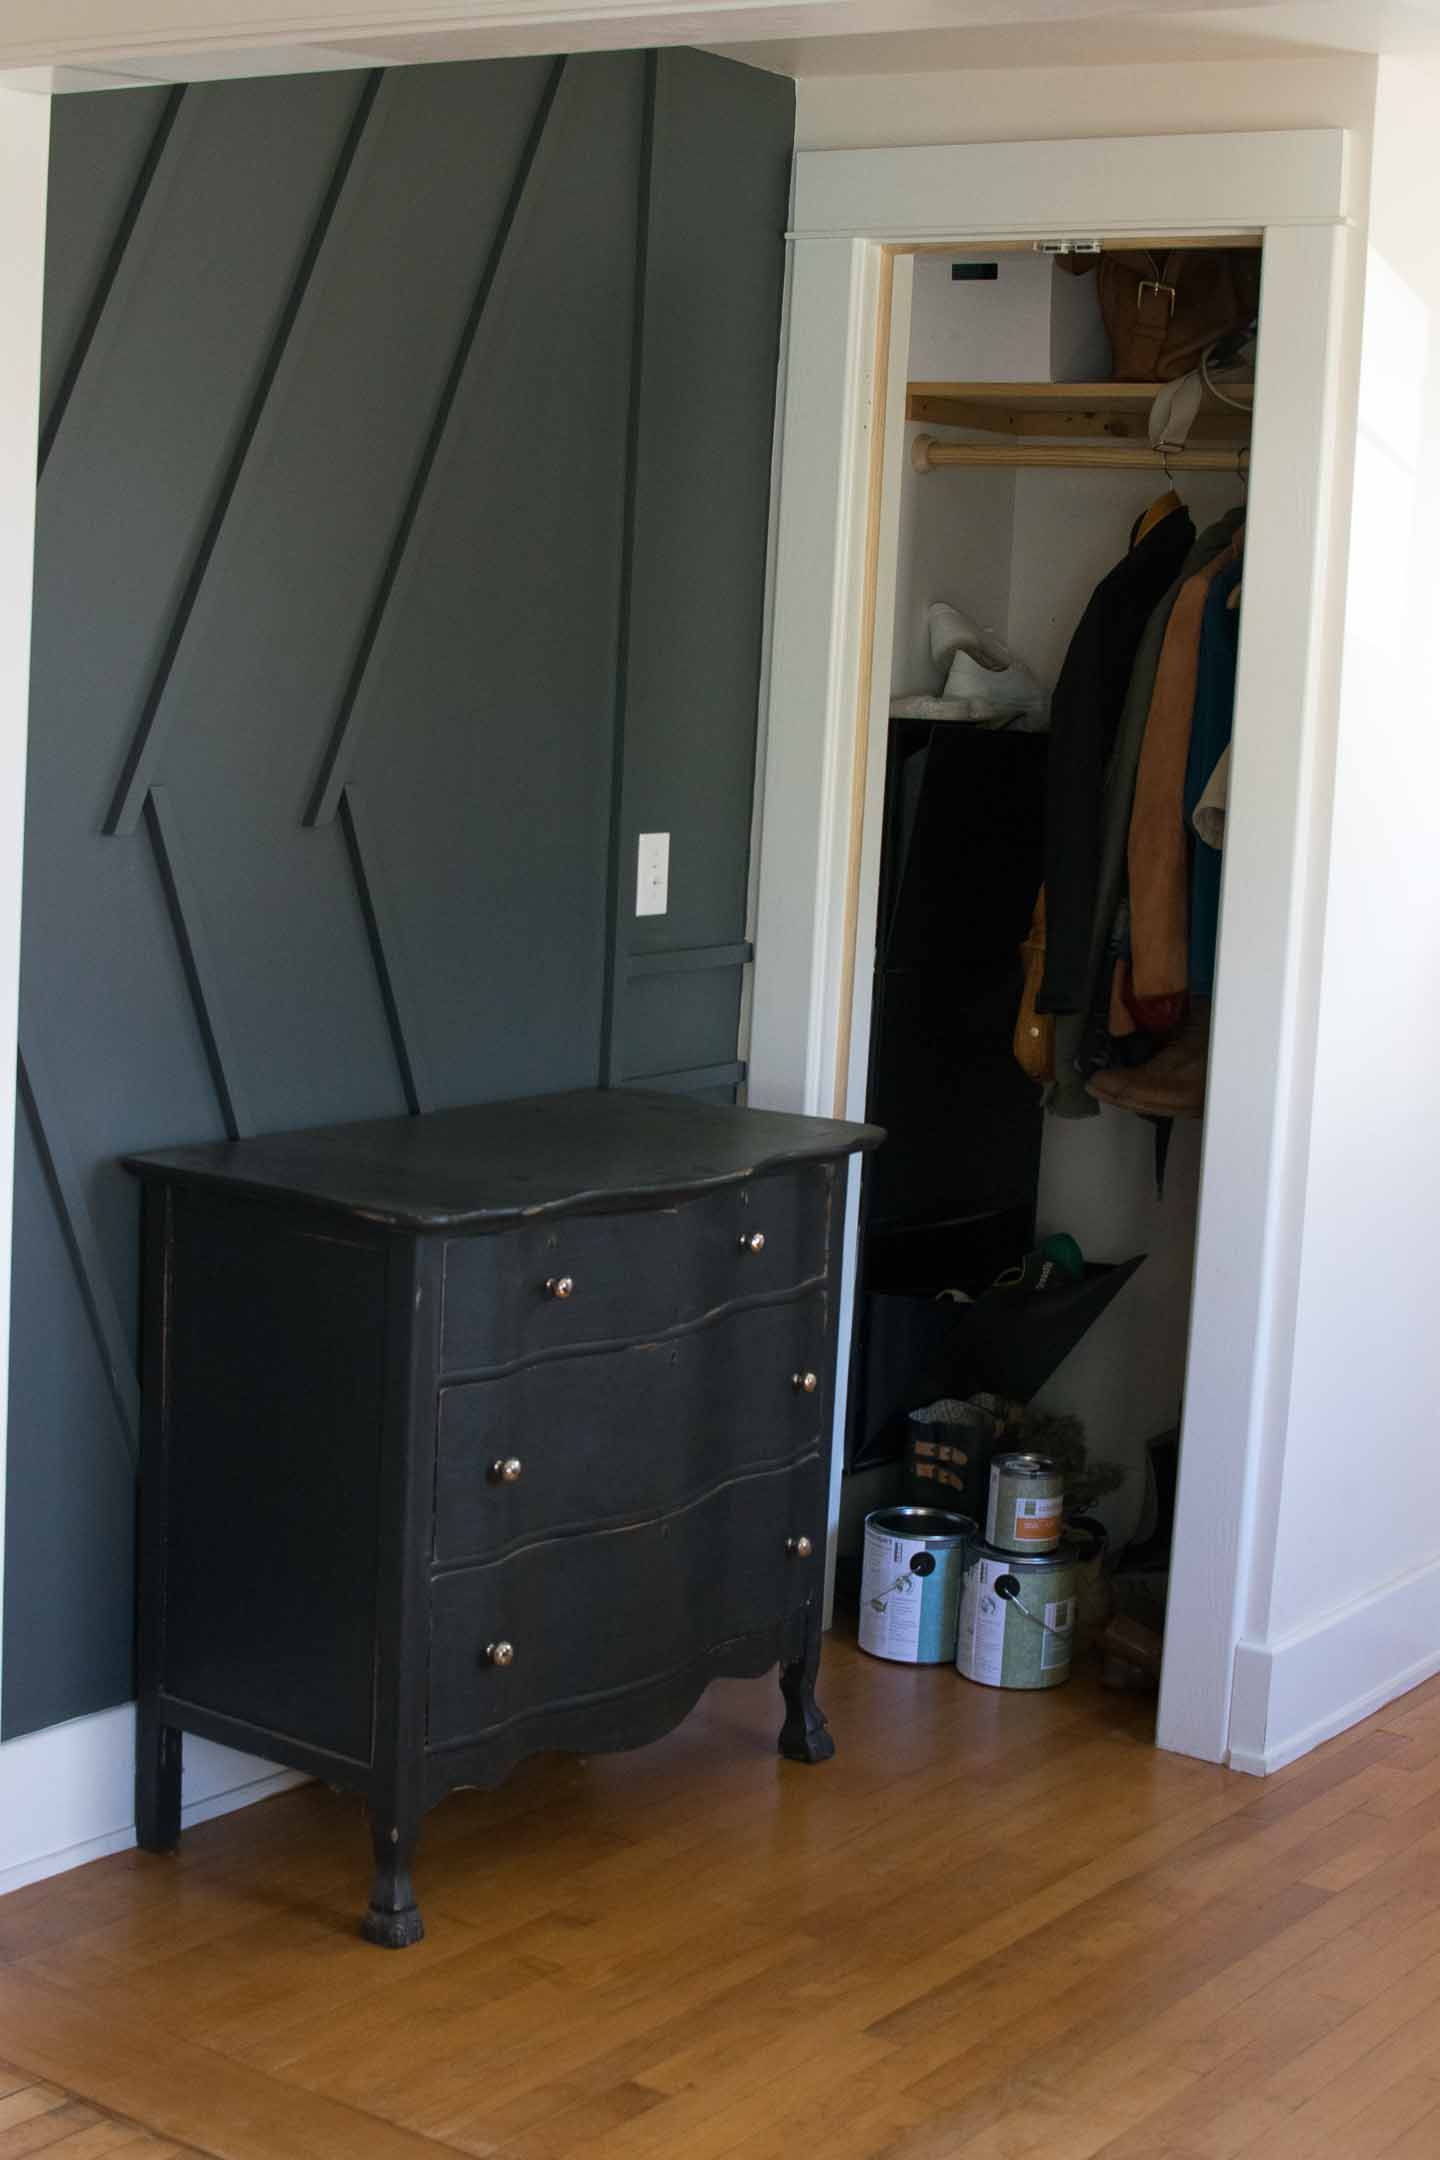
That gave us a similar issue with accessing the closet and the dresser just makes that wall so dark, instantly we both said "nope thats not gonna work."
Perfect Find, Imperfect Time
So, I went back to the stadium seat idea in the hopes the design Gods would shine down on me; I mean sometimes things don't work out for a reason right? And....I couldn't believe it... Craigslist came through, a seriously cool pair of vintage stadium seats was listed about two hours away! SO now your wondering why the heck they aren't in the pictures then?!
When I found them, Mitch and his brother were knee deep in a mini basement remodel to make a nice little home for his 93 year old Nana; now just wasn't they right time to spend the money, and most importantly we didn't have the time to get/refinish the stadium seats. We just had too much stress as it was, so we passed on the opportunity.
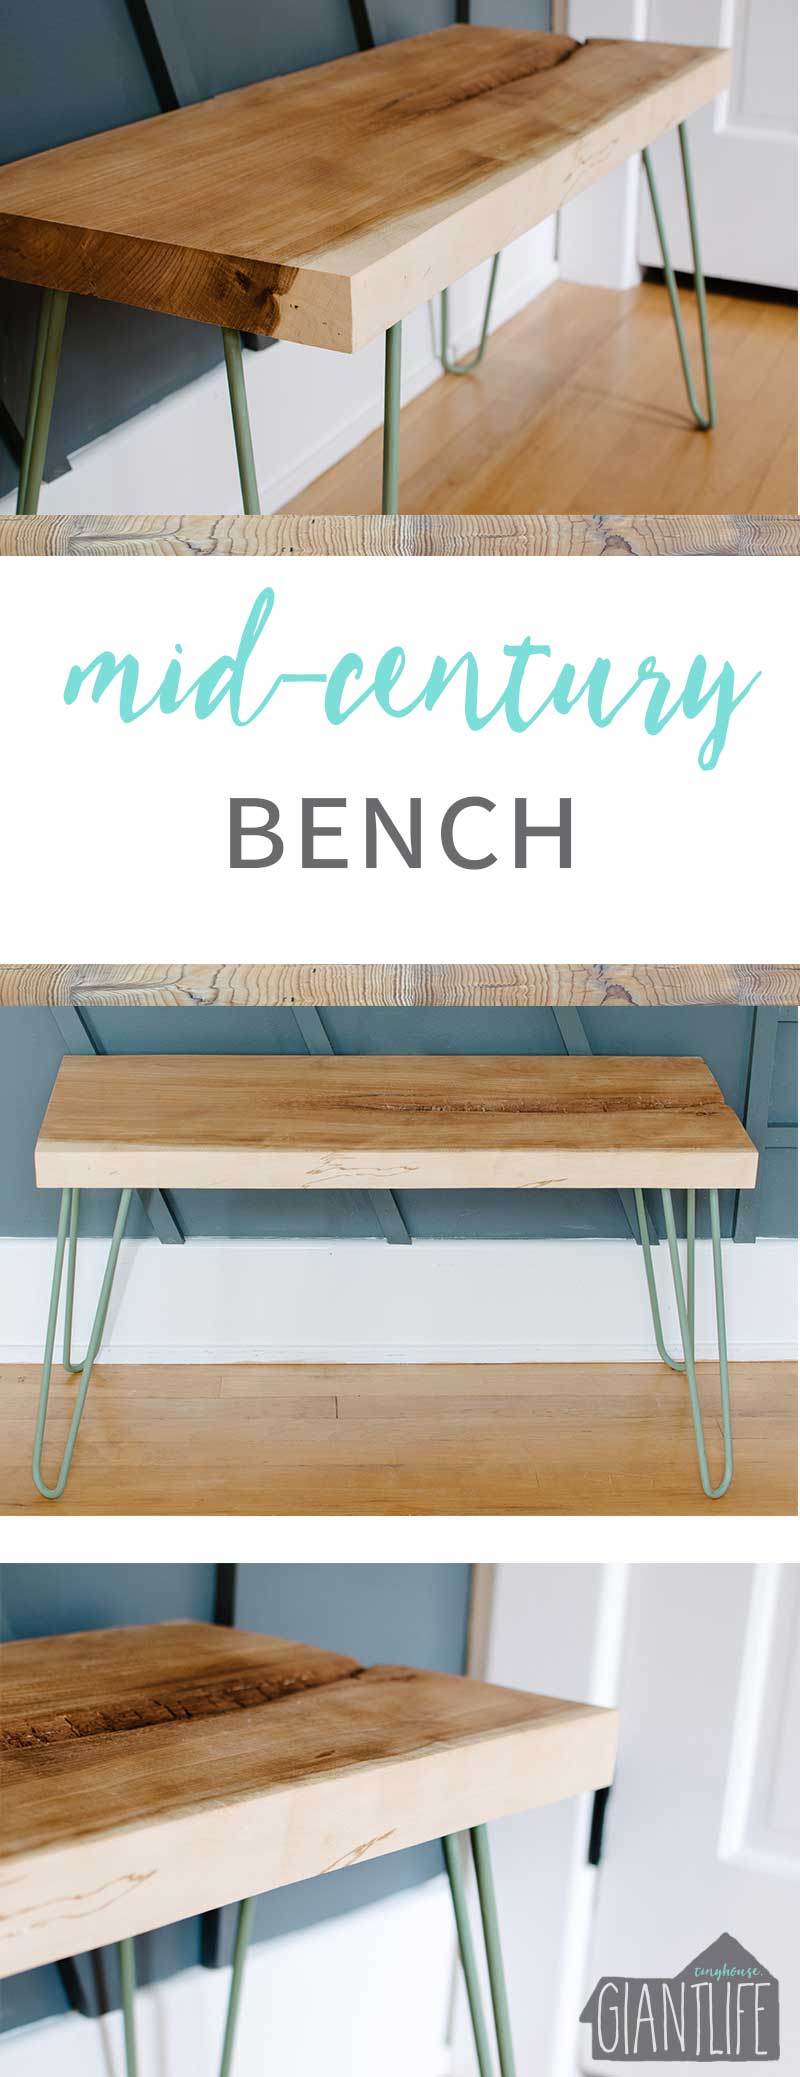
Mid-Century Bench = Classic
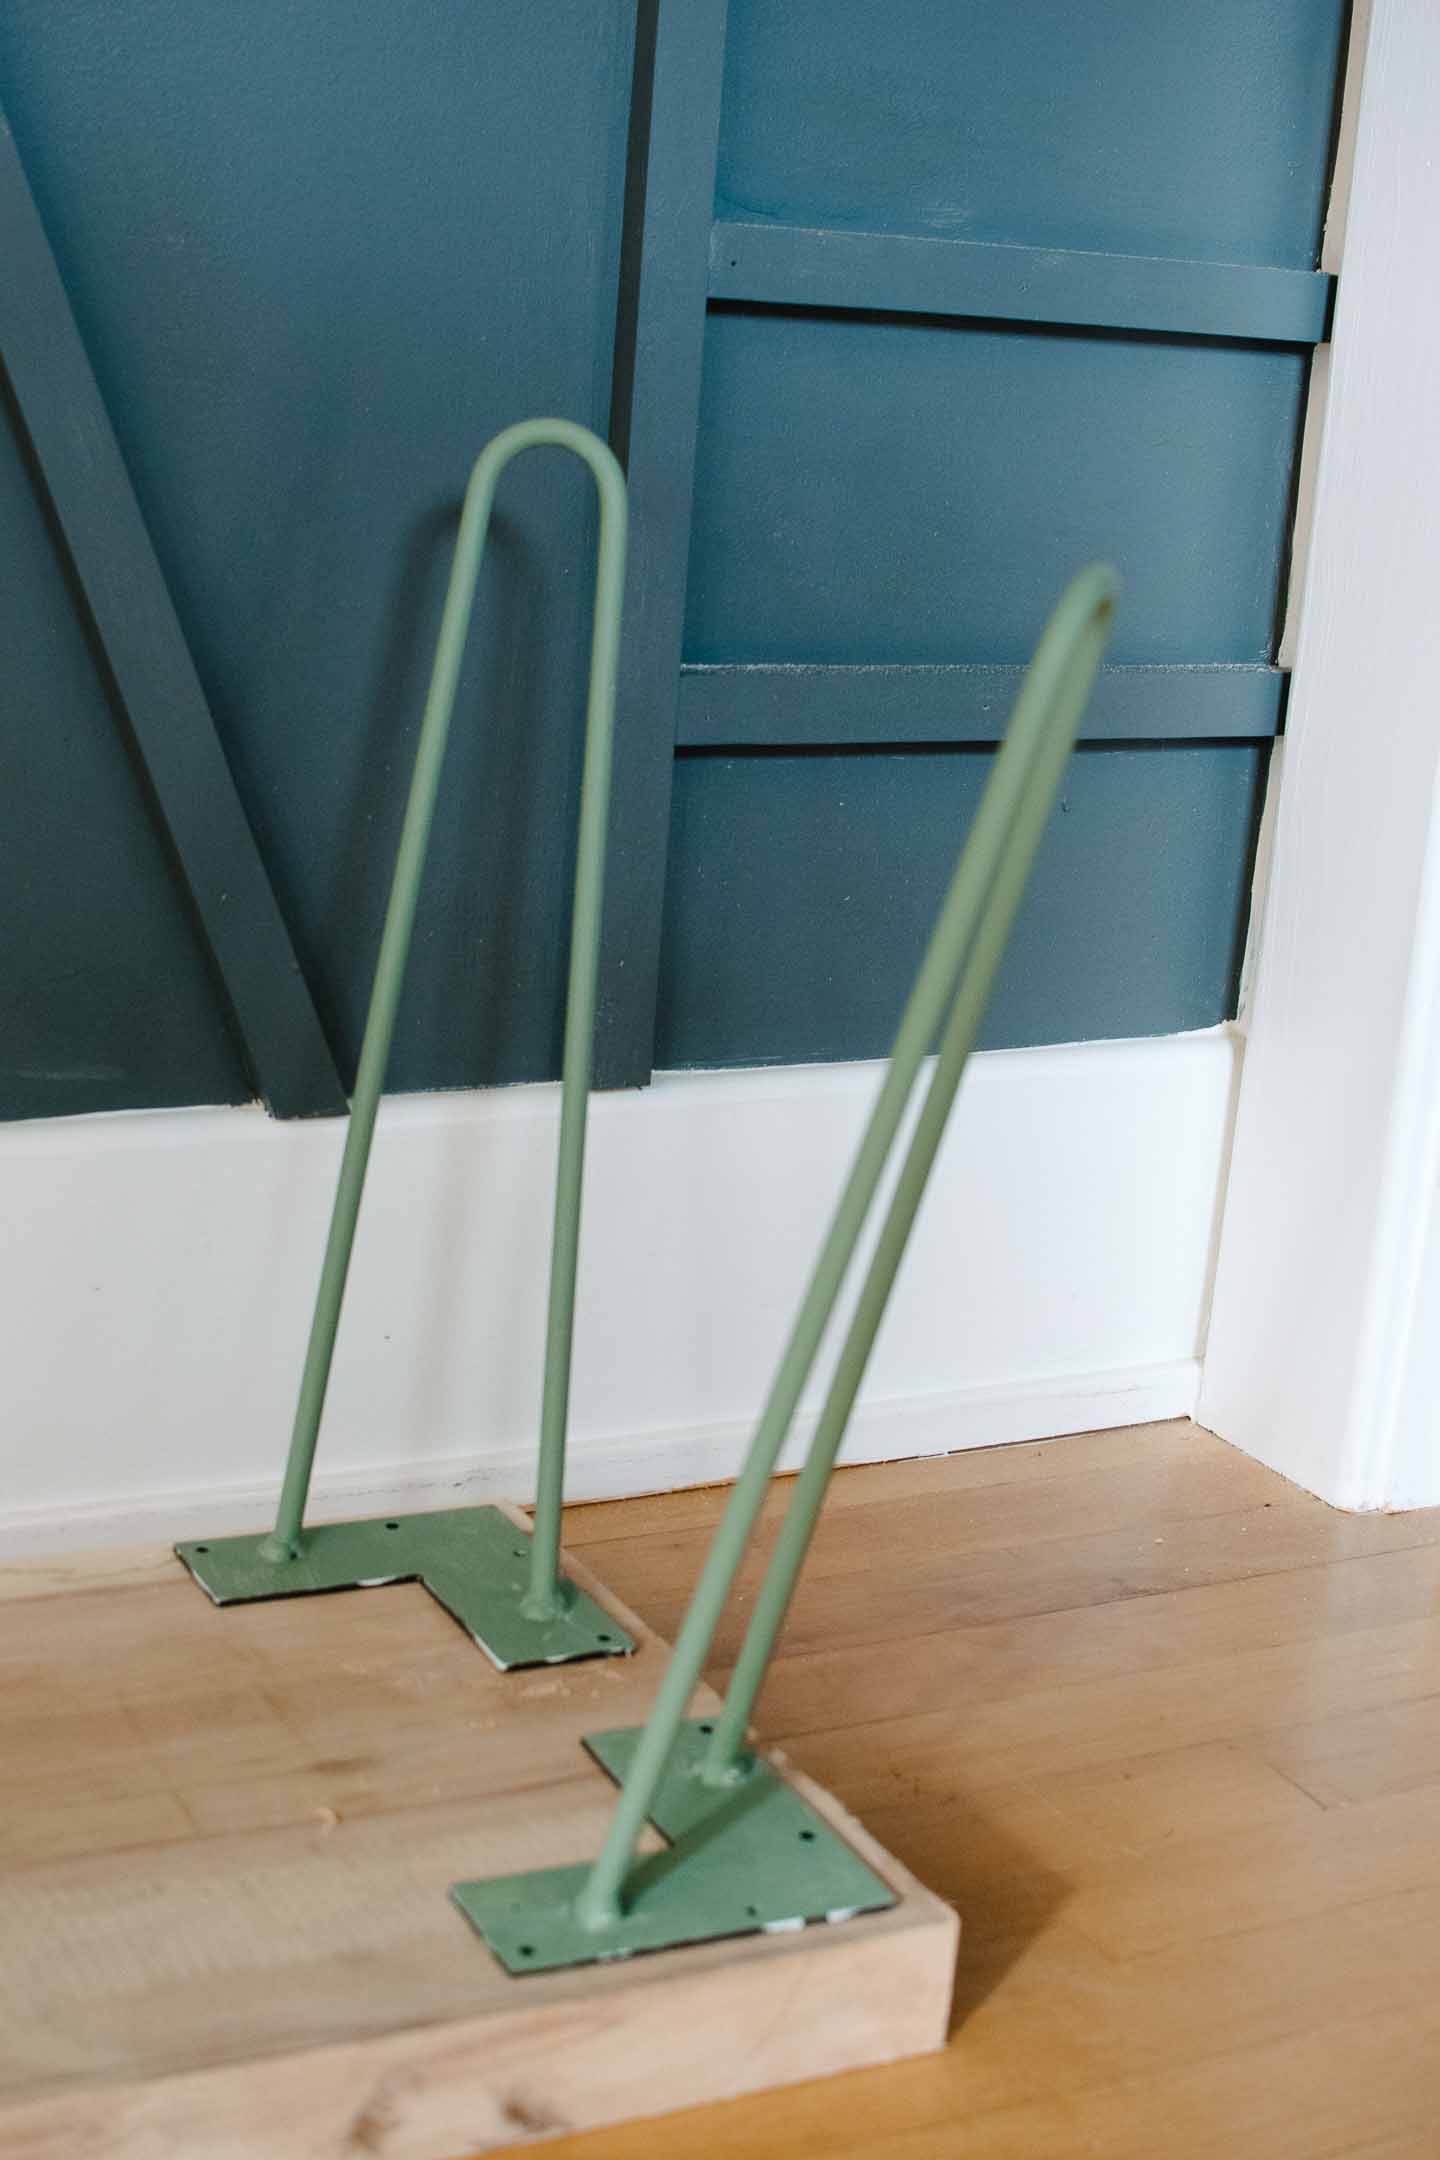
I needed something that I could get quickly, that was cost effective, and classic enough that we would love until if/when we find those perfect vintage stadium seats again. I've used hairpin legs for a few clients kitchen island designs in the past, and they are a great fit for our eclectic mid-century modern bungalow.
Ordered, Shipped, and Arrived in less than a week with all the directions and care instructions we could need (came with the screws, and even wax for the legs).
I will note that you can get these powder-coated and they have some really fantastic colors, we just had our hearts set on these exact hues, they were just too perfect together.

Finishing the Legs
- Clean them very well and make sure to get all oil and grime off (they will ship dirty in order to keep rust at bay until they arrive)
- Make sure to use a primer!
- Paint legs (we used a foam brush, but a spray gun or spray paint would work as well)
- Wax after paint is completely dry (which will provide a buffer between the paint and well ...life)

Installing the Mid-Century Bench Top
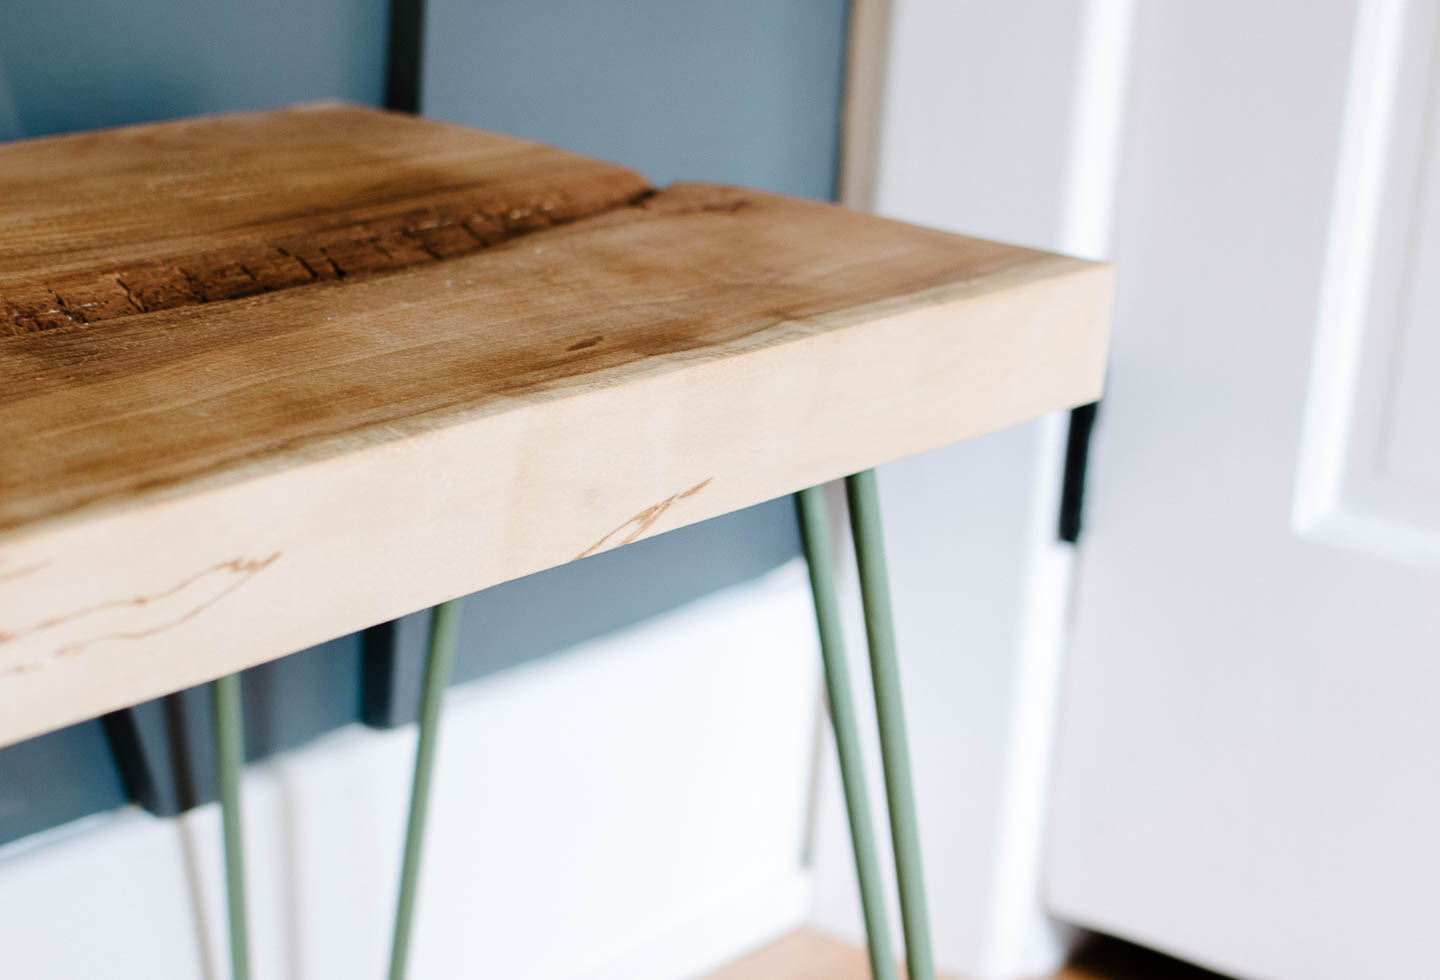
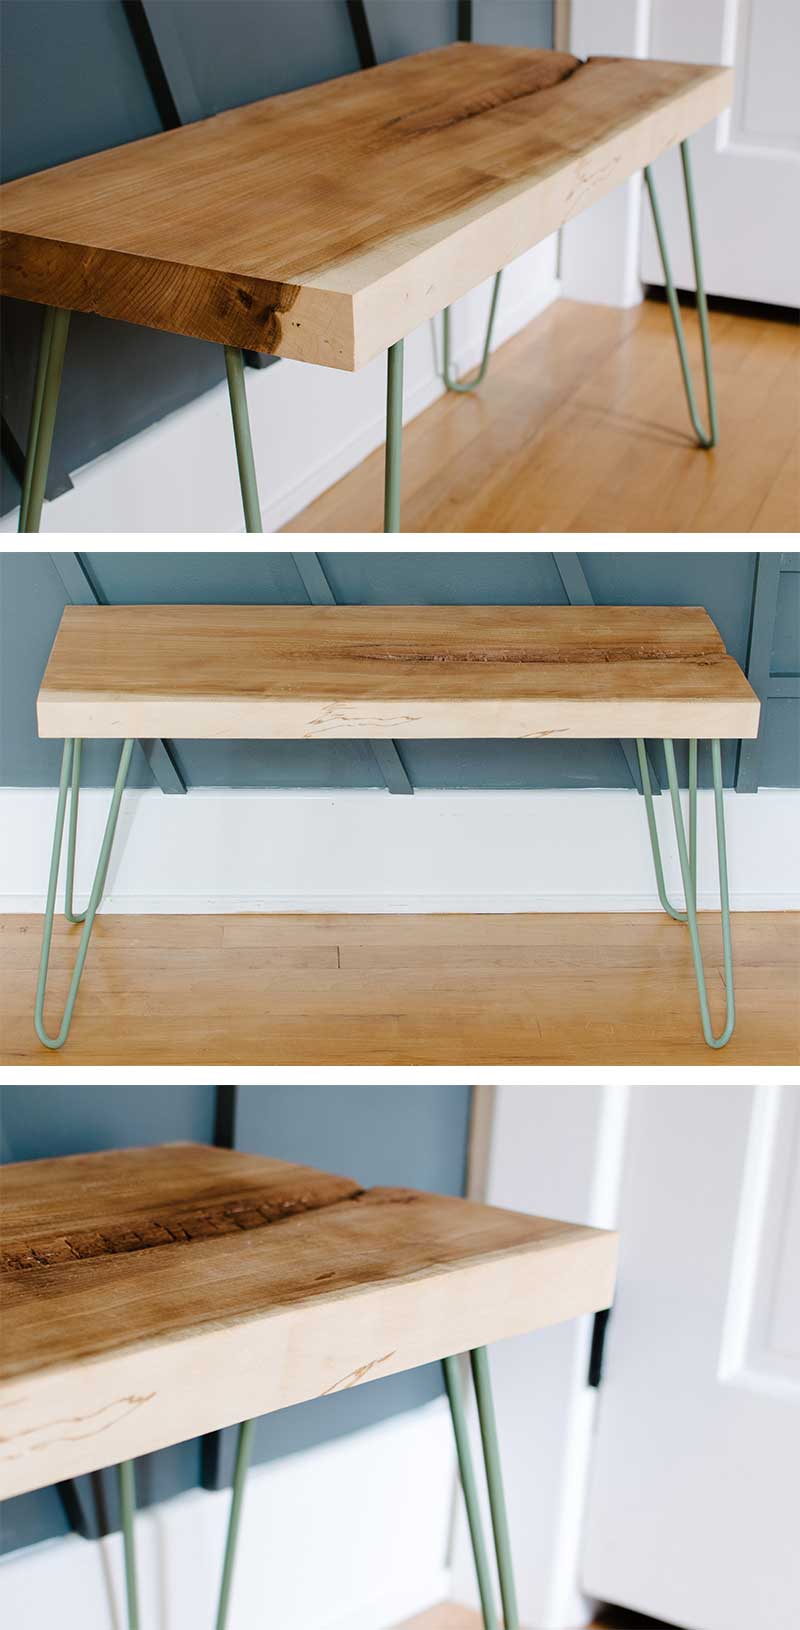
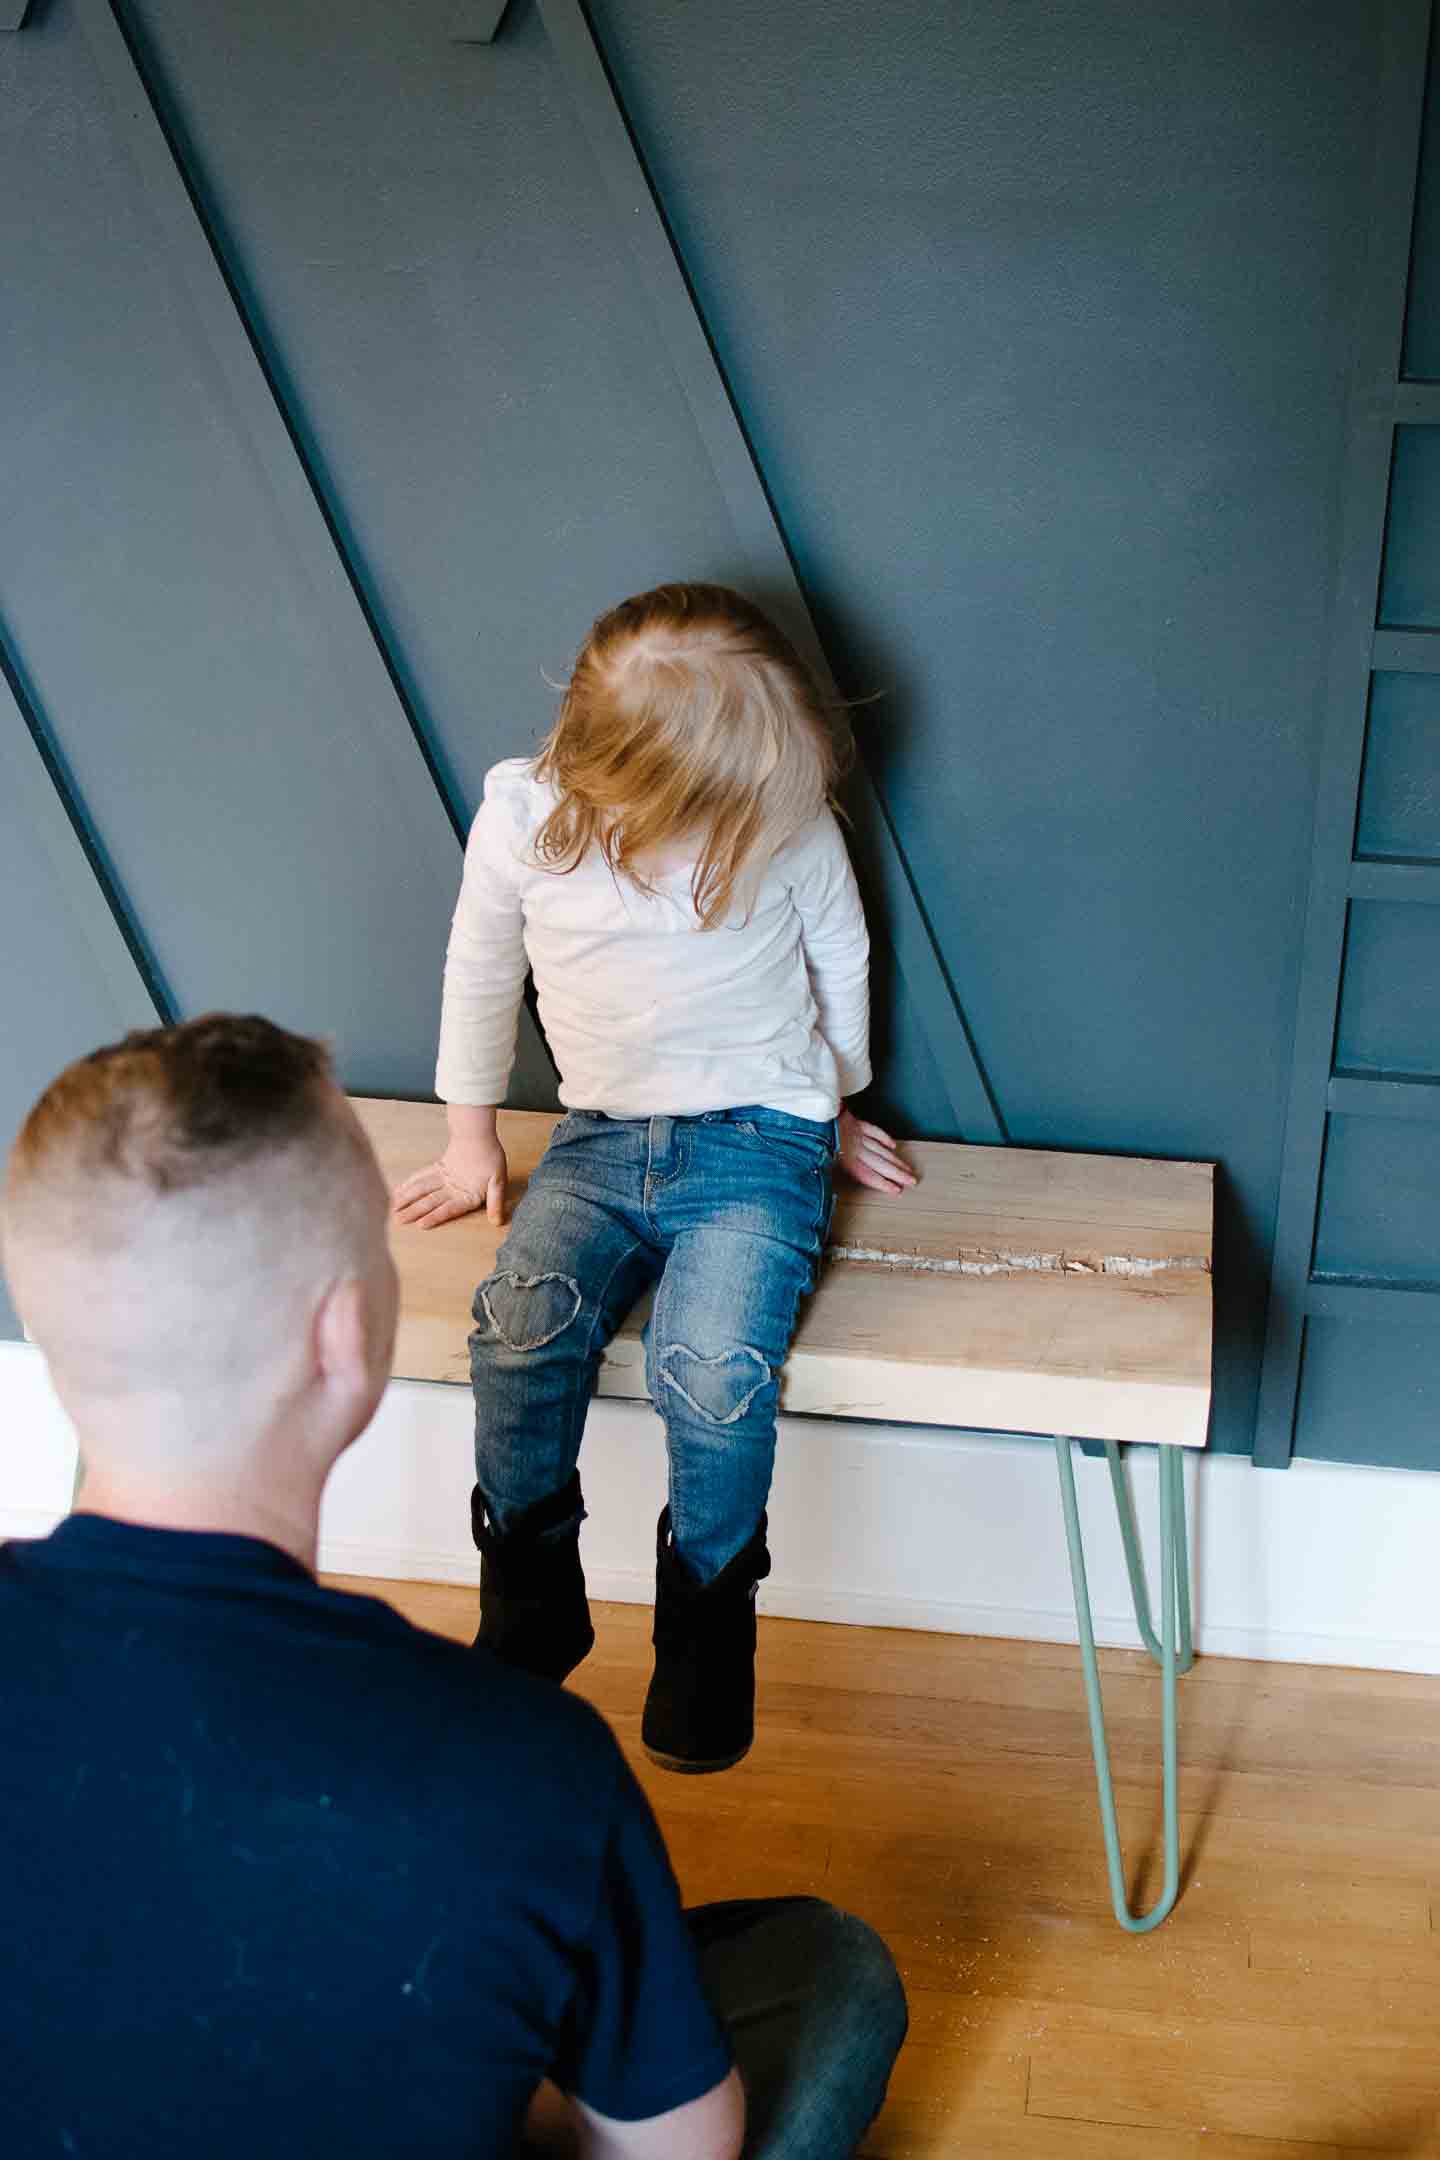
A couple of years ago, the town had to take down a dead Beech tree on our property which was over-hanging the electrical lines. We had it milled on-site and have used the wood for various projects before we started this blog (Our dining table, the office desk). So it made is way back to this project and I can't even believe how perfect it turned out with the hairpin legs!
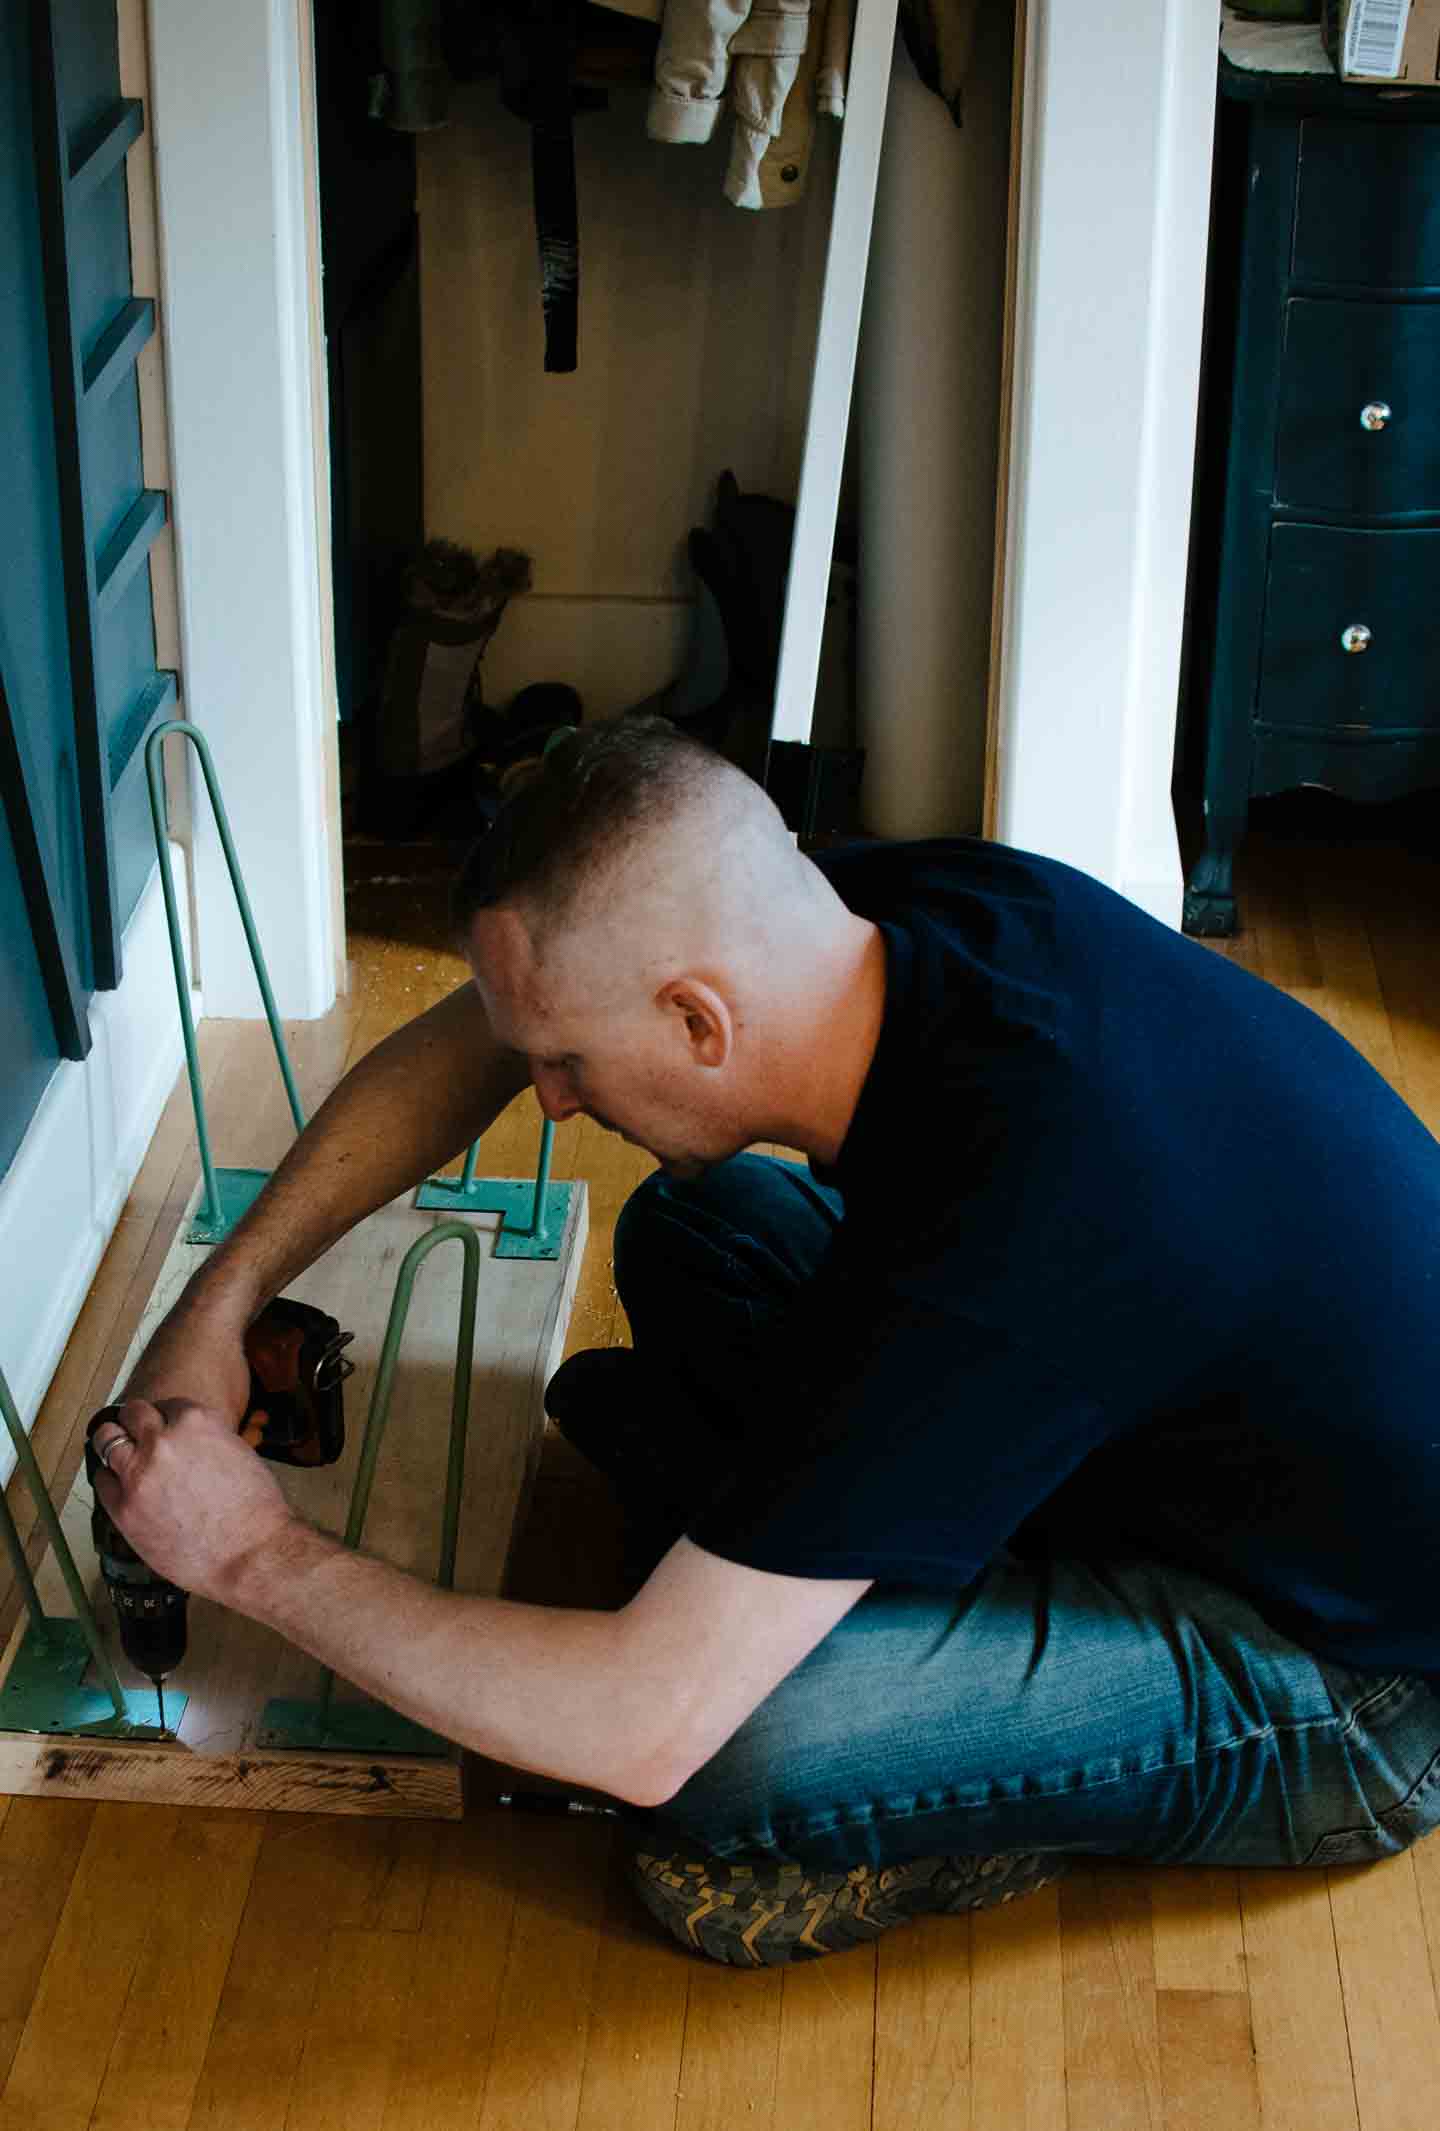
We had to laugh though, I set the wood on the floor to just check out the length and depth and then had Mitch install the legs once we confirmed size, we ended up installing the top inside down in our impatient rush to finish the project! The results... amazing with the natural crack in the wood, it was the perfect mistake to our imperfect lives.

We finished the wood off with an crazy amount of sanding, and our favorite finish.. Danish Oil.
We got our legs from DIY Hairpin Legs and if you shop with this link you get 10% your order, they have all kinds of powder coated colors and even shelf brackets!
Alright, time for me to go check out all the other amazing guest participant spaces in this Spring's One Room Challenge, join me!